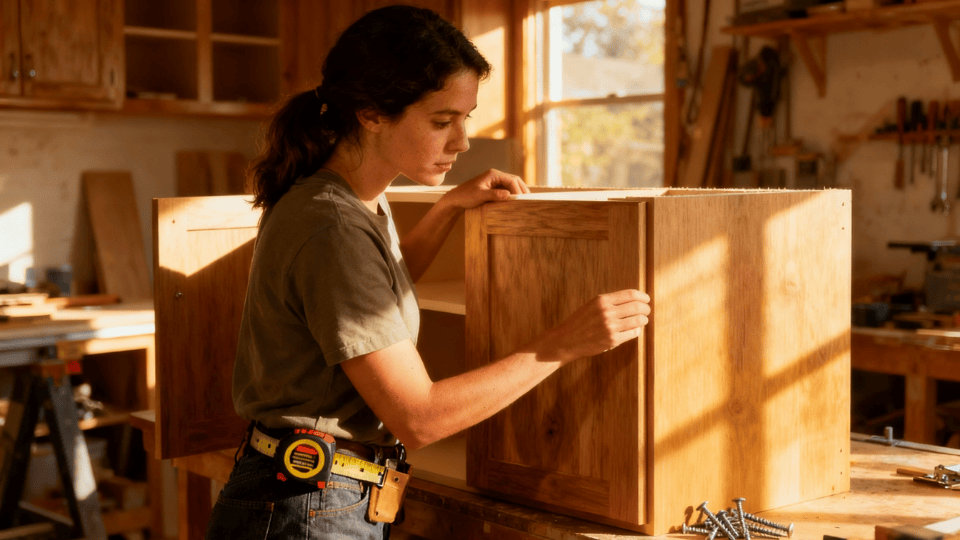
Want to change your kitchen without breaking the bank? DIY kitchen cabinets might be your secret weapon. Imagine building beautiful cabinets with your own hands. Sounds impossible?
Think again. You don’t need fancy tools or years of experience; just the right plan and a little courage.
Thousands of owners have found this trick. I’m here to show you how you can build your dream kitchen in a few simple steps.
Why Build Your Own Kitchen Cabinets?
Building your own kitchen cabinets saves serious money compared to buying custom ones from a store. You’ll spend much less using basic plywood instead of expensive materials.
Plus, you get exactly what you want. Need cabinets for a weird corner? No problem. Want a specific color or style? You’re in control.
Best of all, you’ll feel proud every time you cook. You built those cabinets with your own hands! You’ll learn woodworking skills that last a lifetime. It’s cheaper, more personal, and way more satisfying than buying from a store.
Planning and Pre-Build Considerations
Before making the first cut, take time to plan every detail. Skipping this step leads to wasted materials, incorrect measurements, and hours of frustration fixing avoidable mistakes.
- Measurements: Measure the height from floor to ceiling, the depth of your walls, and leave proper clearance around appliances and doorways. Write everything down twice and double-check before ordering materials.
- Layout: Design your base and wall cabinets using standard dimensions. Base cabinets are typically 24 inches deep and 34.5 inches tall, while wall cabinets run 12 inches deep. Sketch out where each piece goes.
- Material choices: Plywood is strong and looks great, but costs more. MDF is budget-friendly and paints beautifully, though it’s heavier. Solid wood gives you that premium feel, but it can warp if not sealed properly.
- Hardware: Pick hinges that suit your door style, drawer slides that glide smoothly, and handles that match your aesthetic. Soft-close options add a professional touch and are worth the extra cost.
- Budgeting: Calculate material, hardware, and finishing supply costs. Shop sales, buy in bulk when possible, and don’t cheap out on tools you’ll use repeatedly.
Essential Tools and Workspace Setup
You don’t need a fancy workshop to build diy kitchen cabinets, but having the right tools makes everything easier and safer.
| CATEGORY | ITEMS |
|---|---|
| Power Tools | Table saw, circular saw, radial arm saw, router, brad nailer, sander, power drill |
| Hand Tools | Tape measure, clamps, square, pencil, level, sanding block |
| Joinery and Fasteners | Wood glue, brads, screws, pocket hole jig (optional) |
| Cabinet Materials | ¾-inch prefinished plywood (sides, shelves, backs), ½-inch plywood (back panels), poplar wood for face frames, MDF for door panels |
| Hardware | Blum hinges (regular and bi-fold), drawer pulls or knobs, mounting plates, and shelf pins |
| Finishing Supplies | Primer, paint, roller, sprayer (e.g., Homeright), edge banding, wood filler |
| Safety Gear | Safety glasses, ear protection, dust mask, gloves |
Step-by-Step Process to Build Kitchen Cabinets
With your plan ready, it’s time to build your diy kitchen cabinets step by step. This straightforward process takes you from raw materials to finished boxes ready for installation. Watch your design come to life as each piece comes together.
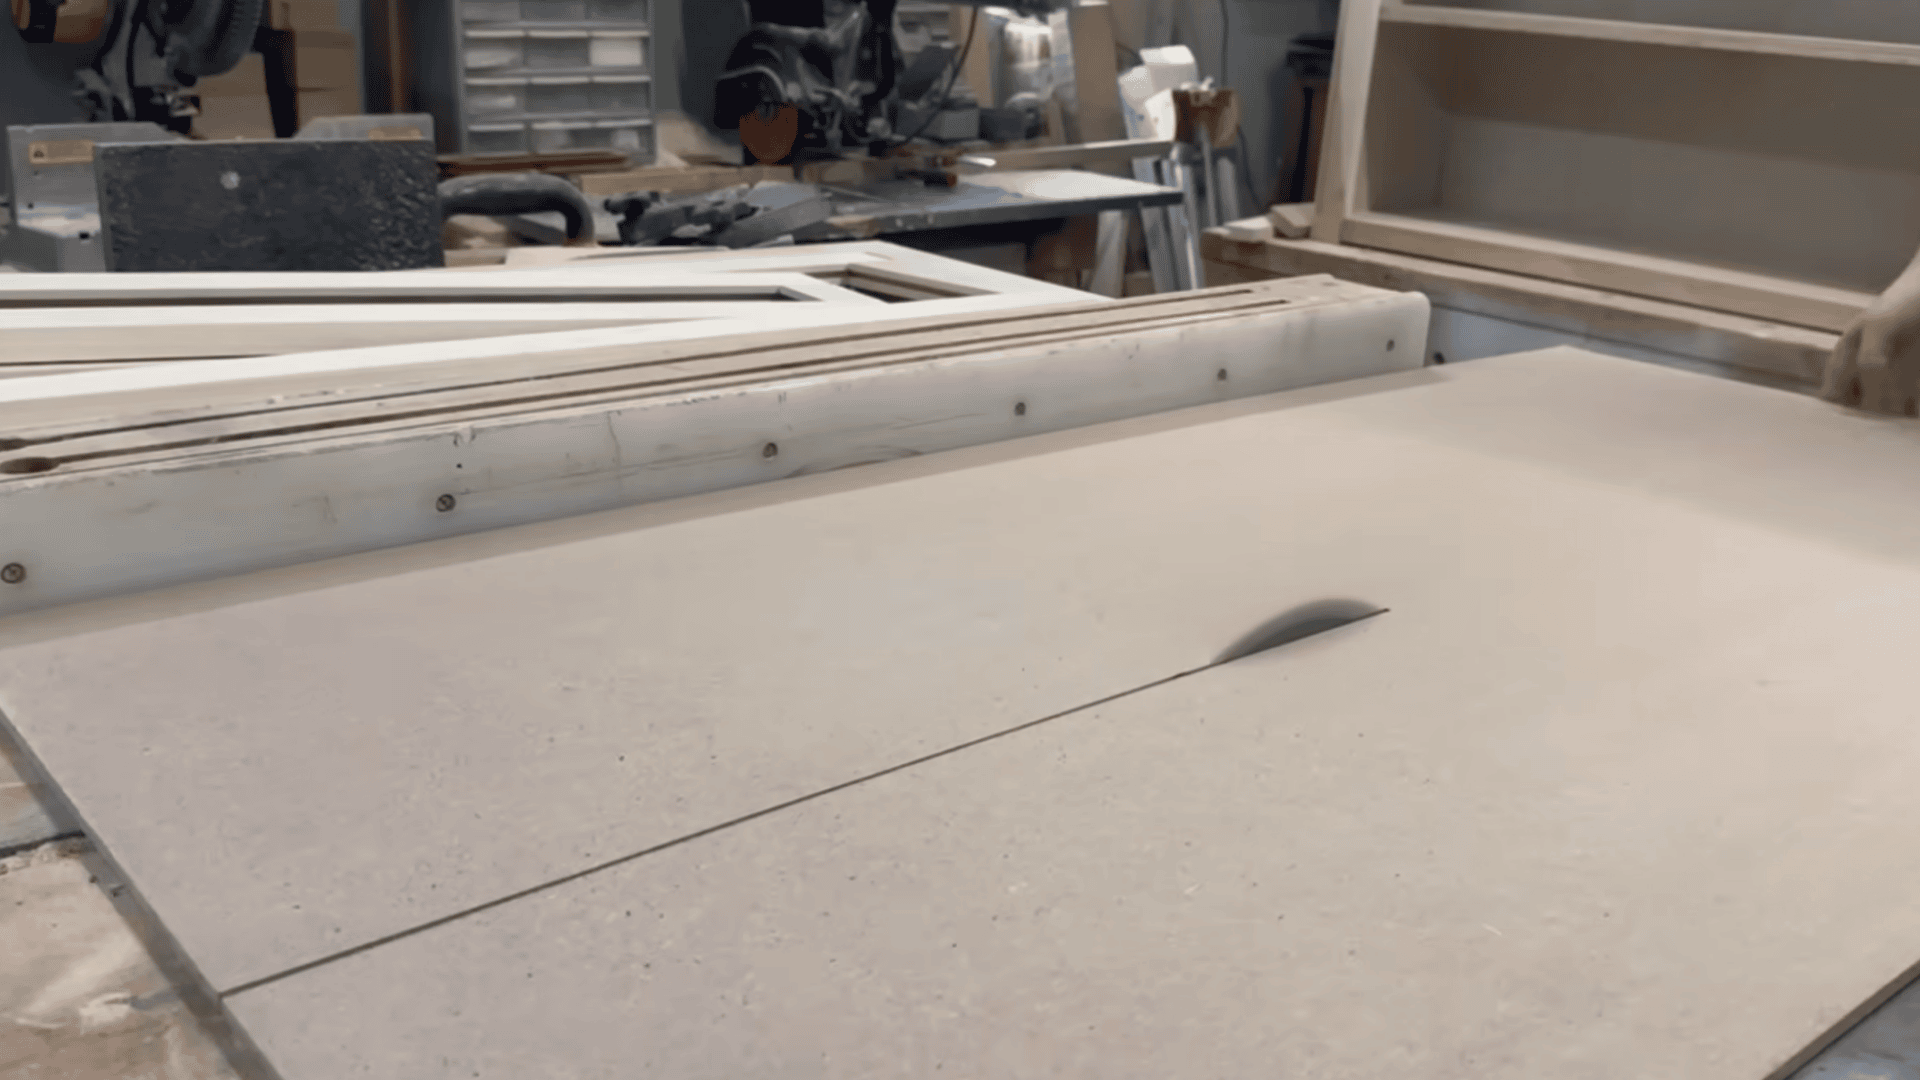
Step 1: Cut and Label the Cabinet Panels
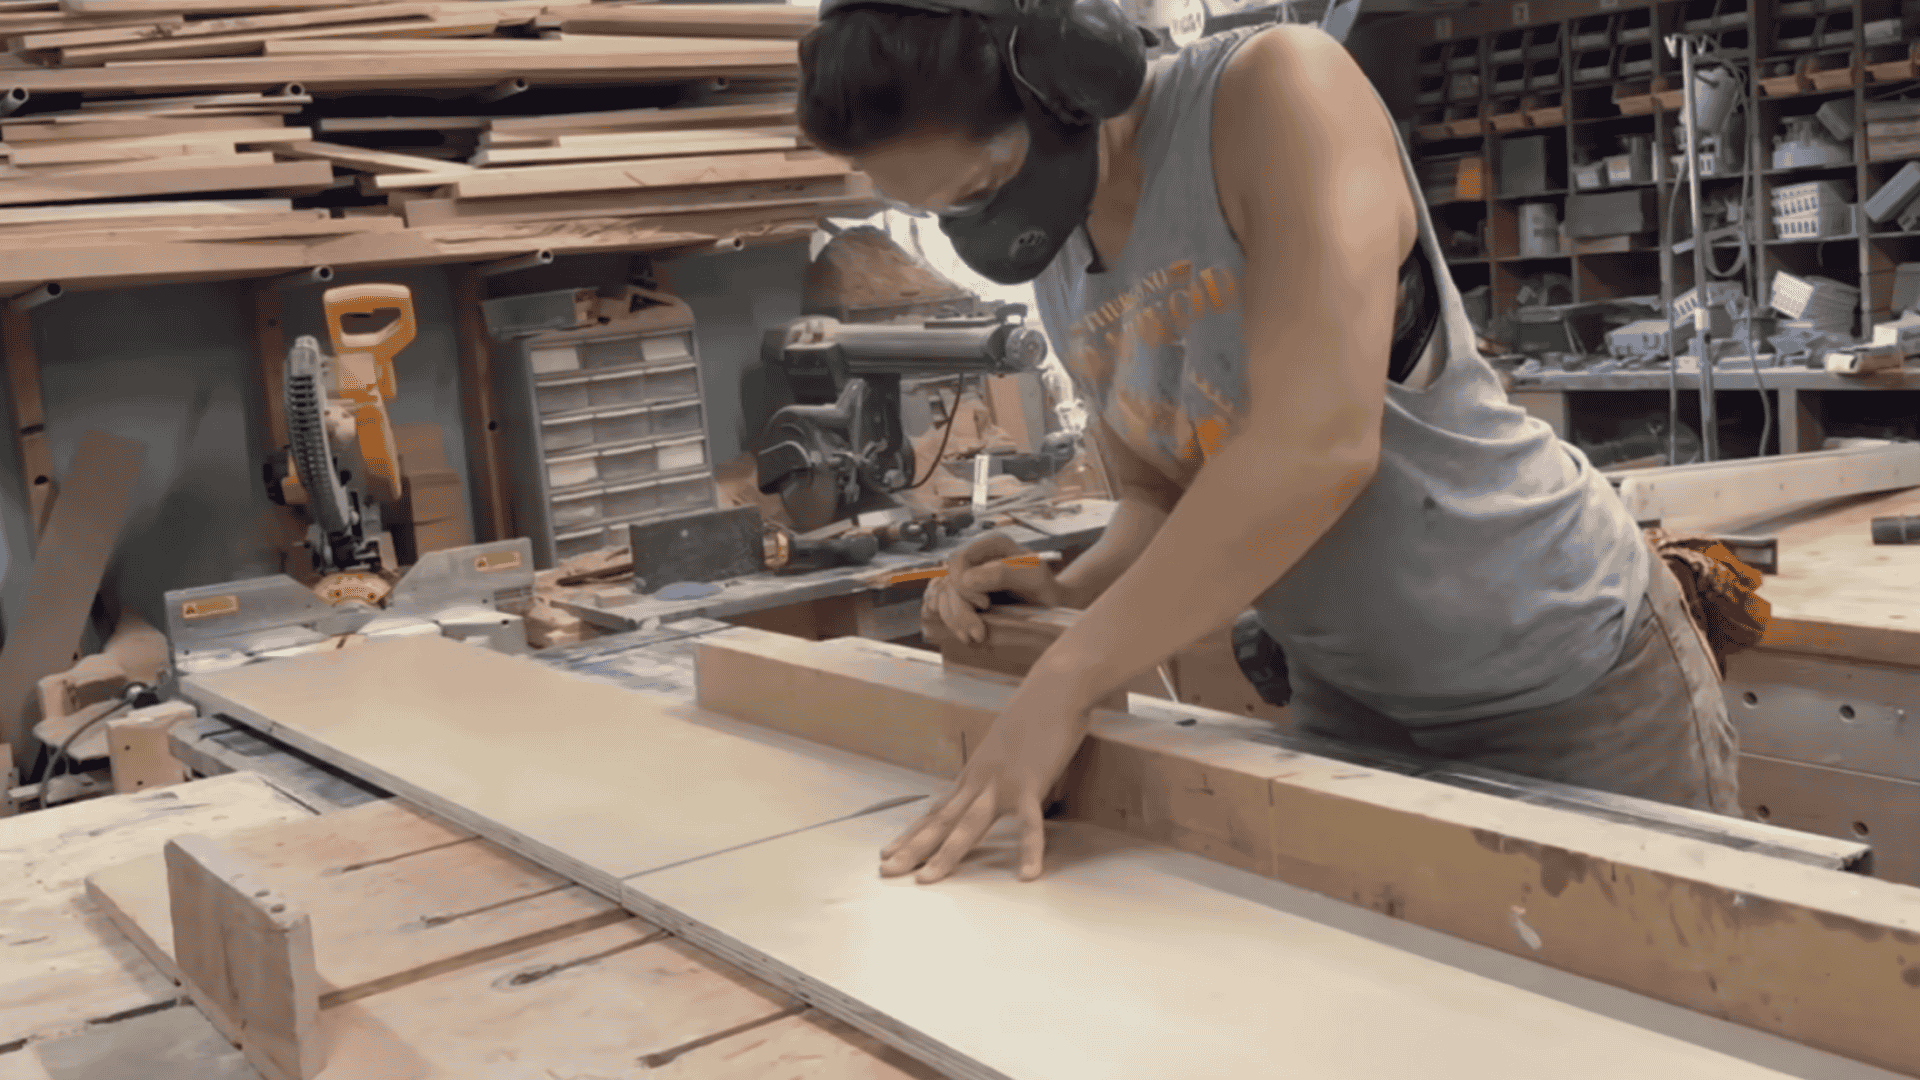
Start by ripping your plywood sheets into panels, then crosscut them to the right lengths. Each cabinet corner, slim, and double will have identical side panels, so cut a total of 6 sides.
Use dado joints for the top and bottom shelves and rabbets for the backer panel. Label every piece right away to keep things organized.
Step 2: Add Dadoes, Rabbets, and the Integrated Spline
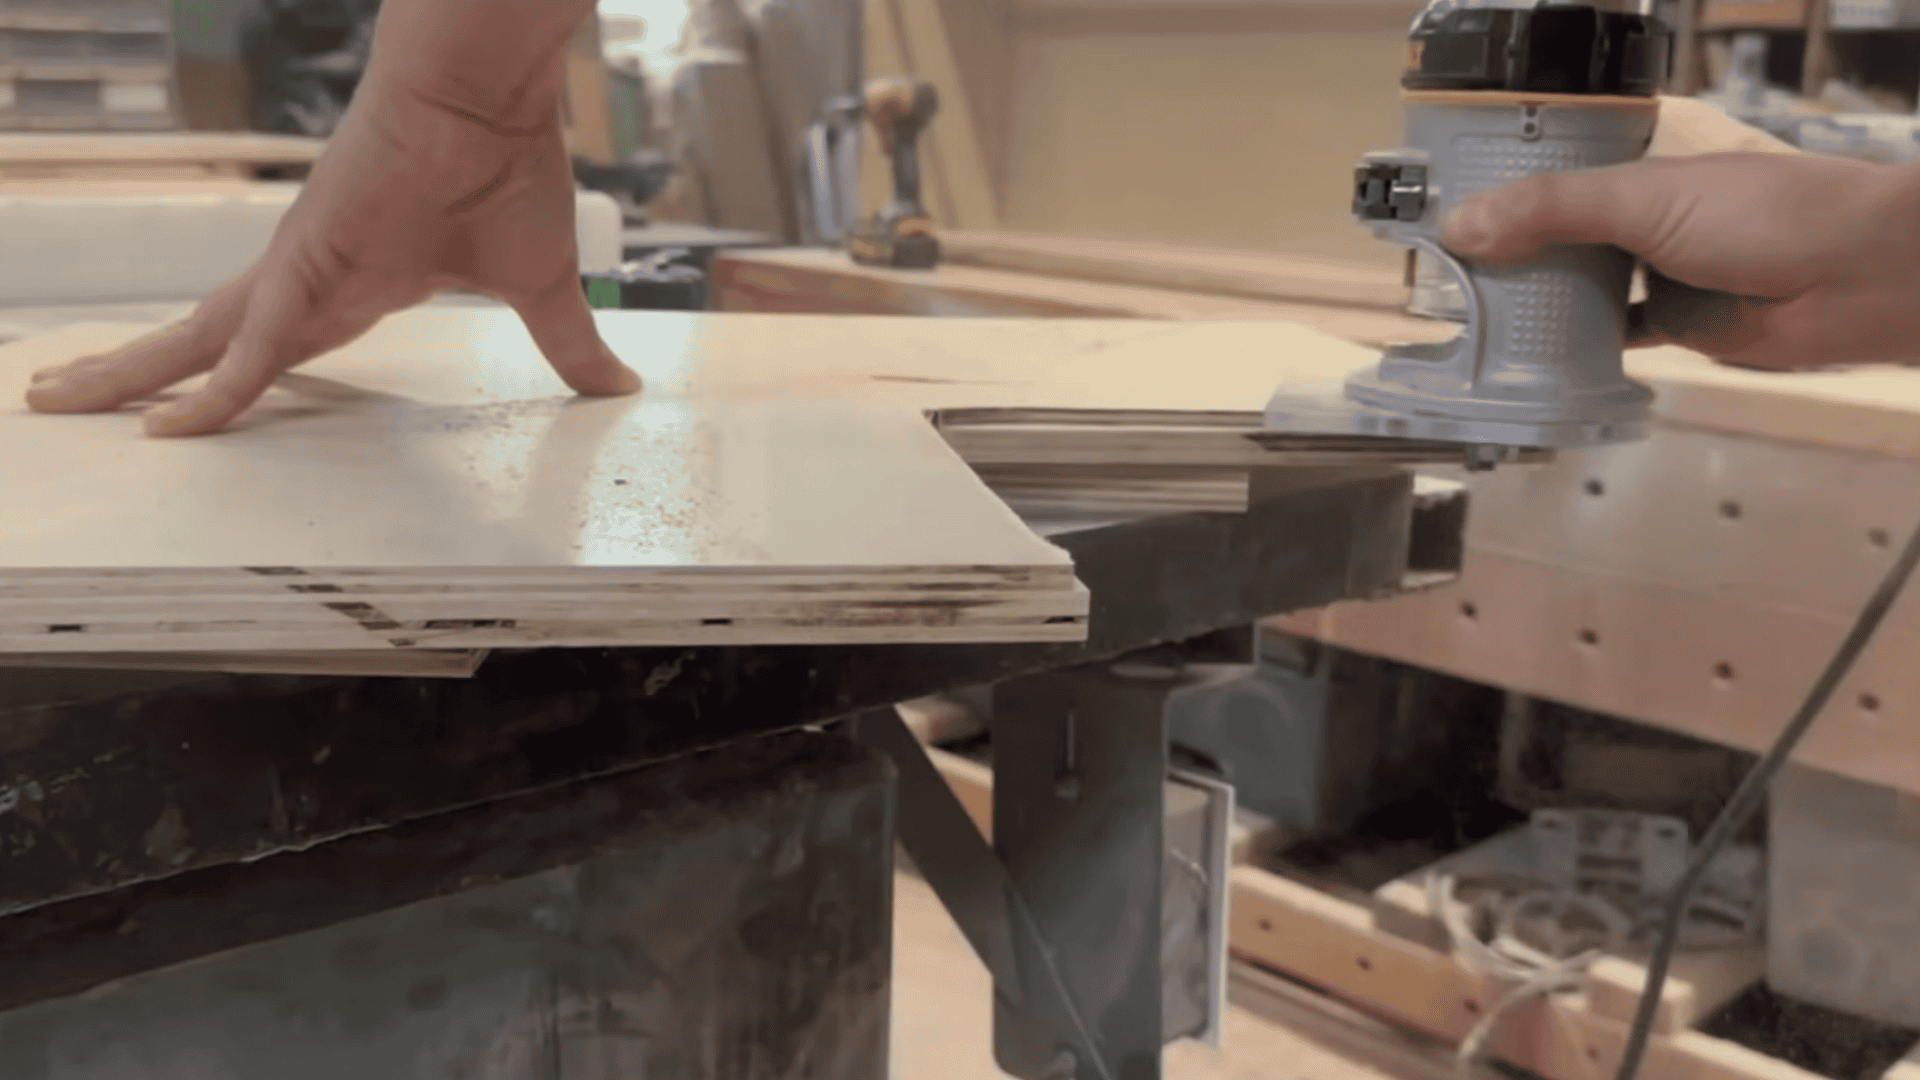
Make precise dado cuts for your shelves and rabbets for the backer. On the front edge, cut an integrated spline, a small groove that gives the face frame a seamless fit later.
Because these are upper cabinets (only 12″ deep), you can safely cut your dados using a radial arm saw instead of running long panels over a table saw. Set up stops to ensure all cuts align perfectly across every panel.
Step 3: Assemble and Dry Fit the Cabinet Boxes
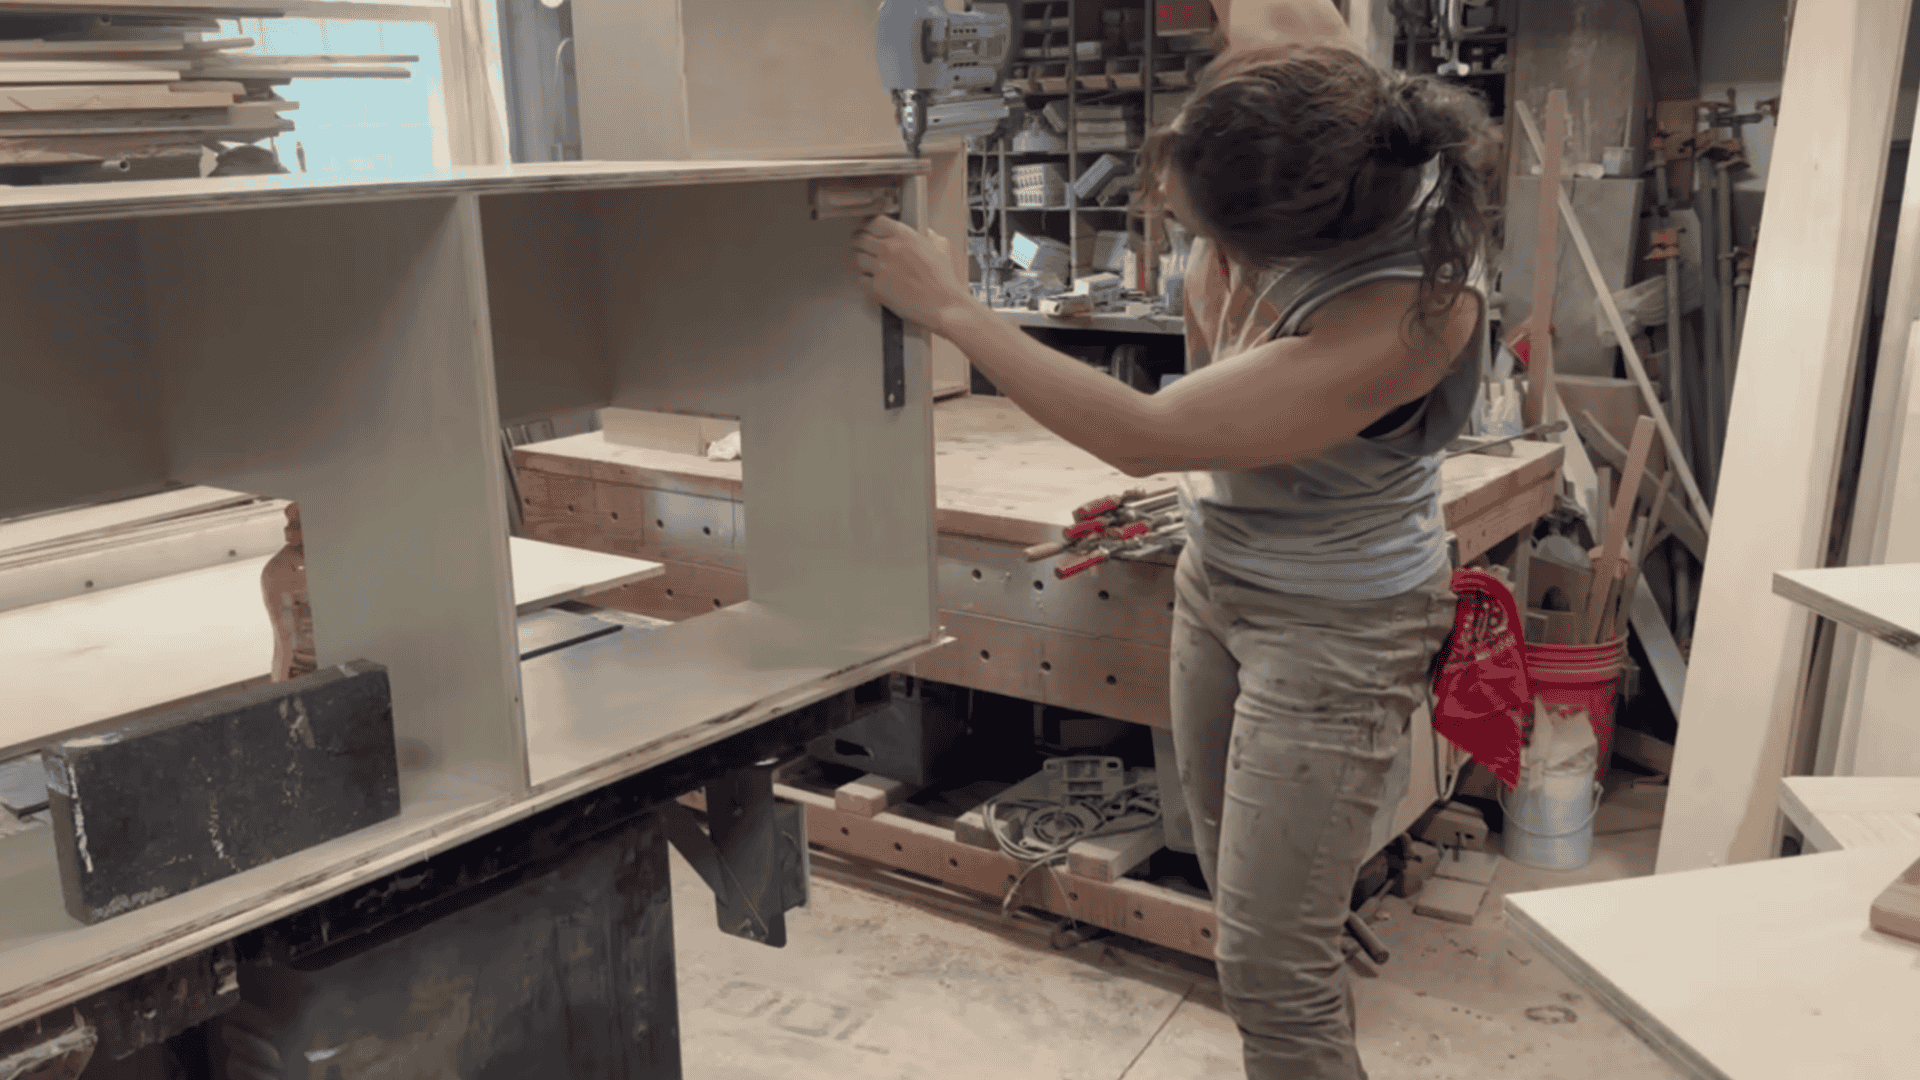
Once your pieces are cut, dry fit everything before gluing. Check for square corners; the backer panel helps hold everything rigid.
Apply wood glue along your dadoes and rabbets, attach the top, bottom, and shelves, and then nail them together.
For corner cabinets, cut an “L” shape into your panel so the two runs meet cleanly. Once it’s square, the rest will align beautifully.
Step 4: Build and Install the Face Frames
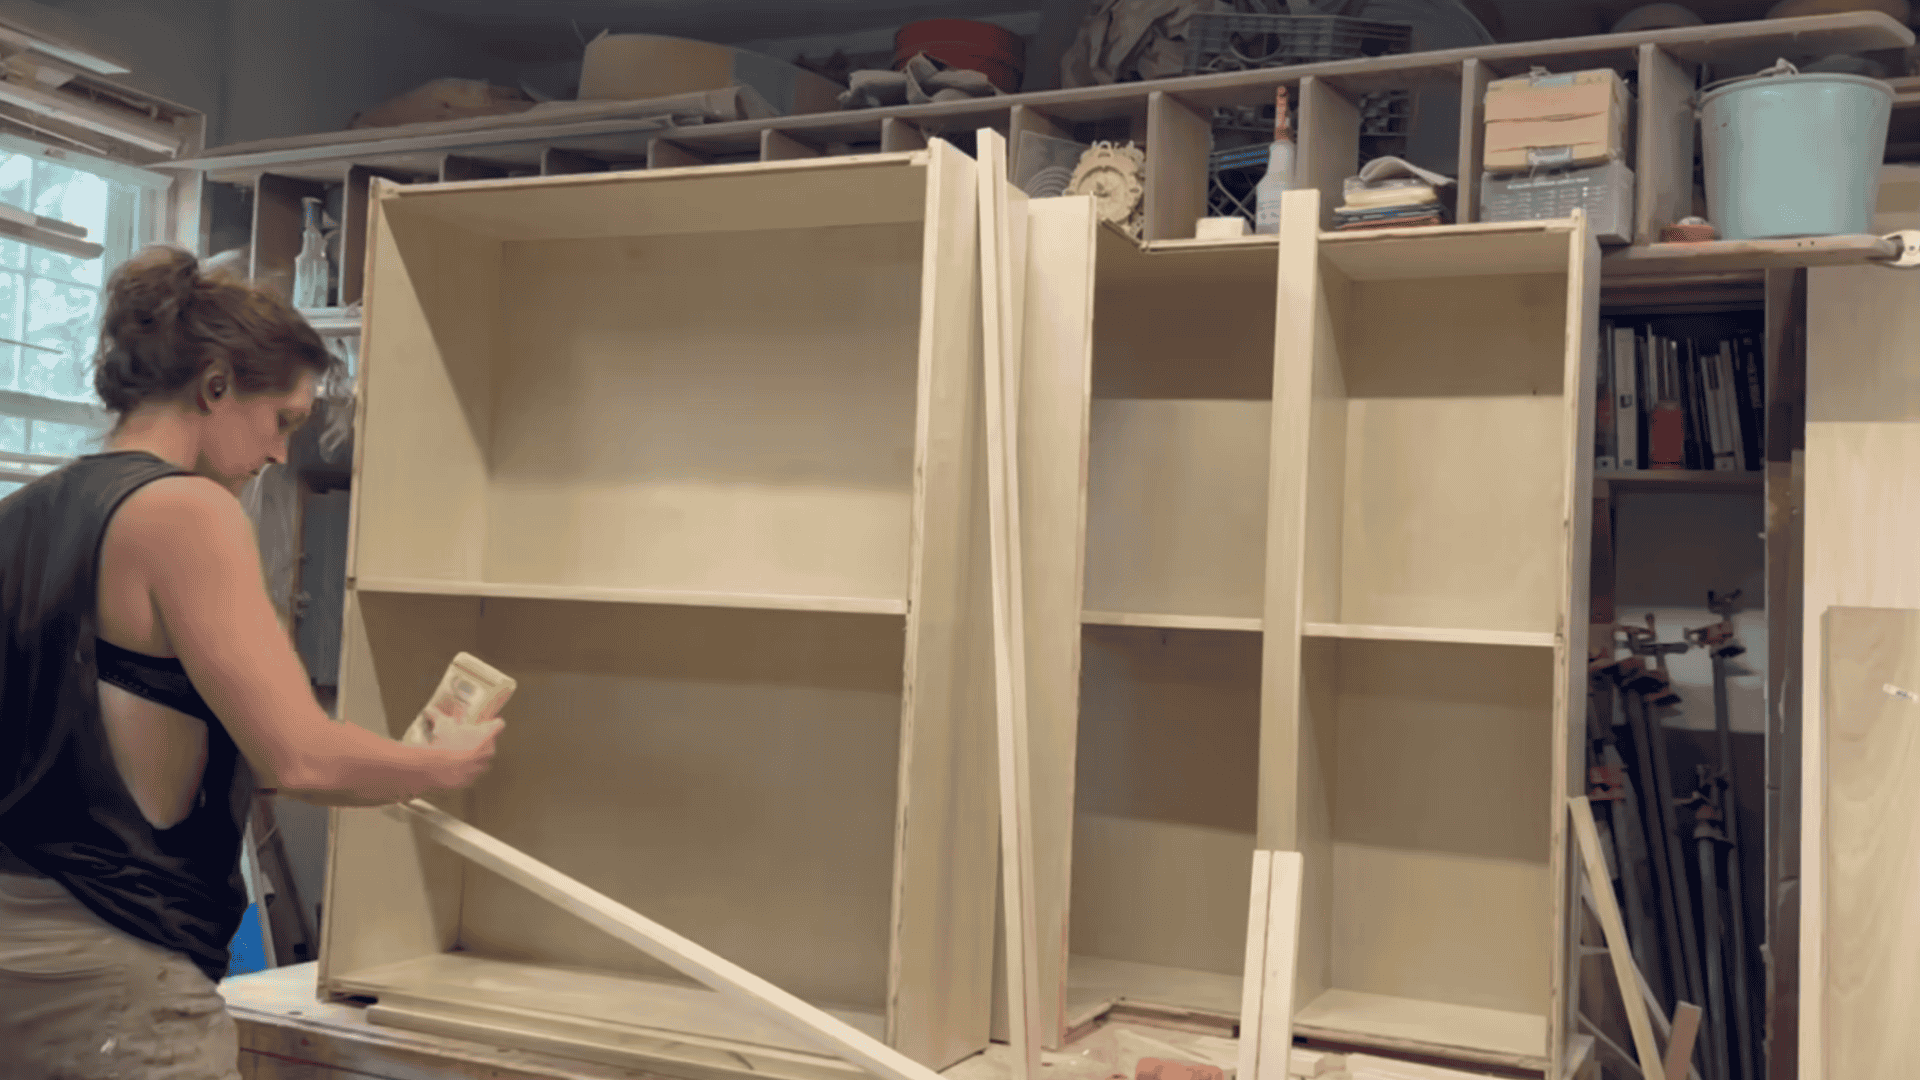
Cut your face frame pieces from poplar wood; it’s strong, smooth, and takes paint well. The stiles and rails should match your base cabinets (typically 2″ for the sides and 1¾” for the bottom).
Cut grooves to fit the integrated spline, then dry-fit the frame to your cabinet. Use glue and brads to attach the face frame, keeping the outside flush. Leave overhangs inside for hinges and door clearance.
Step 5: Construct the Doors
Measure each cabinet opening carefully. Build your doors using bridle joints (a simple and sturdy frame joint) and MDF center panels.
Cut a groove in the stiles and rails to fit the panel, then glue the frame together, avoiding glue on the panel so it can float freely. Clamp everything square and let it dry overnight. Once dry, sand lightly for a smooth finish.
Step 6: Attach Doors, Hinges, and Shelves
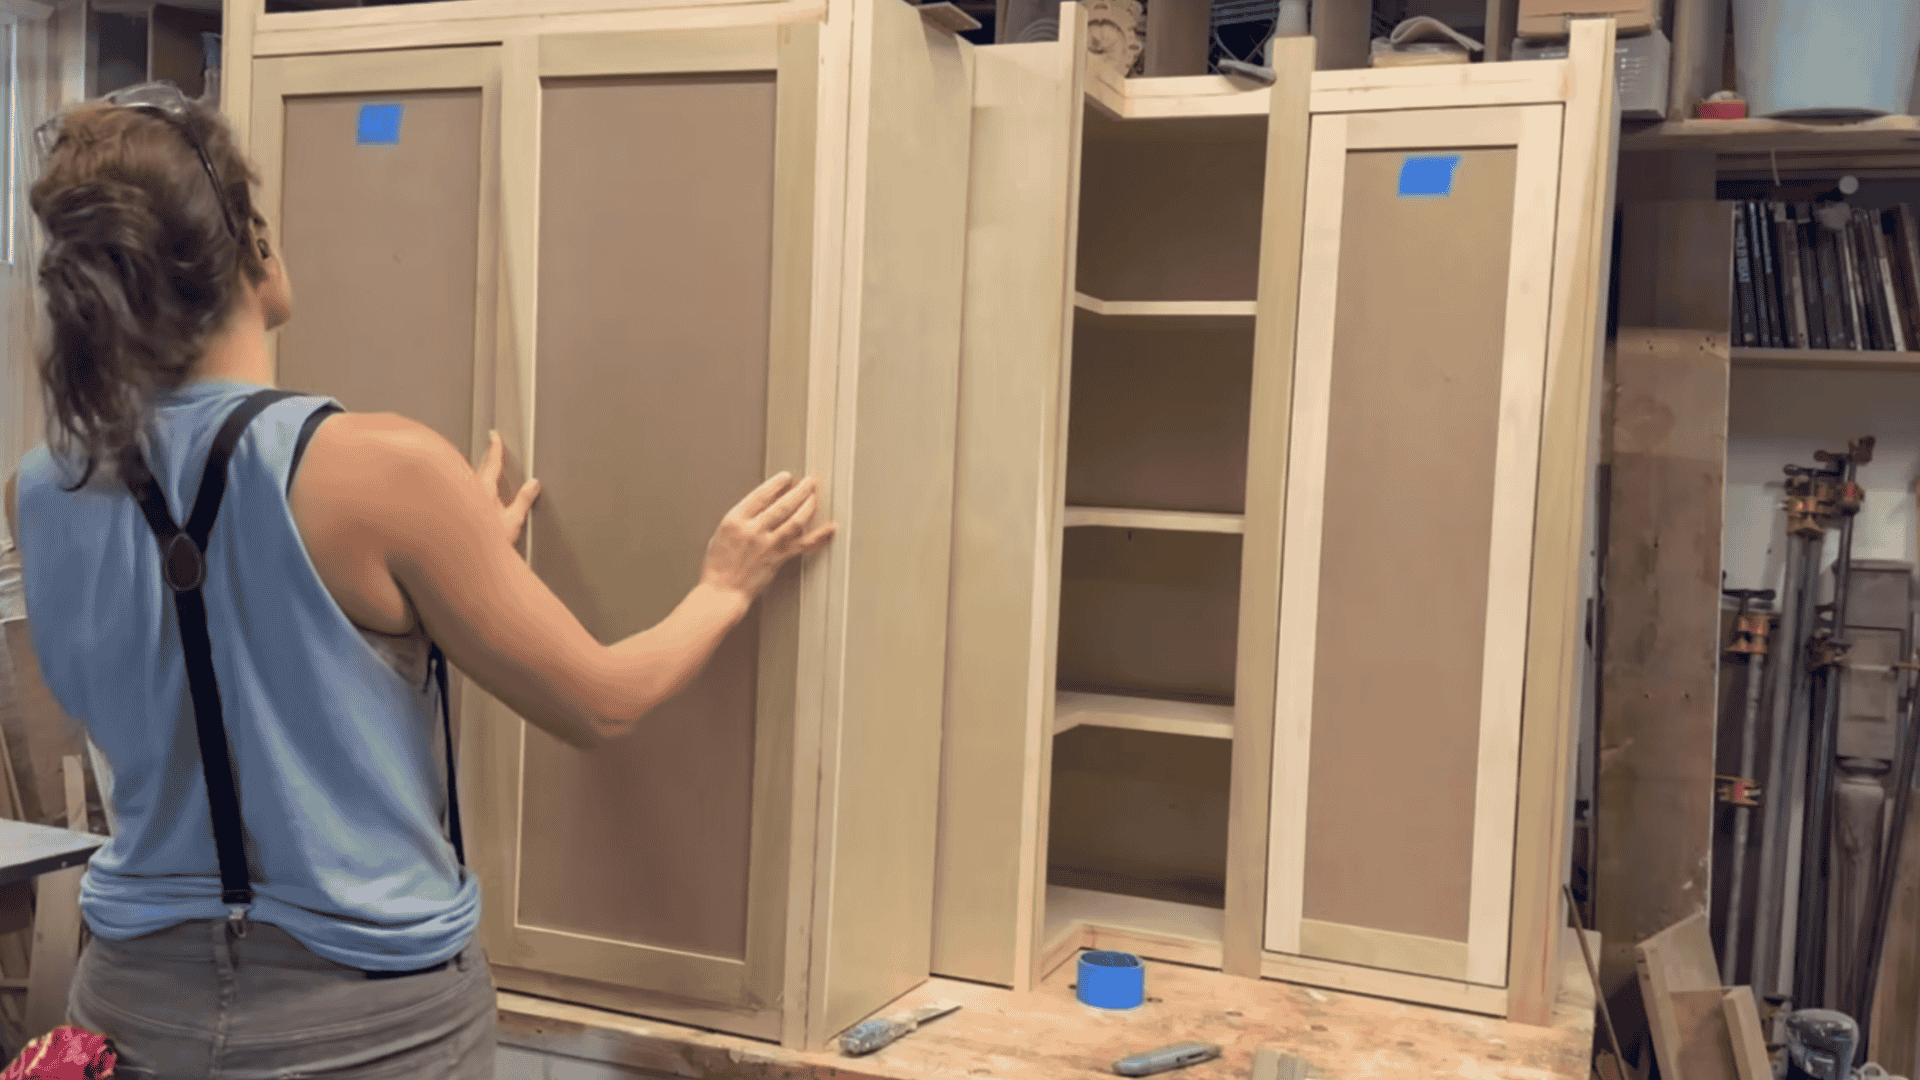
Use Blum hinges for easy three-way adjustment. For bi-fold doors on corner cabinets, use Blum bi-fold hinges (these open wider). Scribe the doors for perfect reveals, a small, even gap around the edges.
Install adjustable shelves with shelf pins. For corner shelves, drill matching holes on both sides and the back for extra support.
Step 7: Finish, Paint, and Install
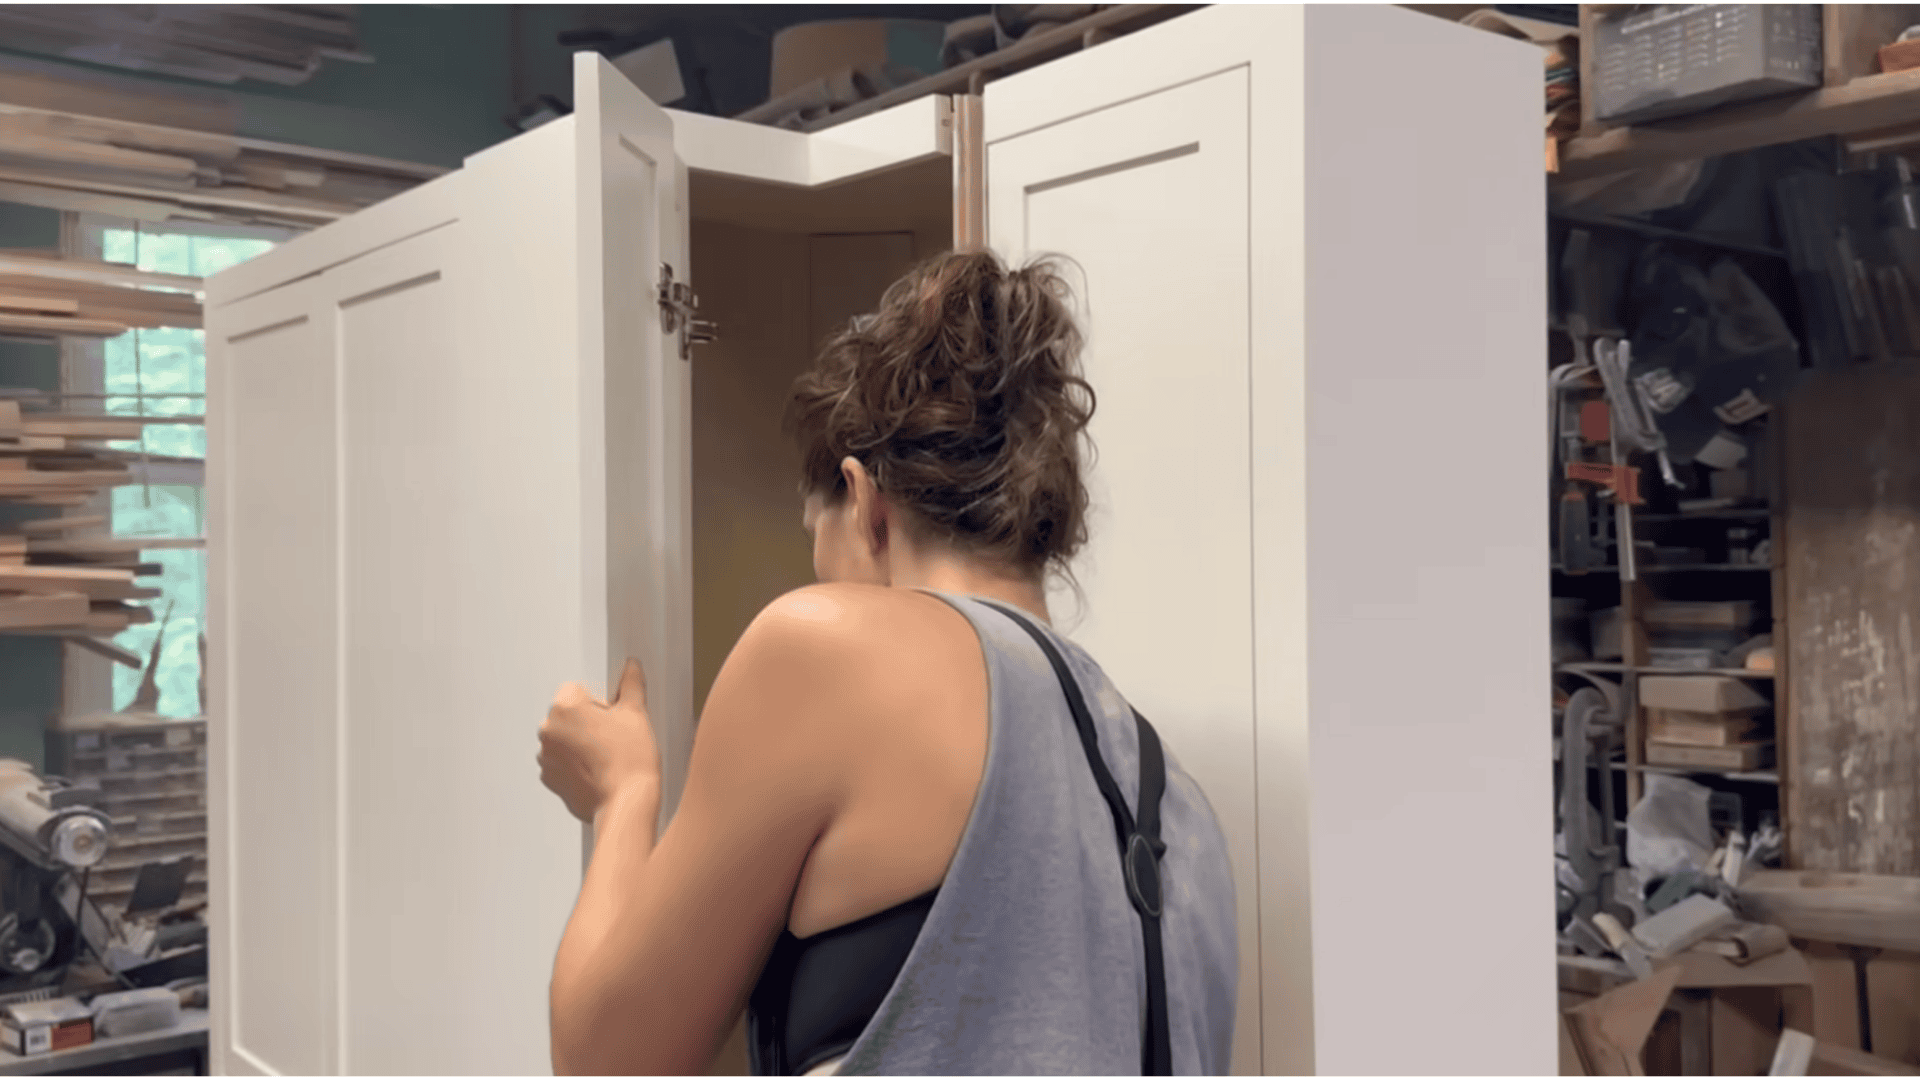
Fill any brad or screw holes with wood filler and lightly sand. Prime all visible surfaces, then paint using a roller or sprayer. A sprayer gives a smooth, professional finish, but a roller works great for the face frames.
After painting, attach your hardware, mount the cabinets on the wall, and adjust the doors.
For a more detailed YouTube tutorial
Troubleshooting Common Issues
Even with careful planning, it’s common to hit a few snags while building diy kitchen cabinets. Here’s how to fix the most common problems without starting over.
- Doors won’t close properly or hang crooked: Adjust your hinges using the three screws. One controls depth, one handles side-to-side movement, and one adjusts up and down. Make small tweaks until the door sits flush and the gaps are even.
- Cabinet boxes aren’t square after assembly: Loosen your fasteners slightly, measure diagonally from corner to corner (both measurements should match), then re-tighten everything while holding it square. Installing the back panel also helps lock everything into place.
- Face frame doesn’t sit flush with the cabinet box: Check if your integrated spline cut is too shallow or if dried glue is preventing a tight fit. Sand down any high spots and reapply the frame, using clamps to hold it tight while the glue dries.
- Plywood edges look rough and unfinished: Apply edge banding with an iron, then trim the excess with a utility knife and sand it smooth
Maintenance and Long-Term Care
Your diy kitchen cabinets will last decades if you take care of them properly and honestly. Maintenance is way easier than you’d think.
- Clean regularly with the right products. Use a damp microfiber cloth with mild dish soap for everyday cleaning. Avoid harsh chemicals or abrasive scrubbers.
- Tighten hardware every few months. Hinges and drawer slides can loosen over time with regular use. A quick check with a screwdriver keeps doors aligned and drawers sliding smoothly.
- Touch up paint chips immediately. Keep leftover paint for quick touch-ups. Small chips can let moisture in, which damages the wood underneath.
- Check and adjust door alignment annually. Doors can shift slightly as your house settles. Use those three-way adjustable hinges to keep everything lined up with even gaps.
- Protect from moisture and heat. Wipe up spills right away, especially near the sink. Use trivets or heat pads under hot pots to prevent damage to cabinet surfaces above the stove.
Final Thoughts
You’ve got the knowledge; now take action. Building DIY kitchen cabinets isn’t just about saving money. It’s about creating something truly yours.
Stop dreaming and start building. Your kitchen won’t change itself.
Every expert was once a beginner who decided to try. I believe you’re ready to become one of them. The tools are waiting.
The wood is ready. Pick up that saw and make your first cut today. Your dream kitchen starts right now.