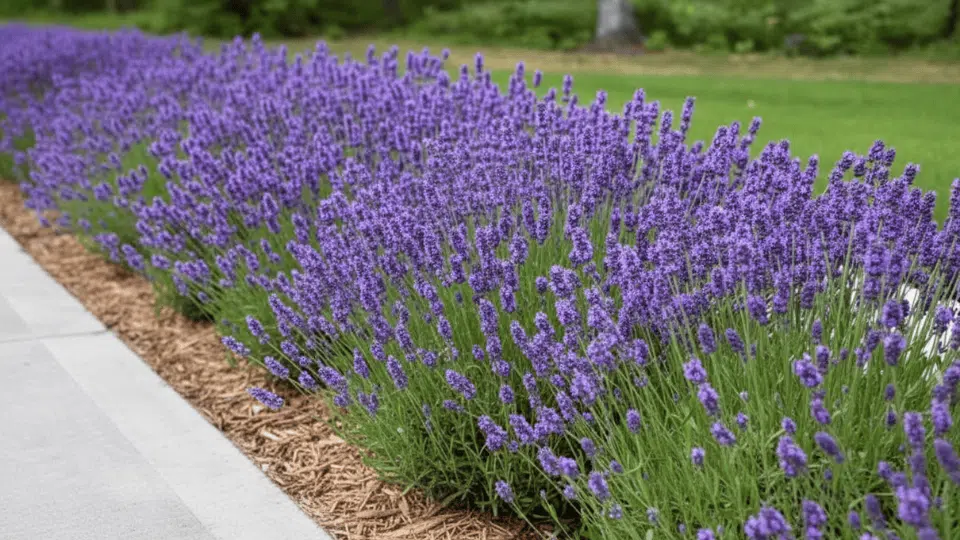
Lavender brings beauty and fragrance to gardens while attracting beneficial pollinators with minimal care requirements.
This hardy herb grows in the right conditions but struggles when planted incorrectly.
Growing lavender successfully starts with selecting the perfect spot that matches its natural Mediterranean habitat. From soil type to sun exposure, several factors determine how well these aromatic plants perform.
Learning how to plant lavender correctly ensures years of purple blooms, delightful scents, and a booming garden that both people and pollinators enjoy.
Complete Taxonomic Breakdown of Lavender
Lavender’s taxonomy reveals its place in the plant kingdom, showing how it’s related to other aromatic herbs.
| Taxonomic Rank | Classification |
|---|---|
| Kingdom | Plantae |
| Phylum | Tracheophyta |
| Class | Magnoliopsida |
| Order | Lamiales |
| Family | Lamiaceae |
| Genus | Lavandula |
| Species | Lavandula angustifolia |
Common Lavender Varieties
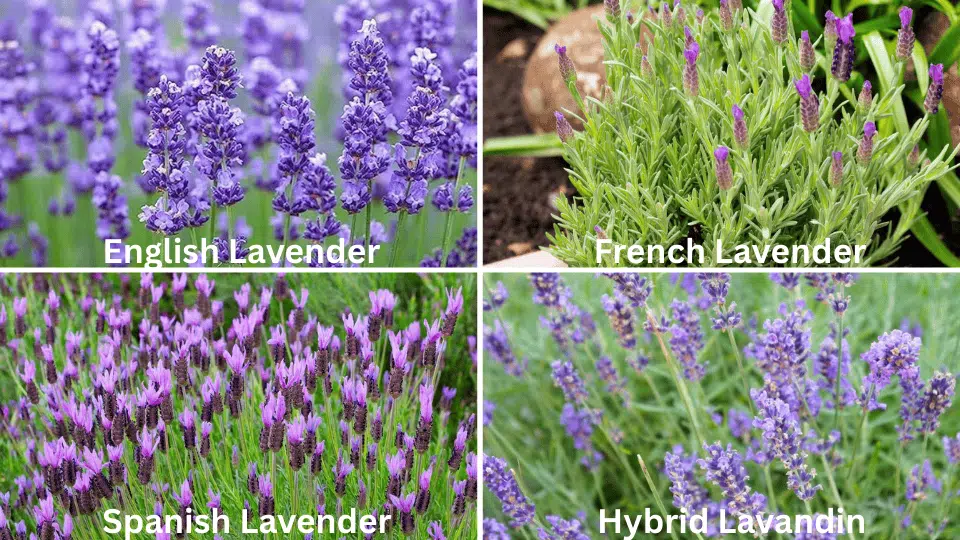
Different lavender types have unique characteristics that affect where and how they grow best. Selecting the right variety for a specific climate ensures better survival and more abundant blooms.
- English Lavender (Lavandula angustifolia): The most cold-hardy option that tolerates temperatures down to -20°F, produces compact flower spikes, and offers the sweetest fragrance for culinary uses.
- French Lavender (Lavandula dentata): Features distinctive toothed leaves and blooms nearly year-round in warm climates, but only survives temperatures above 20°F.
- Spanish Lavender (Lavandula stoechas): Recognizable by its pineapple-shaped flower heads topped with showy bracts, grows in hot climates but tolerates cold only to 10°F.
- Hybrid Lavandin (Lavandula x intermedia): A vigorous cross between English and spike lavender that produces large plants with high oil content, hardy to -10°F, and ideal for commercial production.
Essential Growing Conditions to Grow Lavender
Lavender blooms when conditions mimic its native Mediterranean environment, where dry summers and excellent drainage prevent root problems.
- Full Sun Exposure: Requires at least 6-8 hours of direct sunlight daily for compact growth, abundant flowering, and maximum fragrance production.
- Well-Drained Soil: Demands loose, sandy or gravelly soil that allows water to pass through quickly, preventing fatal root rot in soggy conditions.
- Low to Moderate Fertility: Prefers lean soil with minimal nutrients since overly rich earth produces excessive foliage, fewer flowers, and weak stems.
- Good Air Circulation: Needs adequate spacing and open areas around plants to reduce humidity, prevent fungal diseases, and promote healthy growth.
Where to Plant Lavender for Best Results?
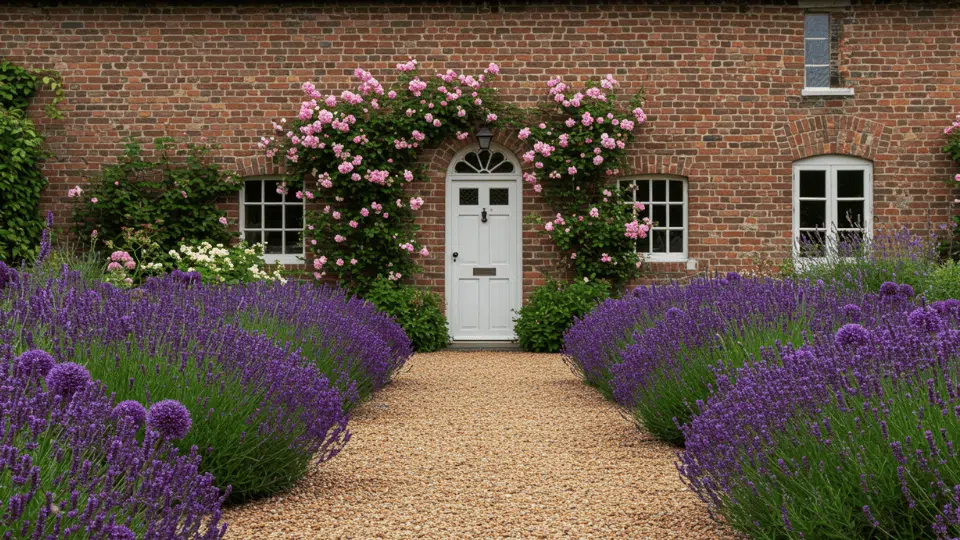
Location determines whether lavender grows or struggles in the garden. The right spot provides natural conditions that support healthy root development, vigorous growth, and prolific flowering.
Strategic placement takes advantage of existing landscape features that create favorable microclimates for these sun-loving herbs.
1. Choosing the Right Location
Lavender demands maximum sunlight and fast-draining conditions to replicate its native habitat. Sites receiving six to eight hours of direct sun daily produce the most compact plants with intense fragrance and color.
Slopes, south-facing walls, and raised areas naturally shed excess water while capturing warmth.
Rock gardens and gravel mulch create additional heat reflection that lavender loves, while poor drainage in flat, low-lying areas leads to root rot and plant failure.
2. Ideal Soil Conditions
Lavender performs best in loose, gritty soil that water moves through quickly, preventing the waterlogged conditions that kill roots within days.
- Sandy or Loamy Textures: Light, porous soil with sand or small gravel particles allows roots to breathe and prevents moisture retention, which can cause fungal problems and crown rot.
- Slightly Alkaline pH (6.5-8.0): Lavender prefers neutral to alkaline conditions, and acidic soil below 6.5 benefits from lime amendments added several weeks before planting to raise pH levels.
- Improving Heavy Clay: Dense, compacted ground requires mixing in coarse sand, perlite, or small gravel at a 1:1 ratio, or planting in raised beds with imported soil to ensure proper drainage.
3. Planting Scenarios and Best Use Cases
- Garden Beds: Plant in well-amended ground along pathways or in dedicated herb sections where full sun and good drainage naturally occur throughout the day.
- Raised Beds: Create 8-12-inch planters filled with custom soil mixes that guarantee perfect drainage and warm faster in spring for earlier blooms.
- Borders and Hedging: Space plants 18-24 inches apart in rows for low hedges along walkways, driveways, or property lines that create fragrant boundaries.
- Mediterranean Gardens: Combine with other drought-tolerant plants, such as rosemary, sage, and ornamental grasses, in xeriscaping designs that require minimal water once established.
Step-by-Step Process on How to Plant Lavender in a Pot
Proper planting techniques set the foundation for long-term lavender success. Following the correct procedures ensures strong root establishment, healthy growth, and abundant flowering for years to come.
Step 1: Best Time of Year to Plant
Spring planting after the last frost gives lavender the entire growing season to establish roots before winter arrives.
Fall planting works in mild climates where winters stay above 10°F. Starting lavender from seeds requires 12-16 weeks indoors before transplanting, while nursery seedlings transplant easily in spring or early fall.
Rooted cuttings from existing plants establish fastest when planted during active spring growth periods.
Step 2: Preparing the Planting Area

Clear all weeds and grass from the planting zone to eliminate competition for water and nutrients during establishment.
Loosen soil to 12-15 inches deep, breaking up compacted layers that restrict root growth. Mix coarse sand, perlite, or small gravel into heavy soil at a 1:1 ratio to improve drainage.
Observe the area throughout the day to confirm it receives at least six hours of unobstructed direct sunlight for optimal growing conditions.
Step 3: Planting in the Ground
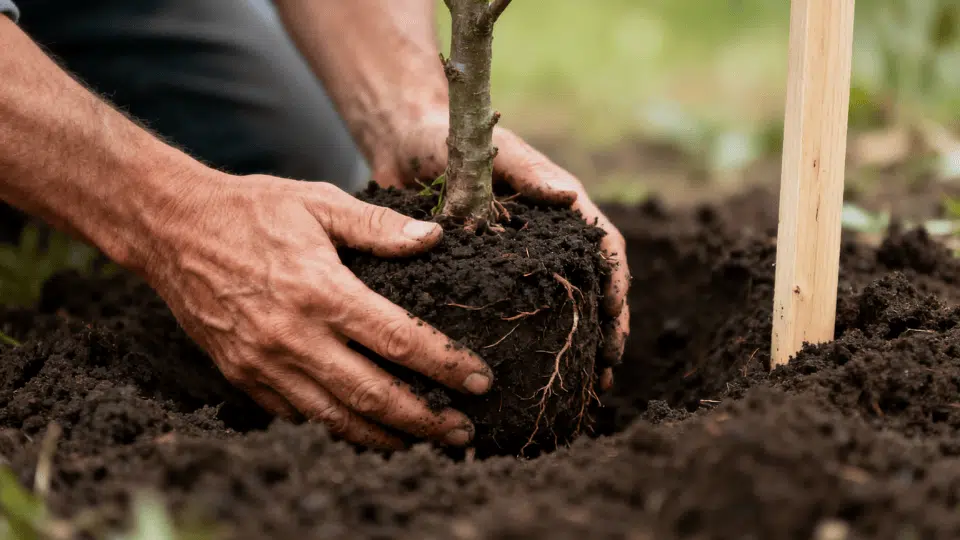
Dig holes twice as wide as the root ball but no deeper than the container height to prevent settling below grade. Gently remove plants from pots, loosening the circled roots that restrict growth and water uptake.
Set each plant so the crown sits slightly above ground level to prevent water from pooling around the stems.
Backfill with amended soil, firm gently, and water thoroughly to settle roots while eliminating air pockets around the root zone.
Step 4: Planting in Containers
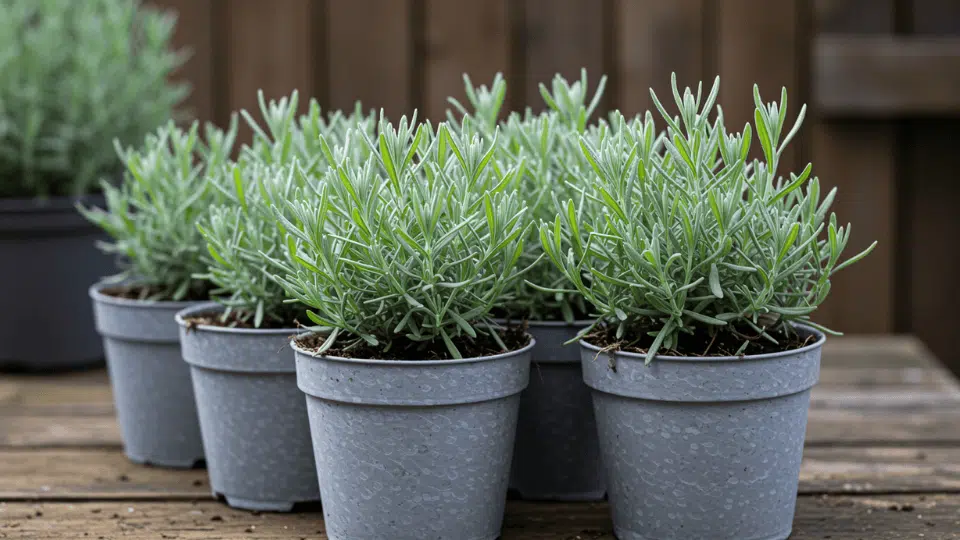
Select pots 12-16 inches in diameter with multiple drainage holes to accommodate mature root systems and prevent waterlogging.
Terra cotta or unglazed ceramic containers allow soil to breathe and dry faster than plastic options. Create a custom potting mix using equal parts quality potting soil, coarse sand, and perlite for excellent drainage.
Position containers where to plant lavender so that they receive maximum sun exposure, rotating occasionally for even growth and flowering on all sides.
Step 5: First Season Care

Water newly planted lavender twice weekly for the first month, then reduce to once weekly as roots establish deeper into the surrounding soil.
Avoid fertilizing during the first growing season, as lavender blooms in lean conditions, and excess nutrients can produce weak, leggy growth.
Space plants adequately and prune lightly to promote air circulation, which helps prevent fungal problems. Keep mulch several inches away from the crown to prevent moisture buildup, which can cause stem rot and plant decline.
Aftercare of Lavender After Planting
Ongoing care determines whether lavender reaches its full potential with abundant blooms and vigorous growth.
Established plants require minimal maintenance compared to other garden favorites, making growing lavender an ideal choice for busy gardeners.
- Watering and Feeding: Water twice weekly for the first month, then every 2-3 weeks once established. Skip fertilizers. Lavender grows in lean soil, and heavy feeding reduces blooms while increasing foliage.
- Pruning for Health and Bloom: Cut back one-third of growth in early spring for a compact shape. Deadhead spent stalks after blooming for a second flush.
- Seasonal and Climate Considerations: In cold climates, mulch lightly after the ground freezes and remove it in early spring to prevent crown rot. In humid regions, space plants wider and avoid overhead watering.
- Common Issues and Solutions: Root rot stems from poor drainage and overwatering. Water only when the soil is completely dry. Leggy growth signals insufficient sunlight or excess fertilizer. Increase sun exposure and prune back one-third.
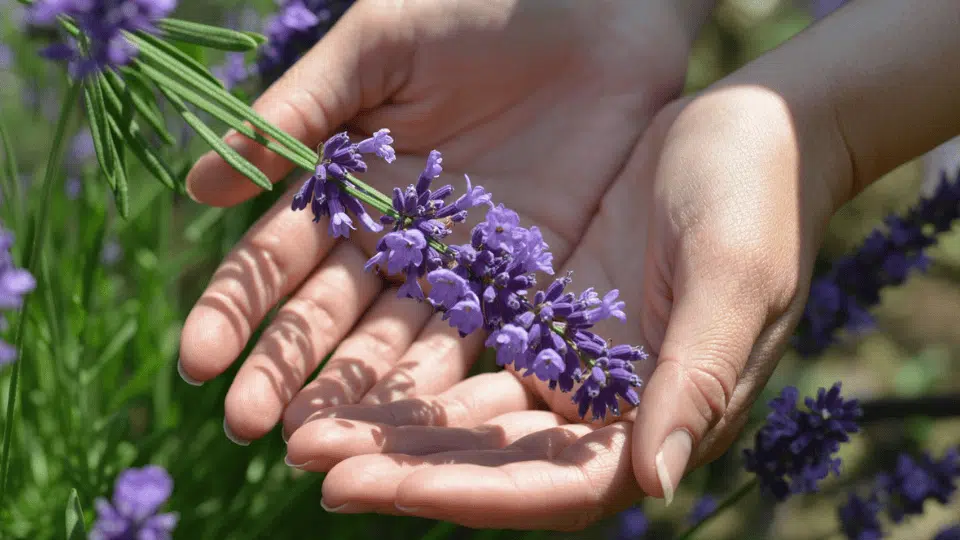
- Harvesting and Using Lavender: Cut stems when buds show color but haven’t opened, harvesting the morning after the dew dries. Hang bundled stems upside down in a dark, ventilated space for 2-3 weeks, then store in airtight containers.
The Bottom Line
Success depends on selecting sunny locations with excellent drainage, preparing the soil, and following proper planting techniques.
Growing lavender rewards gardeners with years of purple flowers, delightful scents, and pollinator activity when basic requirements are met.
Start by evaluating available spaces for full sun and sharp drainage, then choose varieties suited to the local climate.