A damp, dusty basement floor isn’t just unpleasant; it can lead to mold growth, structural damage, and poor air quality in your home.
Many people struggle with moisture issues because their concrete floors lack proper protection. But sealing a concrete basement floor doesn’t have to be complicated or expensive.
In this guide, you’ll learn the essential steps to effectively seal your basement floor, from choosing the right sealer to applying it correctly.
Also, I’ll cover common mistakes to avoid and maintenance tips that’ll keep your floor protected for years to come.
How to Choose the Right Sealer for Your Basement?
Not all sealers work the same way. Some block moisture while others just add shine. The right choice depends on what problems need fixing and how the space gets used.
- Moisture Levels: High-humidity areas require penetrating sealers that prevent water from penetrating the concrete. Basements with visible dampness or water issues require sealers that work below the surface, not just on top.
- Surface Condition: New floors and old floors require different sealer types. Fresh concrete needs time to cure before sealing, while older surfaces might need repairs and deep cleaning first.
- Intended Use: Storage spaces need basic protection, but living areas benefit from decorative finishes. Sealing the basement floor for a workshop differs from preparing one for a home gym or playroom.
- Budget: Penetrating sealers cost more upfront but last longer than topical options. Cheaper sealers might save money now, yet they’ll need replacing sooner.
- Maintenance: Some sealers need reapplication every few years, while others hold up for a decade. Think about long-term effort, not just the initial project.
Types of Concrete Sealers for Basement Floors

Different sealers offer different benefits. Understanding the options makes sealing the basement floor much easier. Each type has specific strengths that match certain basement conditions and uses.
1. Penetrating Sealers
These sealers soak into concrete and react chemically with it. They don’t change the surface appearance but strengthen the material from the inside. Moisture gets blocked at the source.
- Best for: High-moisture basements and areas needing breathability
- Price range: $0.30-$0.60 per square foot
- Pros: Long-lasting, invisible finish, excellent moisture protection
- Cons: Won’t add shine or color
2. Epoxy Sealers
Epoxy creates a thick, durable coating on the surface. It handles heavy foot traffic and resists chemicals well. The finish looks glossy and professional when sealing basement concrete.
- Best for: Workshops, laundry rooms, high-traffic areas
- Price range: $1-$3 per square foot
- Pros: Extremely durable, easy to clean, and chemical-resistant
- Cons: Can be slippery when wet, requires proper ventilation during application
3. Acrylic Sealers
Acrylic sealers form a thin protective film over concrete. They’re the easiest to apply and dry quickly. You’ll get a subtle sheen that enhances the floor’s appearance.
- Best for: Low-traffic basements, decorative purposes
- Price range: $0.20-$0.50 per square foot
- Pros: Affordable, simple application, enhances color
- Cons: Needs reapplication every 1-3 years, less durable
4. Polyurethane Sealers
Polyurethane offers strong surface protection with flexibility. It resists scratches and abrasion better than most options. The coating stays clear and doesn’t yellow over time.
- Best for: Living spaces, finished basements, playrooms
- Price range: $2-$4 per square foot
- Pros: Very durable, UV-resistant, maintains clarity
- Cons: More expensive, sensitive to moisture during curing
Each sealer type serves different needs when sealing a concrete basement floor. The right choice makes maintenance simpler for years ahead.
Tools and Materials Needed
Before starting your basement floor sealing, it’s important to have everything ready. The right tools and materials will make the job smoother, safer, and more precise.
| Item | Purpose |
|---|---|
| Broom or shop vacuum | Cleaning the floor before sealing |
| Bucket | Mixing the 1:4 sealer solution |
| Paint roller with extension | Applying the sealer evenly |
| Paint tray | Holding the mixed solution |
| Ghostshield LiquidTech 9500 | Main waterproofing product |
| Clean water | Mixing with the seal |
How to Seal a Concrete Basement Floor
The process of sealing a concrete basebent floor is simple and can be done in a single day with some prep and patience. Follow these five easy steps to get the best results.
Step 1: Clear and Clean the Space

Start by removing all furniture, rugs, and items from the basement floor. Give the floor a good sweep to remove dust and loose debris.
Use a shop vacuum to clean around edges, corners, and along baseboards where dirt collects. A clean surface helps the sealer soak in properly and prevents patchy coverage later.
Step 2: Mix the Sealer Solution

In a large bucket, combine one part LiquidTech 9500 with four parts clean water. This 1:4 ratio creates about five gallons of solution when mixed with one gallon of the sealer.
The diluted mix is enough to cover around 1,000 square feet with two coats. Stir the solution thoroughly so it’s evenly blended before starting the application.
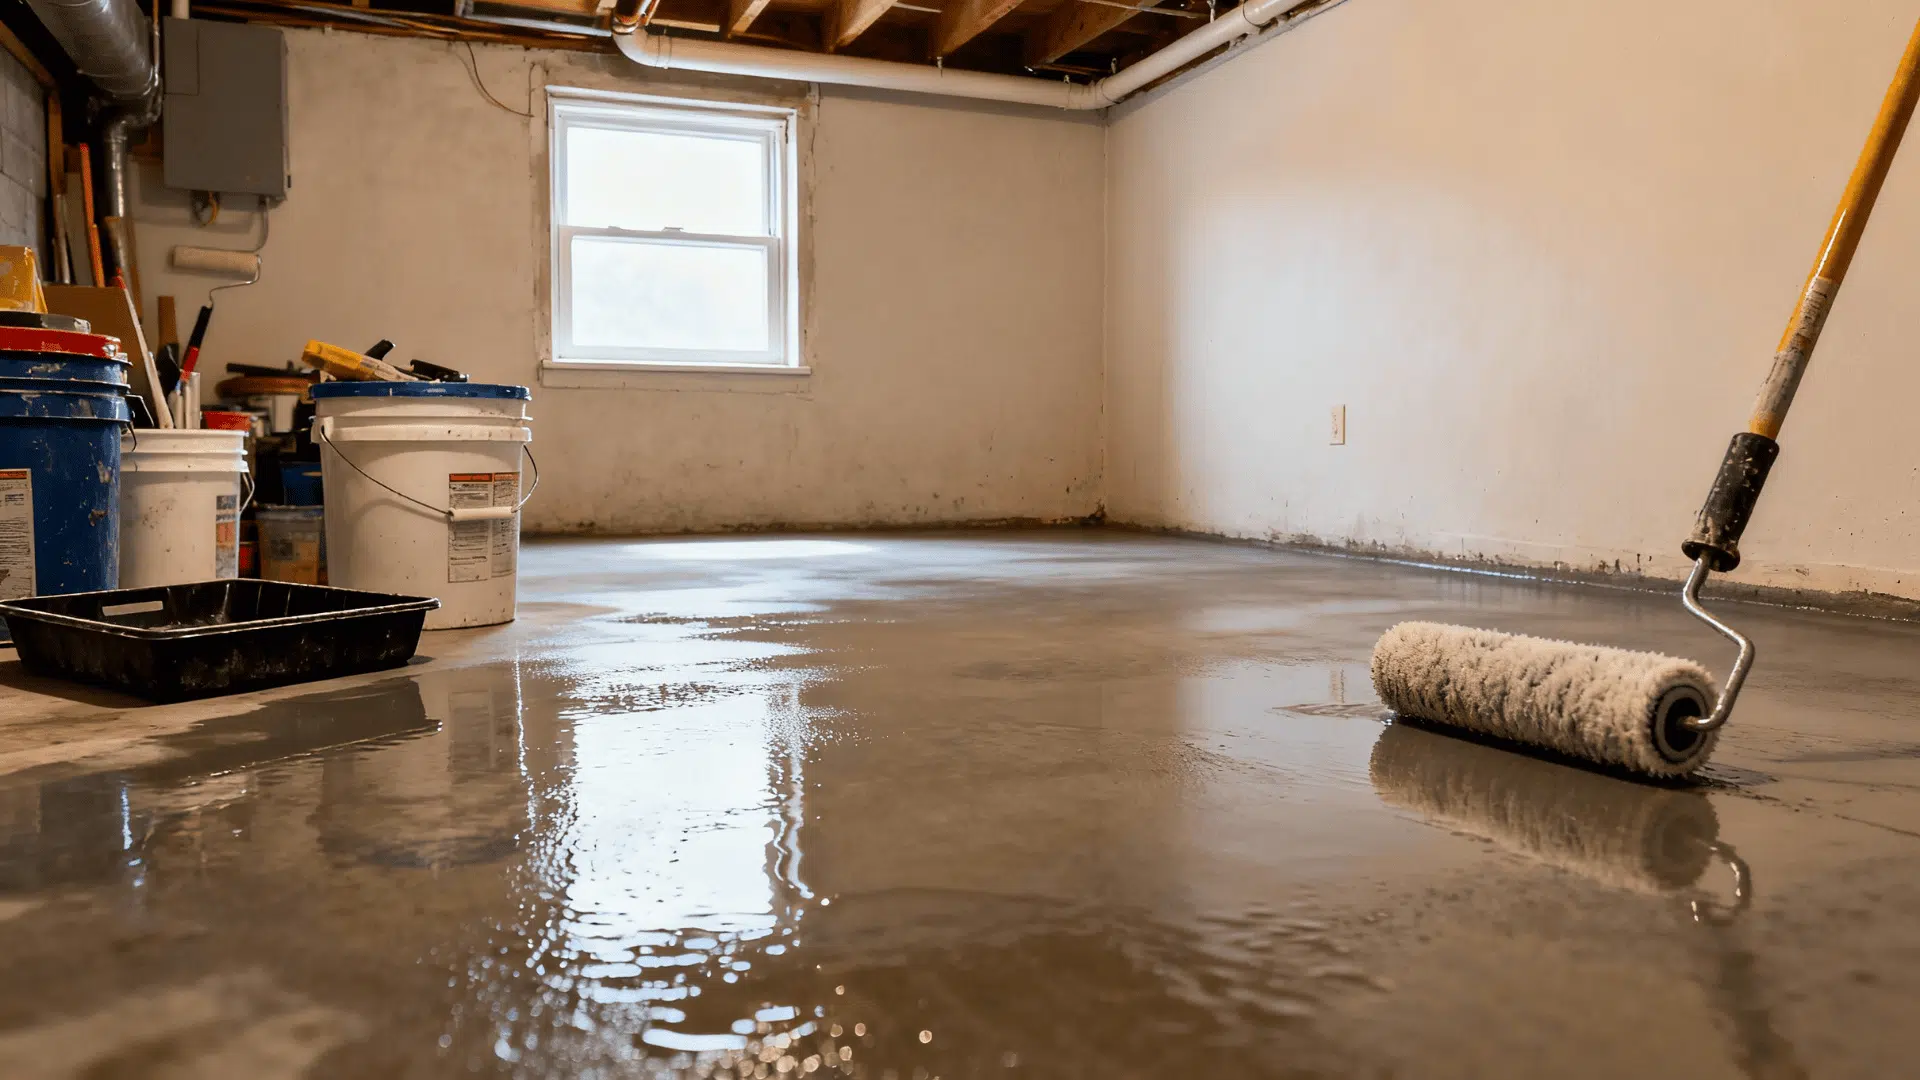
Step 3: Apply the First Coat

Pour a small amount of the mixture into a paint tray. Using a roller with an extension handle, apply the solution evenly across the floor. The goal is to wet the surface thoroughly without leaving puddles.
Working in sections helps maintain control and avoids stepping on freshly coated areas.
A roller works well near baseboards or tack strips, while a sprayer can be used in wide, open spaces if nothing needs protection from overspray.
Step 4: Apply the Second Coat

The second coat should be applied before the first one completely dries. Depending on temperature and airflow, this could take 30 to 60 minutes.
Watch the surface carefully once it starts to look slightly dull but still damp, it’s the right time to add another coat. This second layer helps the concrete absorb more sealer, providing stronger waterproofing protection.
Step 5: Let the Floor Cure and Test the Seal

After finishing both coats, allow the floor to dry fully, ideally for 24 hours. Once dry, pour a small amount of water on the surface. Water should bead up and form droplets rather than soak in.
This shows the sealer has bonded well and is repelling moisture. The result is a basement floor that feels cleaner, drier, and better protected from musty smells.
For More Detailed Instructions, Refer to The YouTube Video Below:
Common Mistakes to Avoid When Sealing Basement Floors
Even simple projects can go wrong without proper planning. Sealing basement concrete may seem straightforward, but small mistakes can create big problems later.
- Skipping surface preparation leaves dirt, oil, and old coatings on the concrete. These contaminants prevent sealers from bonding properly, which leads to peeling and premature failure.
- Sealing damp floors traps moisture underneath the protective layer. This creates bubbling, peeling, and complete seal breakdown within months, rather than years.
- Ignoring cure time can lead to serious adhesion problems down the line. Fresh concrete needs at least 28 days to fully cure before sealing the basement floor, or the sealer won’t stick.
- Applying coats too thickly seems to add extra protection, but it doesn’t. Heavy applications don’t dry evenly, leaving sticky, uneven surfaces that remain tacky.
- Poor ventilation during application lets harmful fumes build up quickly in enclosed basement spaces. This creates health risks and makes the workspace uncomfortable or dangerous.
How to Maintain Your Sealed Basement Floor?
Sealed floors don’t last forever, but they’re easy to maintain. Regular cleaning keeps the sealer working properly and extends its lifespan.
Most basement concrete needs resealing every few years, depending on foot traffic and moisture levels.
- Sweep Weekly: Remove dirt and debris that can scratch the sealed surface over time. A soft-bristle broom or dust mop works best for sealing basement floor surfaces.
- Mop with Mild Cleaner: Avoid harsh chemicals that break down the sealer coating. Use a pH-neutral cleaner mixed with warm water for best results.
- Check for Wear Spots: Inspect high-traffic areas, such as stairs and workbenches, every 6 months. These zones lose protection faster than other parts of the basement floor.
- Reapply Sealer: Look for signs like water no longer beading on the surface or the floor looking dull. Most sealers last 2-5 years, depending on use, and testing with a few water drops shows whether sealing basement concrete needs attention.
- Prep Before Resealing: Clean thoroughly and let the basement floor dry completely. Light sanding or etching may be needed if the old sealer is thick or peeling, which ensures the new coat bonds correctly and lasts longer.
Conclusion
Sealing a concrete basement floor turns an unfinished space into a functional, protected area.
The process isn’t complicated; proper preparation, choosing the right product, and following application steps make all the difference.
Once sealed, the floor resists moisture, stays cleaner, and handles daily wear much better than bare concrete. Regular maintenance keeps that protection working for years.
Ready to get started? Grab the right sealer, clear the schedule for a weekend, and give that basement floor the protection it deserves.