A roof deck changes unused rooftop space into a functional retreat. People everywhere are using this smart way to add square footage without expanding their property’s footprint.
The benefits go beyond extra space; deck roofing creates a unique spot for morning coffee, sunset gatherings, or quiet relaxation.
You’ll learn about different options, essential structural requirements, and design choices that fit your lifestyle. Ready to turn that empty rooftop into your favorite hangout? Let’s get started.
What Is a Roof Deck?
A roof deck is an outdoor platform built on top of a flat or low-slope roof. Think of it as an elevated patio that uses vertical space instead of your yard.
These structures sit directly on the rooftop, supported by the building’s framework below. These systems include proper waterproofing to protect the structure underneath while creating usable space above.
Some decks cover the entire rooftop, while others occupy just a portion. They’re common in urban areas where ground-level yard space is limited.
Types of Roof Decks
Not all roof decks are created equal. The type chosen depends on the building’s structure, available space, and intended use. Some homeowners prefer simple platforms, while others want elaborate outdoor rooms. Understanding the main categories helps narrow down what works best for specific needs and budgets.
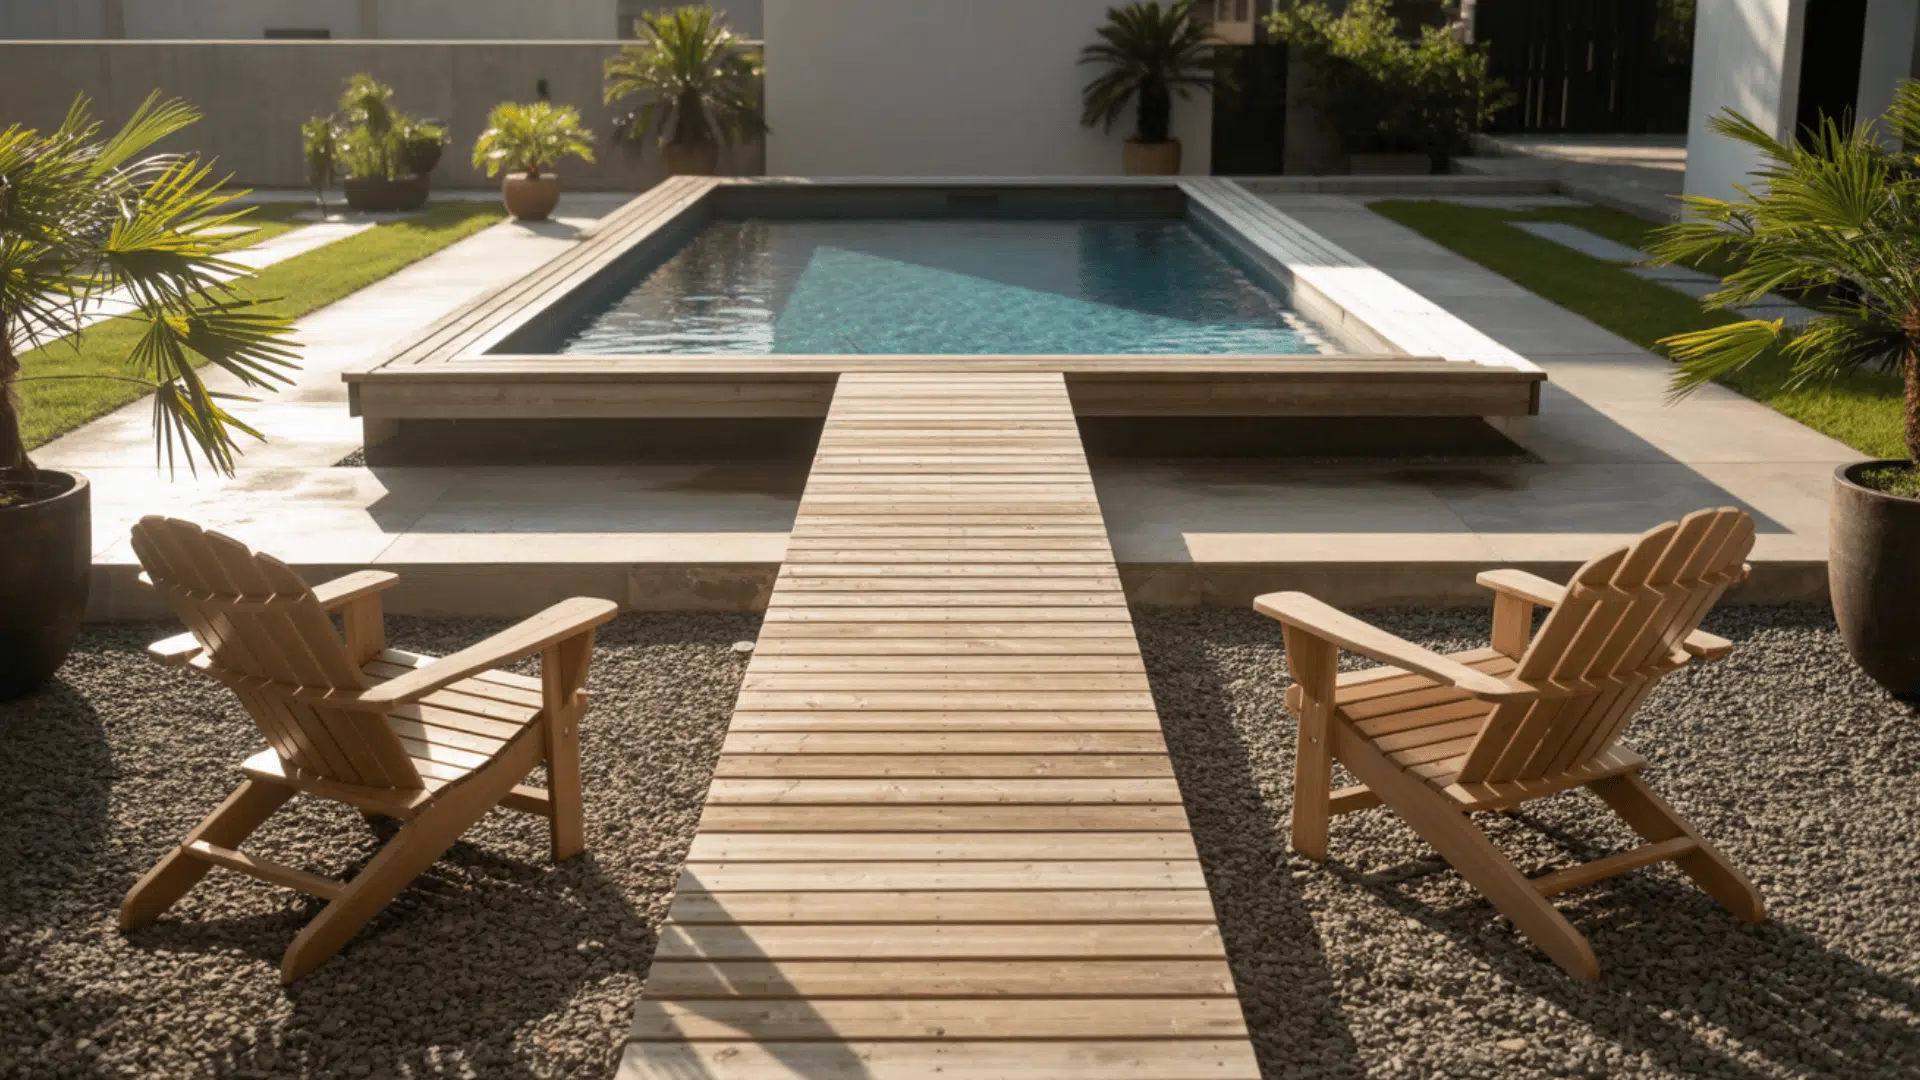
1. Flat Roof Decks
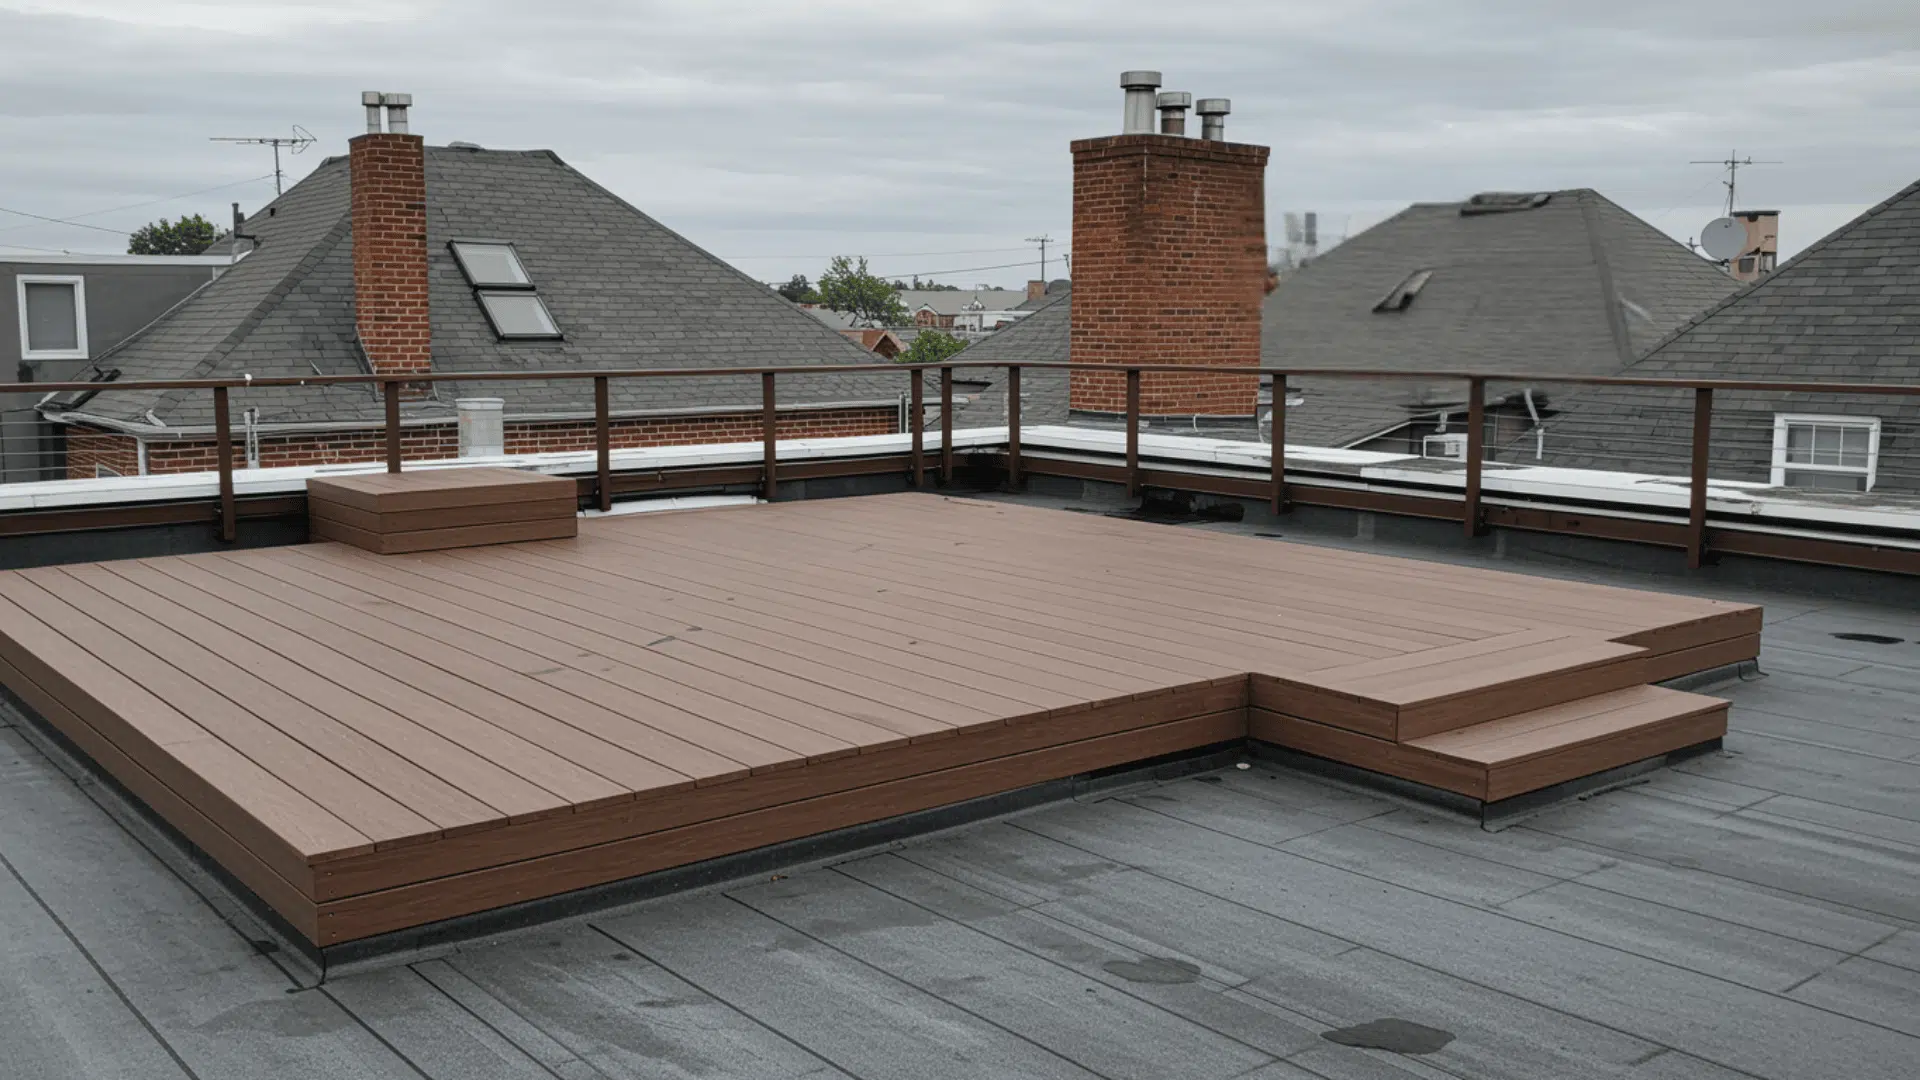
Flat roof decks sit directly on top of existing flat or low-slope rooftops. These are the most common types found on residential and commercial buildings.
The surface typically features composite materials, tiles, or weatherproof decking installed over waterproof membranes.
This design maximizes usable space without significantly raising the height. Flat designs work well for urban homes with limited outdoor areas.
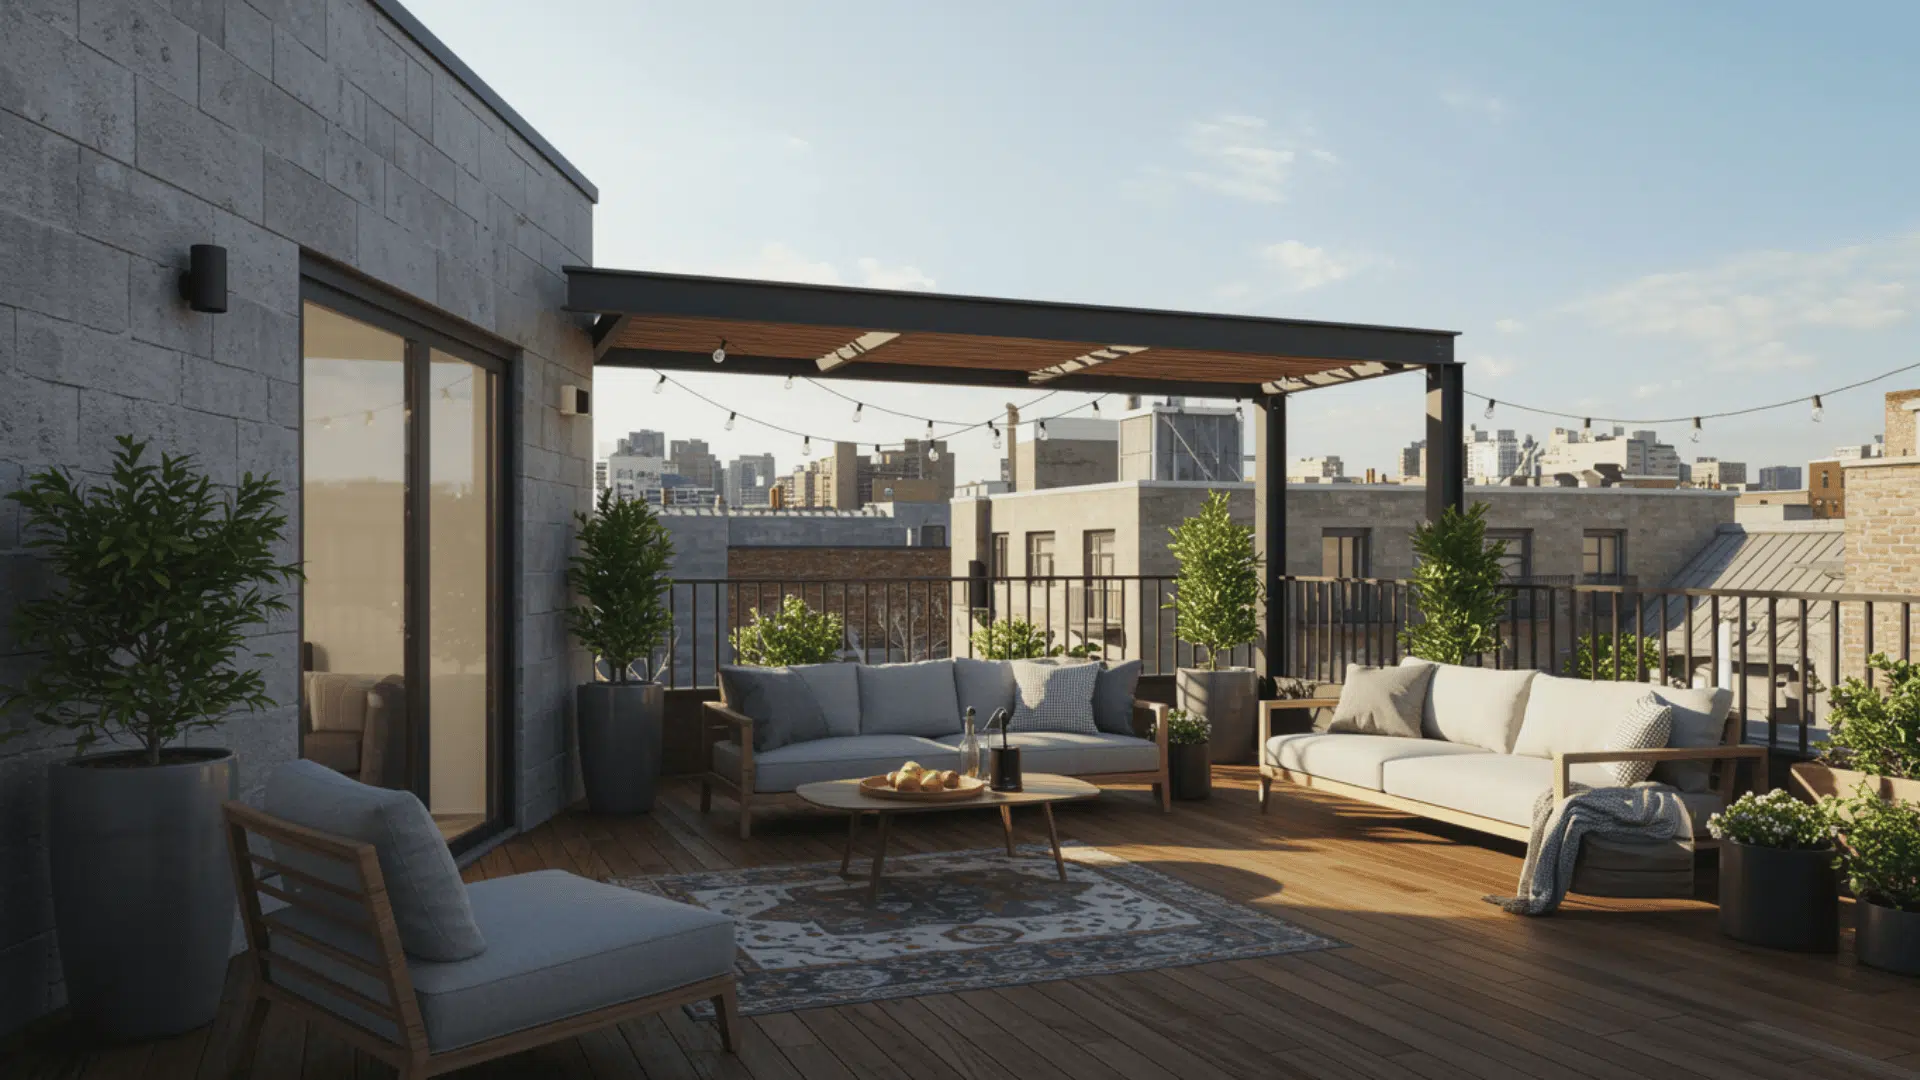
2. Walkout Roof Decks
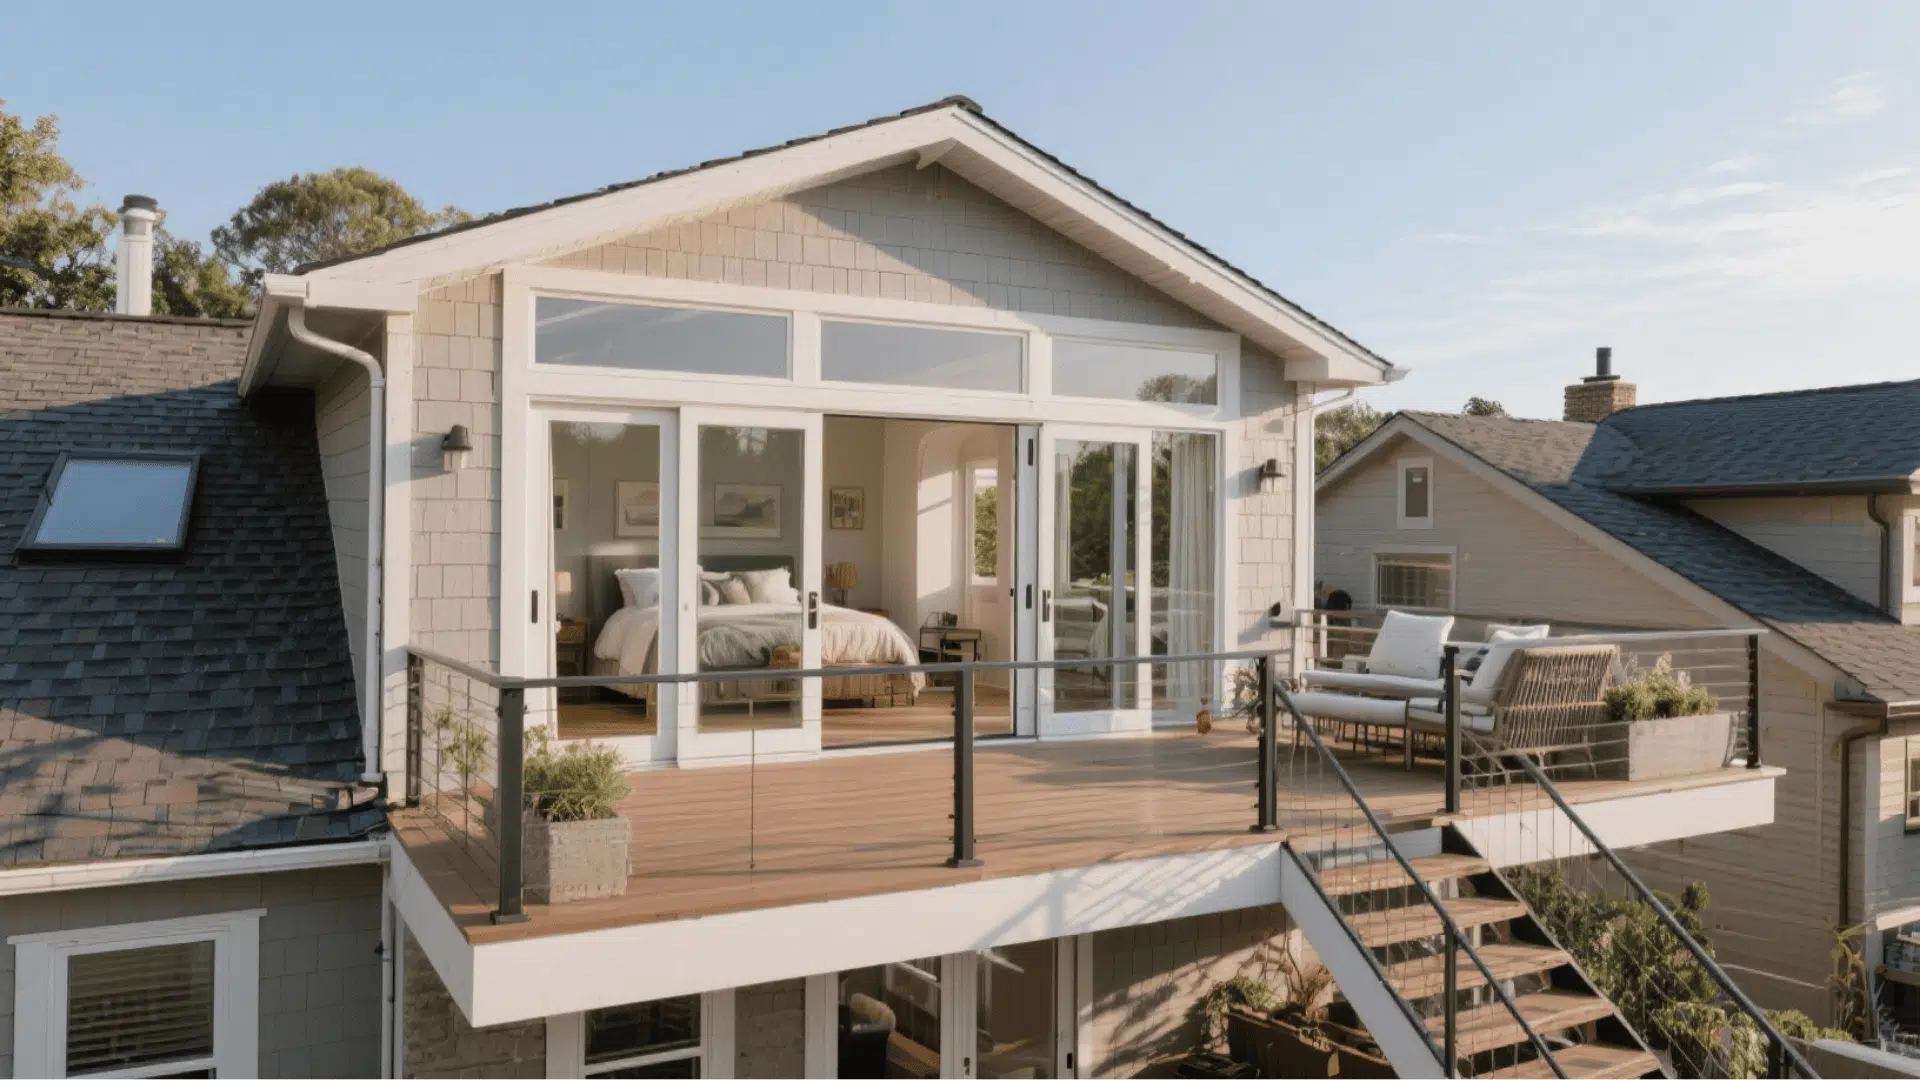
Walkout roof decks connect directly to an upper floor through sliding doors or French doors. Homeowners can step out from a bedroom, living area, or hallway onto the deck.
This smooth transition makes the space feel like an extension of the indoor room. The convenience factor is huge; no climbing stairs or ladders is required.
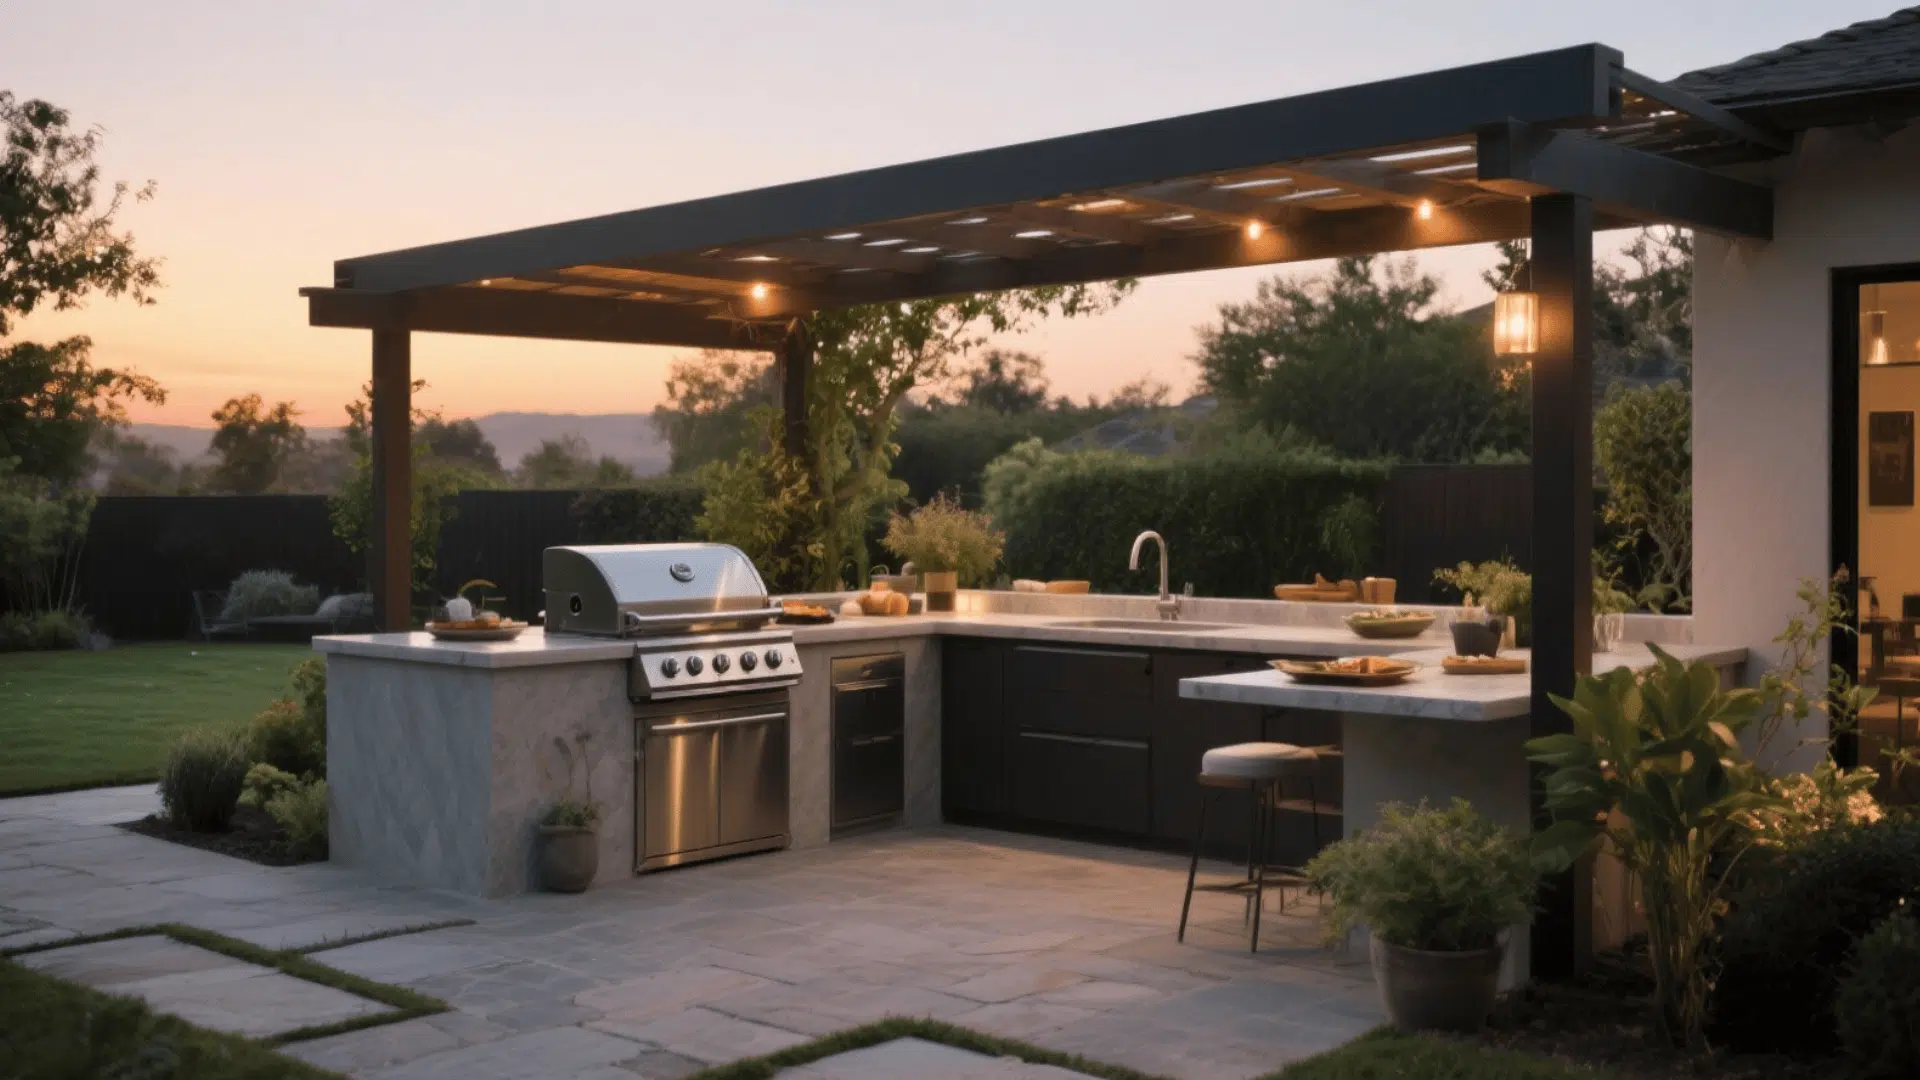
3. Rooftop Terrace Decks
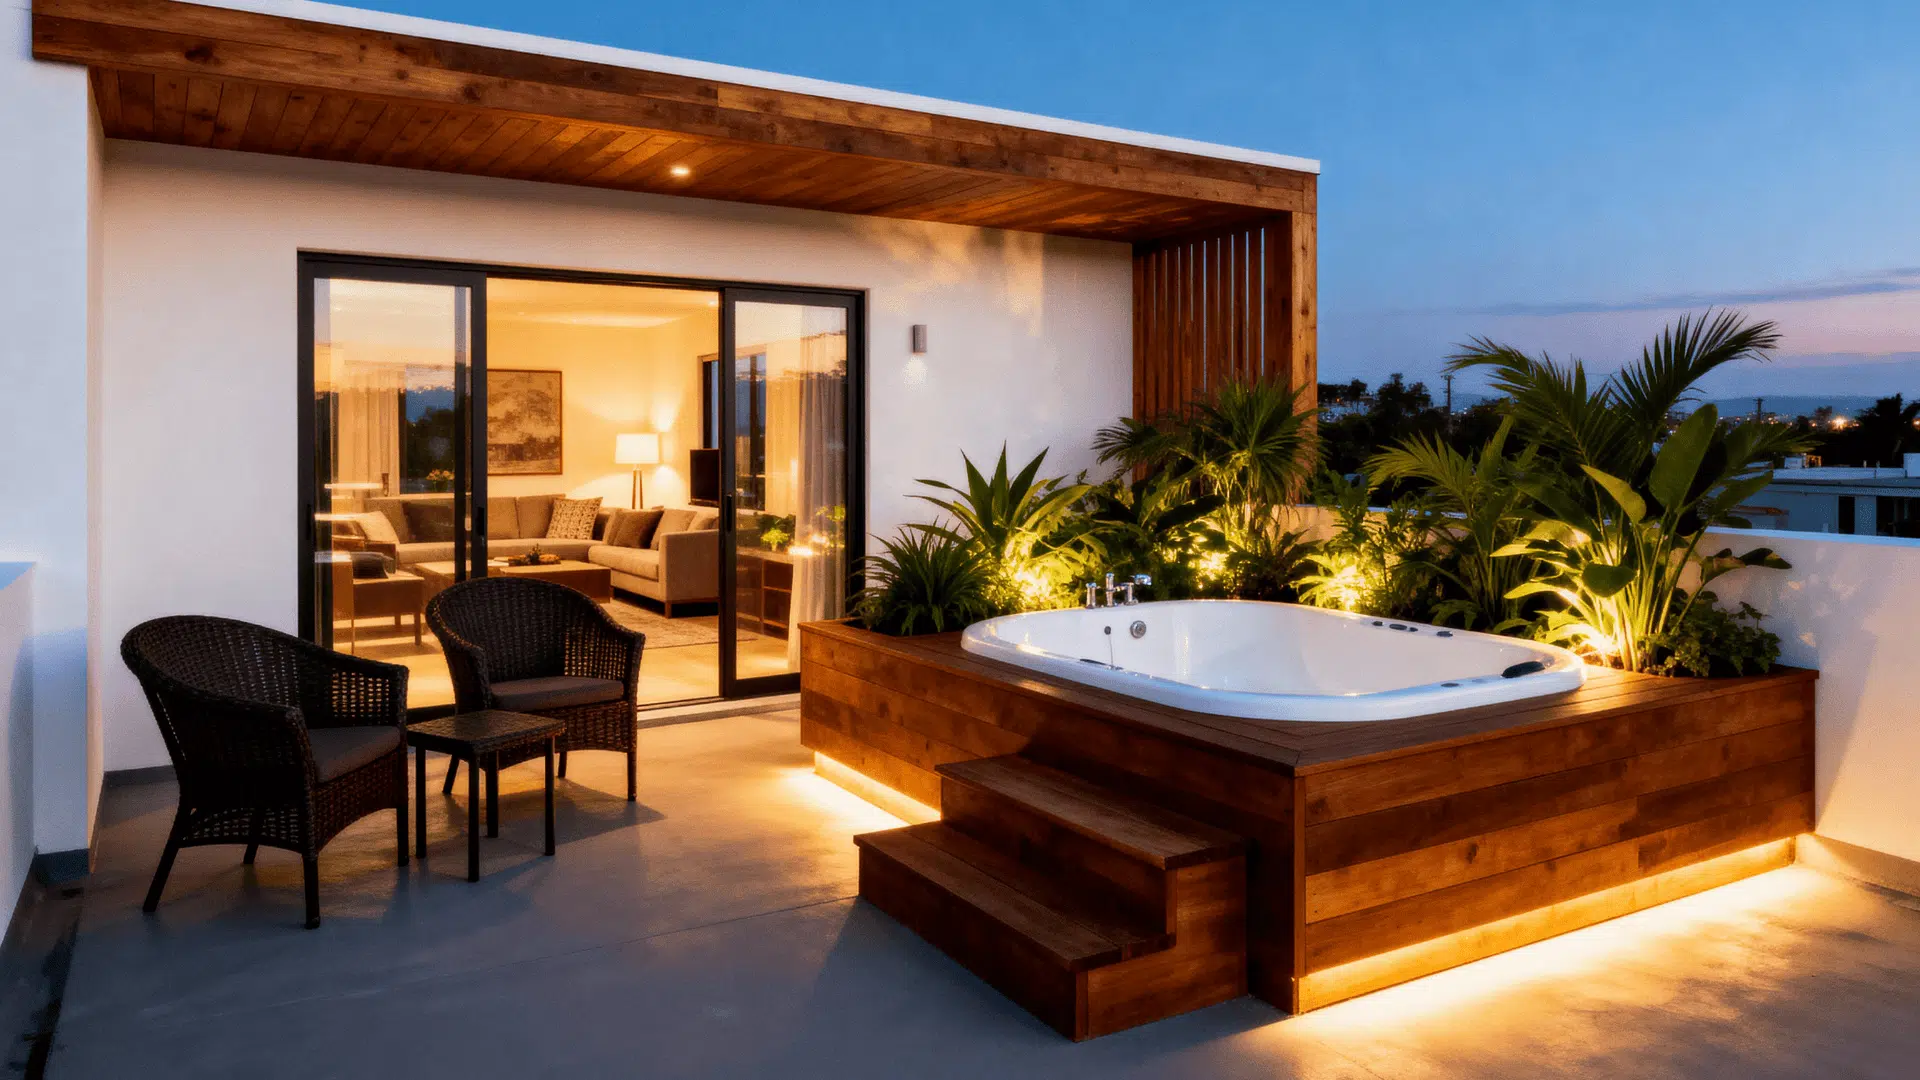
Rooftop terrace decks go beyond basic platforms by incorporati ng built-in features. Think planters, pergolas, outdoor kitchens, or fire pits integrated into the design. These elaborate spaces function as full outdoor living rooms.
Deck roofing on terraces often includes multiple levels, seating areas, and decorative elements. The focus is creating a destination space rather than just extra square footage. Perfect for entertaining and lifestyle enhancement.
Each type offers distinct advantages depending on the situation. The right choice balances aesthetic goals with structural requirements and budget constraints.
Components of a Roof Deck System
Building a functional roof deck requires several critical layers working together. Each component plays a specific role in protecting the structure while creating a safe, usable space.
| COMPONENT | PURPOSE | COMMON MATERIALS |
|---|---|---|
| Structural Support | Bears the weight of the deck, furniture, and people | Steel beams, reinforced joists, concrete |
| Waterproof Membrane | Prevents water from penetrating the roof below | EPDM rubber, TPO, modified bitumen |
| Drainage System | Channels water away from the surface | Scuppers, internal drains, sloped surfaces |
| Decking Surface | Provides the walking area and finished look | Composite boards, tiles, pavers, wood |
| Railings & Barriers | Ensures safety and meets building codes | Aluminum, glass panels, steel, cable systems |
| Flashing | Seals edges and penetrations to prevent leaks | Metal strips, rubber boots, caulking |
Signs You Need Roof Decking Replacement
Roof decks don’t last forever. Weather, wear, and time take their toll on even the best-built systems. Recognizing warning signs early prevents bigger problems and keeps everyone safe.
- Soft or Spongy Spots: Walking across the surface reveals areas that feel unstable or give under pressure, indicating structural decay underneath
- Visible Water Damage: Stains, discoloration, or pooling water suggest the waterproof membrane has failed and moisture is penetrating the deck roofing layers
- Loose or Warped Boards: Decking materials that buckle, warp, or separate from their supports create tripping hazards and signal deterioration
- Rust or Corrosion: Metal components showing significant rust compromise structural integrity and need immediate attention before failure occurs
- Interior Ceiling Leaks: Water spots or drips in rooms below indicate serious membrane breaches requiring urgent replacement
Tools and Materials Needed
Before starting to build the deck, it helps to have everything ready and within reach. The right tools make each step smoother and help avoid small mistakes that could slow down your progress.
| ITEM | PURPOSE |
|---|---|
| 2×6 Boards | For trusses, supports, and deck surface |
| Deck Screws (2½” & 3″) | For securing braces and deck boards |
| Yoga Mat | Protects shingles and adds grip |
| Drill/Driver | Drives screws |
| Saw (Jigsaw or Reciprocating) | Cuts and trims boards |
| Level | Checks alignment |
| Tape Measure | Ensures accurate cuts |
| Spacers (Paint Sticks) | Keeps gaps even |
| Utility Knife | Cuts yoga mat |
How to Build a No-Penetration Roof Deck
Getting ready to build your own deck can feel like a big task, but with the right steps, it becomes a smooth and rewarding process.
Step 1: Build the Adjustable Trusses

Start by cutting four pieces of 2×6 lumber to five feet each. Pair them up and fasten each pair together with a single screw centered across the width. This screw acts as a pivot, letting you open the two boards like scissors.
Place each pair over the roof peak and adjust until you find a stable angle that fits your roof’s pitch. Once you’re happy with the angle, drive in a few more screws to lock the position. These will become your main trusses.
Step 2: Add the Support Braces
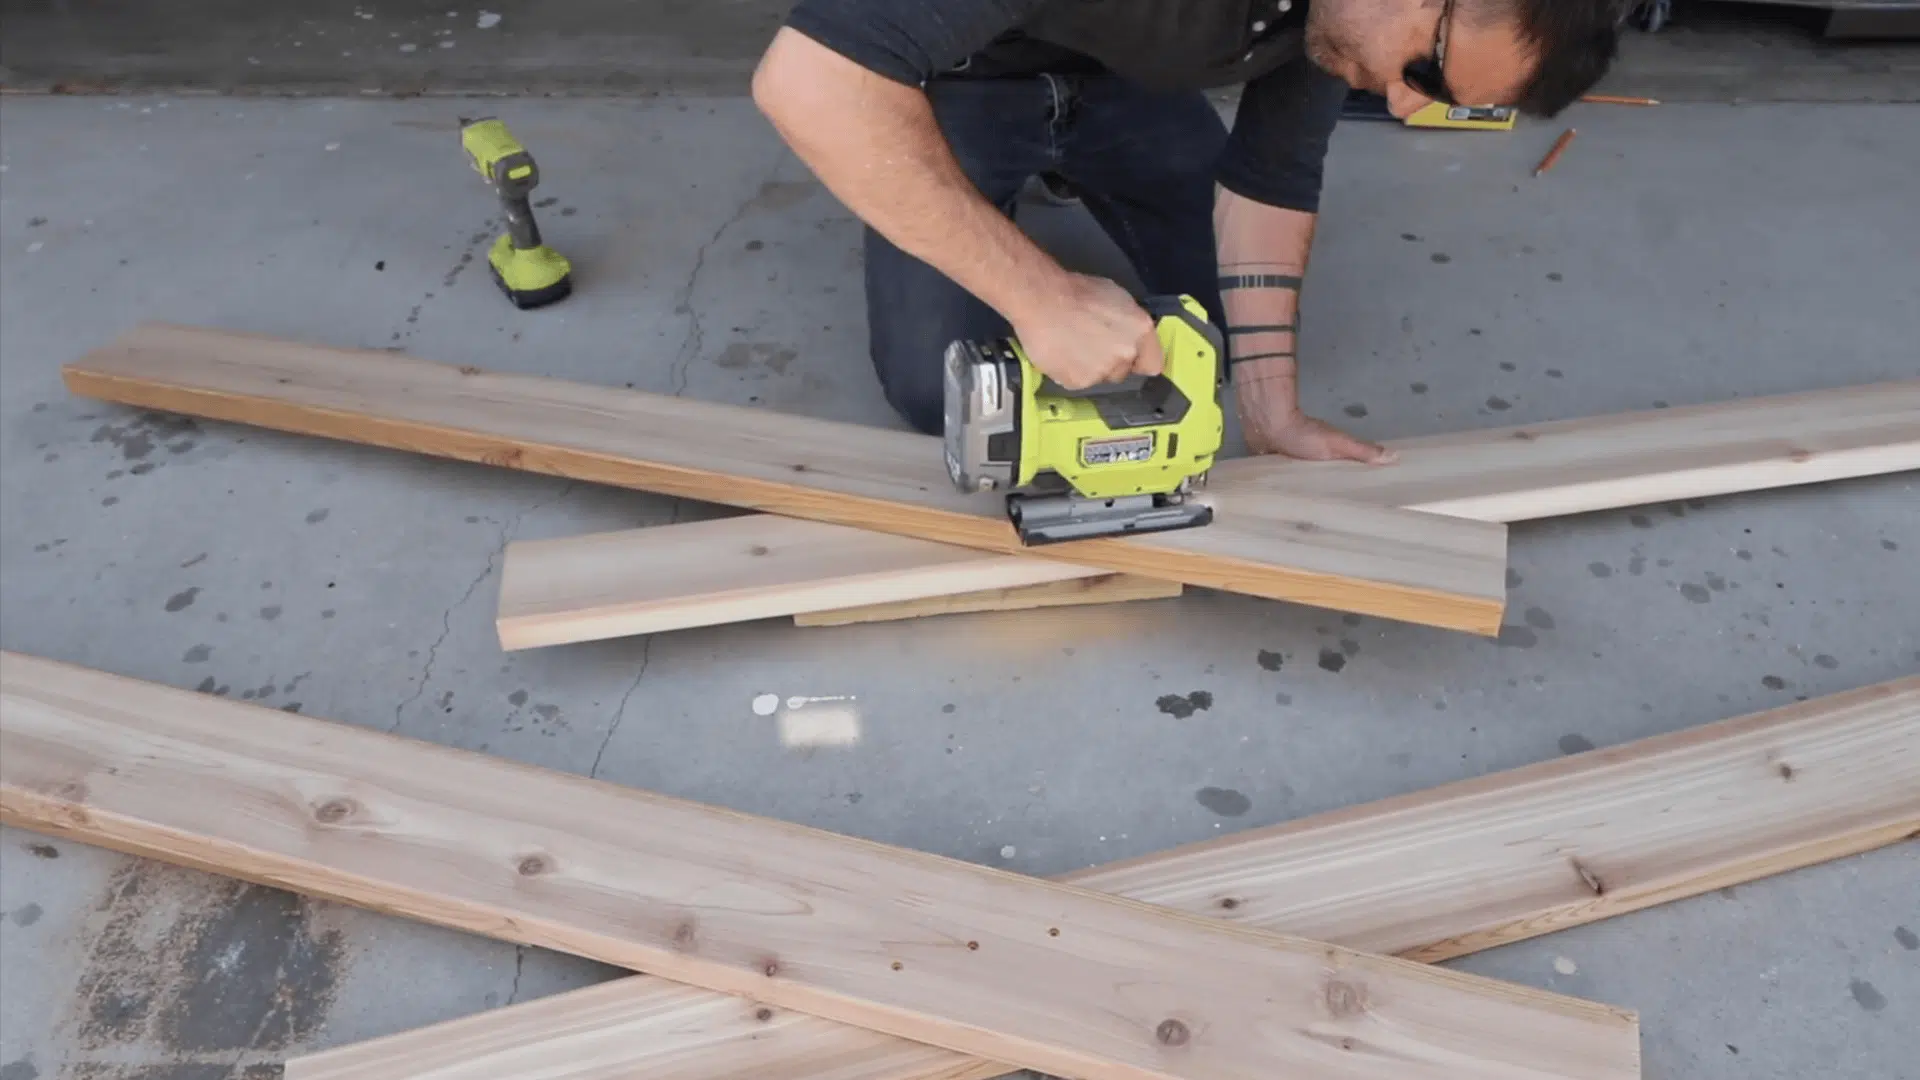
Trim the end of one board on each truss with a jigsaw or reciprocating saw so it fits cleanly against a 90-degree brace. Attach a short 2×6 at a right angle to the trimmed end using 2½-inch deck screws.
To mirror this on the opposite side, use a small scrap piece as a connector so both braces sit level. You now have two identical trusses ready to hold the deck surface flat.
Step 3: Protect the Roof
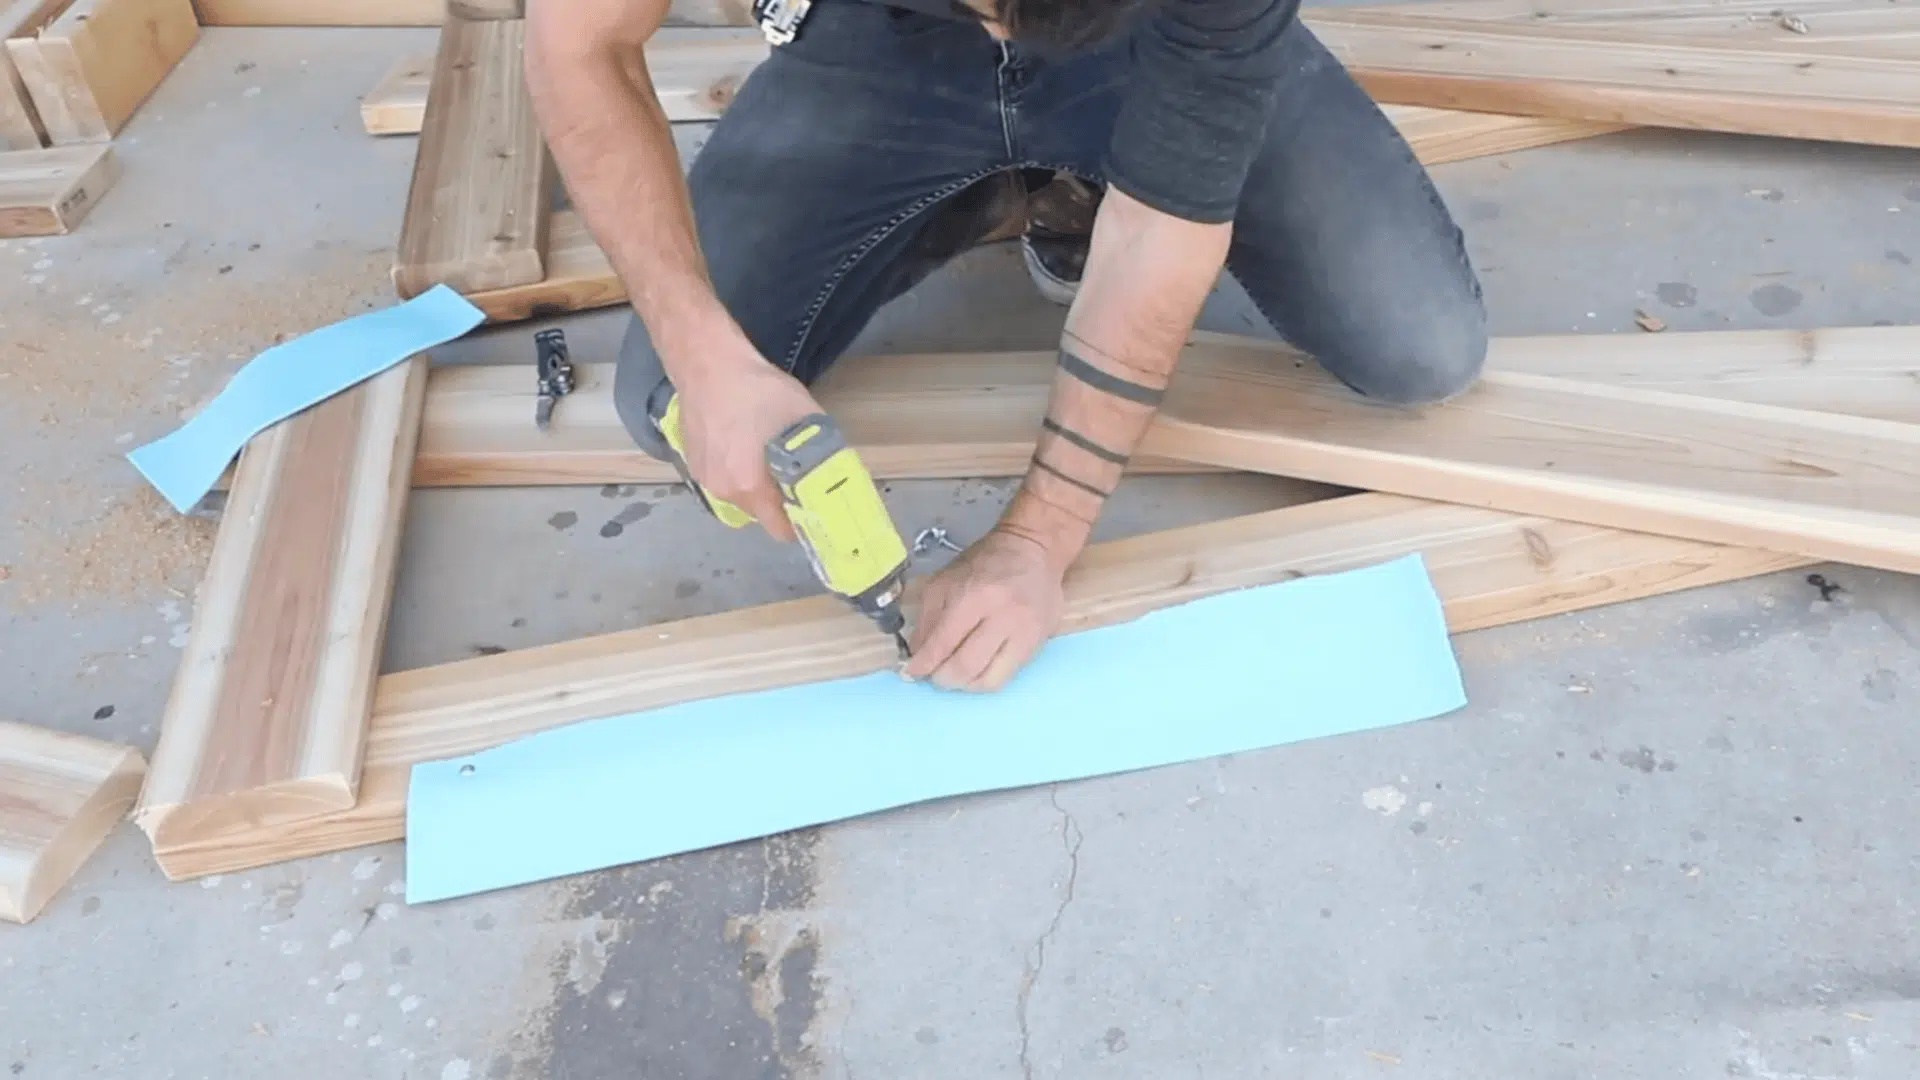
Before placing your trusses on the roof, cut a yoga mat or similar padding into strips. Screw these strips to the bottom of the trusses.
This simple step prevents the wood from damaging shingles and adds grip so the trusses won’t slide around during assembly.
Step 4: Assemble the Deck Frame
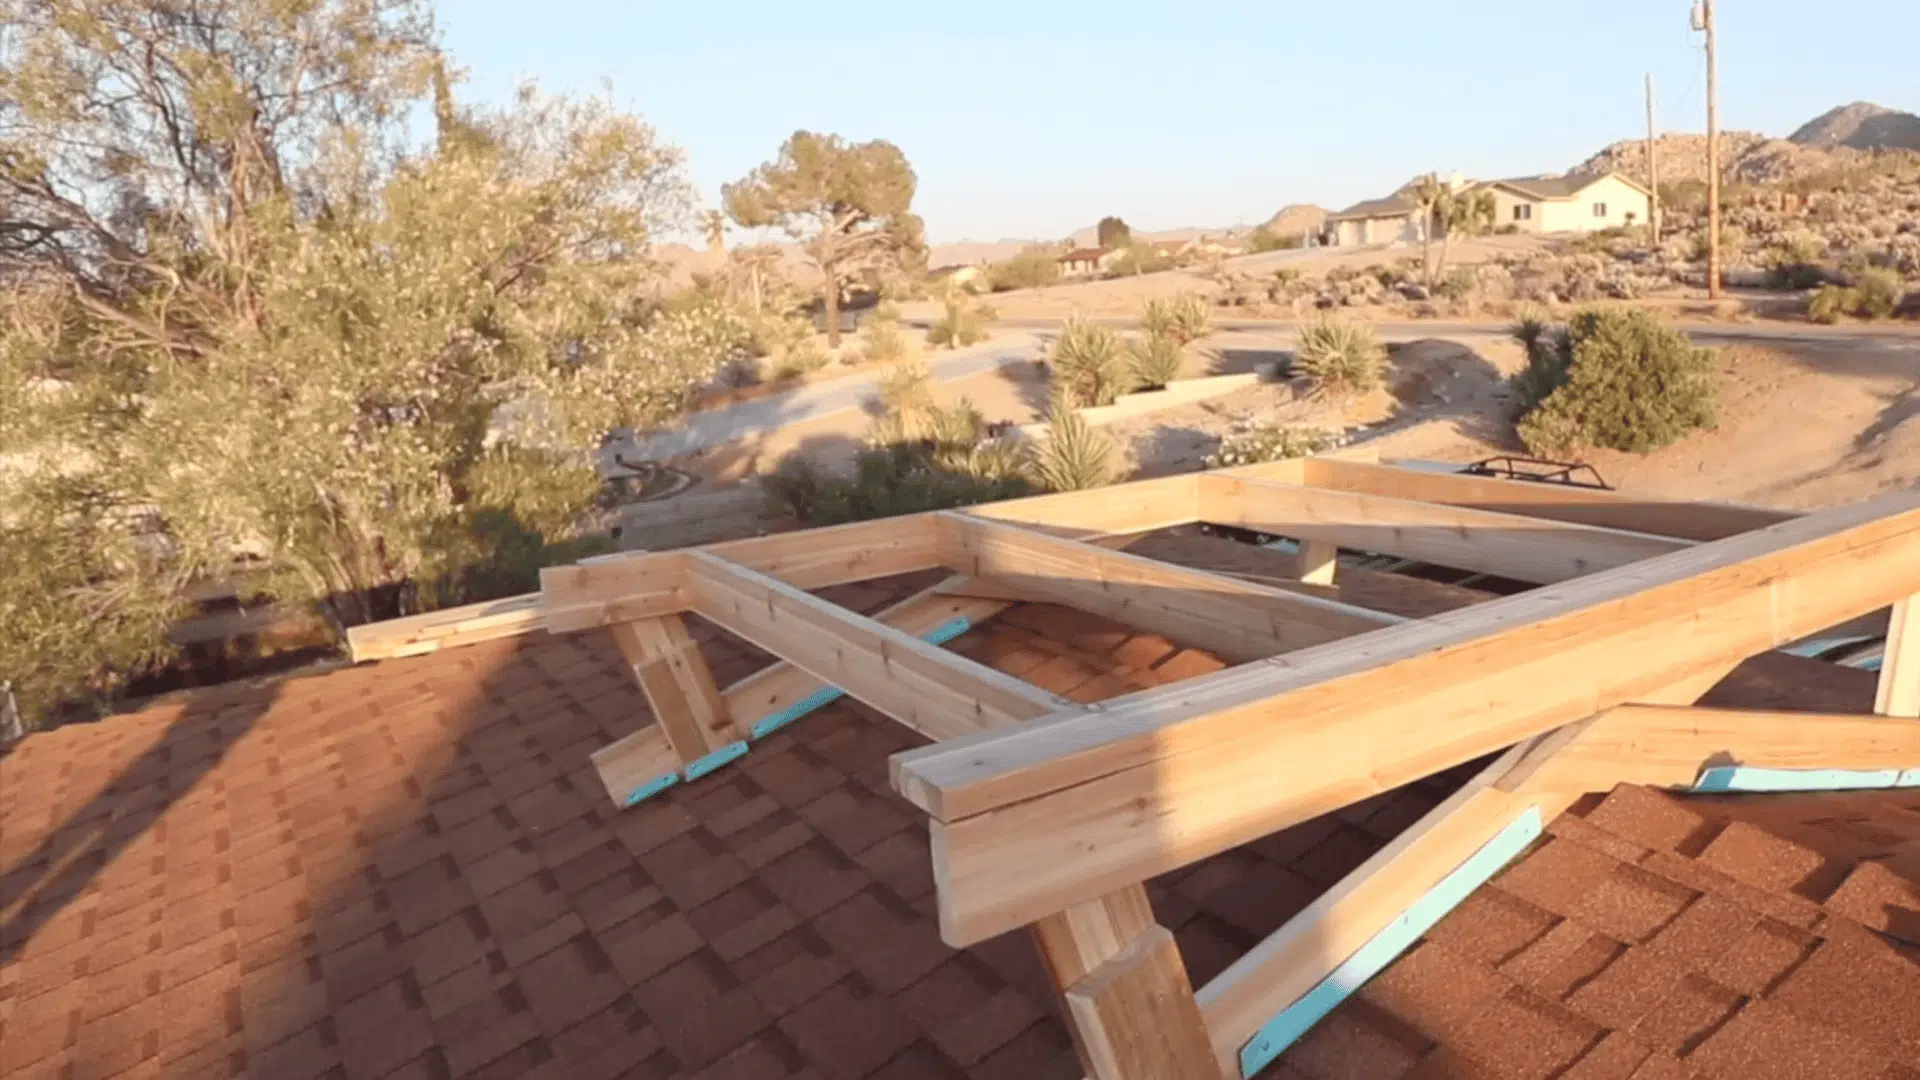
Carry both trusses up to the roof and set them in position. Use a level to make sure the tops are straight and even. Connect the trusses with four cross-supports made from 2x6s.
Adjusting the spacing as needed to avoid any inner braces. Secure everything with deck screws. If you want extra strength, you can add joist hangers or metal brackets at the joints.
Step 5: Install the Deck Boards
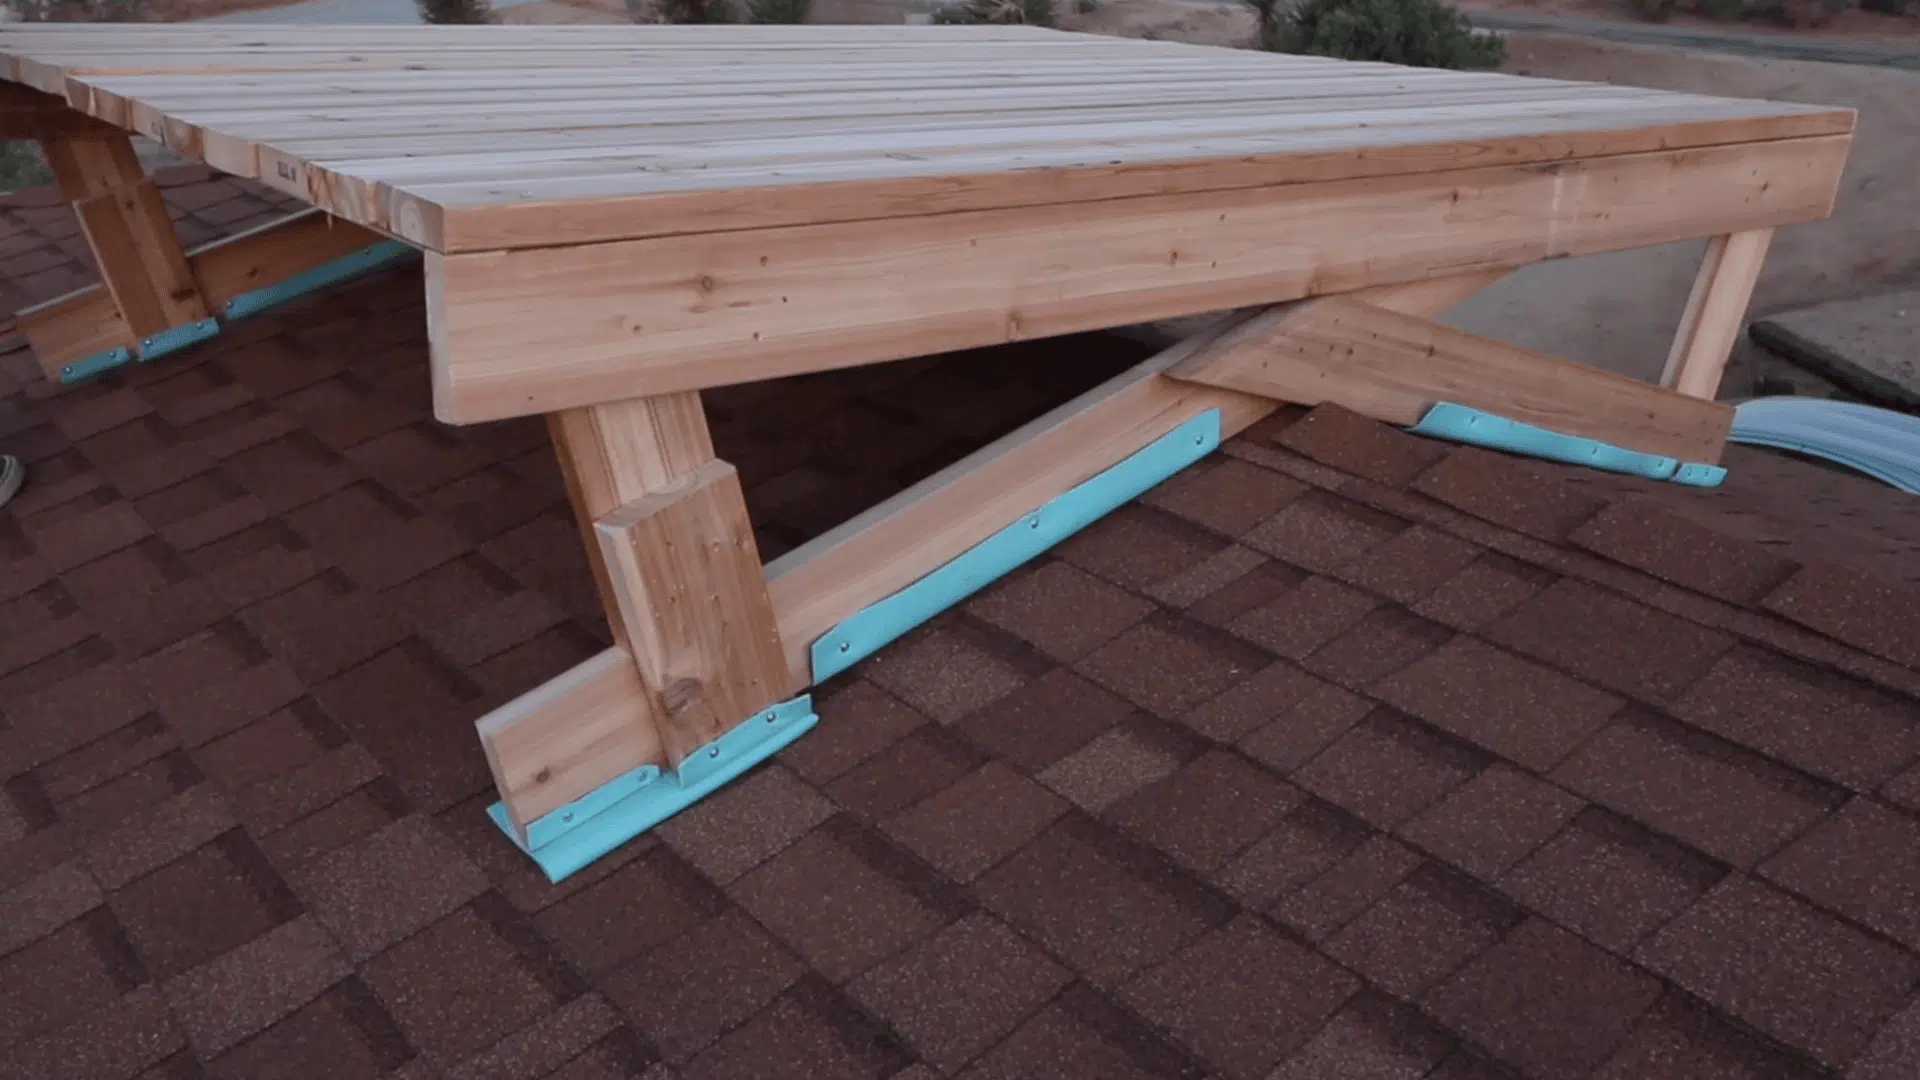
Lay the 2×6 top boards across the trusses. Use paint stirring sticks as spacers to keep consistent gaps between the boards; about ⅛ to ¼ inch works best for drainage.
Fasten each board with 3-inch deck screws into the trusses and cross-supports. Once done, check for wobble. If the deck rocks slightly, slide folded yoga-mat pieces underneath to stabilize it.
For more detailed instructions, refer to the YouTube video below:
Common Roof Deck Problems to Avoid
Many roof deck failures stem from preventable mistakes during planning and construction. Smart homeowners learn from others’ errors rather than repeating them. Avoiding these common issues saves money and extends the deck’s lifespan.
- Underestimating load capacity leads to structural failure when furniture, people, and snow accumulate on roof decks.
- Water pooling damages deck roofing materials and seeps into the building, causing rot and mold growth inside.
- Building without proper approvals creates legal headaches and insurance complications if problems arise later on.
- Choosing materials unsuited for the climate accelerates wear and requires premature replacement of the entire system.
- Neglecting regular inspections and cleaning allows small issues to become expensive repairs down the road.
- Attempting complicated construction without professional expertise often results in dangerous code violations.
Roof Deck Maintenance Tips
Regular maintenance keeps roof decks functioning properly for years. Simple tasks performed seasonally prevent costly repairs and extend the system’s life. A proactive approach protects the investment and ensures safety.
- Clean Debris Regularly: Leaves, dirt, and organic matter trap moisture against deck roofing surfaces, accelerating deterioration and blocking drainage pathways.
- Inspect Waterproofing Annually: Checking membranes and seals for cracks or separation catches small problems before water infiltrates the structure below.
- Clear Drainage Systems: Scuppers and drains need clearing after storms to prevent water backup that damages both the deck and roof.
- Tighten Loose Fasteners: Hardware naturally loosens over time from temperature changes and foot traffic, creating safety hazards.
- Reseal When Needed: Reapplying protective sealants every few years maintains weather resistance and prevents premature material breakdown.
Conclusion
Building a successful roof deck comes down to understanding the fundamentals. From choosing the right type to recognizing maintenance needs, every decision impacts longevity and safety.
People who understand these essentials avoid costly mistakes and create lasting spaces. The components work together as a system, and neglecting any part risks the whole. Ready to move forward?
Consult licensed rooftop contractors.
They’ll assess the building’s capacity, navigate permits, and ensure proper installation. Professional guidance turns concepts into reality safely.