Choosing between LVP and laminate flooring isn’t always simple. Both mimic hardwood well, but their underlying differences can significantly impact your space.
I’ve learned that industry experts rarely discuss it openly. Water resistance, durability, and installation methods are only part of the story.
The real question isn’t which floor looks better, but which one lasts in your environment.
I’m here to reveal what the glossy brochures won’t tell you about these two flooring giants, starting with their most closely guarded secrets.
Can You Paint Garage Doors?
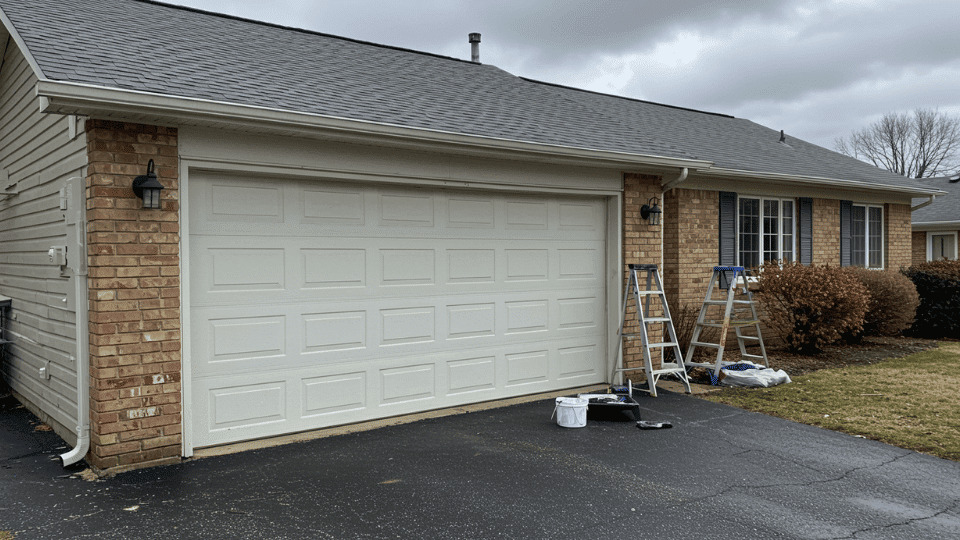
Most garages can be painted easily, but your approach should vary depending on the material. Metal and wood doors are the easiest candidates, requiring basic cleaning and priming before application.
Fiberglass doors paint well with proper adhesion primers, while vinyl presents challenges since paint struggles to bond with its smooth surface. Specialized vinyl-safe paints offer the best results here.
Garage door painting makes perfect sense for doors showing minor wear, like fading, small rust spots, or outdated colors that need refreshing.
The investment pays off through increased curb appeal and extended door lifespan. Paint masks cosmetic issues effectively, but cannot repair fundamental damage or mechanical failures.
Benefits of Garage Door Painting
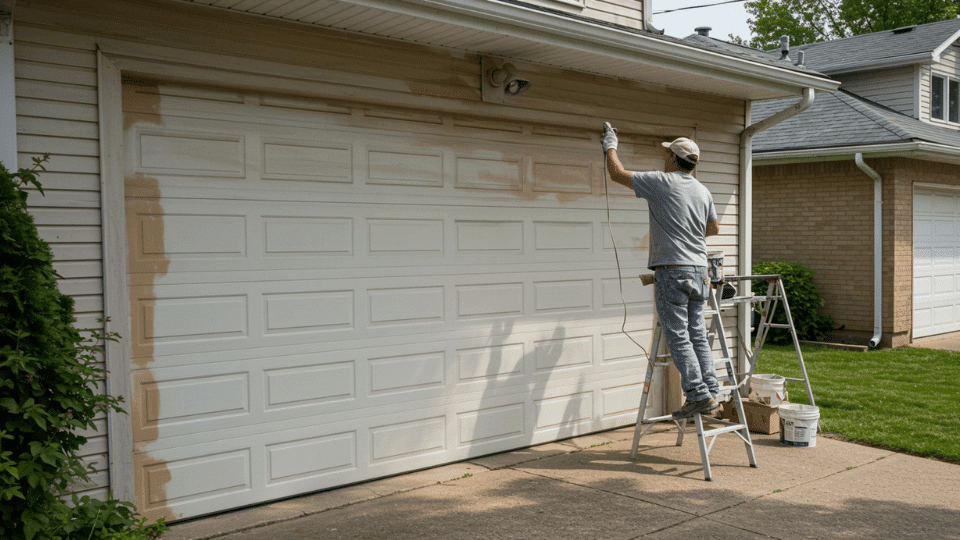
Painting your garage door delivers multiple advantages that extend far beyond simple appeal, making it one of the most impactful exterior upgrades you can tackle.
When you paint garage door surfaces properly, you protect your investment while dramatically improving your property’s appearance and value.
- Increased curb appeal: A freshly painted door creates an immediate visual impact, making your entire home look well-maintained and inviting to visitors and potential buyers.
- Increased property value: Real estate experts note that exterior updates, particularly garage door improvements, offer excellent returns by boosting overall home valuation.
- Superior weather protection: Quality paint creates a protective barrier against rain, UV rays, salt, and humidity that cause premature deterioration and rust formation.
- Extended door lifespan: Proper paint application seals surfaces and prevents moisture infiltration, adding years to your garage door’s functional life.
Step-by-Step Tutorial: How to Paint a Garage Door
Follow this detailed process to paint garage door surfaces like a professional, ensuring durable results that uplift your home’s exterior for years.
Tools and Materials You’ll Need
Gathering the right equipment before you start ensures a smooth garage door painting process, free of mid-project interruptions and compromised results.
| Category | Items |
|---|---|
| Protective Gear | Dust mask, safety goggles, gloves |
| Preparation Tools | Flat scraper, coarse sandpaper or wire brush, step ladder, dust sheet, masking tape, newspaper |
| Cleaning Supplies | Household detergent, bucket, sponge, or soft cloth |
| Painting Supplies | Primer (metal or wood-specific), exterior-grade paint (formulated for your door’s material), paintbrush or foam roller, paint tray |
| Finishing Tools | Brush cleaner or suitable solvent, small container for cleaning brushes |
Step 1: Prepare Your Workspace and Protect Yourself
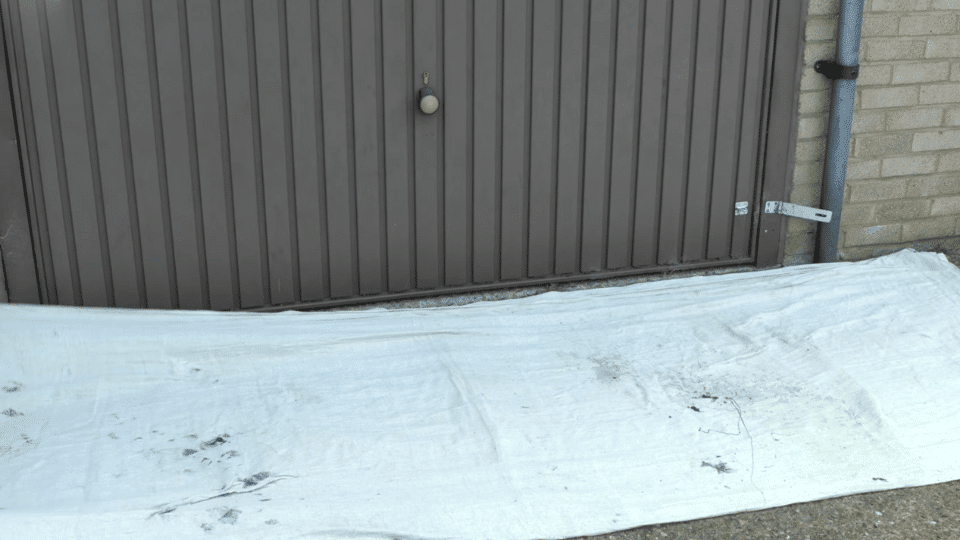
Before you start, make sure your workspace is tidy and safe. Lay down a dust sheet beneath the garage door to catch debris and paint splashes.
Wear a dust mask, gloves, and safety goggles to protect yourself from dust and fumes. If your garage door opens outward, ensure you have enough space to move around comfortably.
Step 2: Remove Loose and Flaking Paint
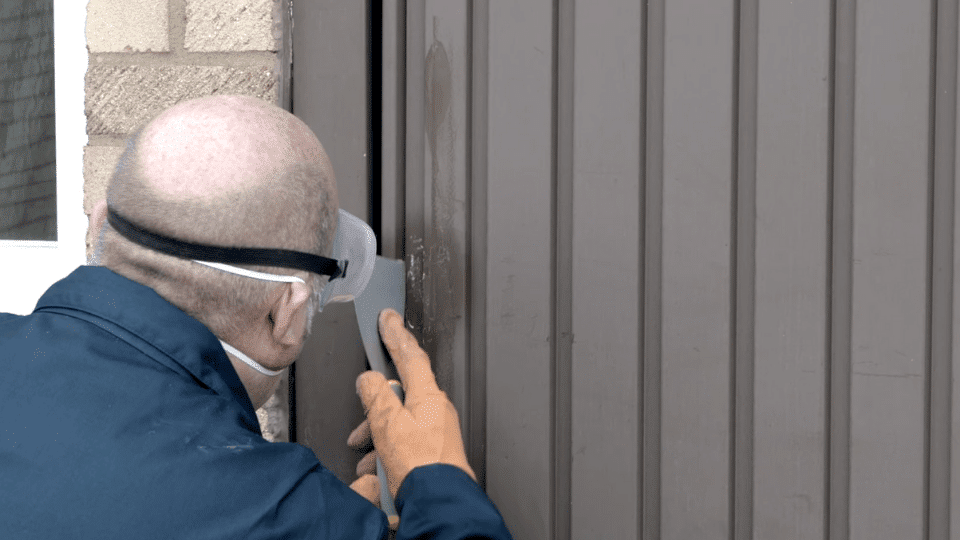
Using a flat scraper, carefully lift away any blistered or flaking paint. Focus especially on the edges, corners, and bottom of the door where old paint often deteriorates first.
Take your time. This step ensures the new paint adheres evenly and lasts longer.
Step 3: Sand the Surface Smooth
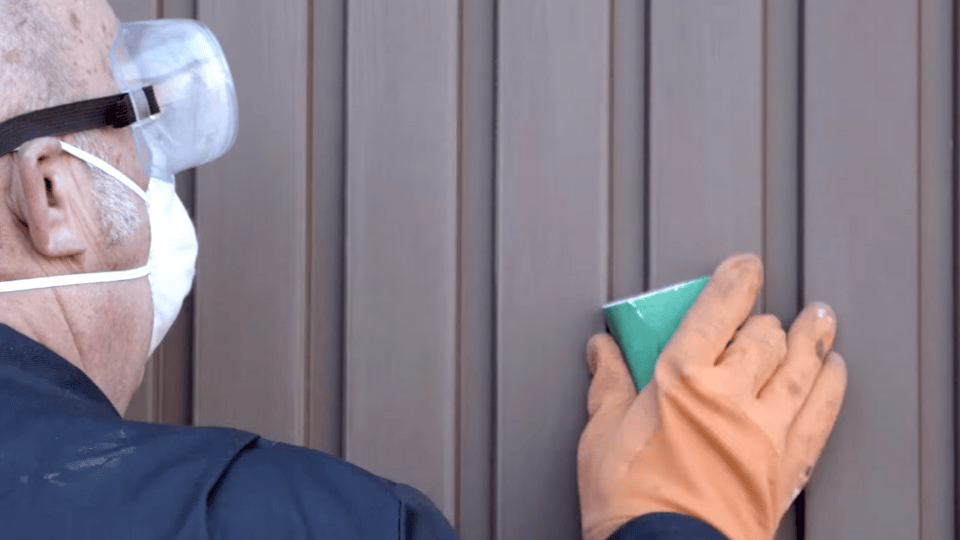
Next, use coarse sandpaper or a wire brush to smooth the surface. Cut your sandpaper sheet in half, then fold one half into thirds for a comfortable grip. Alternatively, wrap it around a small wooden block for better control.
Work methodically over the entire door, paying special attention to areas with rough patches or rust spots. Use a step ladder to reach higher sections safely.
Step 4: Clean the Door Thoroughly
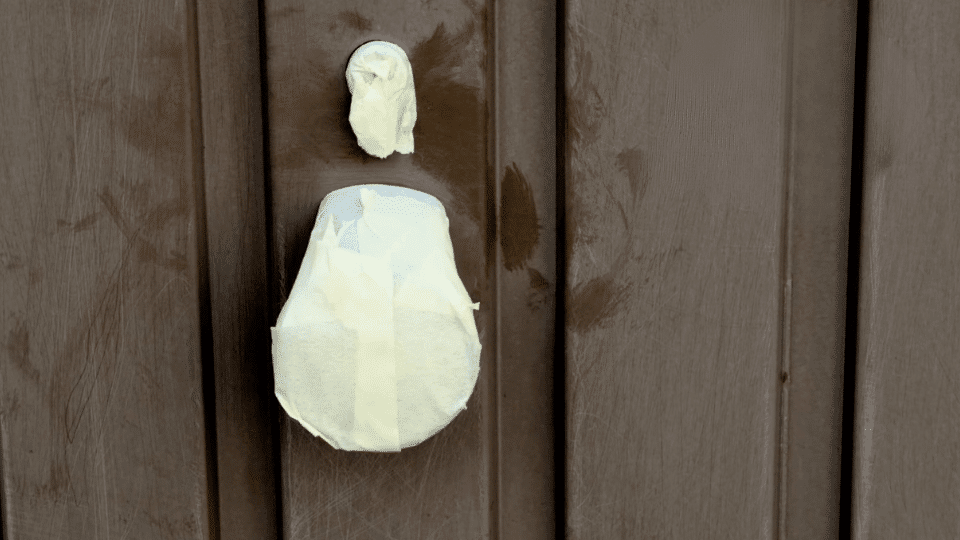
After sanding, it’s essential to remove all dust and debris. Mix household detergent with water and use a sponge or soft cloth to wash the door from top to bottom. Rinse thoroughly, then allow the door to dry completely.
Moisture can prevent the primer and paint from bonding properly. While the door dries, use masking tape and newspaper to cover handles, locks, and decorative hardware to keep them paint-free.
Step 5: Apply the Primer
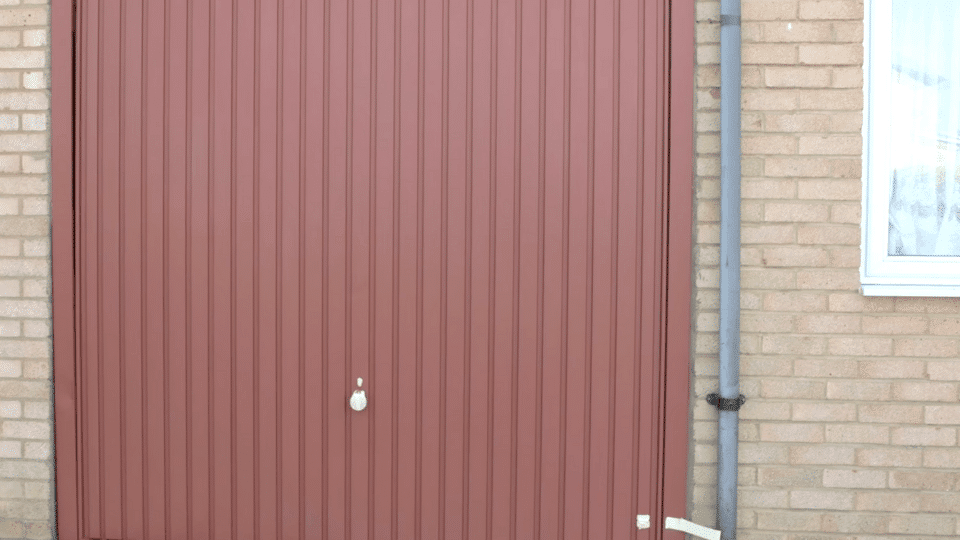
Once the surface is dry, spread your dust sheet again and open the primer tin. Use a brush or roller to apply a thin, even coat of primer, starting with the edges and corners before moving to the larger panels.
Follow the manufacturer’s instructions for drying times. Typically, primers need several hours to cure fully.
Tip: Priming ensures your paint color looks vibrant and adheres firmly to the surface.
Step 6: Paint the Garage Door

When the primer is dry, it’s time for the main event. Choose a day when the temperature is between 8°C and 25°C for the best results.
Begin by painting the edges and bottom of the door while it’s open, then close it and work your way from the top down, painting each section as you go.
Apply a thin first coat, allow it to dry as directed, then inspect the surface. If coverage isn’t even, add a second coat for a perfect finish.
Step 7: Finishing Touches and Clean-Up
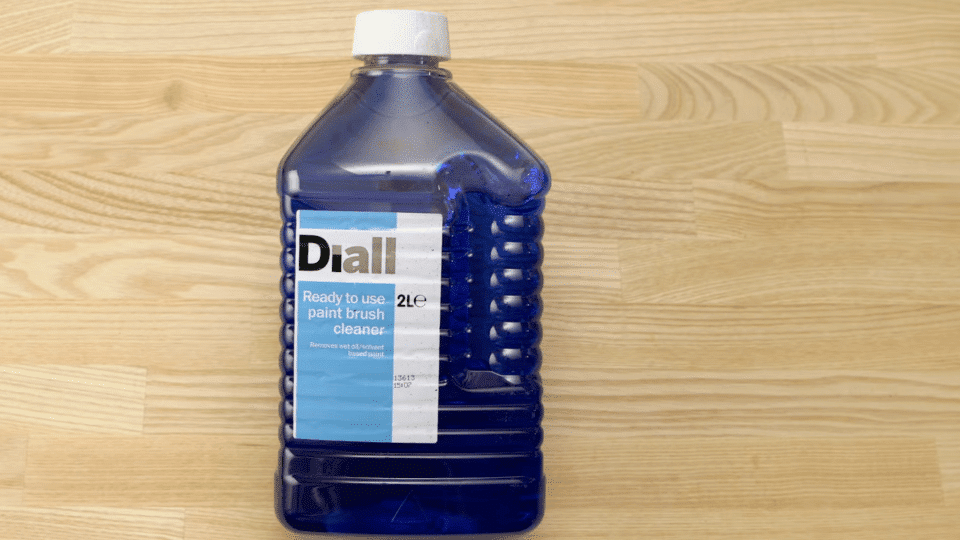
Once you’re satisfied with the paint coverage, carefully remove the masking tape and newspaper. Clean your brushes and rollers with brush cleaner or solvent, following the product instructions.
Let the paint dry thoroughly before using the door. Step back, admire your work, and enjoy your freshly painted garage door. It should look brand-new and add instant charm to your home.
For a More Detailed YouTube Tutorial
Common Mistakes to Avoid
Even experienced DIYers can sabotage their Garage door painting Project by overlooking critical steps that separate amateur results from professional-quality finishes.
- Inadequate surface preparation: Skipping thorough cleaning and sanding leaves dirt, grease, and loose paint behind, preventing proper adhesion and causing your new finish to peel or bubble within months of application.
- Skipping primer application: Bare metal and raw wood require primer to create a stable bonding surface. Direct paint application leads to uneven coverage, rust development, and premature paint failure.
- Applying excessively thick coats: Heavy paint layers cause drips, sags, and extended drying times that attract dust and debris, while multiple thin coats build durable, smooth coverage.
- Ignoring manufacturer drying times: Rushing between coats traps moisture and solvents beneath the surface, creating soft spots and adhesion failures that compromise the longevity of your entire paint job.
- Neglecting hardware maintenance: Paint buildup on hinges, tracks, and mechanisms causes binding and mechanical issues remove excess paint and apply lubricant to maintain smooth door operation after your project.
Maintenance After Painting
Proper maintenance extends your Paint garage door Project’s lifespan and keeps the finish looking freshly applied for years to come.
- Wash your garage door every 3 months with mild soap and water to remove dirt, pollen, and grime that can degrade paint. Inspect for chips, scratches, or fading during each cleaning session.
- Address minor damage immediately by sanding the affected area, applying primer if needed, and spot-painting with your original paint to prevent moisture infiltration and rust development.
- Wood garage doors require fresh coats every 3-5 years, while properly painted metal doors last 5-7 years before needing renewal. Fiberglass maintains finishes for the longest, at 7-10 years between full repaints.
- Apply clear UV-resistant topcoats or sealants annually to shield your Paint garage door Surface from Sun Damage, Extend Color Vibrancy, and create an Additional Moisture Barrier that Preserves Your Investment.
Forum Insights and Real-World Tips from Diy Painters
Before you grab your brush, it helps to hear from people who’ve done it themselves. Here are some discussions on Reddit and Facebook.
1. What kind of paint should I use on a metal garage door?
Use an exterior-grade metal paint paired with a rust-inhibiting primer. This combination provides stronger adhesion and a durable, weather-resistant finish that won’t chip easily.
2. Do I need to sand or scrape before painting?
Yes. Always remove peeling paint and sand the surface lightly to help the new coat bond properly and avoid uneven texture or future peeling.
3. Is the weather an important factor when painting my garage door?
Absolutely. Choose a dry, mild day for painting; extreme heat or cold can cause cracking, uneven drying, or bubbling in the finish.
4. How do I protect handles and the surrounding area?
Do you recommend masking handles, trims, and locks with painter’s tape or newspaper and laying down a dust sheet or tarp to catch drips and prevent mess?
5. How many coats of paint are best?
Most agree that two thin coats work better than one thick layer. The result is smoother, richer color and longer-lasting protection.
6. Can I paint over rust spots?
Yes, but only after proper prep. Scrape off any rust, clean the area, and apply a rust-inhibiting primer before painting. This step stops corrosion from bleeding through later.
7. Any tips for painting panels and edges neatly?
Start with the edges and corners while the door is open, then close it and work top to bottom in sections. Use a brush for grooves and a foam roller for flat panels to achieve a pro-level finish.
Conclusion
Can you paint garage doors and achieve professional results? Absolutely. Garage door painting ranks among the most rewarding DIY projects you can undertake, delivering curb appeal improvements at a fraction of the cost of replacement.
The key lies in respecting the process, thorough cleaning, appropriate primers, and adequate drying times between applications.
Ready to paint garage door surfaces and boost your home’s value? Gather your supplies and get started on this satisfying project.

