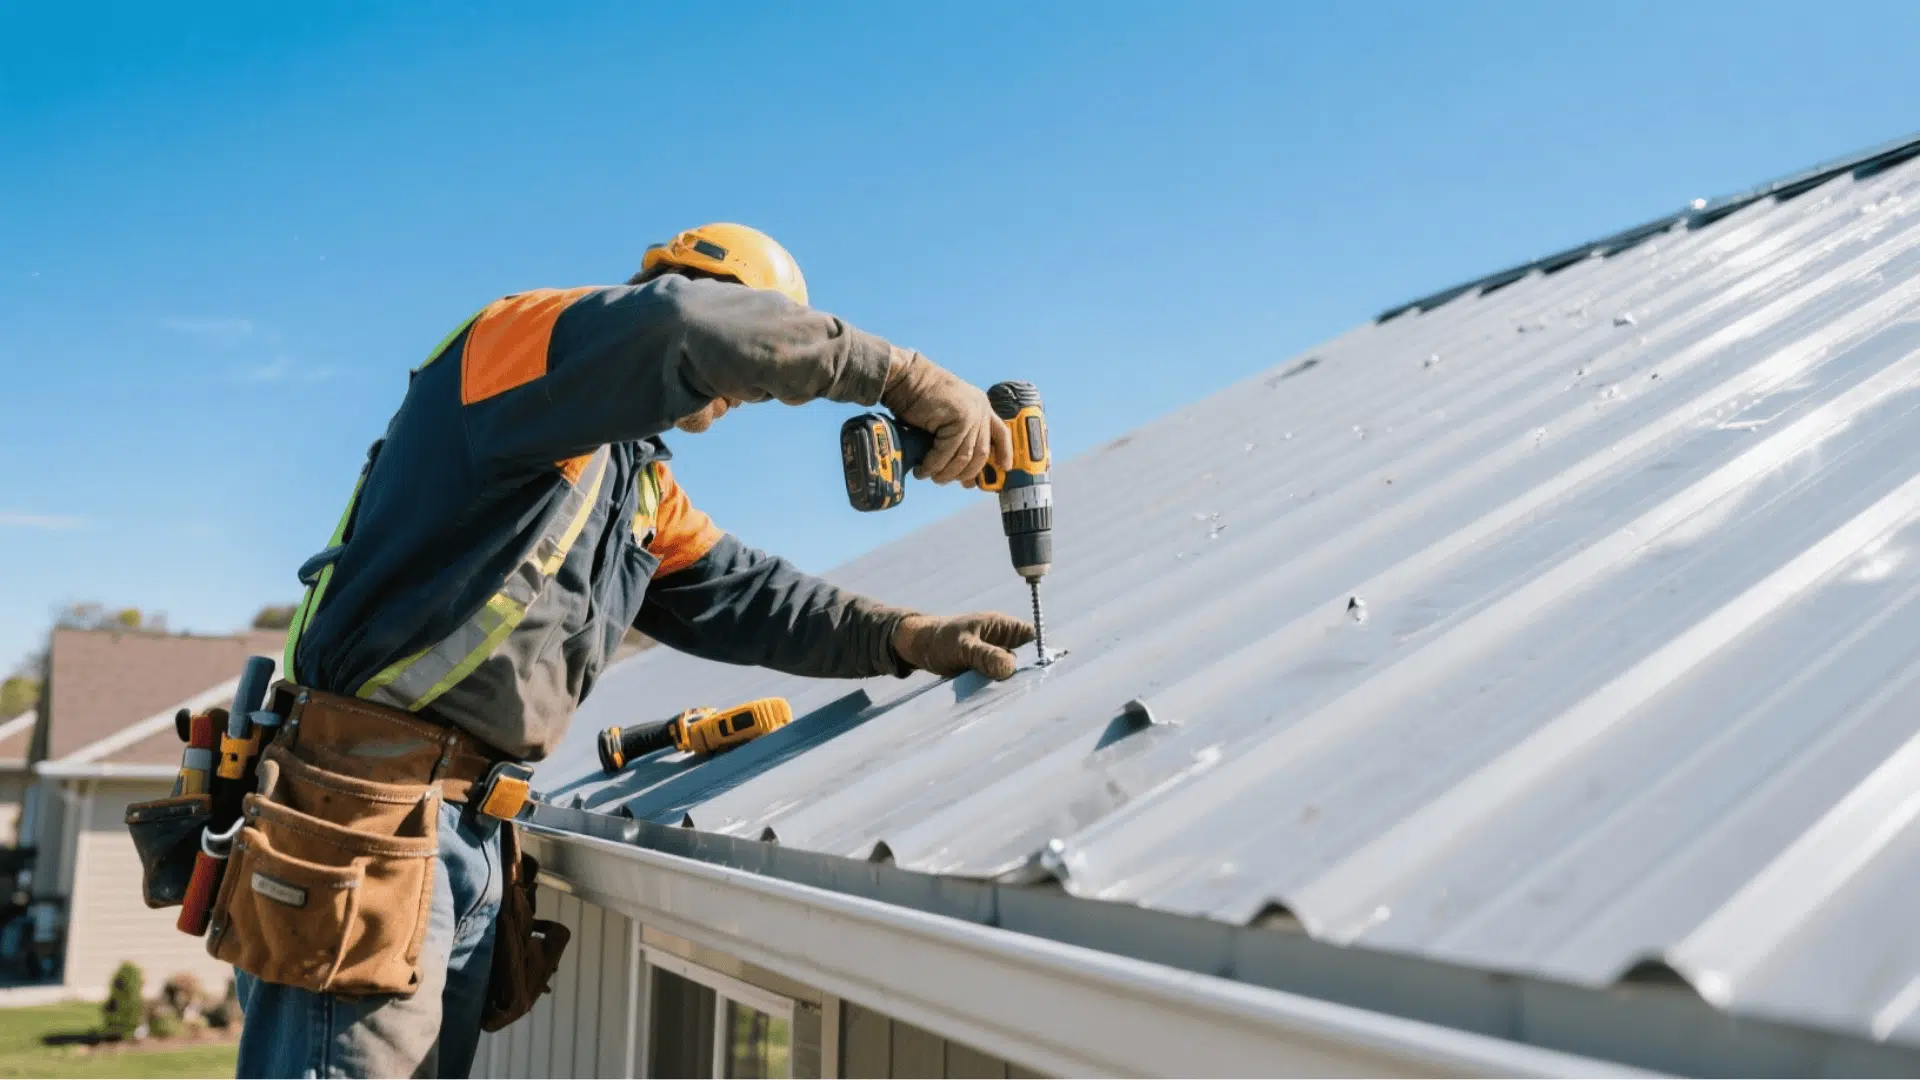
Ever wonder why more homeowners are choosing metal roofs? It’s not just the modern look; these roofs can last 50+ years, while traditional shingles wear out in 20.
But here’s the catch: installing metal roofing is nothing like laying down asphalt shingles.
From special tools to unique techniques, there’s more to it than meets the eye. Ready to discover what makes metal roof installation different?
What to Know Before You Install a Metal Roof?
Before you start hammering panels into place, a few key factors can make or break your project. Getting these basics right from the start saves headaches later.
- Choose your material wisely: Steel is affordable and tough, aluminum resists rust in salty coastal air, and copper ages beautifully but costs more
- Check local building codes: Many areas require permits for roofing work, so verify what’s needed before you order materials
- Measure your roof accurately: Calculate the exact square footage to avoid ordering too much or too little material
- Consider the slope: Metal panels work best on roofs with at least a 3:12 pitch for proper water runoff and long-lasting performance
Skipping these prep steps might seem like a time-saver now, but it usually leads to bigger problems down the road. Do your homework first.
Tools and Materials Required
Before starting your standing seam metal roof project, make sure everything is ready. The right tools and materials will make the job smoother, safer, and more precise.
| ITEM | PURPOSE |
|---|---|
| Safety gear | Keeps you protected from slips, falls, and sharp edges. |
| Pry bar & shovel | Helps you remove old shingles and nails quickly. |
| Measuring tools | Guides you in marking accurate lines and angles. |
| Drill & screw gun | Lets you fasten panels and trim firmly in place. |
| Metal bender & seamer | Helps shape and lock panels neatly together. |
| Underlayment & flashing | Creates a watertight layer and seals roof edges. |
| Metal panels & clips | Form the main surface and secure it to the deck. |
| Sealant & tape | Stops leaks by sealing gaps and joints tightly. |
| Ridge caps & vent boots | Finish off the roof peaks and seal around openings. |
Installing Metal Roof: A Step-by-Step Process
Installing a metal roof takes patience and precision, but these steps guide you through every stage, from initial prep to the finishing touches, so you can work confidently and achieve professional results.
Step 1: Prepare and Inspect the Roof Deck
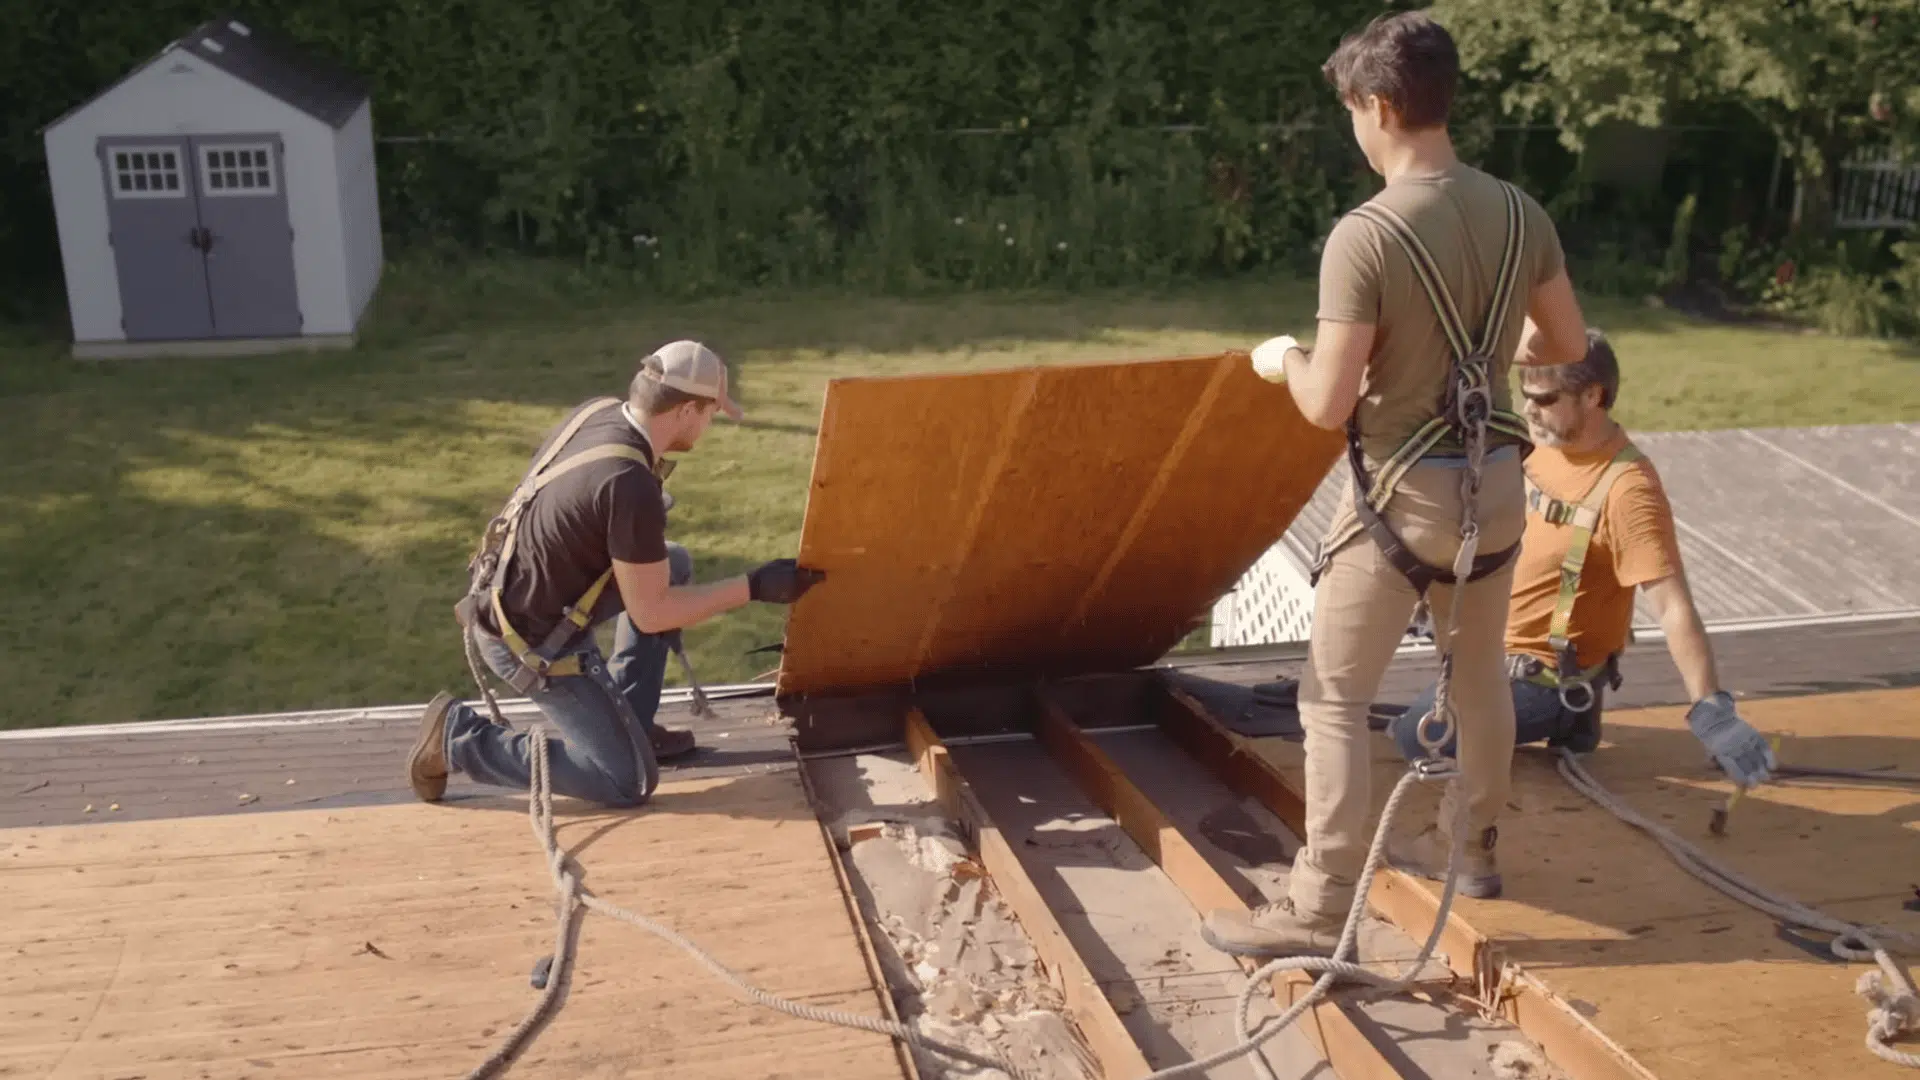
Before starting, the old shingles and underlayment should be carefully removed. Once exposed, the plywood deck must be inspected for damage, including rot, bowing, or delamination.
Any weak or uneven sections should be replaced to create a strong, flat surface. Using sistered two-by-sixes and string lines helps ensure that the new deck is even and ready for the new roof system.
Step 2: Apply the Underlayment
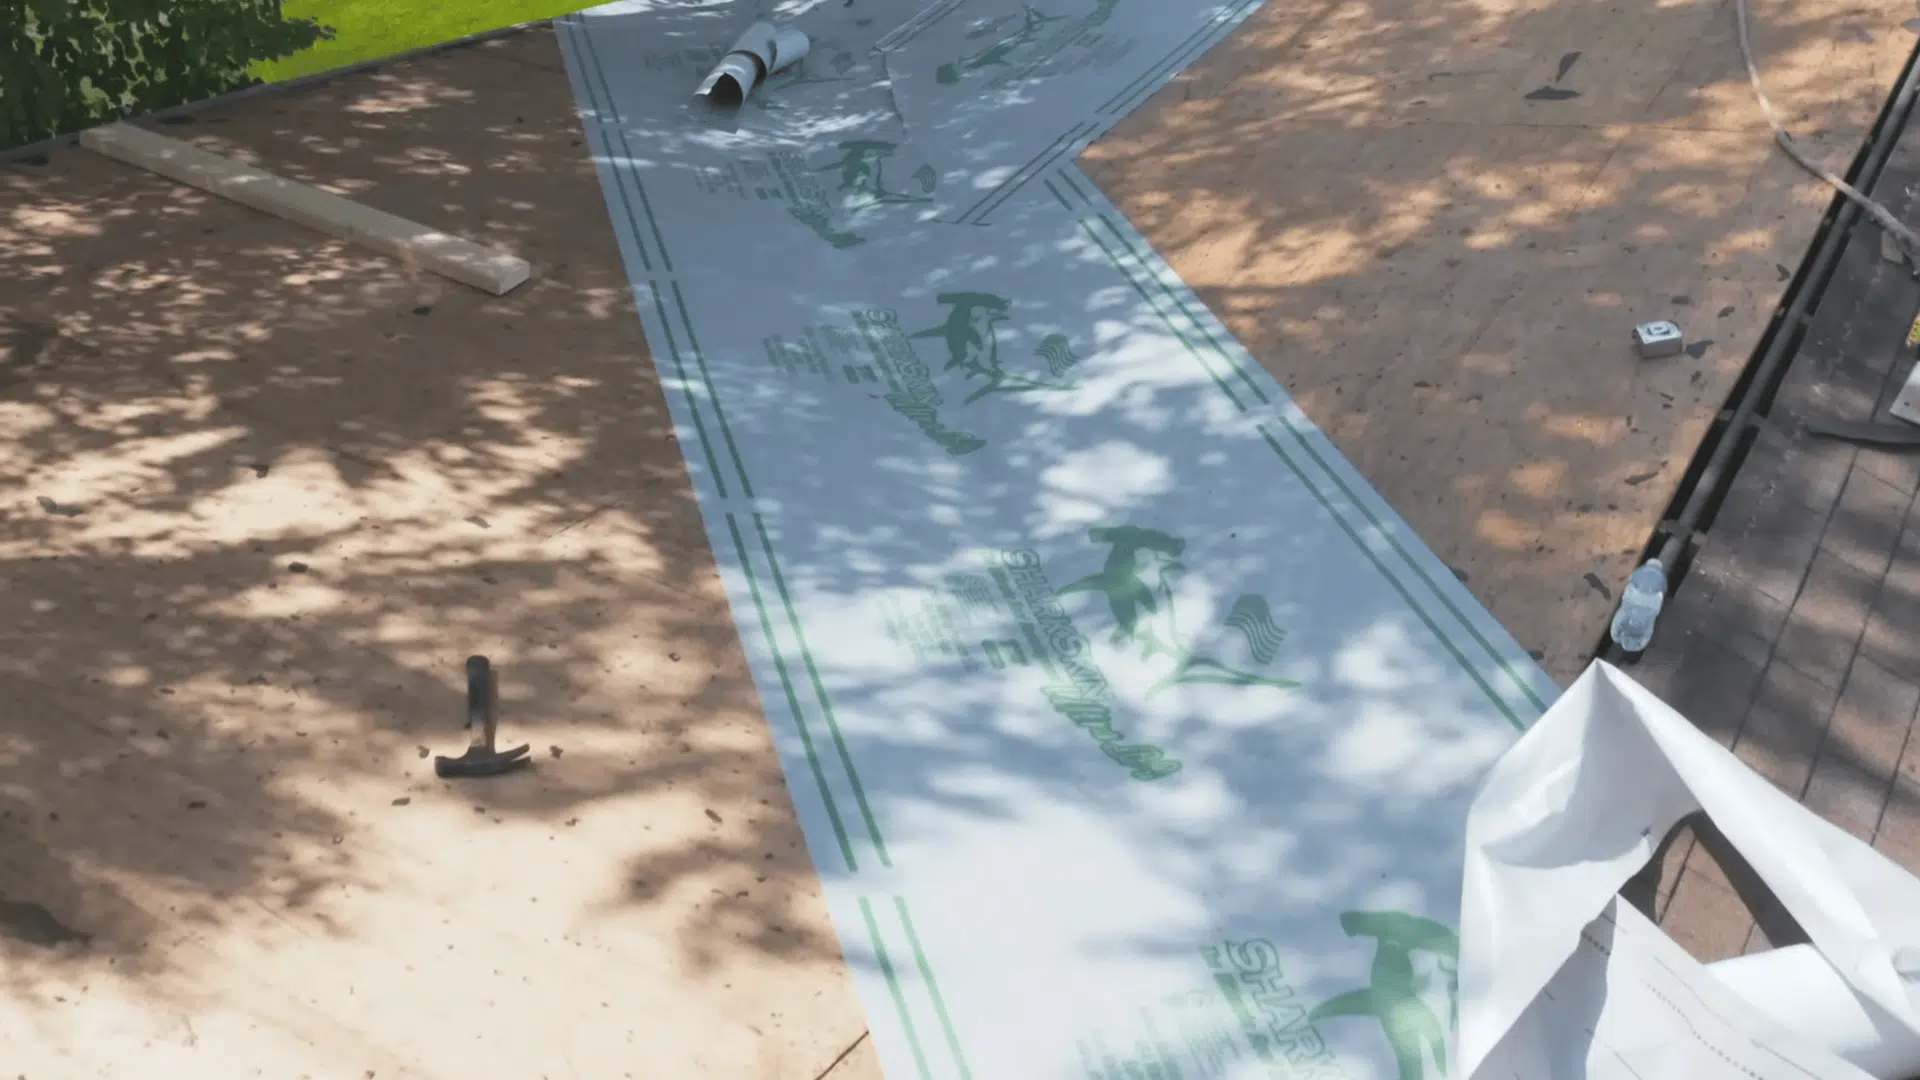
A fully adhered underlayment, like Sharkskin Ultra SA, is applied to create a watertight barrier. Begin with the valleys, maintaining a minimum 4-inch overlap for proper sealing.
Make sure the layers are shingled correctly so that water naturally flows off the roof. Smooth out any wrinkles or trapped air to prevent unevenness under the panels.
Step 3: Install Perimeter Flashing and Valley Metal
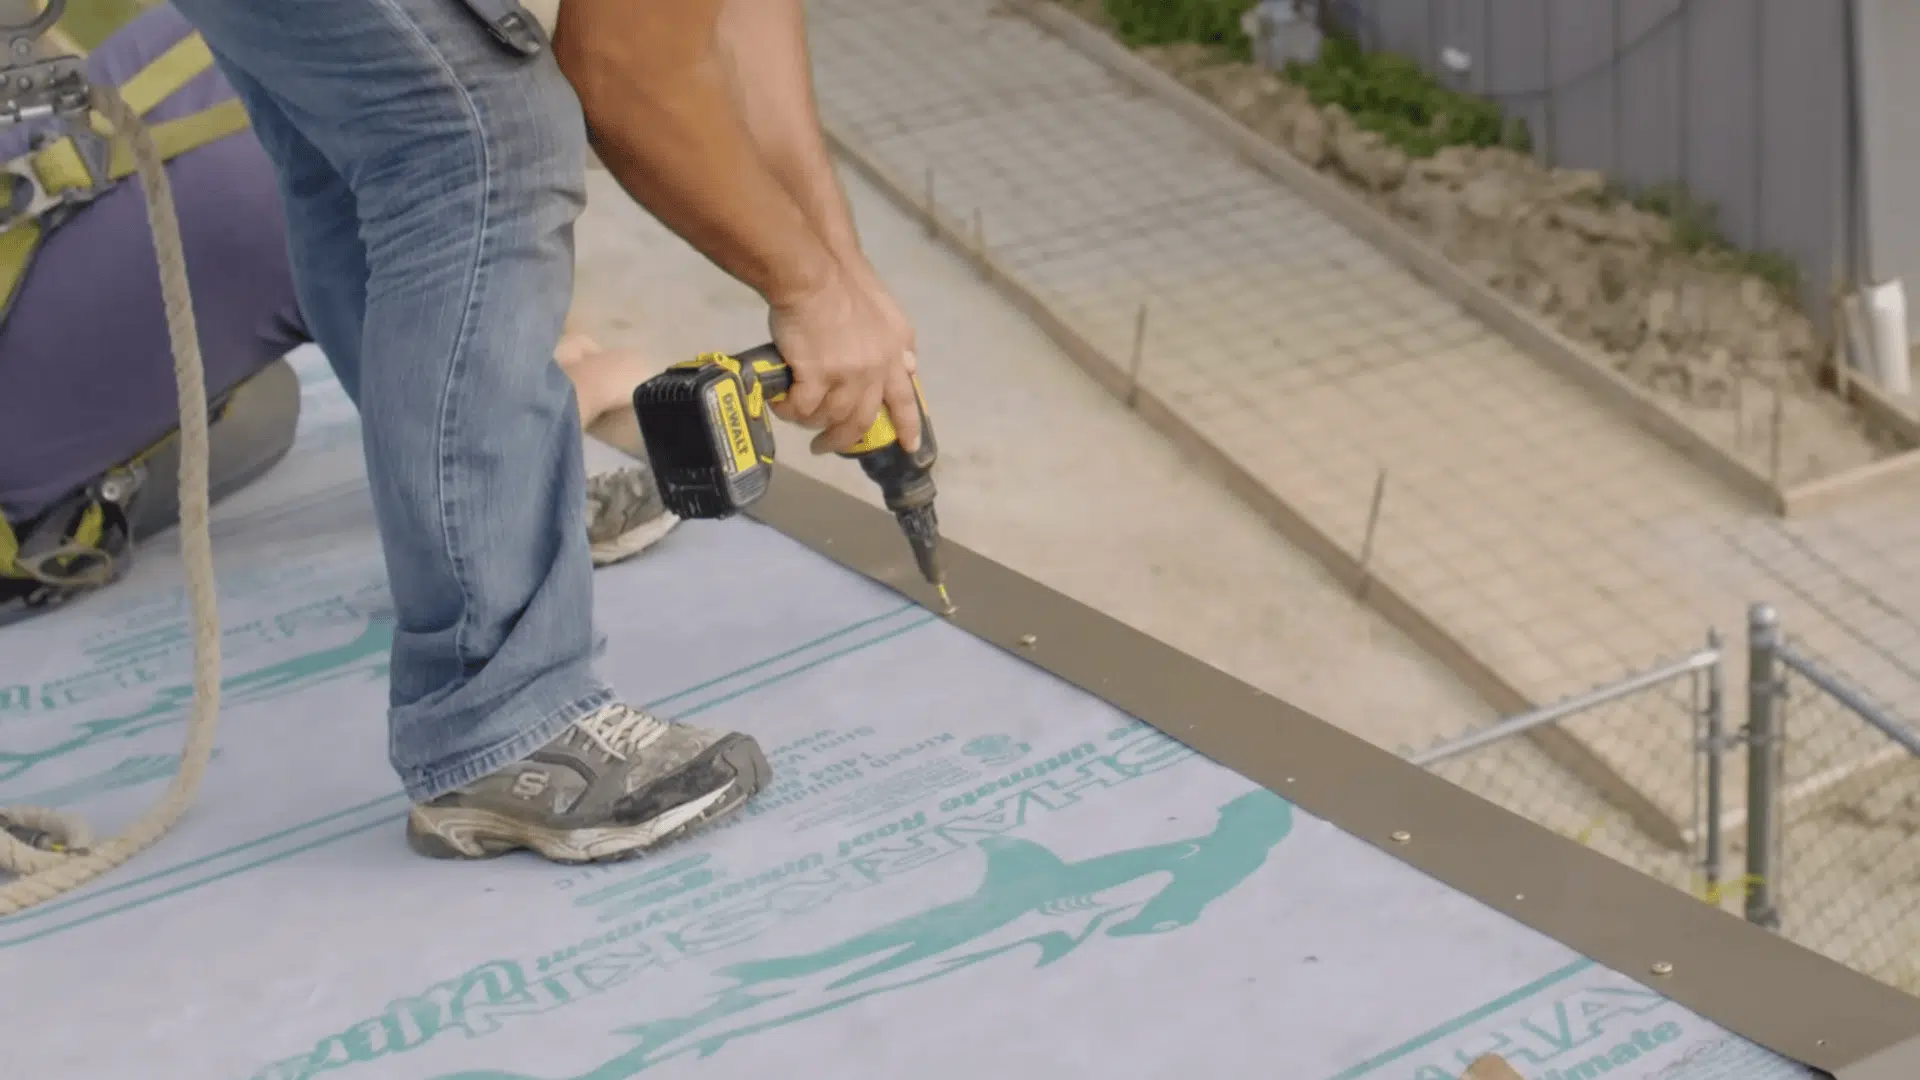
Next, attach perimeter flashing around the eaves and rakes following the recommended six-inch screw pattern. This strengthens the roof edges against wind uplift.
Then, install valley metal along the valleys using chalk lines to ensure straight alignment. Clean the roof surface before setting the flashing to prevent dents or debris under the panels.
Step 4: Lay Out and Install the Roof Panels
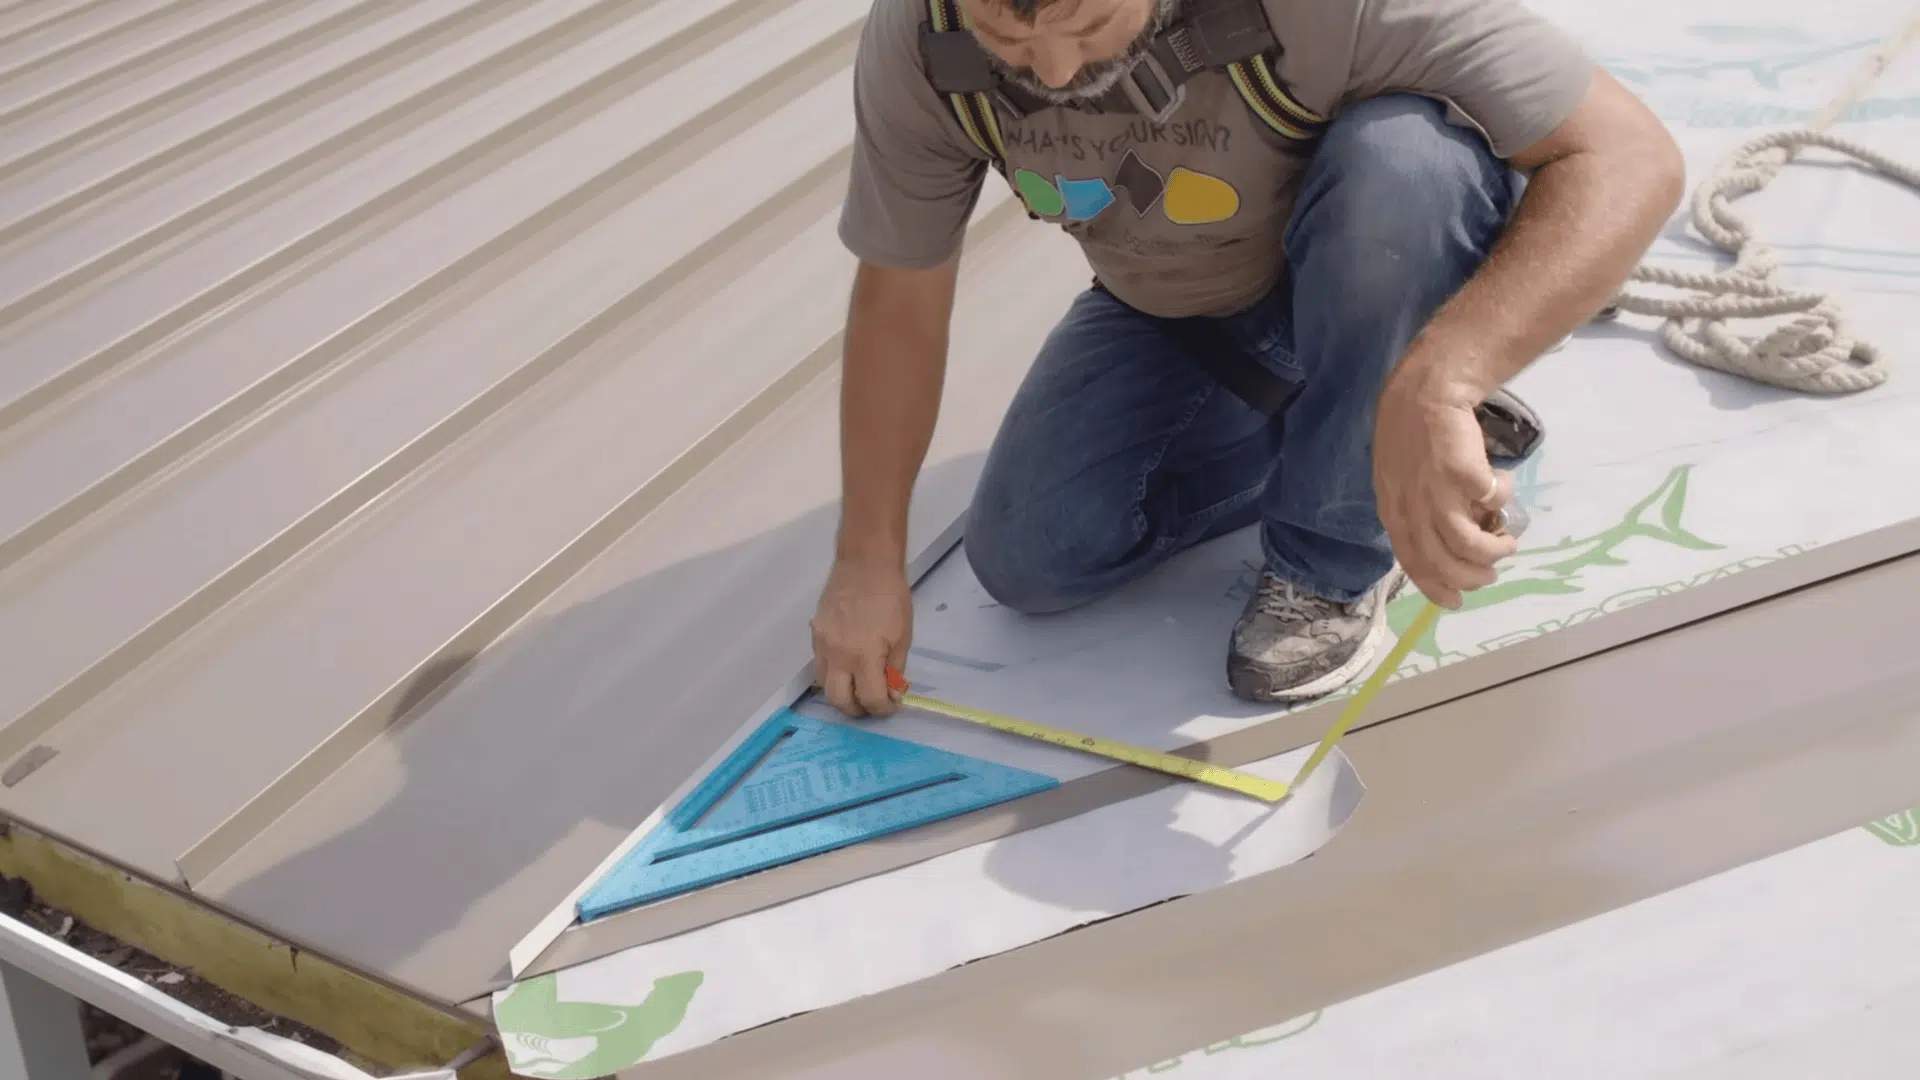
Plan the panel layout by measuring and marking the positions of each sheet. Align panels so that key features, such as chimneys or vent pipes, fall neatly within the panel space. Begin installation with the first panel, ensuring it is perfectly square.
Secure clips according to the manufacturer’s spacing (usually around 16 inches on center). Continue placing panels, sealing joints, and adding Z-closures at the ridge for structural support.
Step 5: Finish with Trim, Ridge Caps, and Flashing

Once all panels are in place, flash chimneys and pipes, seal all joints, and install vented ridge caps for proper airflow. Do a final inspection to ensure every screw and seal is secure.
Take your time with these finishing touches, and you’ll have a roof that looks great and lasts decades.
For more detailed instructions, refer to the YouTube video below:
Common Mistakes to Avoid When You Install a Metal Roof
Even experienced DIYers run into trouble when learning how to install metal roofing. Avoiding these common pitfalls keeps your project on track and ensures long-lasting results.
- Skipping the underlayment: Metal needs a protective barrier between it and the roof deck to prevent moisture damage
- Wrong fastener placement: Driving screws through the flat instead of the raised ribs causes leaks and panel distortion
- Overlapping panels incorrectly: Panels must overlap in the direction of prevailing winds, or water seeps through
- Ignoring thermal expansion: Metal expands and contracts, so fasteners need slight wiggle room to prevent buckling
- Cutting with the wrong tools: Abrasive saws create heat that damages protective coatings and causes rust
When to Hire a Professional
Installing metal roofing yourself can save money, but in some situations, expert help is needed. If your roof has a steep pitch, anything over 6:12, safety becomes a major concern, and professionals have the right equipment.
Complex roof designs with multiple valleys, dormers, or skylights require precise flashing work that’s tricky to master. Older homes might have structural issues that need to be addressed before new panels go up.
And if local codes require licensed contractors for permits, you’ll need to hire someone anyway. When the project feels overwhelming or safety is at risk, bringing in a pro makes sense and protects your investment.
Maintenance Tips for Metal Roof
After you install metal roof panels, proper maintenance extends their lifespan and keeps them performing well. Regular upkeep prevents small issues from becoming expensive repairs. Here’s what keeps metal roofing in top shape.
- Inspect twice yearly: Check for loose fasteners, damaged panels, or debris buildup, especially after storms.
- Clean gutters regularly: Clogged gutters trap moisture along the roof edges, which can cause corrosion over time.
- Remove debris promptly: Leaves and branches retain moisture, which can lead to rust and scratches on protective coatings.
- Touch up scratches quickly: Exposed metal rusts fast, so apply matching paint to any damaged spots immediately.
- Trim overhanging branches: Trees scraping against panels wear down coatings and create entry points for moisture.
Conclusion
Installing a metal roof isn’t the easiest weekend project, but it’s definitely doable with the right preparation and patience.
The key is taking your time with measurements, following proper installation techniques, and not rushing through the finishing details.
Metal roofing delivers decades of protection, energy savings, and curb appeal that’s hard to beat. If you’re deciding between DIY and hiring pros, I’d honestly weigh your skills; either way, it’s an investment that pays off for years.