Drywall textures do more than hide imperfections; they influence a room’s ambiance. In any home, you’ll notice the walls. Smooth walls give one atmosphere, while textured walls create a different feeling.
Some drywall textures hide flaws, others add character, and a few even help with sound.
The right choice depends on your style and space, but here’s what most miss: your wall texture often impacts a room’s feel more than its paint color.
What Are Drywall Textures?
Drywall textures are surface patterns applied to walls and ceilings using joint compound, plaster, or spray techniques.
Homeowners choose textured walls for several practical reasons: they hide imperfections such as uneven seams or minor dents, add visual character to plain rooms, and provide subtle sound-dampening.
Texture popularity has shifted through decades; popcorn ceilings dominated the ’70s and ’80s, while orange peel became a ’90s favorite.
Today, smoother textures like knockdown are trending. The texture you choose dramatically affects how light plays across your walls, making rooms feel cozy, spacious, modern, or traditional, depending on the pattern.
Common Types of Drywall Textures for Your Walls
Names vary regionally, so focus on the look you want; then match it to the method. Here are the most popular drywall texture options, from ultra-smooth modern finishes to bold artisan styles.
1. Smooth / Level 5 Skim Texture

The gold standard for contemporary spaces, this ultra-flat finish showcases clean lines and lets your lighting do the talking. It’s ideal for modern interiors where precision, minimalism, and flawless wall surfaces take center stage.
- Main Characteristics: Perfectly flat surface with no visible texture; requires multiple thin coats and flawless workmanship.
- DIY Level: Advanced; demands patience, skill, and the right tools
- Best For: Modern minimalist homes, high-end spaces, and rooms with dramatic lighting
2. Orange Peel Texture

One of the most common drywall textures in production homes, orange peel offers a fine, stippled finish that’s practical and forgiving. Its subtle pattern hides imperfections well and provides a clean, uniform look.
- Main Characteristics: Fine to medium “spritzed” bumps; creates a subtle dimpled surface that hides minor flaws.
- DIY Level: Moderate; needs a hopper gun and practice with spray consistency
- Best For: Entire homes, family spaces, and builders looking for a cost-effective finish
3. Knockdown Spray Texture

Today, among all the textures, knockdown is most requested for its mottled, refined look that balances character with subtlety. Its all-around finish works beautifully in both modern and transitional spaces.
- Main Characteristics: Spray texture, then flatten peaks with a wide knife; creates random “island” patterns.
- DIY Level: Moderate to Advanced; timing the knockdown pass is critical
- Best For: Living rooms, bedrooms, and contemporary homes wanting texture without heaviness
4. Knockdown Texture

A heavier, more rustic cousin of spray knockdown, this hand-applied method creates bold, organic patterns with real depth. Its textured finish adds character and warmth, making it an excellent choice for farmhouse and Tuscan.
- Main Characteristics: Stomp brush creates a dense pattern, then knocks it flat with a knife; larger, more pronounced fields.
- DIY Level: Moderate; physically demanding but forgiving of imperfections
- Best For: Southwestern homes, rustic interiors, and accent walls needing strong visual weight
5. Skip Trowel Texture

An artisan favorite, the skip trowel brings Mediterranean charm through random, hand-carved arcs that catch light beautifully. Its depth and texture add character, making walls feel warm, lived-in, and uniquely handcrafted.
- Main Characteristics: Hand-applied with trowel, “skipping” across surface; creates irregular, flowing patterns.
- DIY Level: Advanced; requires practiced hand control and artistic eye
- Best For: Feature walls, Spanish-style homes, and spaces wanting Old World character
6. Santa Fe Texture

A refined evolution of the skip trowel, Santa Fe texture offers broad, subtle fields that feel both organic and polished. Its smooth, layered finish creates a warm, handcrafted look that complements Southwestern rustic interiors.
- Main Characteristics: Two-coat process with wide trowel work; creates soft highs and lows with stylish flow.
- DIY Level: Advanced; demands skilled trowel technique and layering knowledge
- Best For: Upscale Southwestern interiors, dining rooms, and sophisticated accent areas
7. Swirl Texture

Classic and nostalgic, the swirl texture adds movement through hand-drawn overlapping circular patterns. It brings an ageless, decorative charm that works beautifully in traditional homes and vintage-inspired interiors.
- Main Characteristics: Hand-applied overlapping swirls using brush or trowel; creates rhythmic, circular motion.
- DIY Level: Beginner to Moderate; simple technique, but consistency takes practice
- Best For: Ceilings in traditional homes, vintage-style spaces, and rental properties
8. Sand Swirl Texture

Combining texture with grit, the sand swirl offers a softer, granular take on the traditional swirl pattern. Its flowing, circular design brings warmth and visual movement
- Main Characteristics: Joint compound mixed with sand additive, then swirled; creates a dimensional, tactile surface.
- DIY Level: Moderate; mixing ratios and swirl consistency require attention
- Best For: Casual spaces, coastal homes, and walls needing extra hiding power
9. Spray Sand Texture

An economical workhorse, spray sand delivers uniform tooth and excellent coverage for large projects. It offers a subtle, matte finish that softens light and adds gentle texture without drawing too much attention.
- Main Characteristics: Hopper gun applies a sanded mixture; creates an even, granular finish across the entire surface.
- DIY Level: Beginner to Moderate; straightforward spray application with consistent results
- Best For: Garages, basements, commercial spaces, and budget-conscious projects
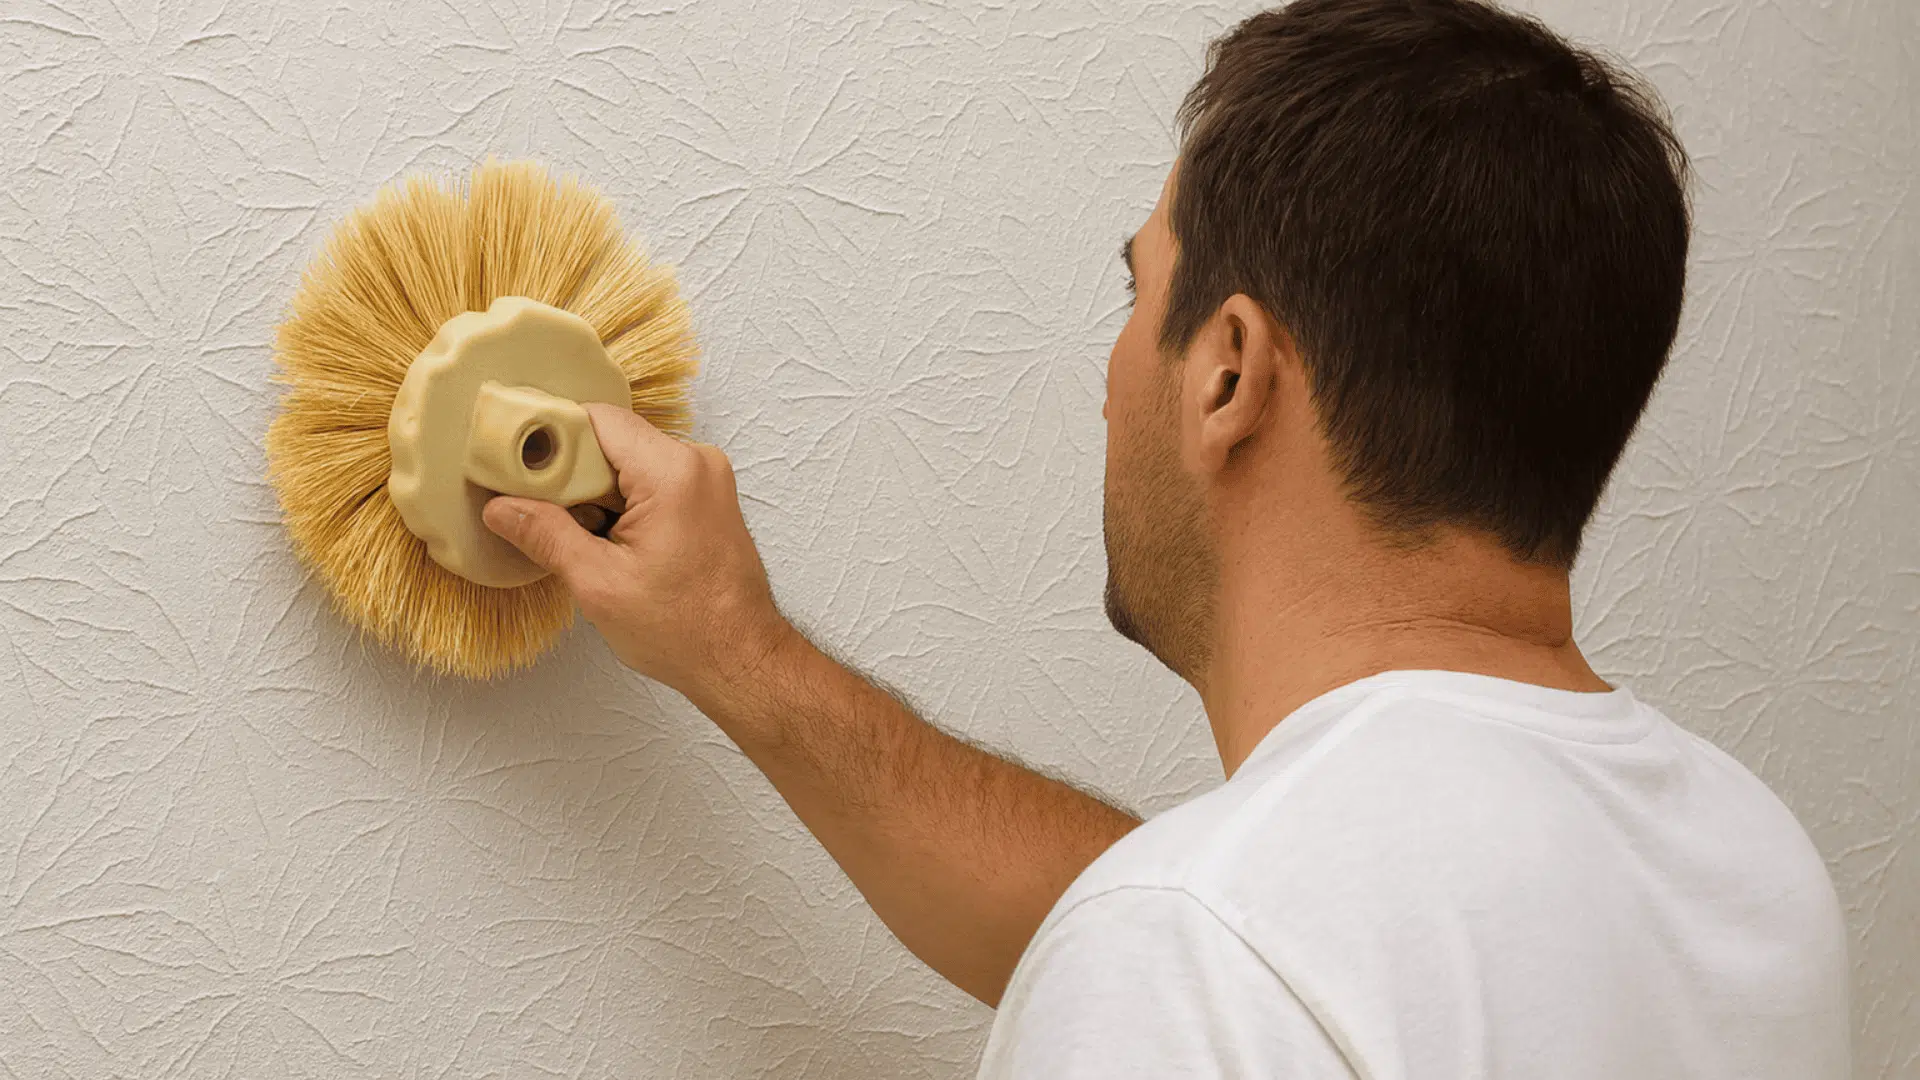
10. Popcorn Texture

Once all over on ceilings, popcorn texture now serves specific acoustic needs or renovation-matching purposes. It effectively dampens sound and conceals ceiling flaws, but it is less common in modern interior design trends.
- Main Characteristics: Deep, stippled bumps with three-dimensional relief; sound-absorbing properties.
- DIY Level: Beginner; spray application is simple, but removal is notoriously difficult
- Best For: Updating existing popcorn ceilings, soundproofing needs, and matching older homes
11. Spanish Lace Texture

Spanish lace blends Old World charm and high drama through intricate, island-like patterns with serious visual impact.
These fine, open designs summon Mediterranean sophistication, altering any space with their romantic, timeless appeal. The technique creates stunning visual depth that draws the eye and adds architectural interest to walls.
- Main Characteristics: Lace-like islands via spray plus knockdown or hand patterning; bold, decorative relief.
- DIY Level: Advanced; requires artistic skill and careful pattern control
- Best For: Statement walls, Mediterranean estates, and spaces demanding architectural drama
12. Comb Texture

Playful and graphic, the comb texture introduces linear rhythm through deliberate, toothed patterns. It’s perfect for accent walls or ceilings where you want to add artistic flair and a touch of visual structure.
- Main Characteristics: Toothed trowel or notched tool creates linear arcs, rainbows, or geometric designs.
- DIY Level: Moderate; technique is straightforward, but maintaining consistency takes focus
- Best For: Accent walls, children’s rooms, and retro or eclectic design schemes
13. Slap Brush / Crow’s Foot Texture

A ceiling classic, slap brush creates radiating bursts that add dimension overhead without overwhelming the space. It’s ideal for hiding minor imperfections while adding a subtle sense of movement and texture to ceilings.
- Main Characteristics: Brush pressed (slapped) repeatedly into wet compound; creates starburst or crow’s foot patterns.
- DIY Level: Beginner to Moderate; repetitive motion is simple but arm-tiring
- Best For: Traditional home ceilings, living rooms, and bedrooms wanting a subtle texture
Tools and Materials Required
Before you begin creating drywall textures, gather a few essential tools to ensure a smooth, professional finish. These items make the process efficient and help you achieve consistent results across both walls and ceilings.
| TOOL / MATERIAL | PURPOSE / USE |
|---|---|
| Joint Compound (Premixed) | Main material for creating drywall textures; consistency can be adjusted with water depending on the desired pattern. |
| Mixing Drill with Paddle Attachment | Used to mix joint compound thoroughly to achieve the right texture consistency. |
| Regular Roller with ½” Nap | Applies the joint compound evenly; can be used alone for an “antique” roller texture. |
| Patterned Texture Rollers | Create decorative designs such as broadleaf, basket weave, or vine patterns. |
| Trowels (Finish, Pool, Tile) | Used for hand-applied techniques such as skip trowel or heavy compound application on problem walls. |
| Sponges & Brushes (Stipple/ Stuckle Brush) | Create unique, custom patterns and stippled ceiling effects. |
| Primer | Prepares the wall and ensures consistent absorption and drying of the joint compound. |
| Plastic Sheeting & Painter’s Tape | Protects surfaces and trims from splatter during texturing. |
Step-by-Step Guide to Texture Walls and Ceilings Effectively
Applying drywall textures doesn’t require special skills; just patience, the right tools, and a bit of practice. Follow these steps to transform uneven or patchy walls into cohesive, stylish surfaces.
Step 1: Prepare Your Surface and Mix the Compound

Gather your tools (trowels, sponges, brushes, rollers) and ensure the wall is clean, dry, and primed for even absorption.
Using a drill with a mixing wand, thin the premixed joint compound with water to your desired consistency; thicker for defined patterns, thinner for softer finishes. The compound should spread easily without sagging or lumps.
Step 2: Apply the Base Coat With a Roller

A regular ½-inch nap roller is used to spread a layer of joint compound onto the wall. Rolling alone can produce a simple texture known as an “antique” finish.
The compound should be applied evenly and in one direction to avoid patchiness. Going over the area once or twice helps level the compound before adding any decorative pattern.
Step 3: Create Patterns Using Texture Rollers

Pattern rollers can be used immediately after the compound is rolled out. The roller should be lightly dampened to prevent dragging and ensure clean pattern transfer.
Each pass should move in the same direction for a consistent design across the wall. Decorative rollers can produce effects like broadleaf or vine patterns with very little effort.
Step 4: Apply Heavier Compound for Imperfections

For areas with seams, dents, or uneven patches, a thicker layer of joint compound can be applied with a trowel. The compound should not be so heavy that it risks cracking as it dries.
This method helps conceal problem areas by building up the surface. Once spread, the compound can be shaped into decorative designs depending on the trowel type. It provides both coverage and styling in a single step.
Step 5: Form a Skip Trowel Texture

A skip trowel finish involves lightly skimming a trowel across the compound to create irregular patches that hide imperfections, with results depending on trowel angle and compound amount.
With the right tools, patience, and a steady hand, you can achieve professional-looking results that depend on the trowel angle and amount of compound carried.
For a more real-time walkthrough, refer to this tutorial by See Jane Drill
When Should You Texture Your Drywall?
Timing and context matter when deciding whether to add texture to your walls. Understanding when texture helps and when it hurts saves you time, money, and future regrets.
- New builds and major remodels: Apply texture after finishing and sanding all seams
- Hiding minor imperfections: Masking small waves, fastener telegraphing, and surface irregularities
- Adding warmth and character: Choose soft knockdown or artisan trowel techniques for visual interest
- Acoustic control needs: Textured ceilings(deeper ones) can help absorb sound in echo-prone rooms
- Avoid texture when: Planning ultra-clean gallery walls, expect frequent repairs in high-traffic areas
The Bottom Line
Adding drywall textures can completely transform a room while hiding imperfections. Whether you choose skip trowel, knockdown, or another finish, the key is practicing your technique on a small area first.
Even professionals had to start somewhere, and mistakes can usually be fixed before the compound dries. Ready to give your walls a fresh look?
I encourage you to grab your supplies and start creating beautiful textured walls today; you’ll be surprised at the difference.