Looking at your space, you probably feel like it needs a seasonal refresh, but complicated projects sound exhausting right now.
I get it, fall decorating shouldn’t feel like a chore. But you can redefine your home with simple, budget-friendly touches that actually fit into your schedule.
This guide walks you through easy fall crafts that bring warmth and autumn vibes to any room. You’ll learn practical DIY ideas using materials you already have or can grab quickly.
Each project takes minimal time and effort, so you can enjoy cozy seasonal style without the stress. Let’s create a space that feels like fall.
Easy Fall Crafts to Try This Season
These easy fall crafts are the perfect way to slow down and add a little seasonal charm to your space without spending a fortune or needing fancy tools.
1. Cascading Cornucopia Pumpkins
Arrange pumpkins inside the cornucopia until you find a natural cascade. Add small dots of double-sided tape where the pumpkins touch, pressing them gently to hold shape.
Finish by tucking in decorative leaves or bats for extra fall charm.
- Skill Level: Beginner
- Perfect for: Individual
- Tools and Materials: Cornucopia, faux pumpkins, double-sided tape or balloon glue, faux leaves or bats, scissors
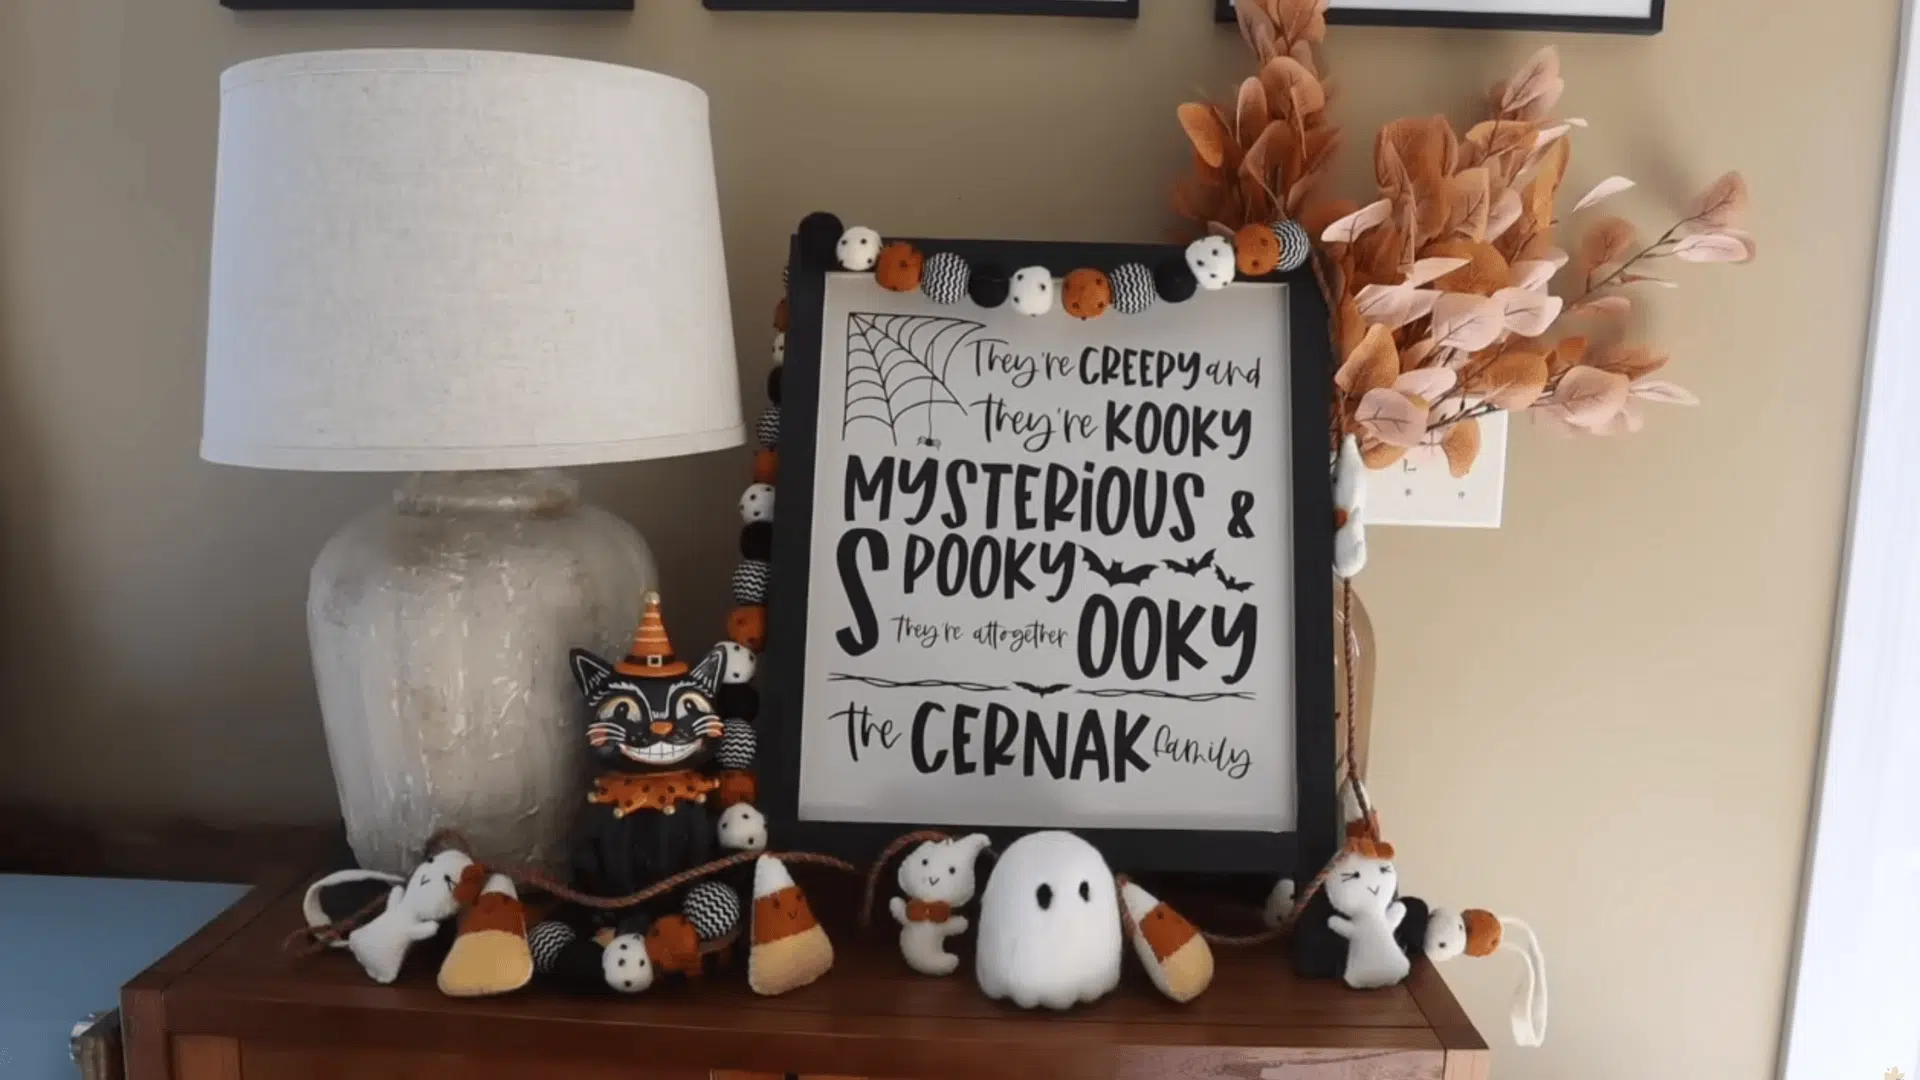
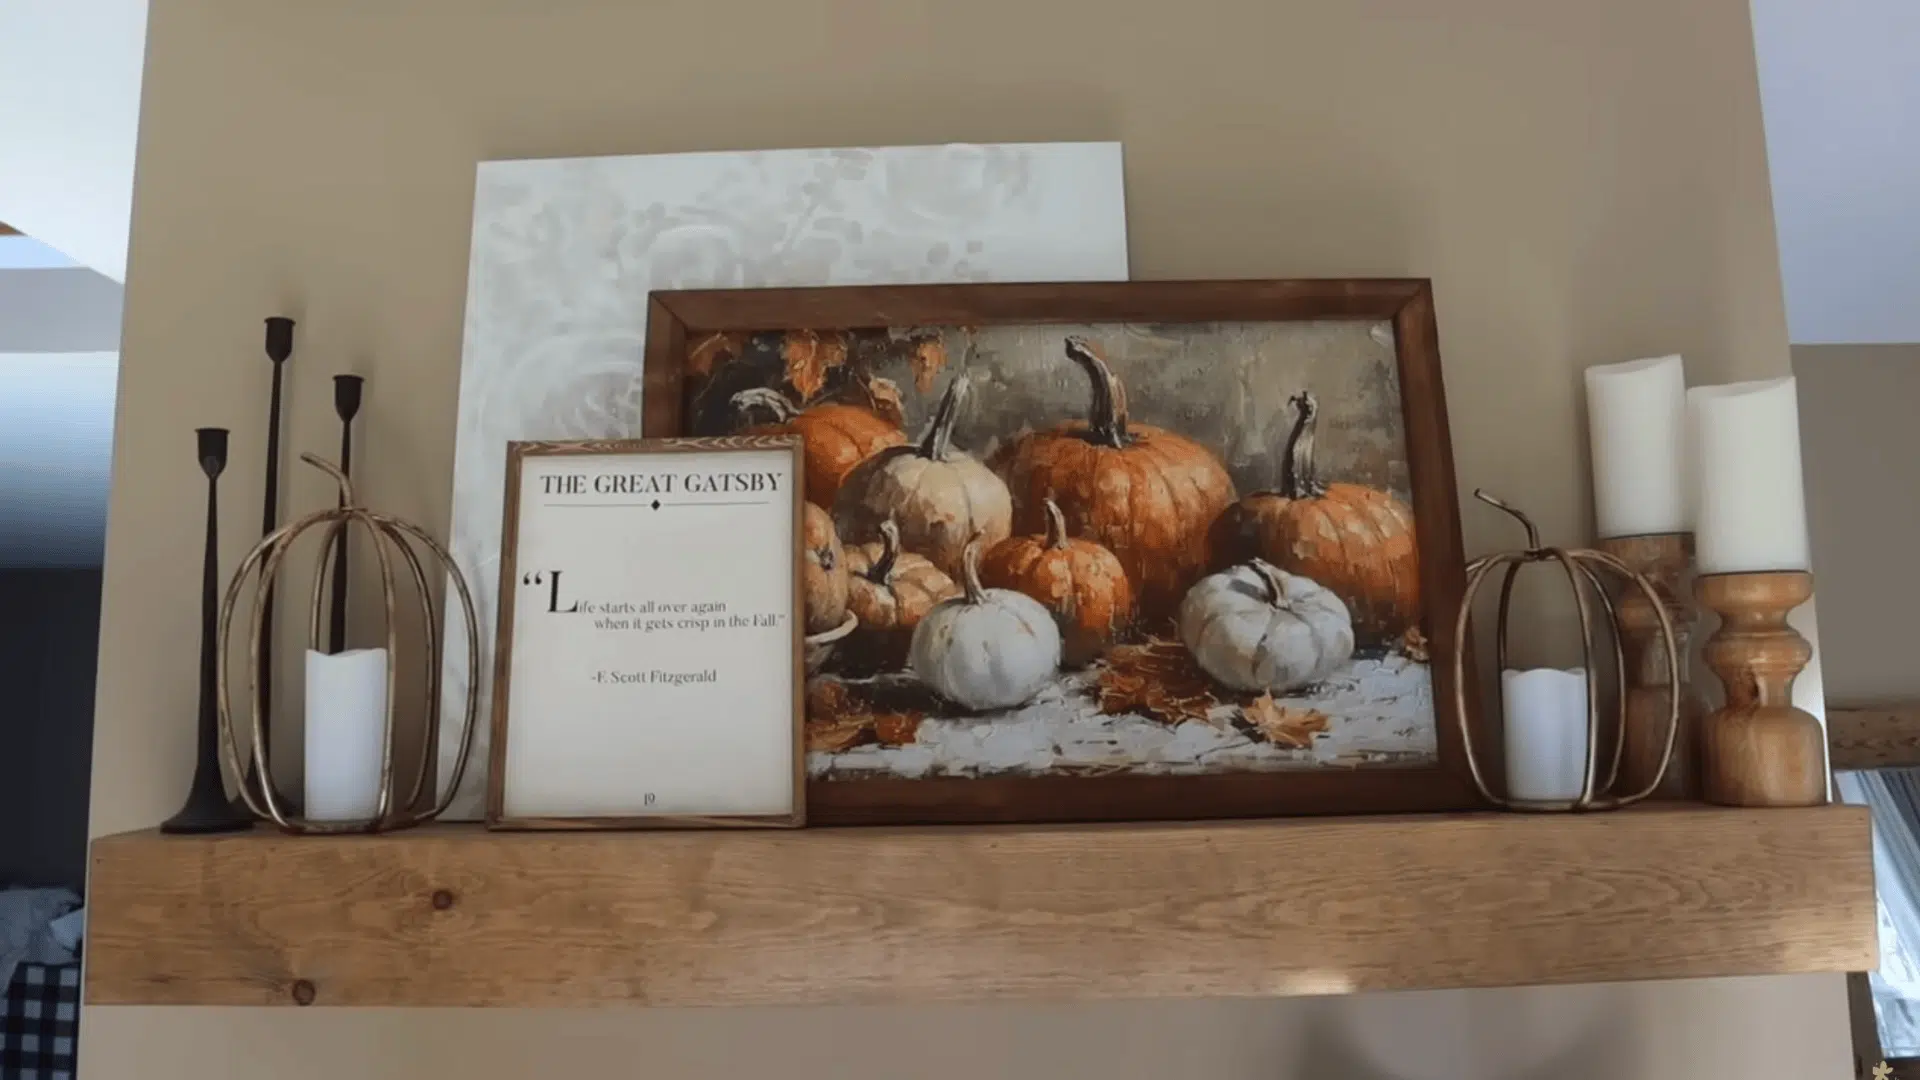
2. Oversized Textured Art with DIY Frame
Brush on a thin coat of matte Mod Podge and let it dry, then add a second heavier coat following the artwork’s contours for texture.
Cut and stain your mitered 1×2 frame pieces, aligning corners carefully. Tape the poster to the foam board and staple the frame around it for a polished finish
- Skill Level: Intermediate
- Perfect for: Individual
- Tools and Materials: 20×30 poster, matte Mod Podge, foam brush, 1×2s, miter box, stapler, stain or paint, foam board, tape
3. Lit Fall Grapevine Wreath
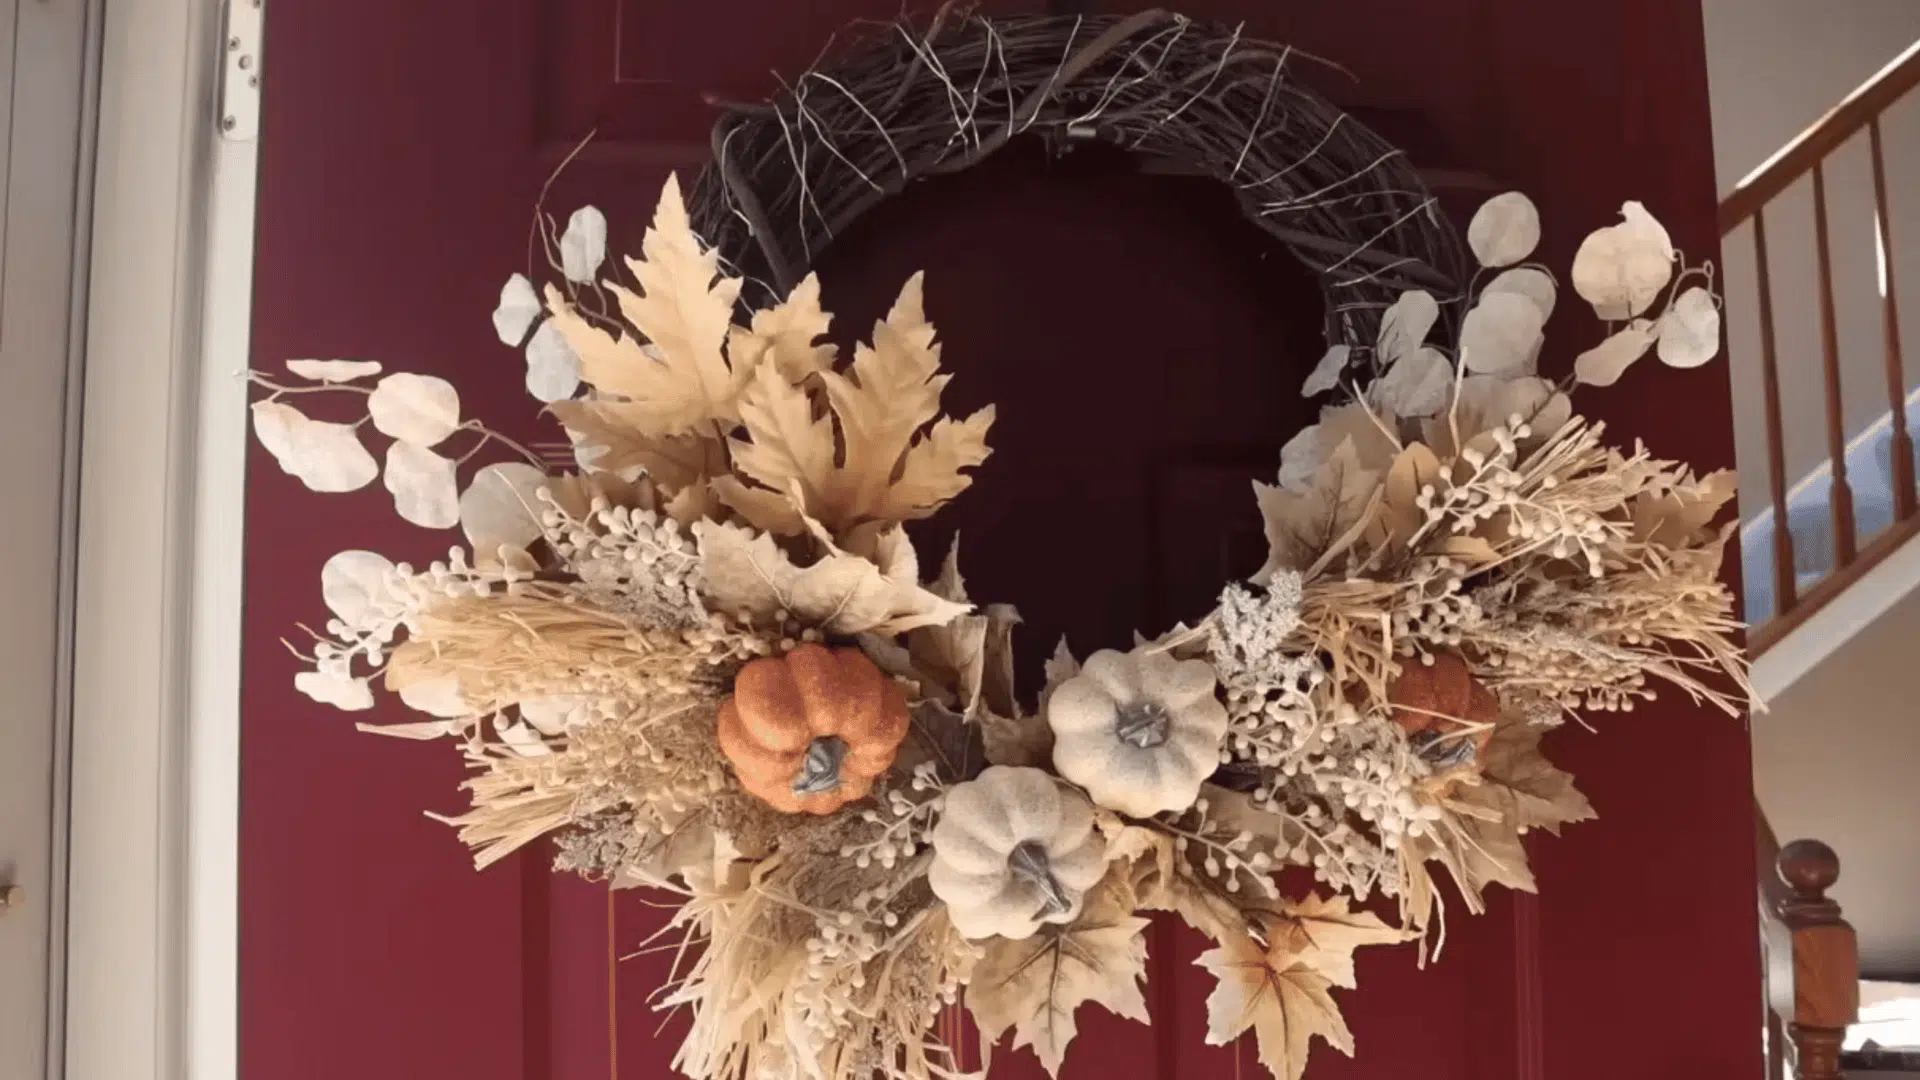
Wrap string lights evenly around the wreath and secure the battery pack behind. Add greenery first, then layer in flowers and filler stems by wedging them into the grapevine.
Adjust the layout until it looks full and balanced both day and night.
- Skill Level: Beginner
- Perfect for: Group friendly
- Tools and Materials: Grapevine wreath, battery lights, faux florals, wire cutters, and floral wire
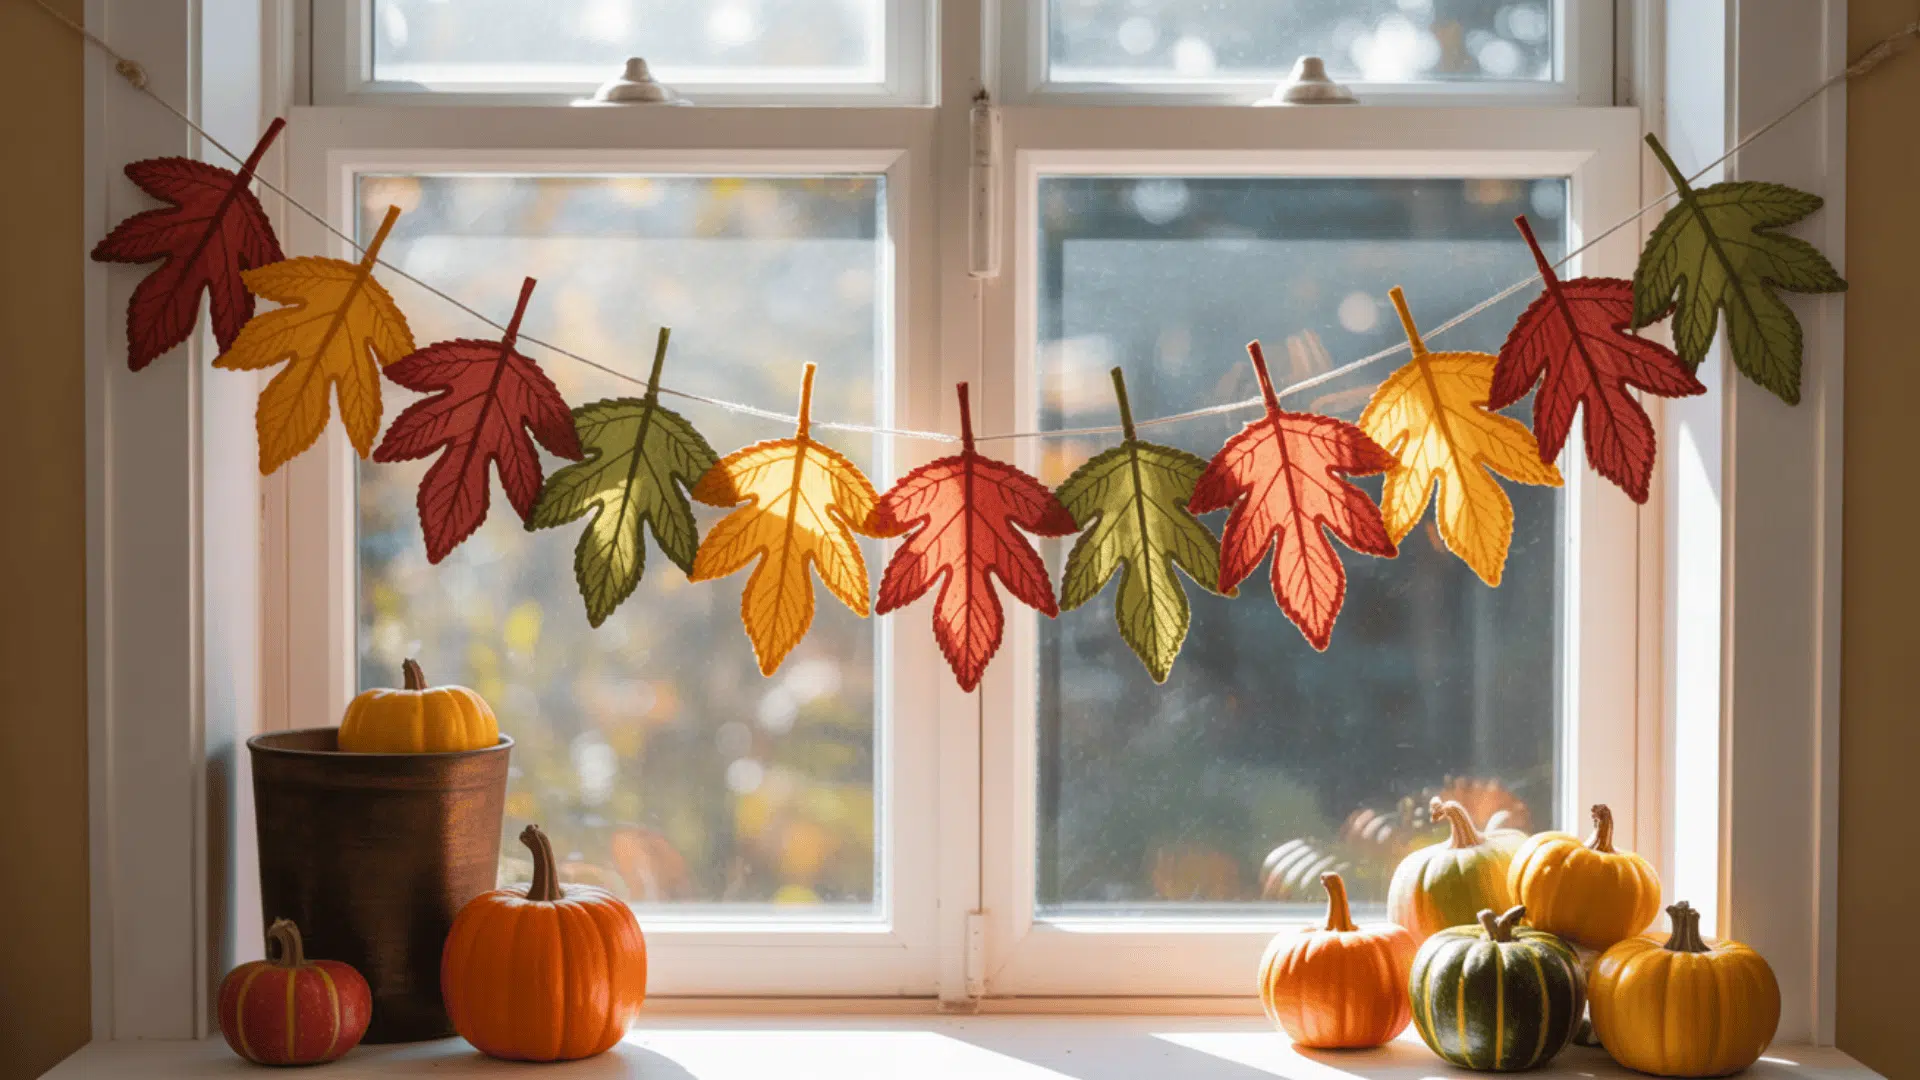
4. Burlap Leaf and Bead Garland
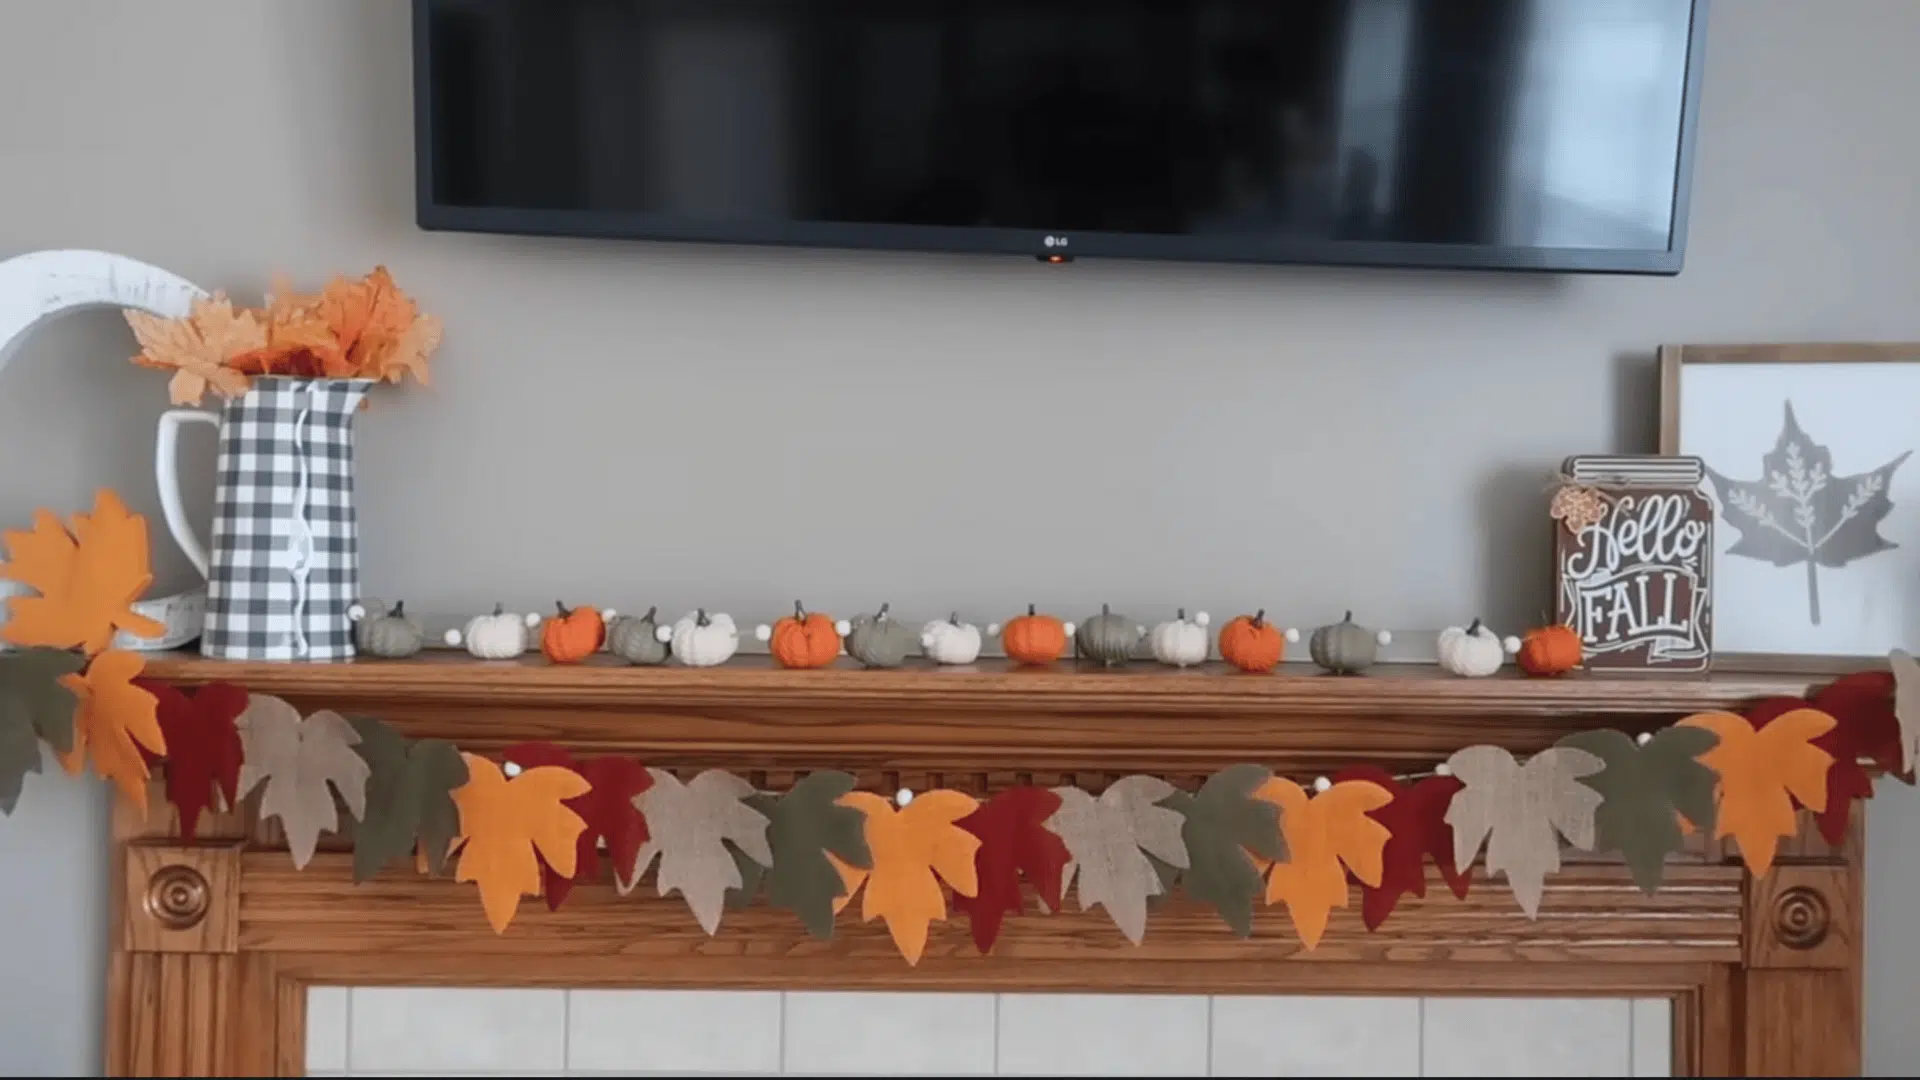
String wooden beads along the jute, leaving spaces where the leaves will go. Attach burlap leaves by threading or gluing them between beads. Finish by tying loops at the ends for hanging on your mantle or doorway.
- Skill Level: Beginner
- Perfect for: Group or family craft.
- Tools and Materials: Wood beads, jute twine, burlap leaves, needle, scissors
5. Printable Gingham Banner
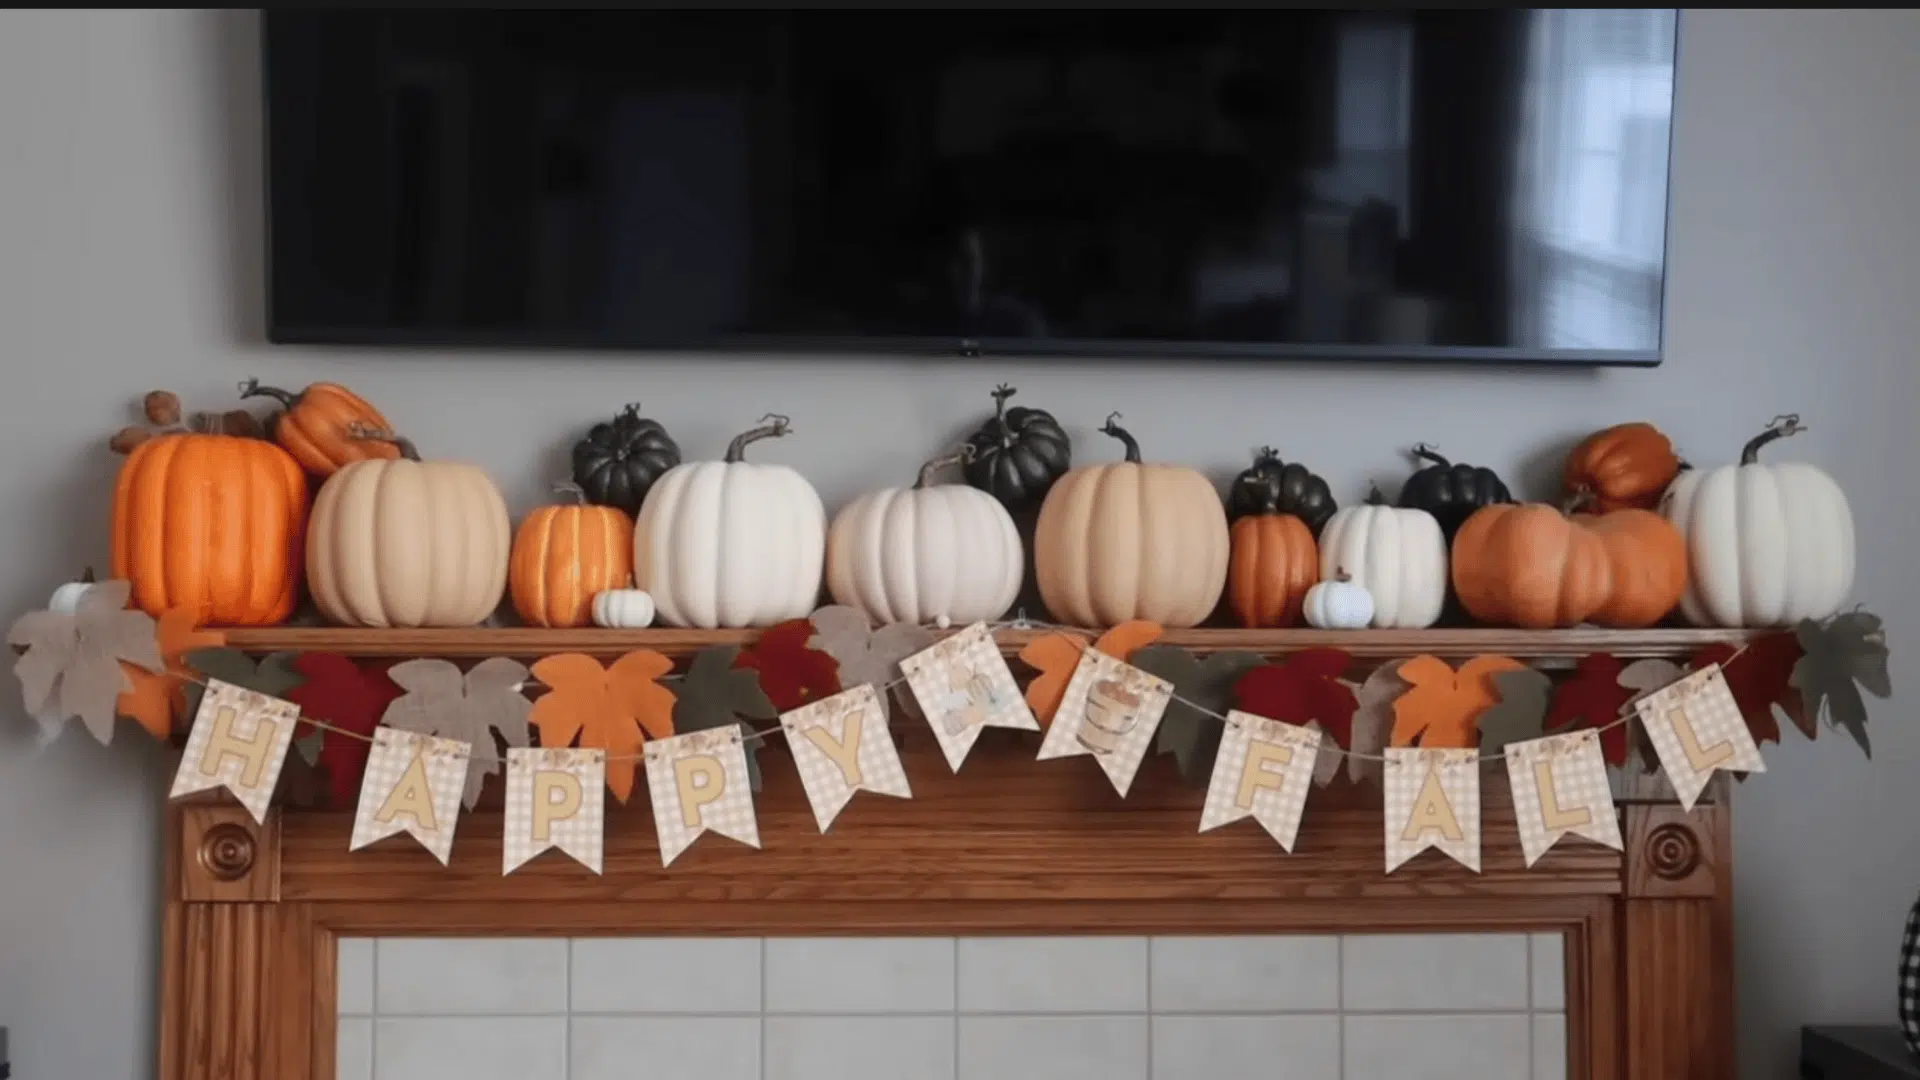
Print banner pieces on sturdy cardstock and trim neatly. Punch holes or fold top flaps to thread twine through. String all sections in order, adjust spacing, and hang layered above your fall garland.
- Skill Level: Beginner
- Perfect for: Group friendly
- Tools and Materials: Printed banner files, cardstock, hole punch, twine, scissors
6. Layered Wood Pumpkins
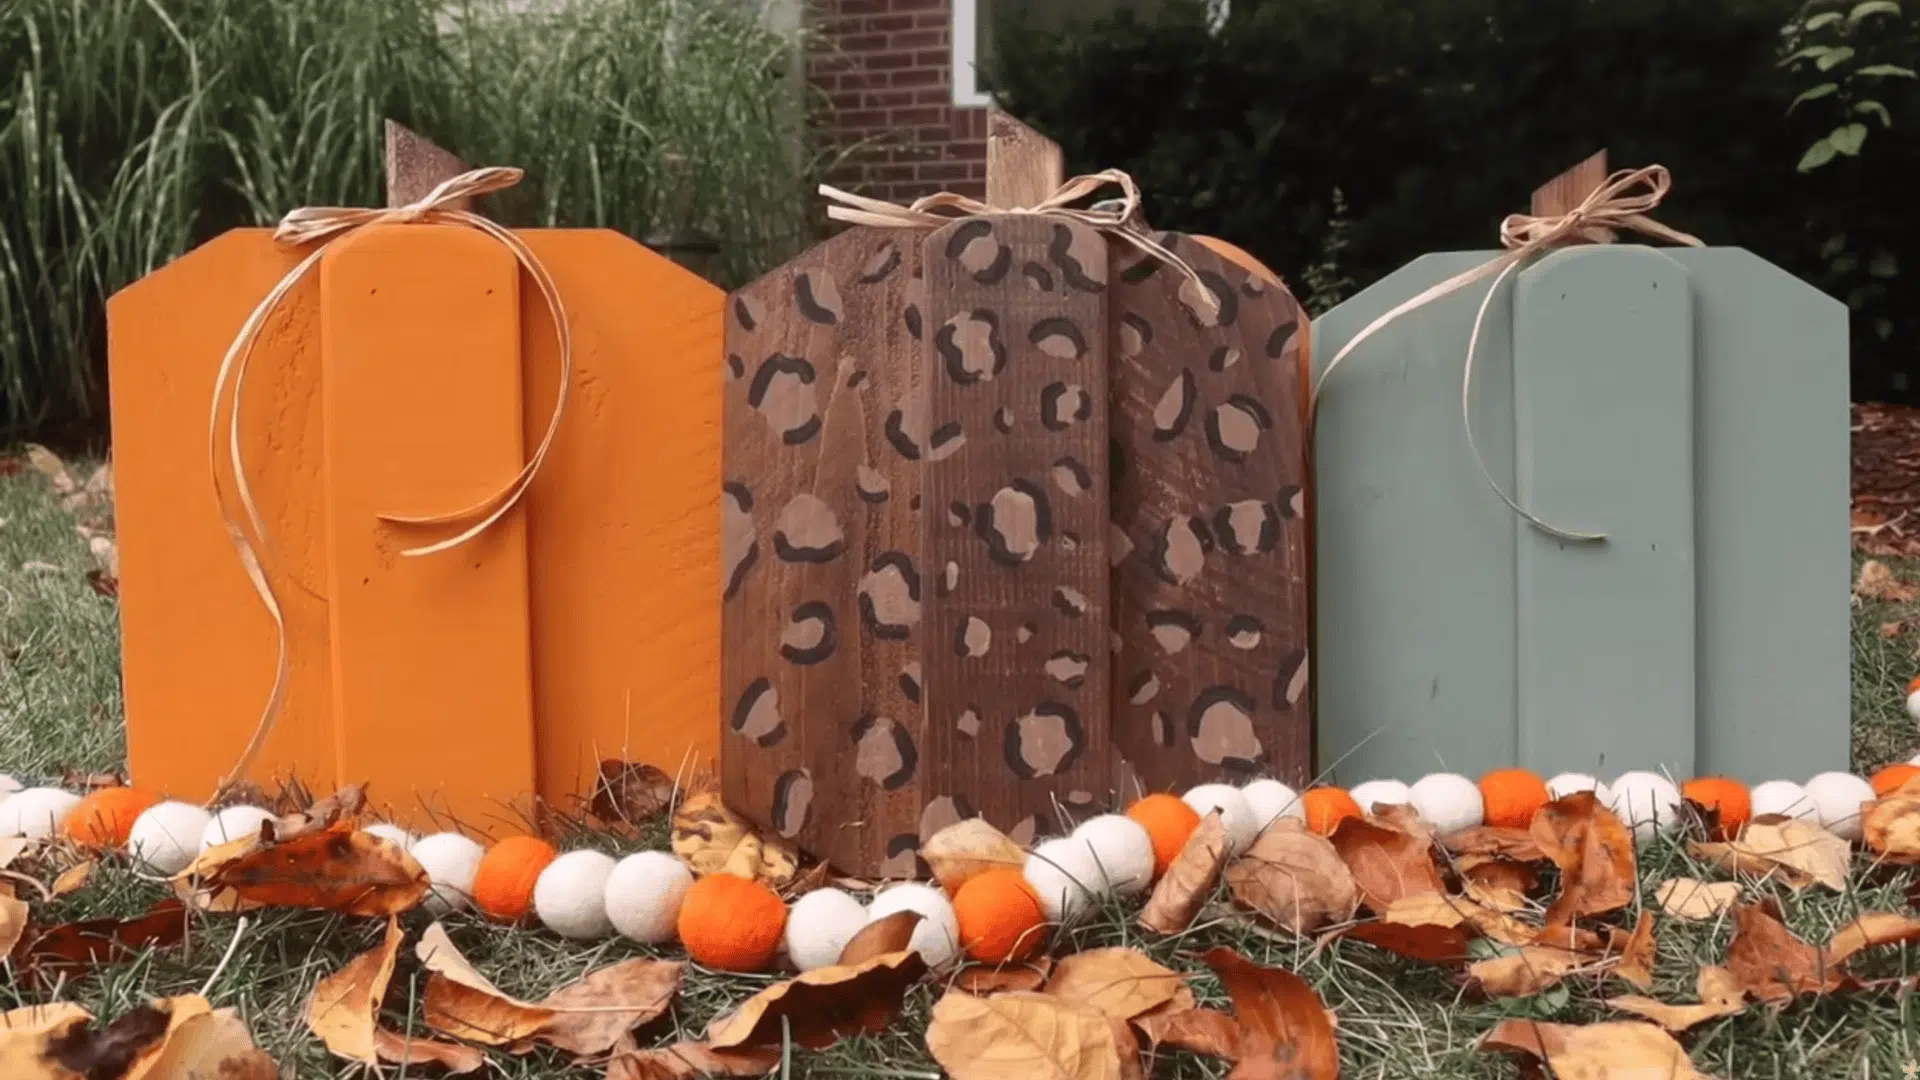
Cut and sand your boards to the desired size and shape. Glue and nail them together to form a stacked pumpkin, adding a stem at the top. Paint or stain in your favorite fall shades and seal to protect the finish.
- Skill Level: Beginner
- Perfect for: Individual or small group
- Tools and Materials: 1×6s, 1×4s, 1×2 stem, nails, glue, sander, paint or stain
7. Pumpkin Vase Centerpiece
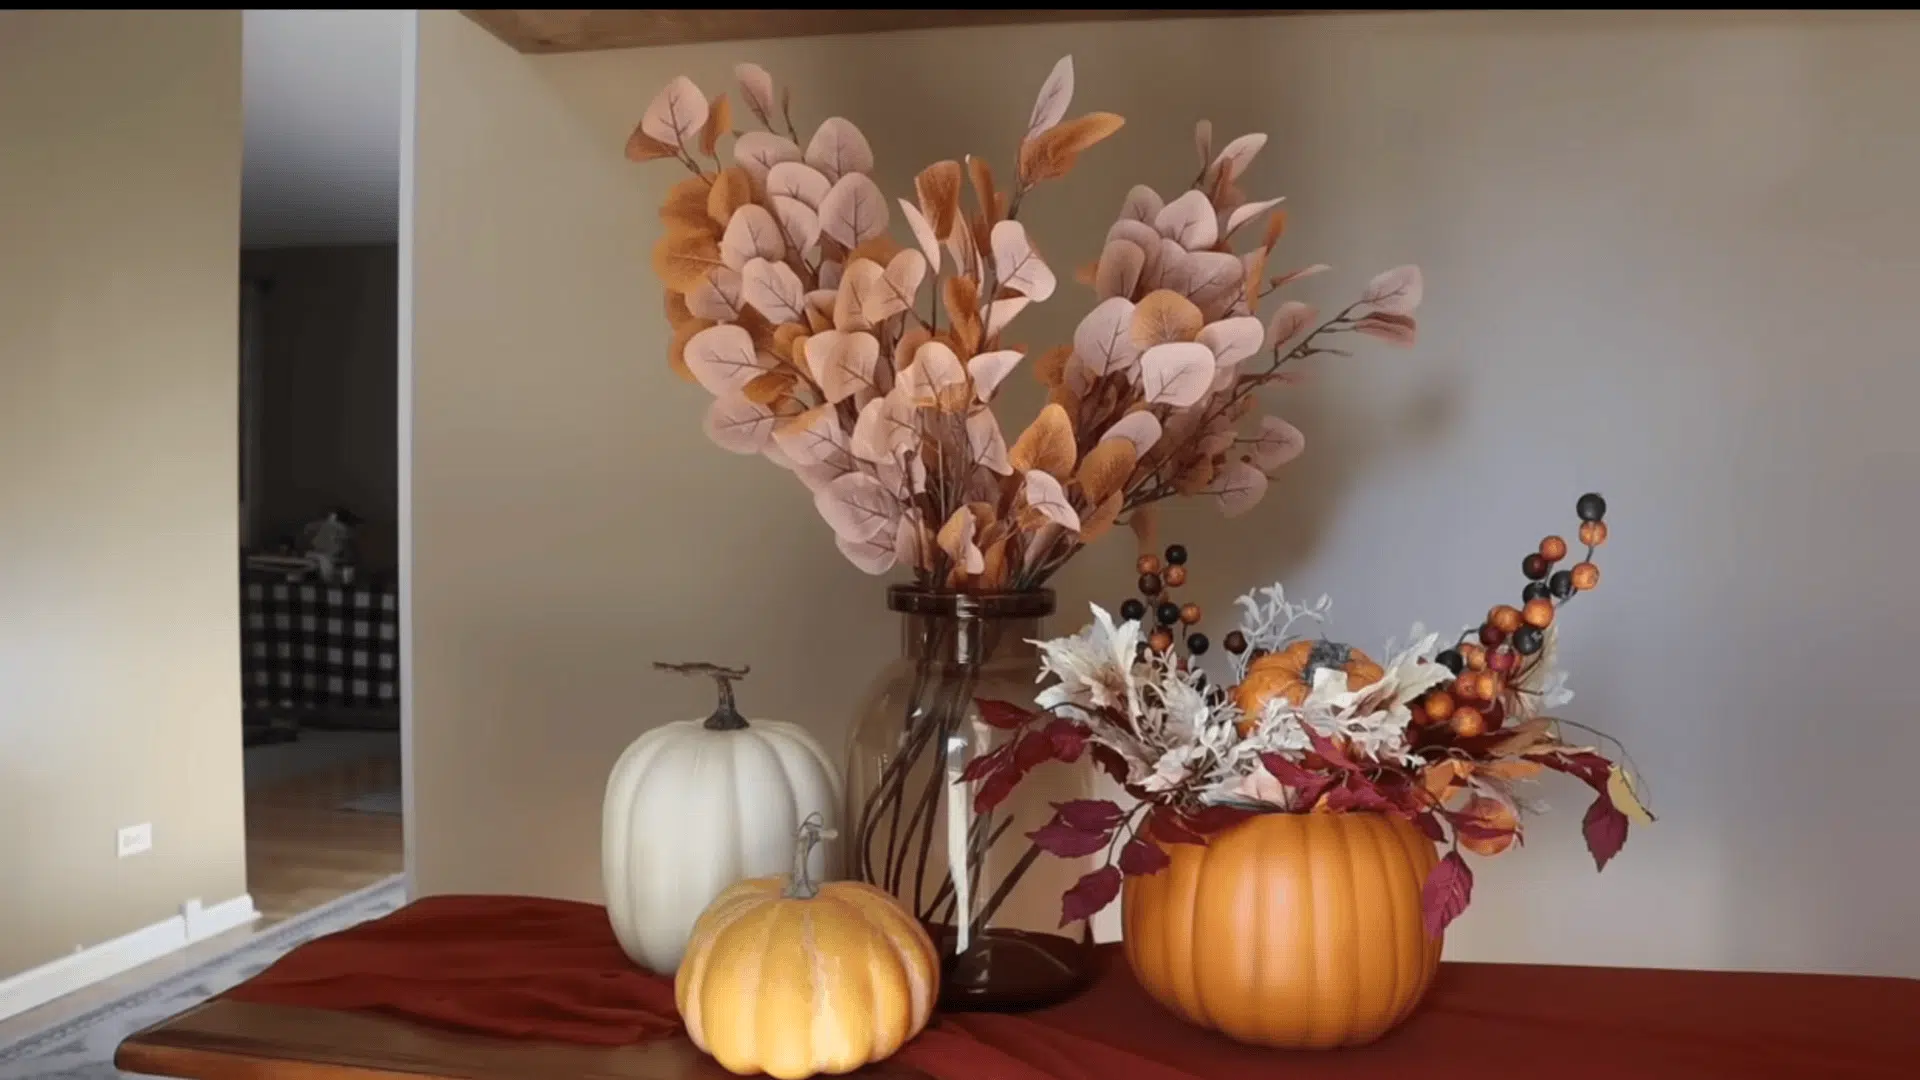
Cut off the pumpkin’s top and shade the grooves with wax or paint for dimension. Insert floral foam or keep stems short for support. Build your arrangement from the center outward using leaves, flowers, and filler pieces.
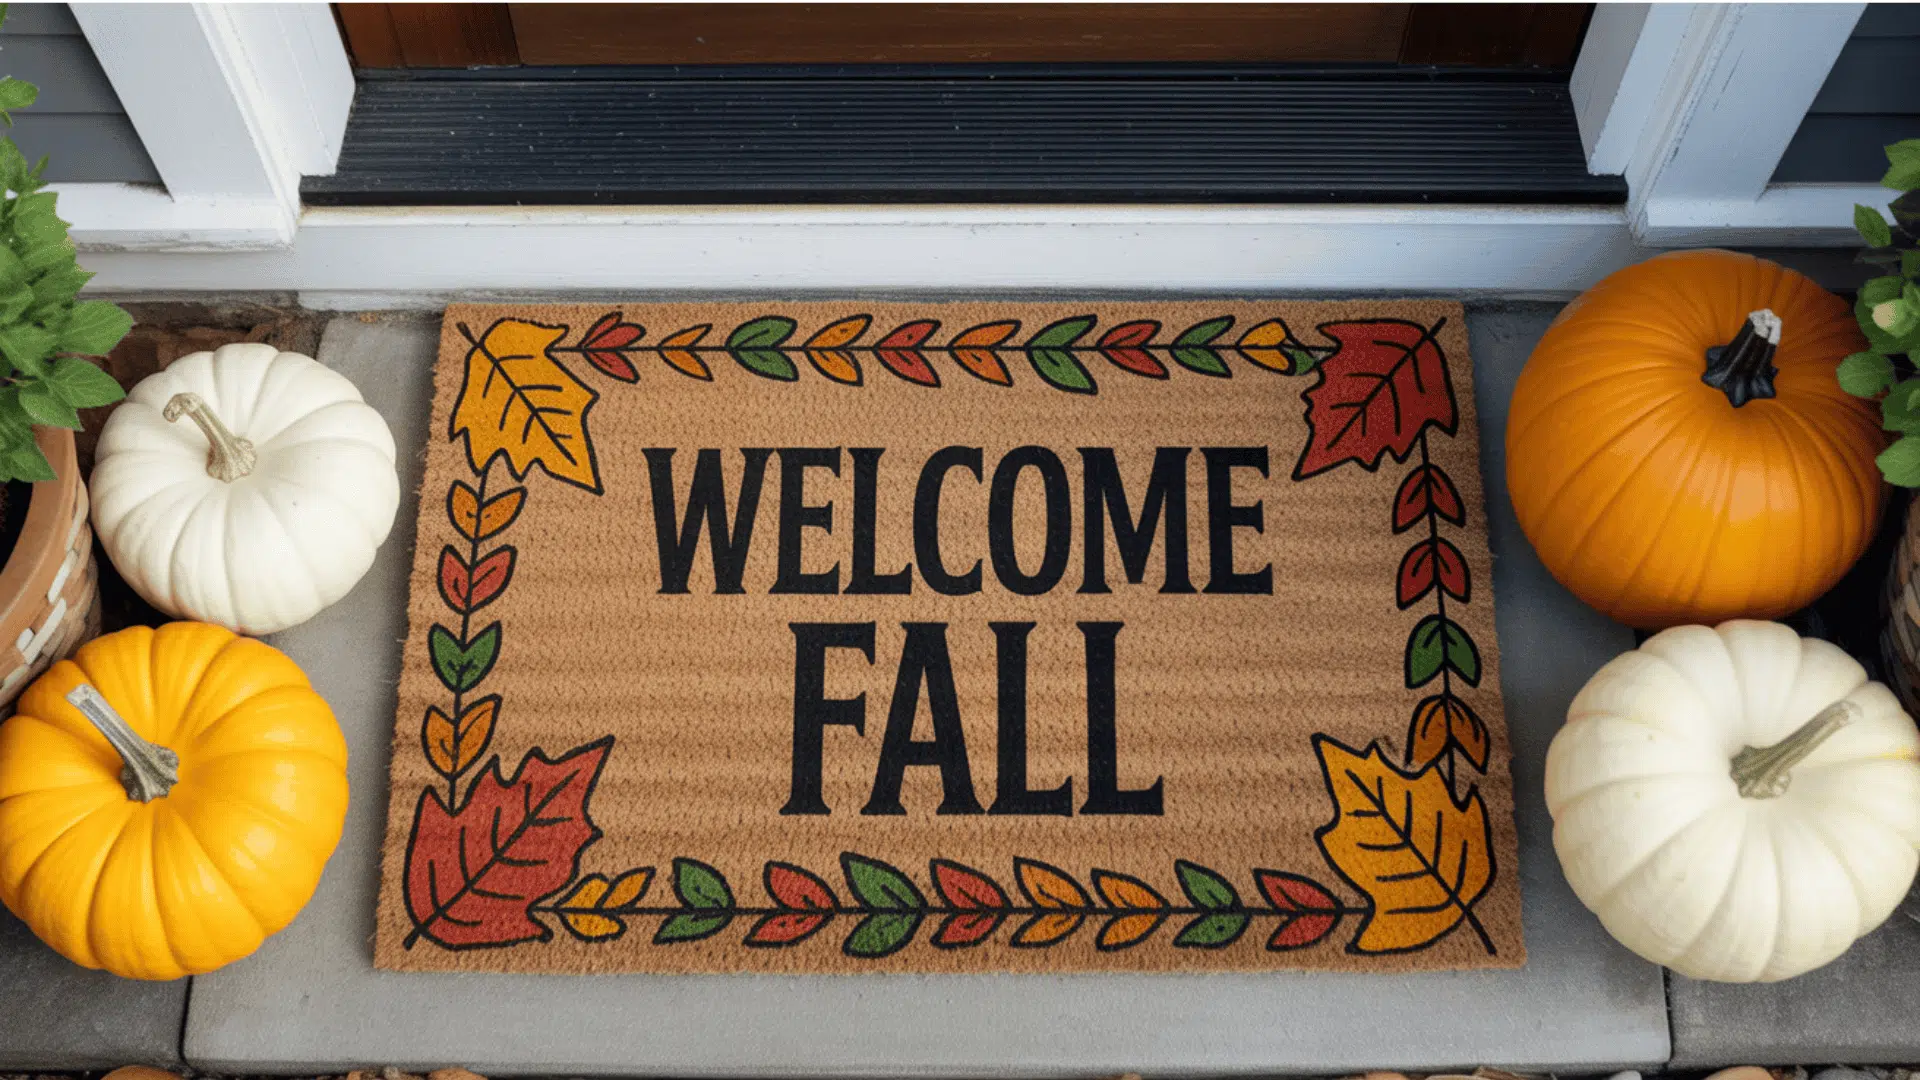
- Skill Level: Beginner
- Perfect for: Group friendly
- Tools and Materials: Faux pumpkin, craft knife, wax or paint, faux florals, foam, wire cutters
8. Loofah Pie Slice Garland

Cut the rainbow into triangular “pie slices” and paint them orange. Glue felt backing and nautical rope crusts on each, then top with rolled loofah dollops as whipped cream.
String the finished slices and wood beads onto the jute for display.
- Skill Level: Beginner
- Perfect for: Group craft
- Tools and Materials: Rainbow decor, loofah, felt, nautical rope, glue gun, paint, beads, jute
9. Scrap Wood Felt Pies
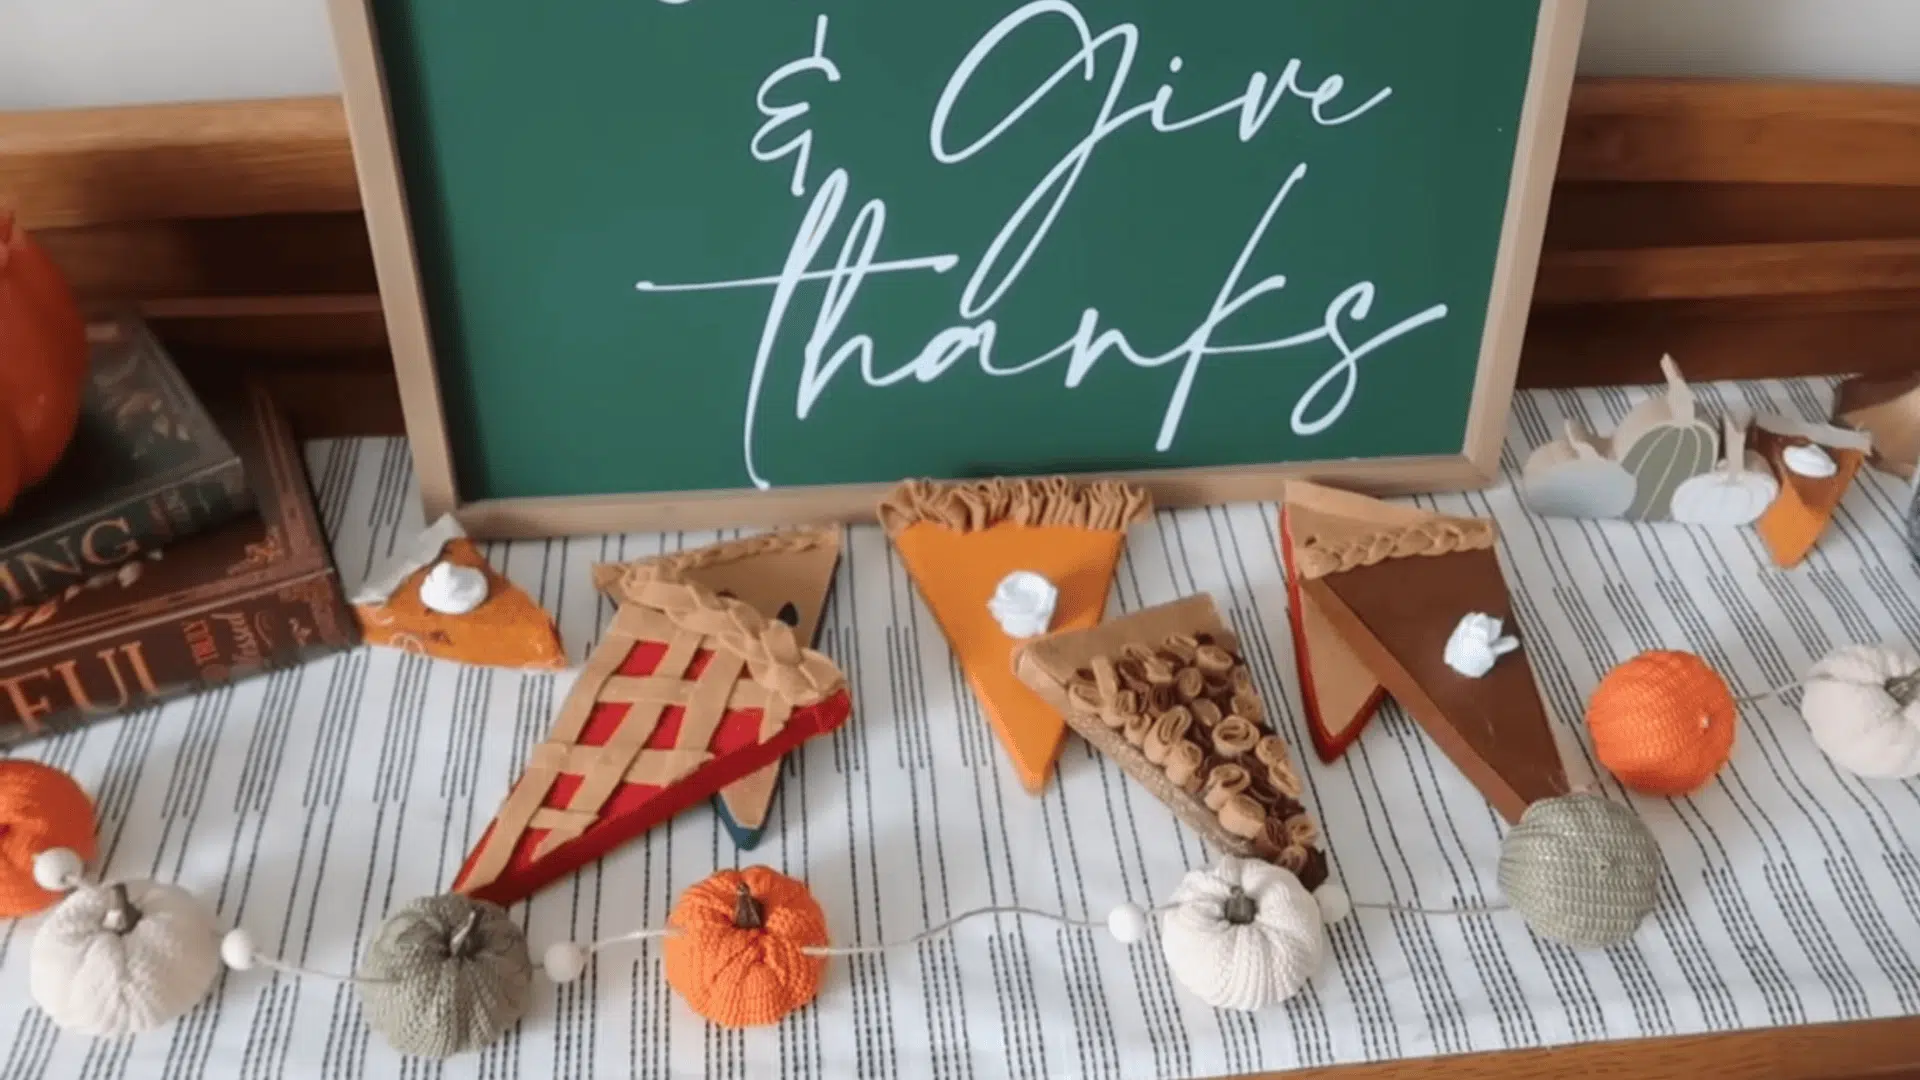
Paint wooden wedges in pie-inspired colors like orange or tan. Cut and glue felt pieces for crusts and toppings such as lattice or nuts. Add a small felt swirl for whipped cream and display or string as a garland.
- Skill Level: Beginner
- Perfect for: Group or kids’ craft
- Tools and Materials: Wood wedges, felt, paint, glue, scissors
10. Terracotta Pumpkin Dupe
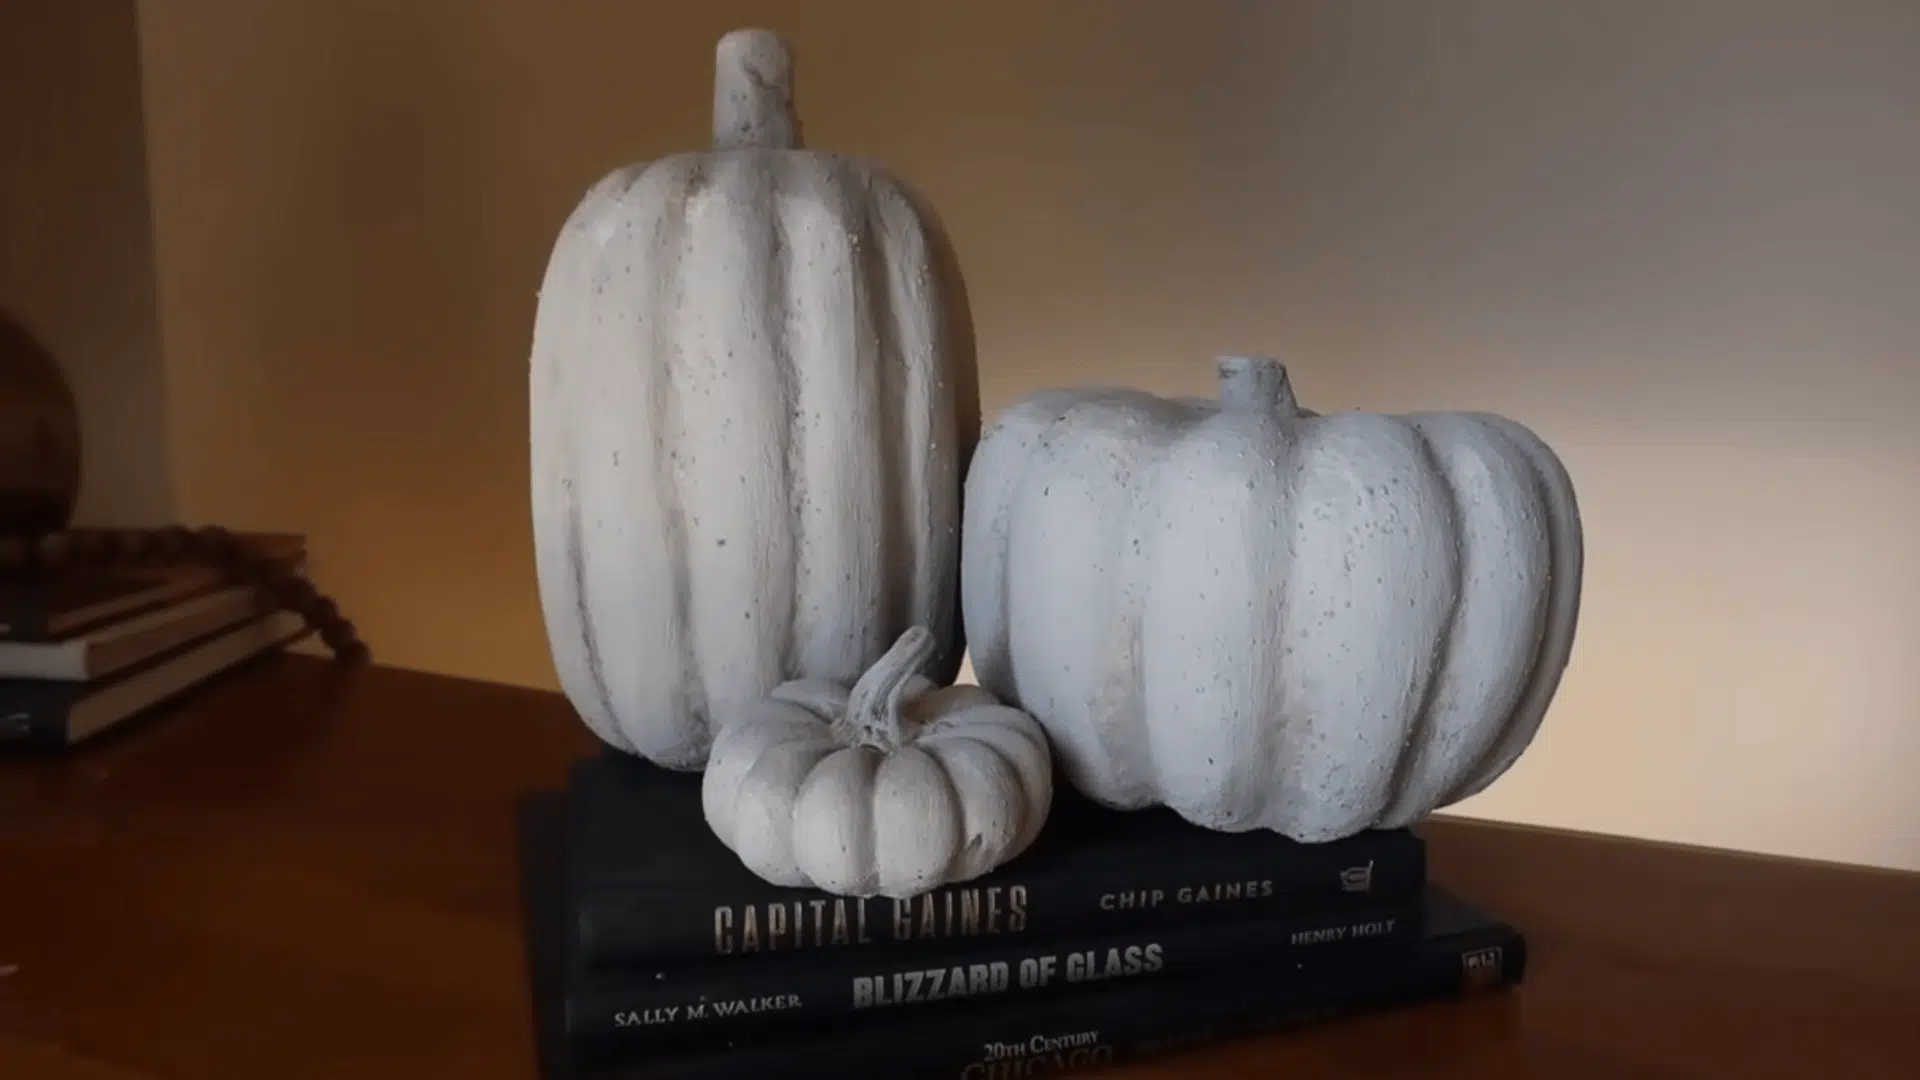
Mix paint with baking soda until thick, then coat the pumpkins evenly. While wet, sprinkle coffee grounds for added grain and let dry. Add antique wax to the grooves and seal with clear spray for a stony, high-end look.
- Skill Level: Beginner
- Perfect for: Individual or group
- Tools and Materials: Papier-mâché pumpkins, paint mix, baking soda, coffee grounds, wax, sealer
11. Man in the Moon Wood Round
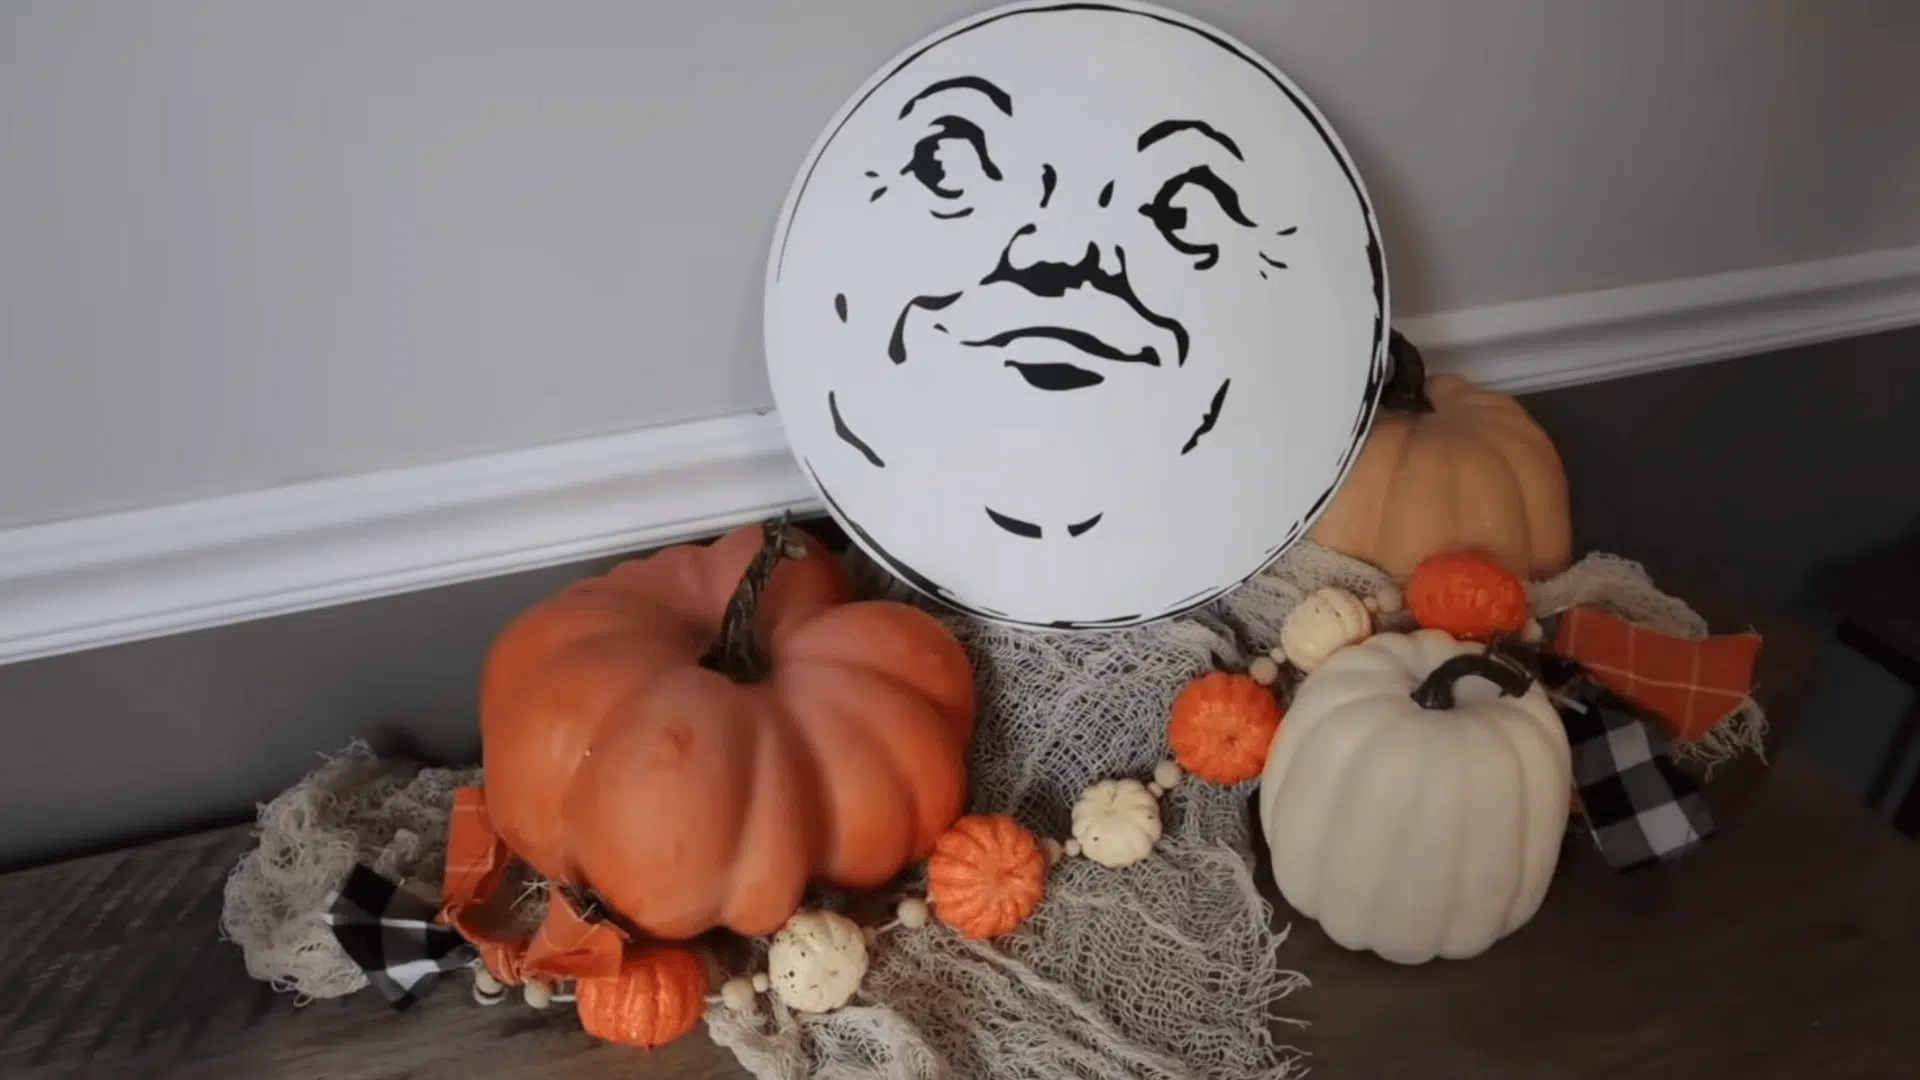
Stain your board and dry-brush white paint to create texture. Place the printed template over graphite paper and trace the design. Outline with a black paint marker, then spray with matte sealer for a professional finish.
- Skill Level: Beginner
- Perfect for: Individual
- Tools and Materials: 15-inch board, stain, white chalk paint, graphite paper, printed template, paint marker, sealer
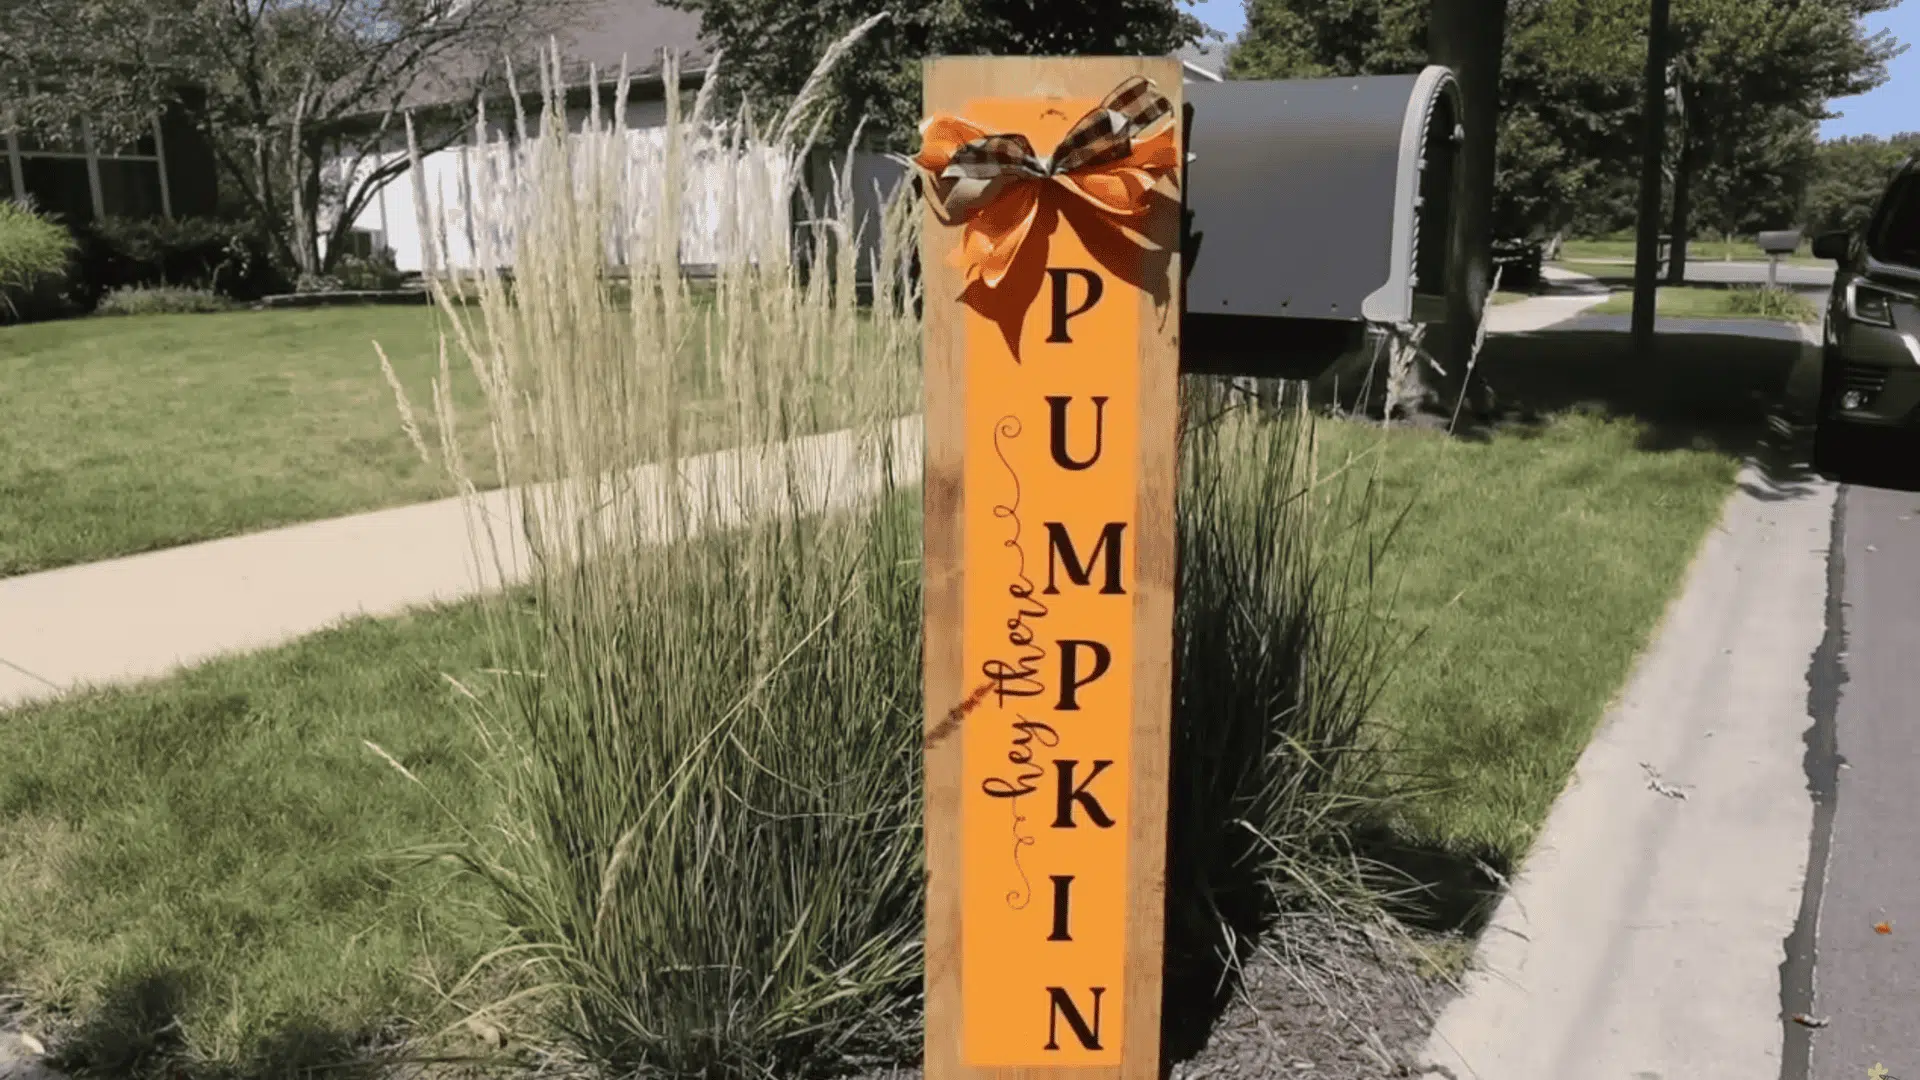
12. Tall Vinyl Easel Signs
Paint or stain the wooden sign and let it dry completely. Cut and weed your vinyl design into layers. Use the hinge method to apply each section precisely, then seal if displaying outdoors
- Skill Level: Beginner with vinyl cutter
- Perfect for: Individual
- Tools and Materials: Wood sign, adhesive vinyl, transfer tape, scraper, weeding tools, cutter
13. Pool-Noodle Floral Topper
Cut the noodle to fit your sign width and slit one side open. Insert floral stems directly into the foam for easy arranging. Tape or wire the topper in place and adjust stems for fullness.
- Skill Level: Beginner
- Perfect for: Group friendly
- Tools and Materials: Pool noodle, knife, faux florals, floral wire, tape
14. Pumpkin-Spice Cup Sign
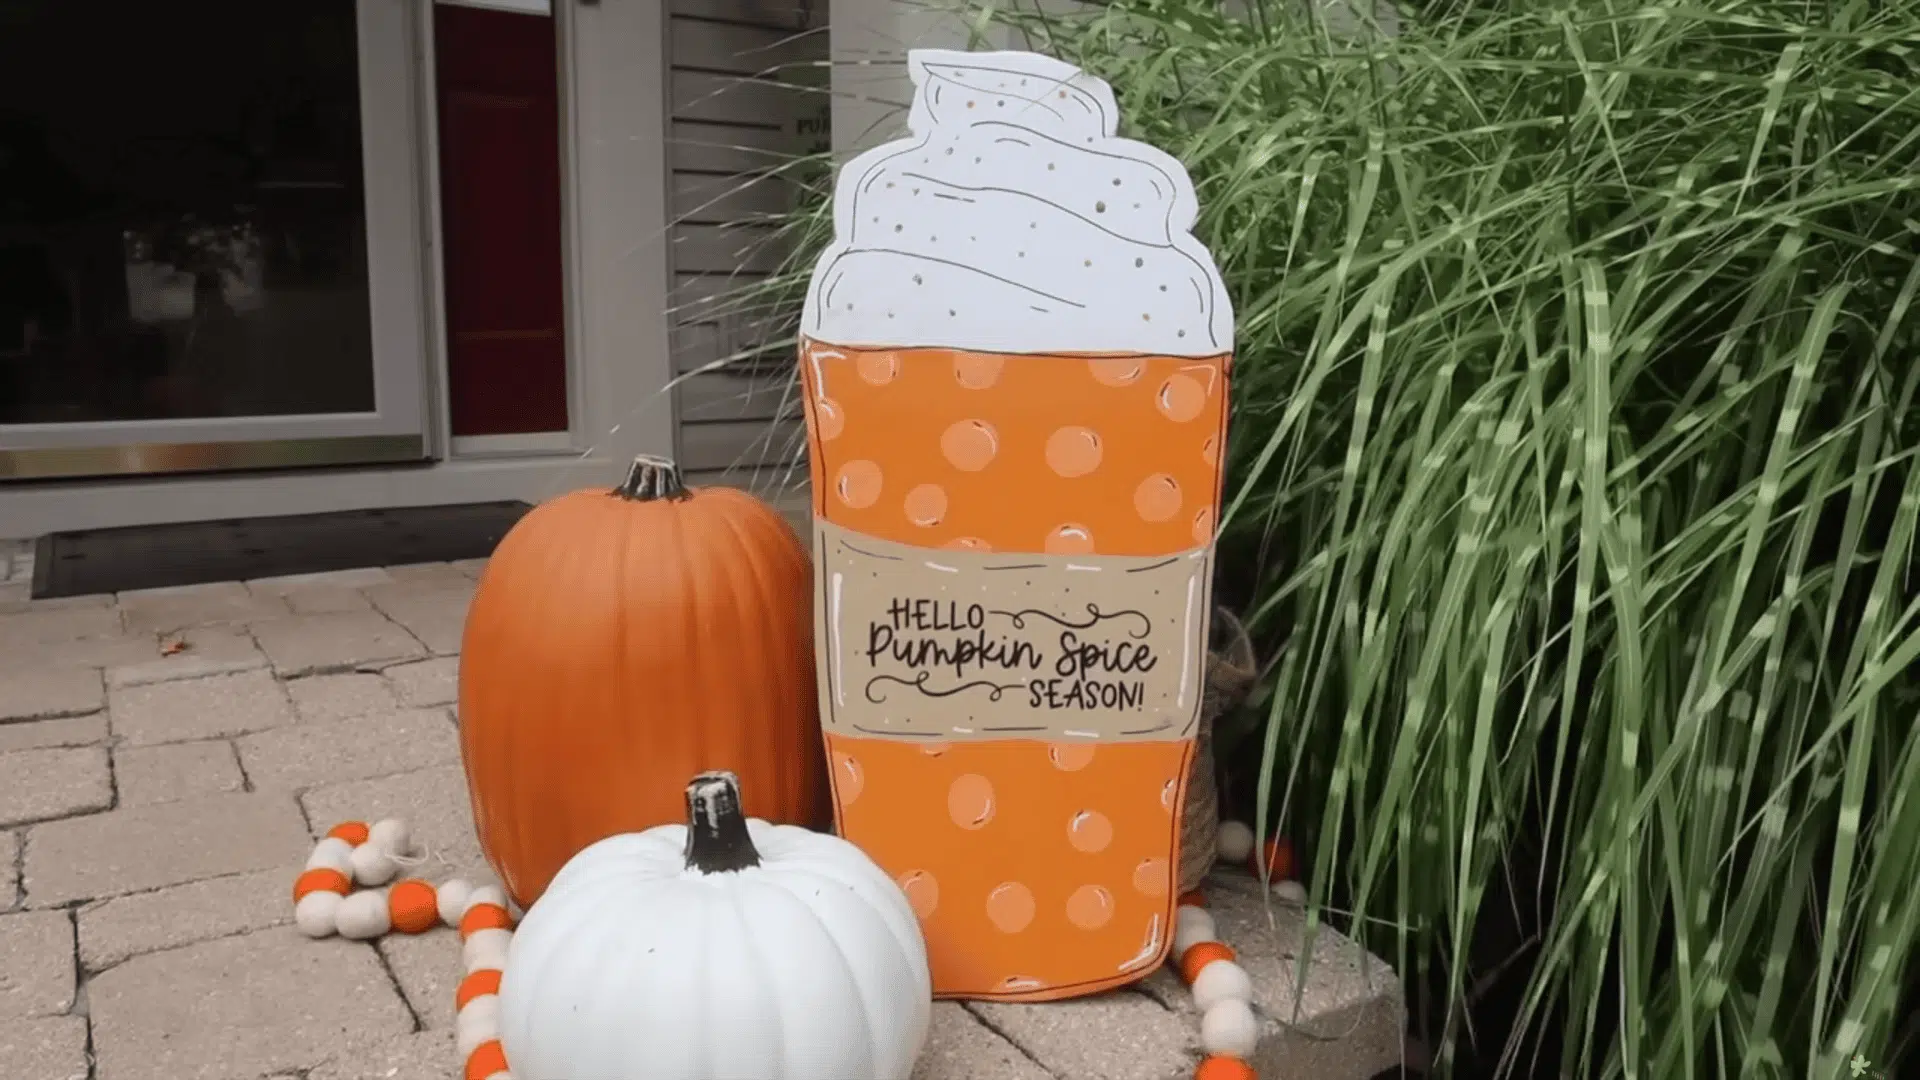
Cut the boards into a coffee cup shape and sand the edges smooth. Fill seams, paint your cup and sleeve, and add details. Apply vinyl lettering for “Pumpkin Spice Season” and finish with a sealer coat.
- Skill Level: Intermediate
- Perfect for: Individual
- Tools and Materials: Fence pickets, jigsaw, sander, filler, paint, vinyl decal, sealer
15. Reversible Scarecrow Sign
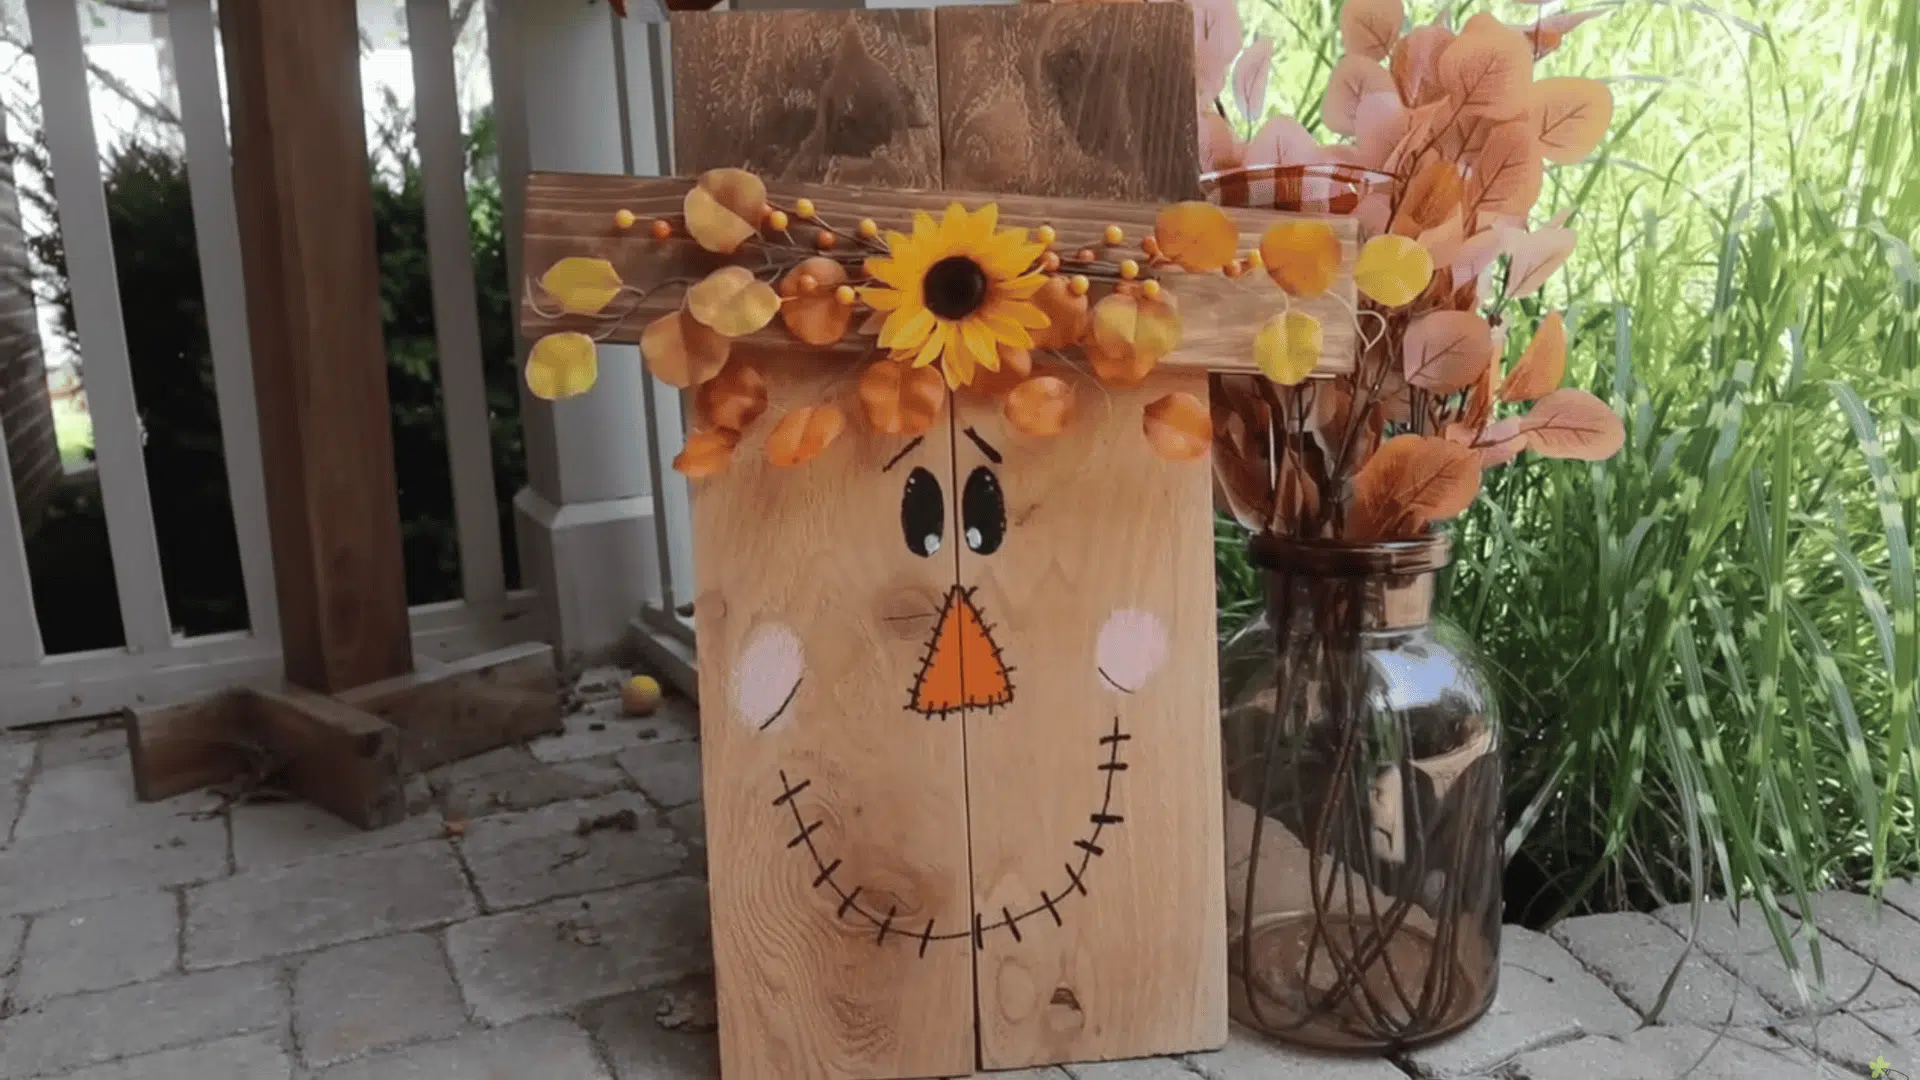
Build the sign body and attach the hat brims with nails. Paint one side as a scarecrow and the other as a snowman. Add ribbons and florals for a seasonal, two-sided decoration.
- Skill Level: Beginner
- Perfect for: Individual or group
- Tools and Materials: Fence pickets, 1×4s, glue, nails, saw, sander, paint, ribbon, florals
16. Canvas Book-Page Frames
Remove the canvas from the frame and stain the wood. Press the vinyl design onto the canvas and trim neatly. Glue the canvas to the frame back for a framed “book page” effect.
- Skill Level: Beginner
- Perfect for: Individual
- Tools and Materials: Reverse canvases, stain, HTV vinyl, iron, glue, knife
17. “Jump in the Leaves” Sign
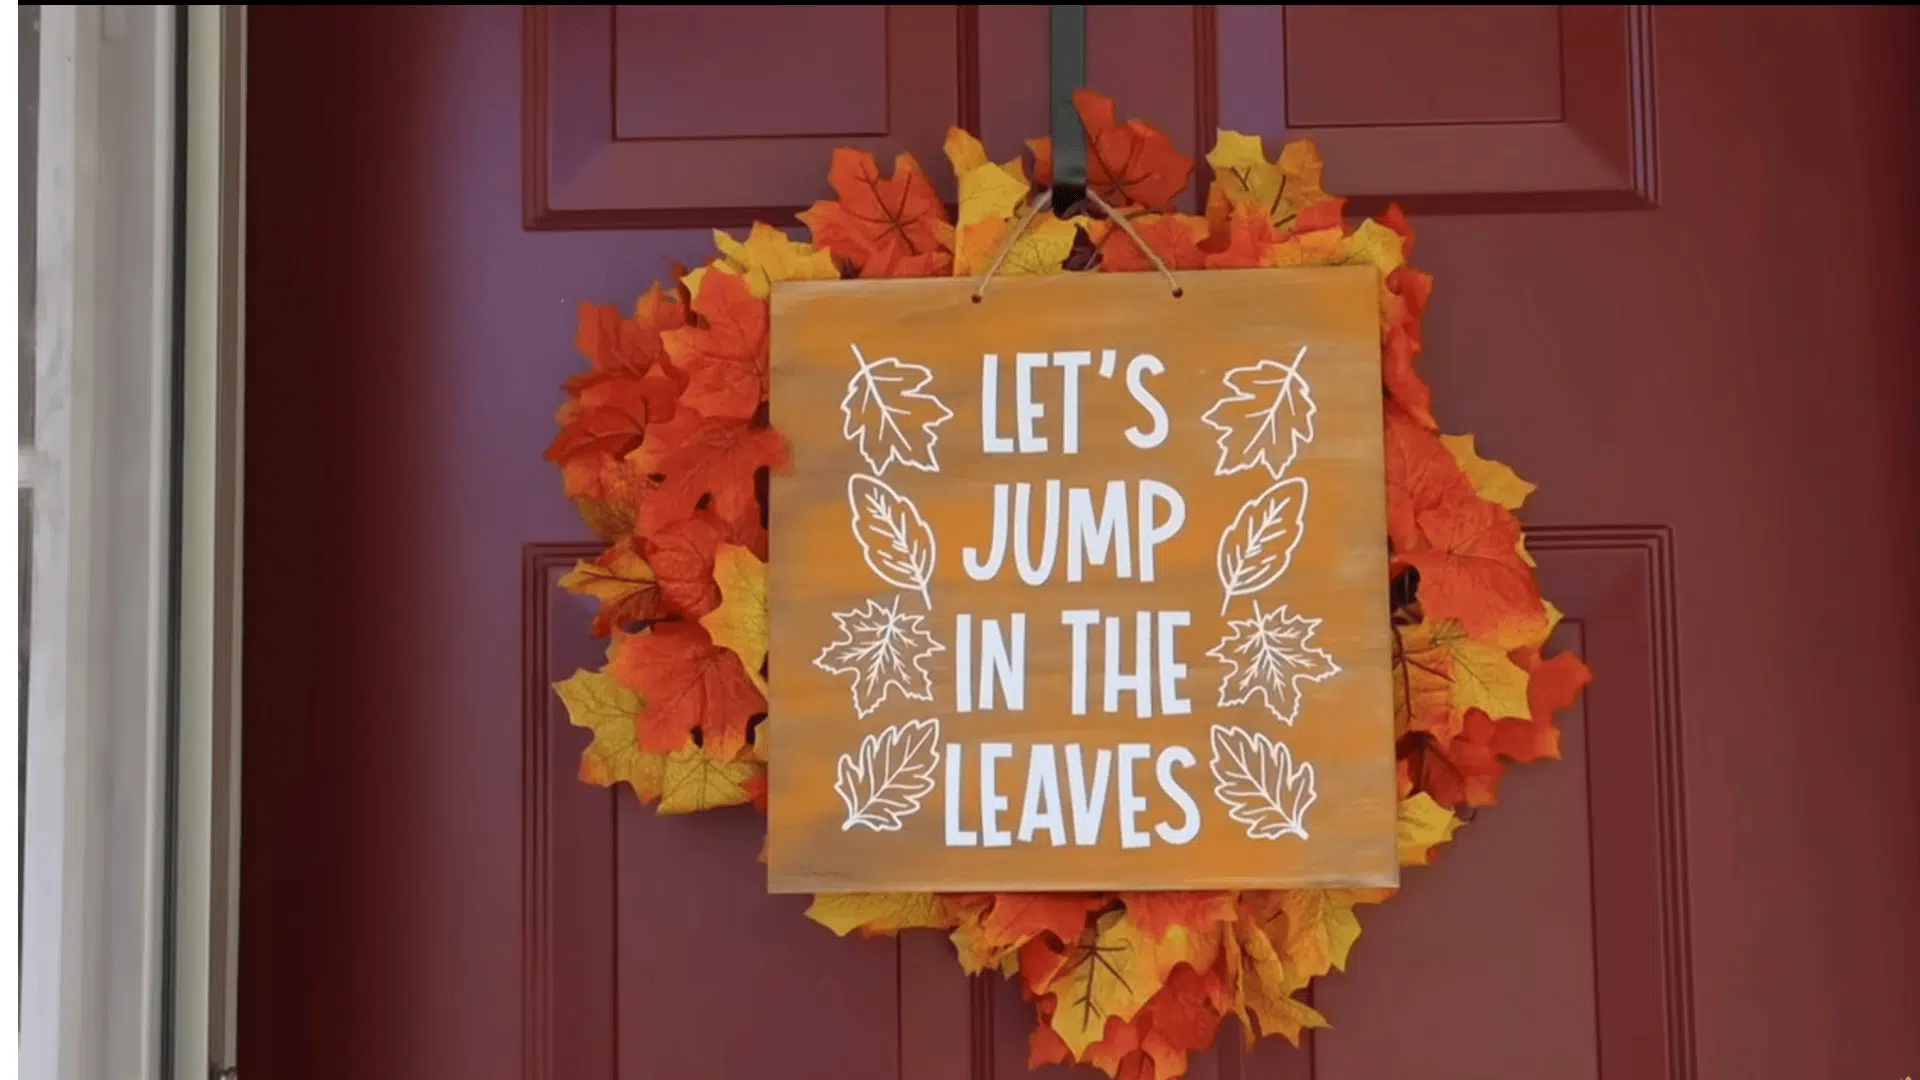
Stain, then lightly brush on orange paint over the surface. Apply the vinyl decal in the center. Wrap leaf garlands around a wreath and layer the sign in front for a playful look.
- Skill Level: Beginner
- Perfect for: Group or family project
- Tools and Materials: Wood blank, stain, paint, vinyl decal, wreath form, leaf garland
18. Stacked Porch Pumpkins
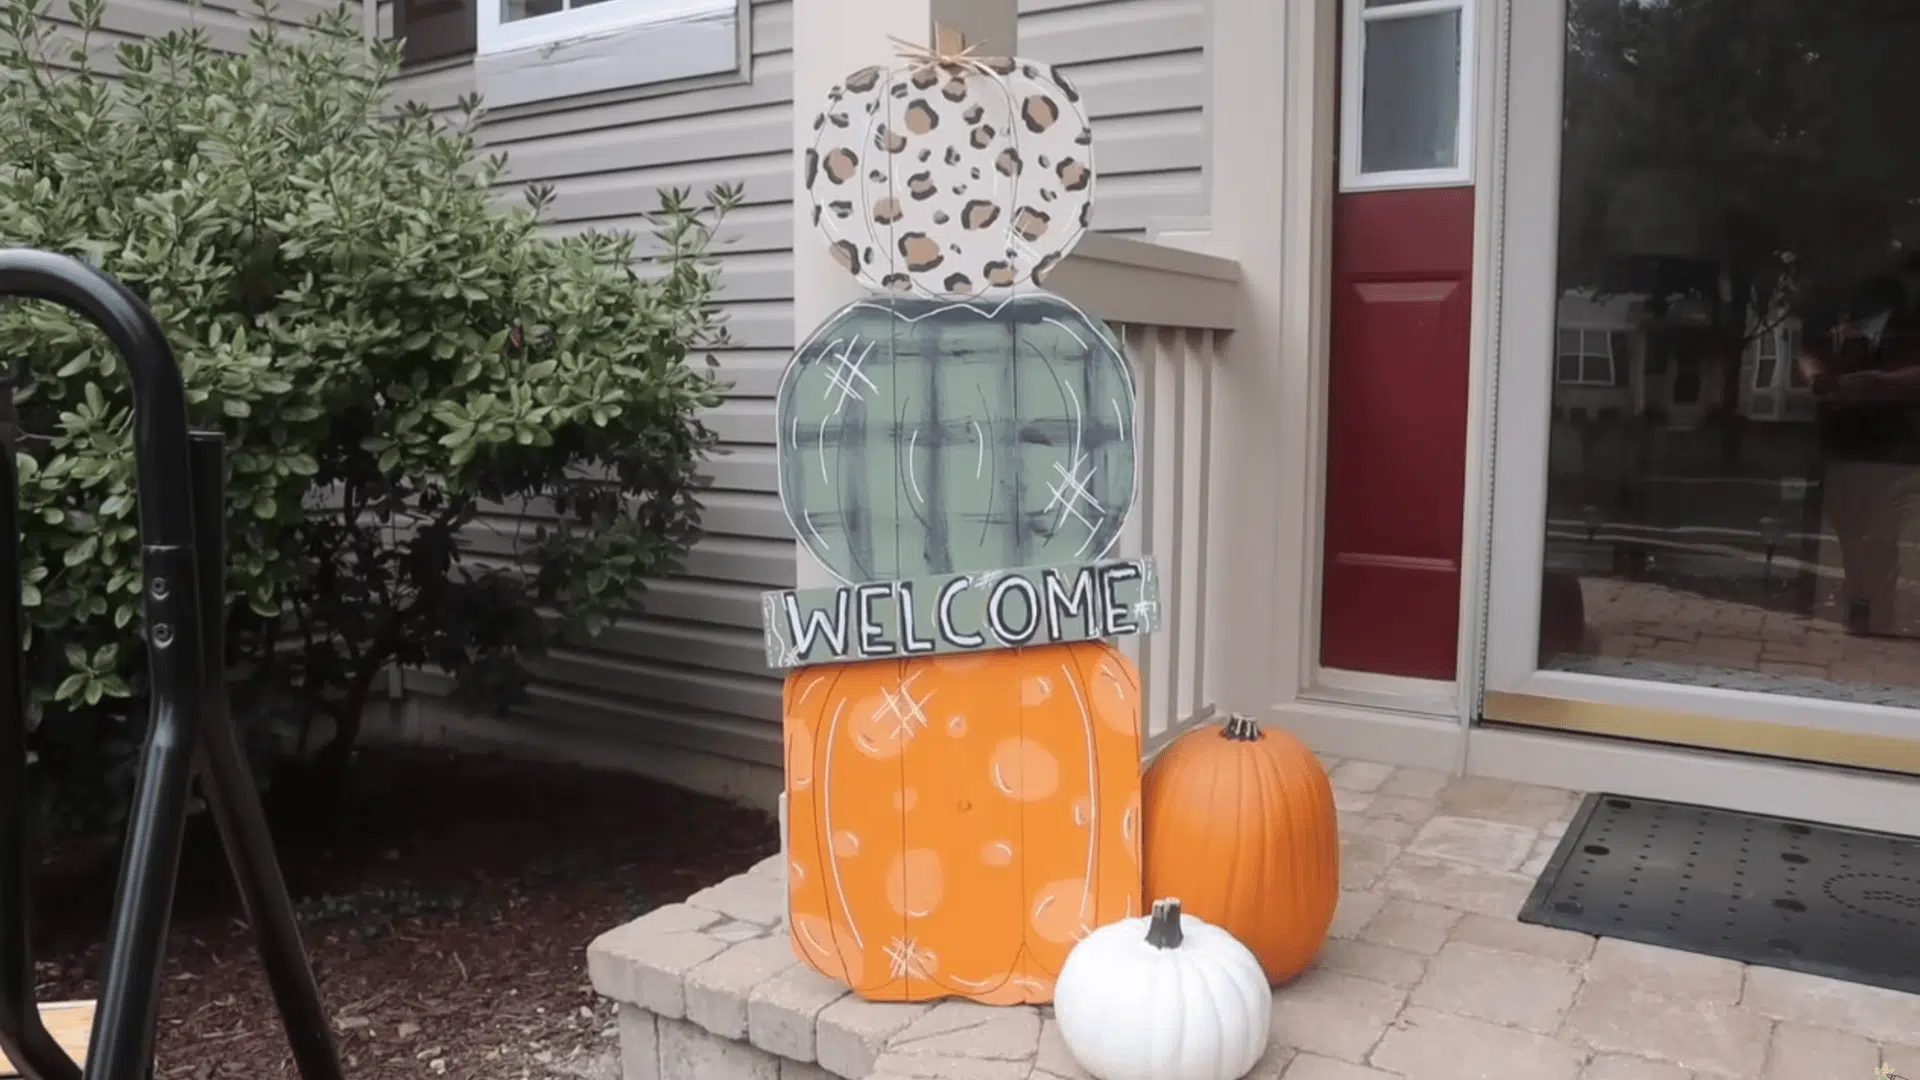
Sketch pumpkin outlines on fence pickets and cut with a jigsaw. Attach boards from the back, paint in mixed patterns, and letter “Welcome” on a small plank. Seal the entire piece for outdoor durability.
- Skill Level: Intermediate
- Perfect for: Individual
- Tools and Materials: Fence pickets, glue, nails, jigsaw, sander, paints, graphite paper, small plank, sealer
19. Personalized Vinyl Pumpkins
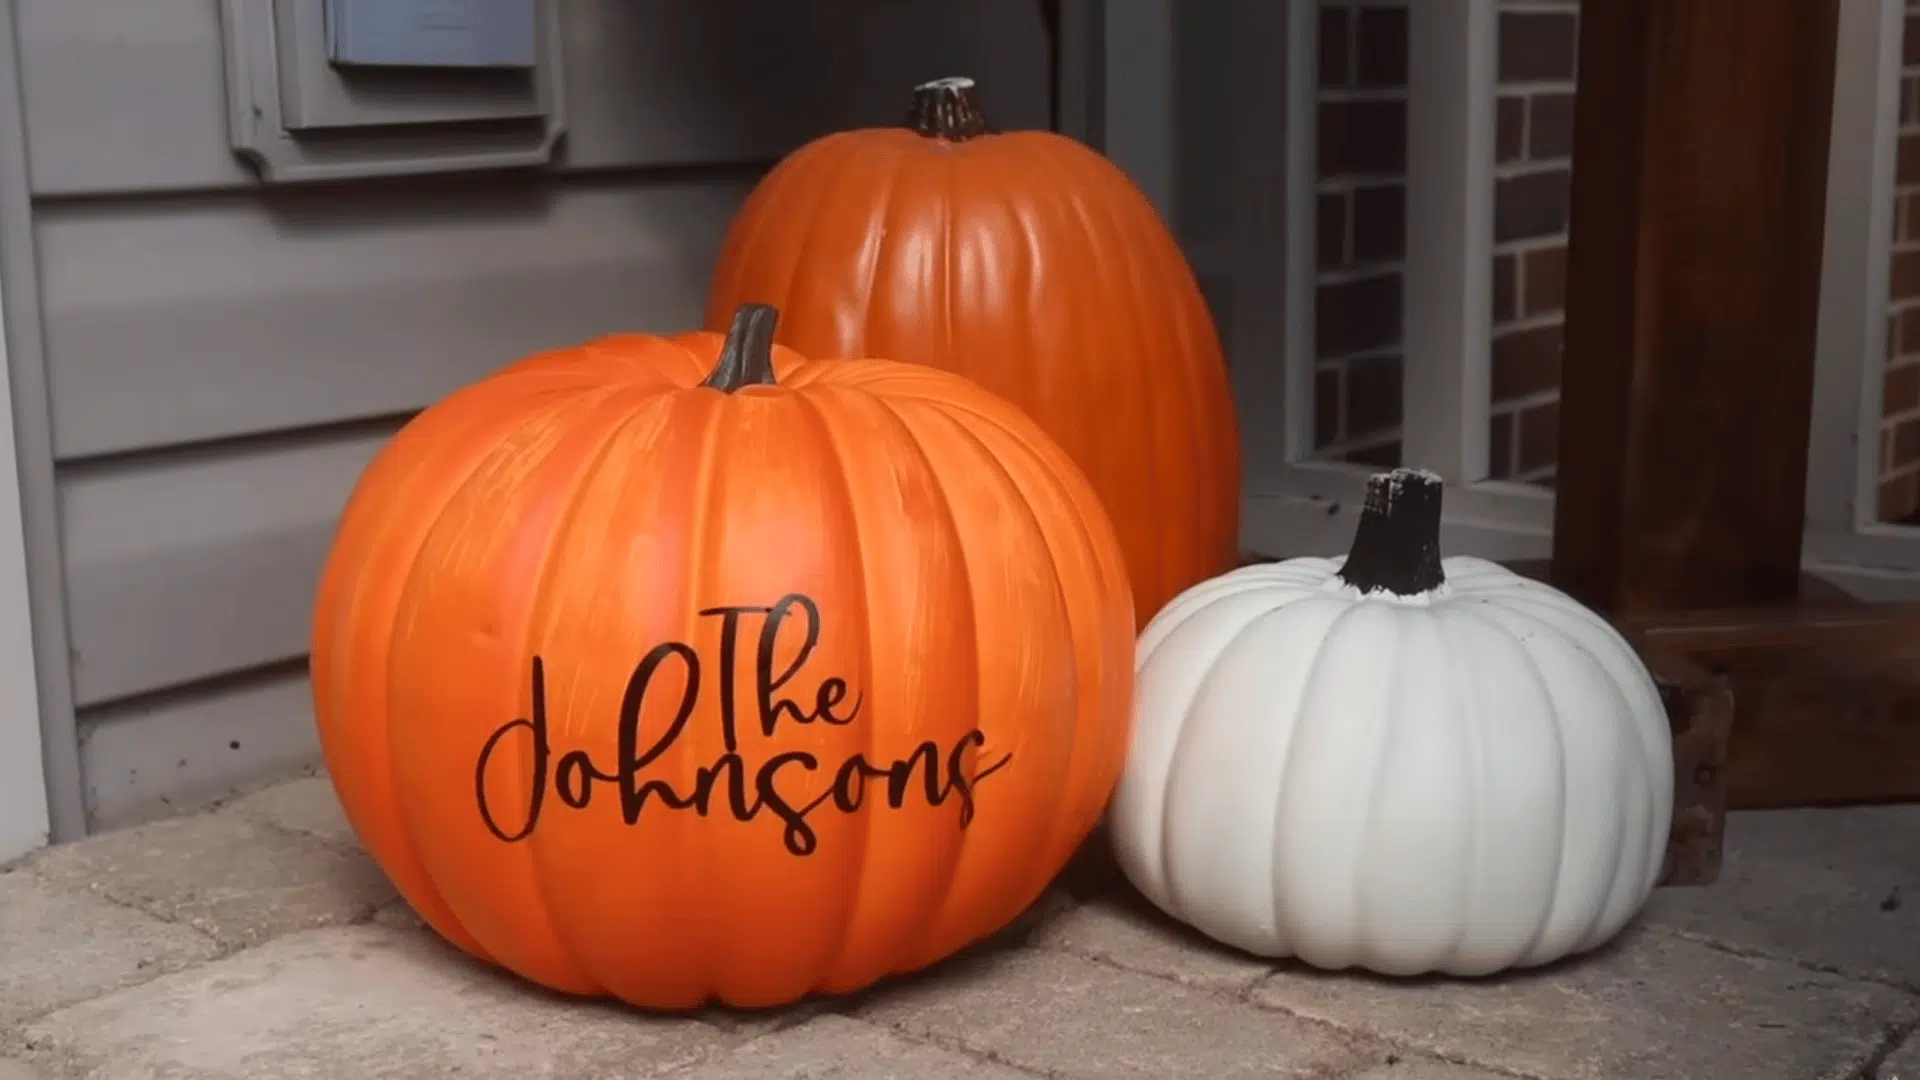
Measure the pumpkin’s flat area, then set the text size in your cutting software. Cut and weed vinyl, making relief cuts in transfer tape for flexibility. Apply from the center outward, pressing smoothly into grooves.
- Skill Level: Beginner
- Perfect for: Individual
- Tools and Materials: Faux pumpkins, vinyl, transfer tape, ruler, weeding tools, scraper
20. Reversible Tall Sign
Stain and tape off a border, then paint both sides for two seasonal looks. Cut, weed, and hinge-apply each vinyl design carefully. Attach a bow with staples and seal before outdoor use.
- Skill Level: Intermediate
- Perfect for: Individual
- Tools and Materials: 1×12 board, stain, painter’s tape, paint, vinyls, transfer tape, scraper, stapler, ribbon, sealer
Now that you’ve seen how simple it can be, all that’s left is to pick a few favorites and make them your own. These easy fall crafts are meant to fit any home, any style, and any Skill Level.
For more detailed instructions, refer to the YouTube video below:
Additional Fall Crafts to Try at Home
If you’ve still got a little creative energy left, these easy fall crafts are a great way to keep the inspiration going. Each one adds a touch of warmth and personality without requiring much time or supplies.
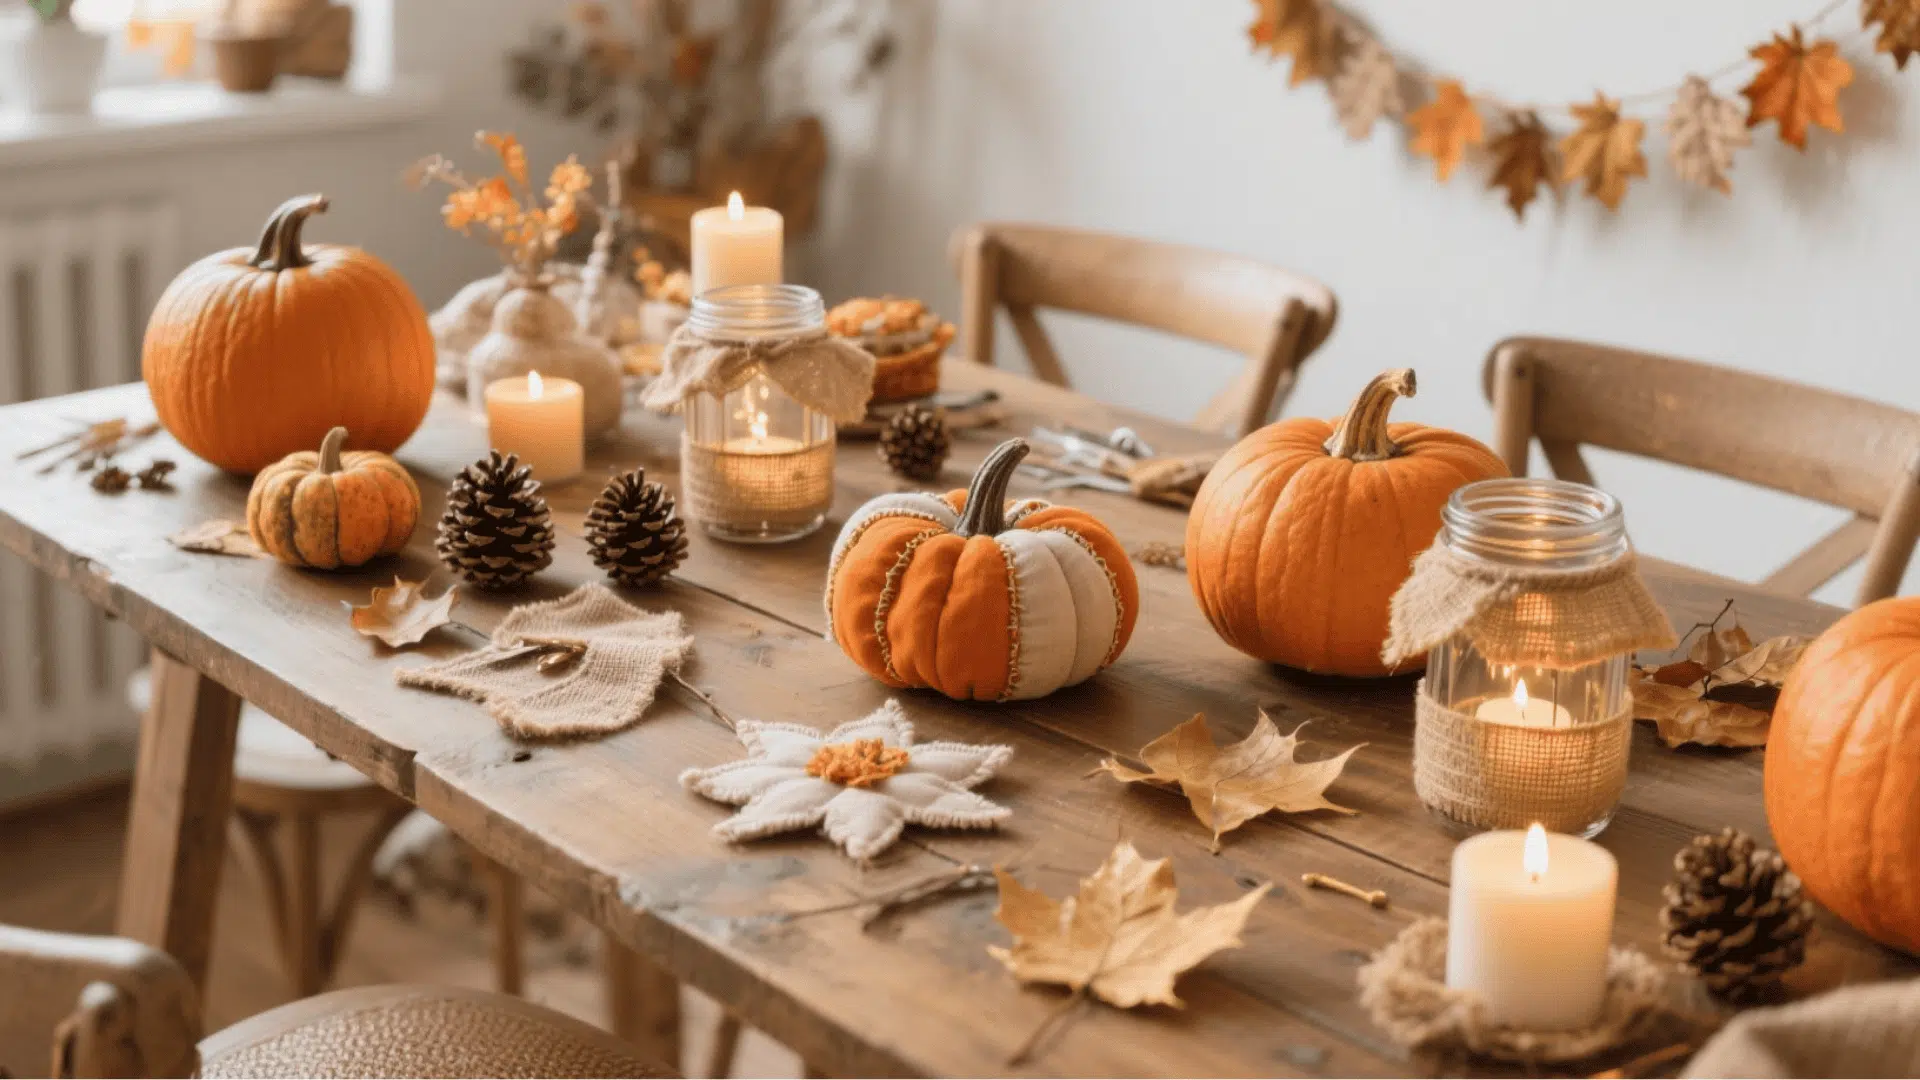
21. Fabric Pumpkin Trio
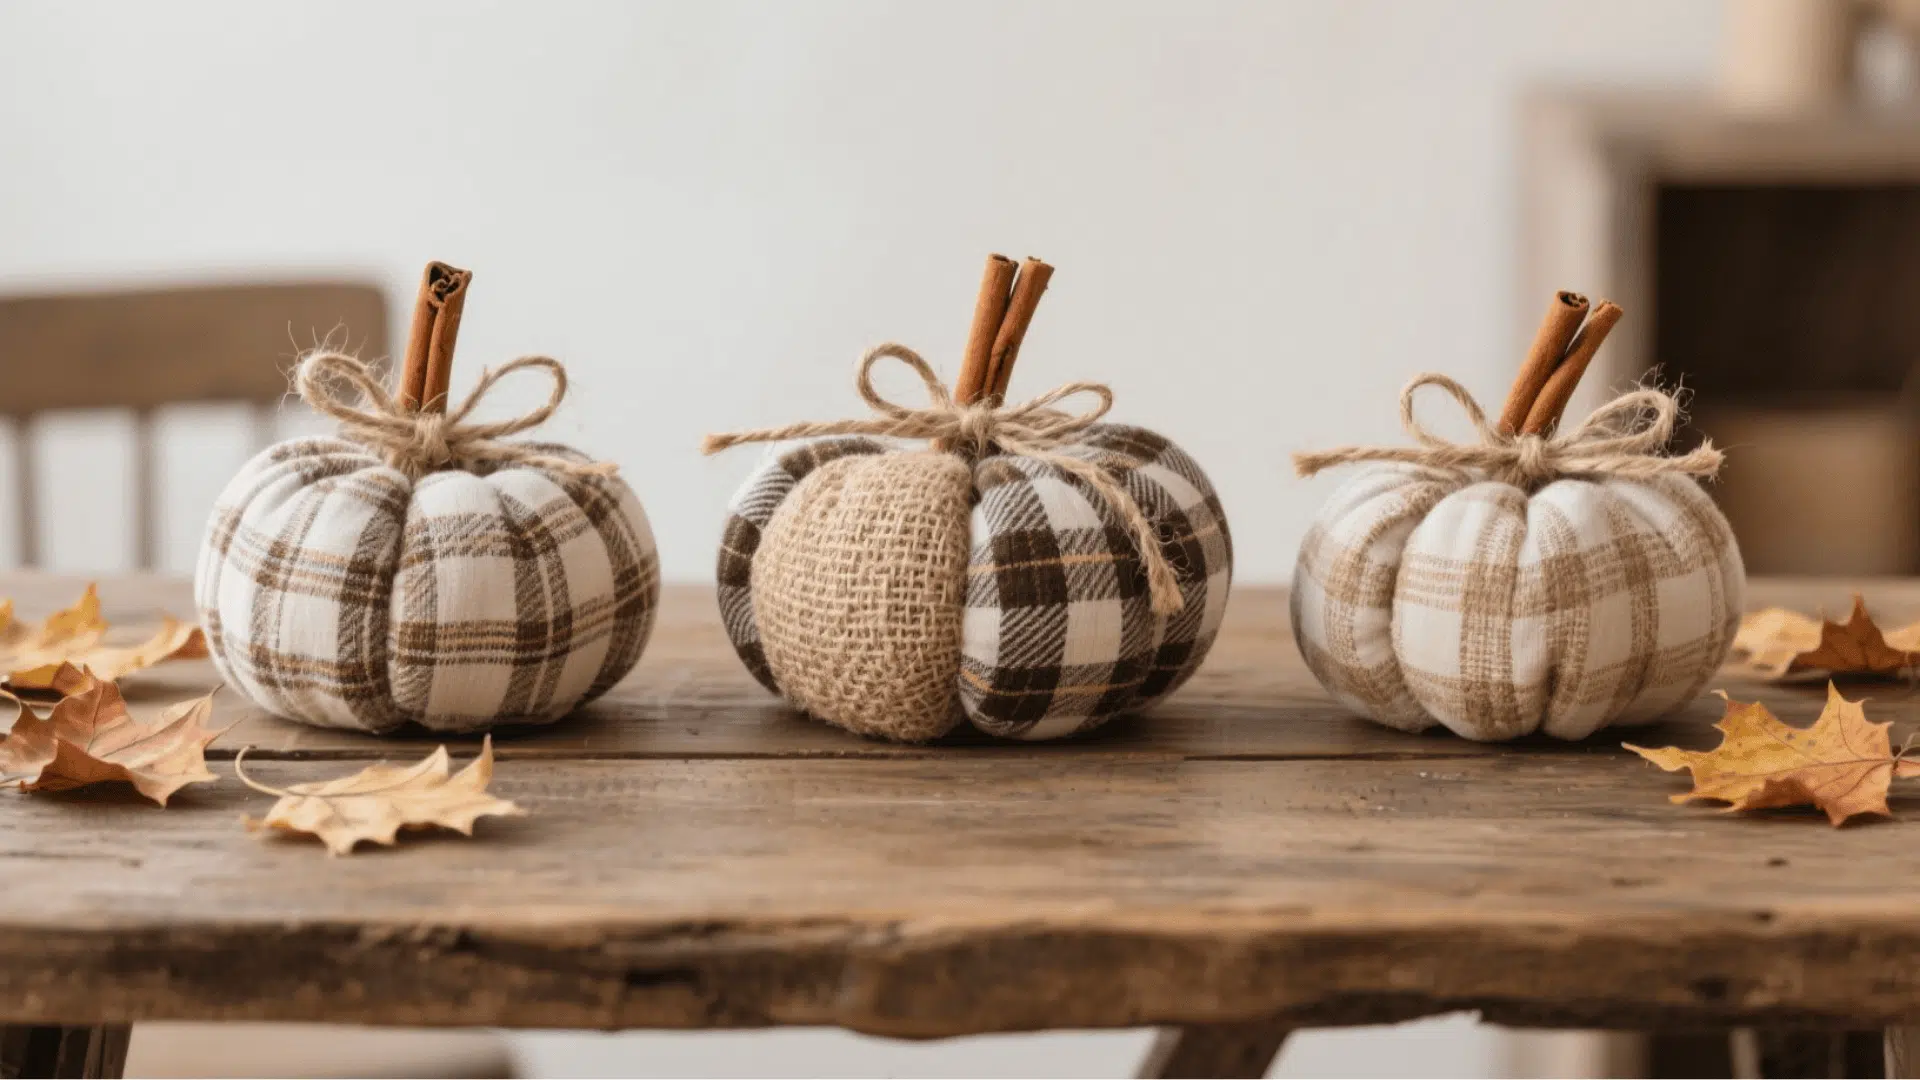
Cut fabric into circles, gather edges with twine, and fill with stuffing. Tie tightly to form a pumpkin, glue a cinnamon stick in the center, and finish with a twine bow or small leaf. These easy fall crafts take just minutes to complete
- Skill Level: Beginner
- Perfect for: Group or solo
- Tools and Materials: Fabric scraps, twine, stuffing, hot glue, cinnamon sticks
22. Leaf Mason Jar Lanterns
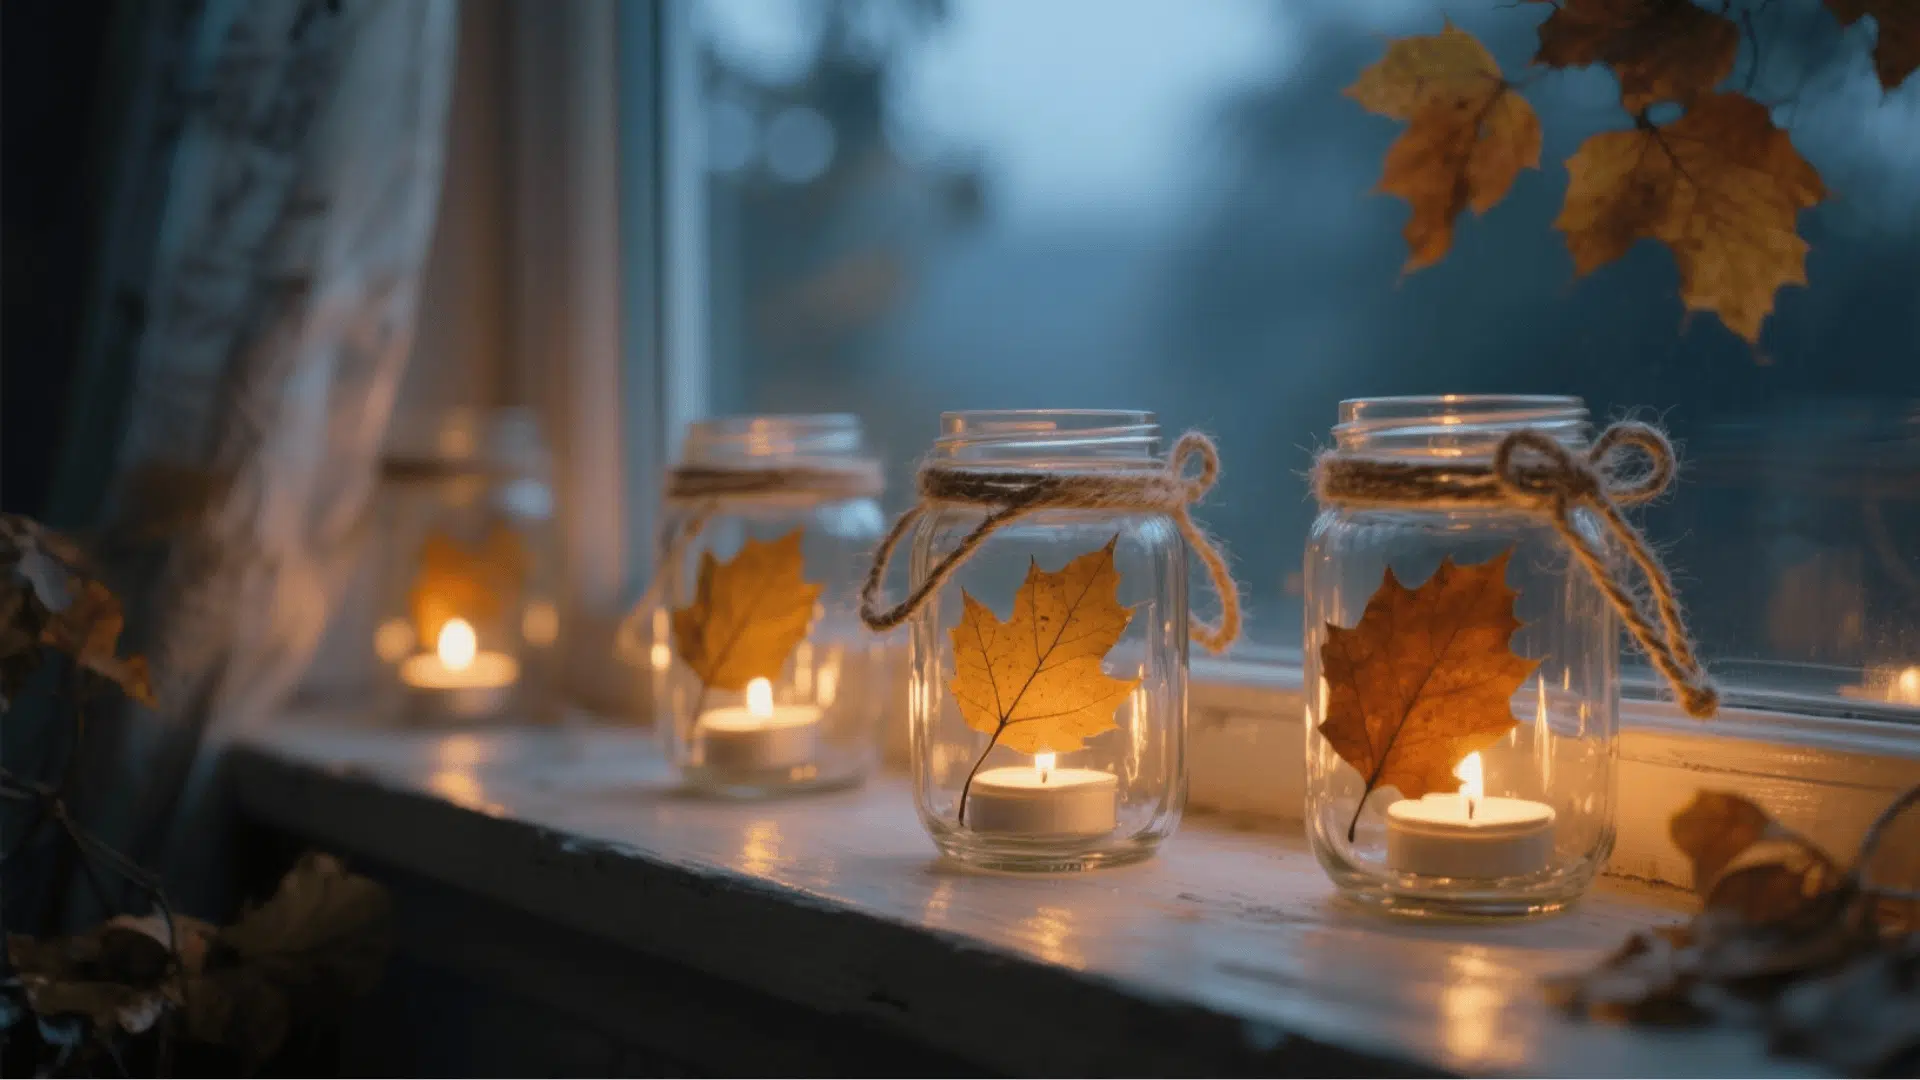
Brush Mod Podge over the jar, press leaves onto the surface, and coat again. Let dry completely, wrap twine around the rim, and add a tea light for a warm autumn glow.
- Skill Level: Beginner
- Perfect for: Family or group craft
- Tools and Materials: Mason jars, Mod Podge, pressed leaves, sponge brush, tea lights
23. Cinnamon Stick Candle Wraps
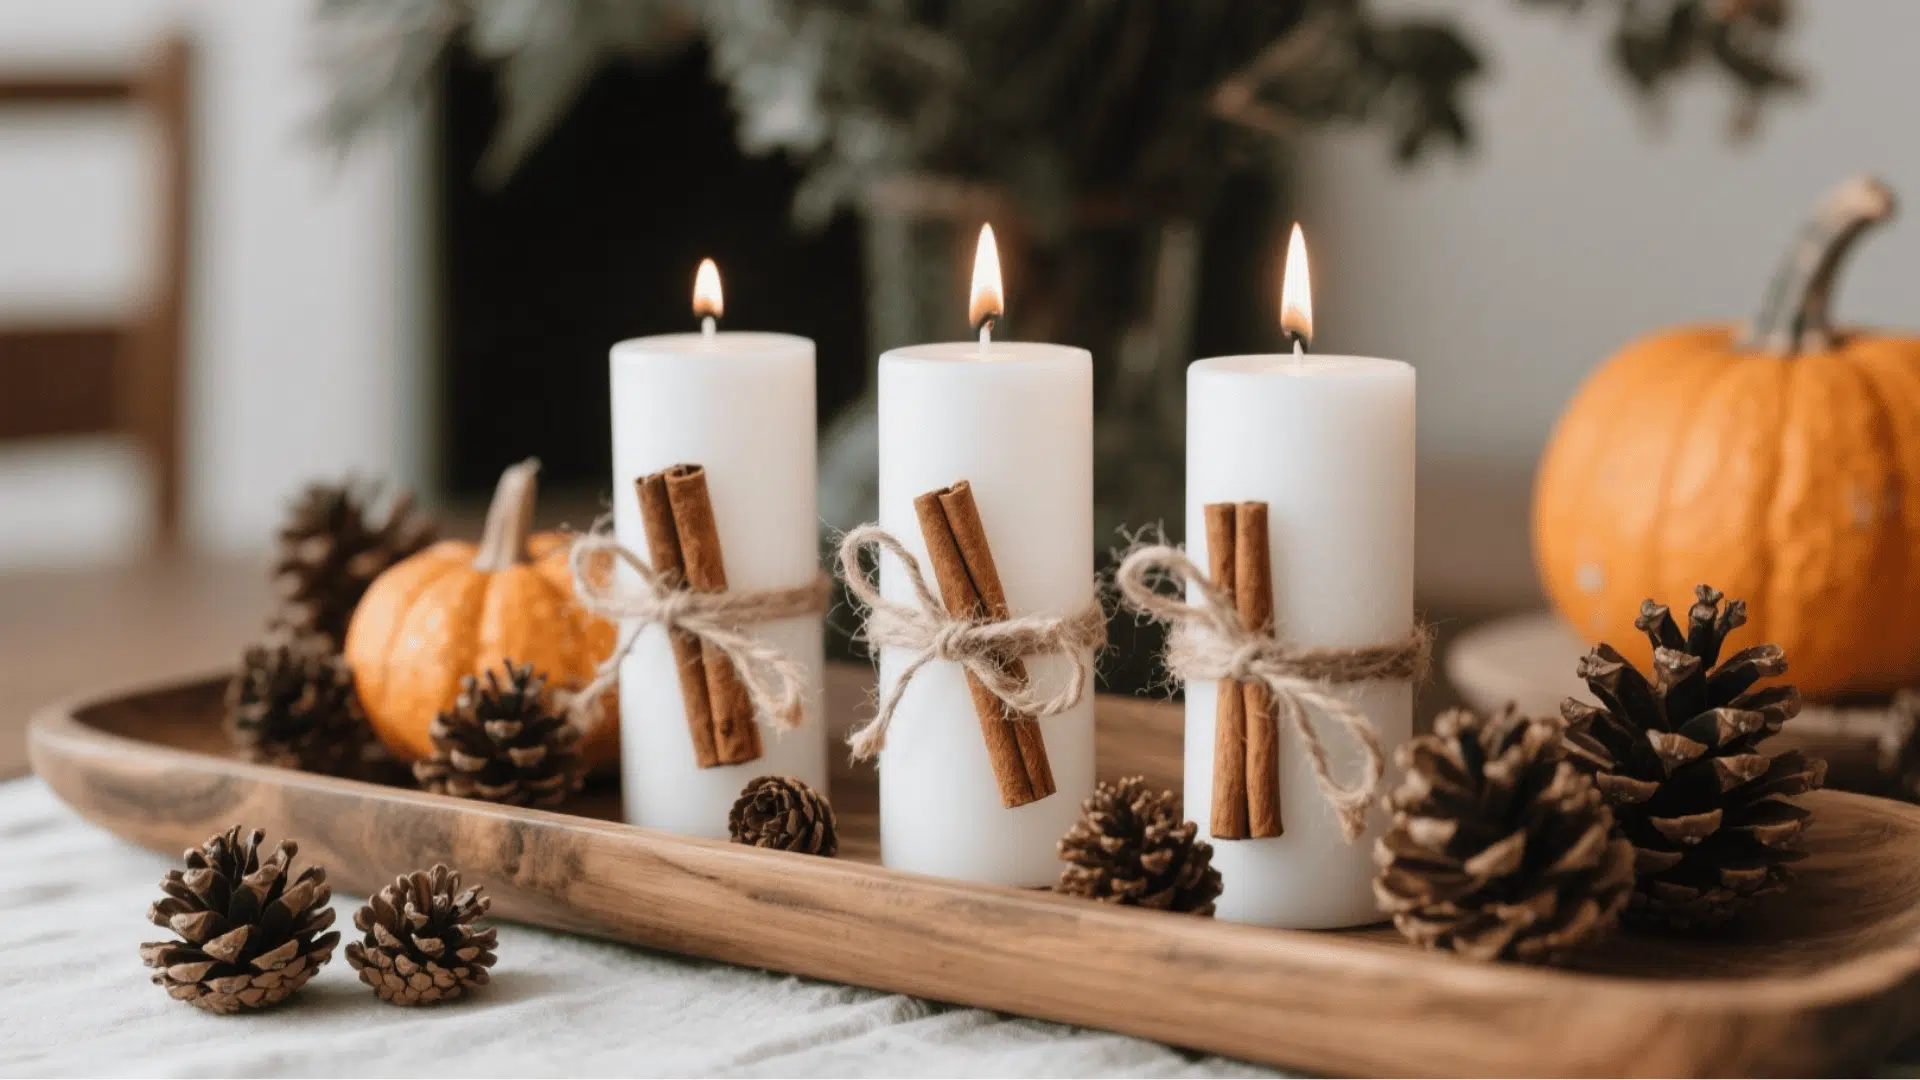
Place cinnamon sticks upright around a candle and secure them with a rubber band. Wrap twine over it for a natural finish, and enjoy the cozy scent as the candle warms.
- Skill Level: Beginner
- Perfect for: Individual
- Tools and Materials: Candle, cinnamon sticks, rubber bands, twine
24. Rustic Leaf Coasters
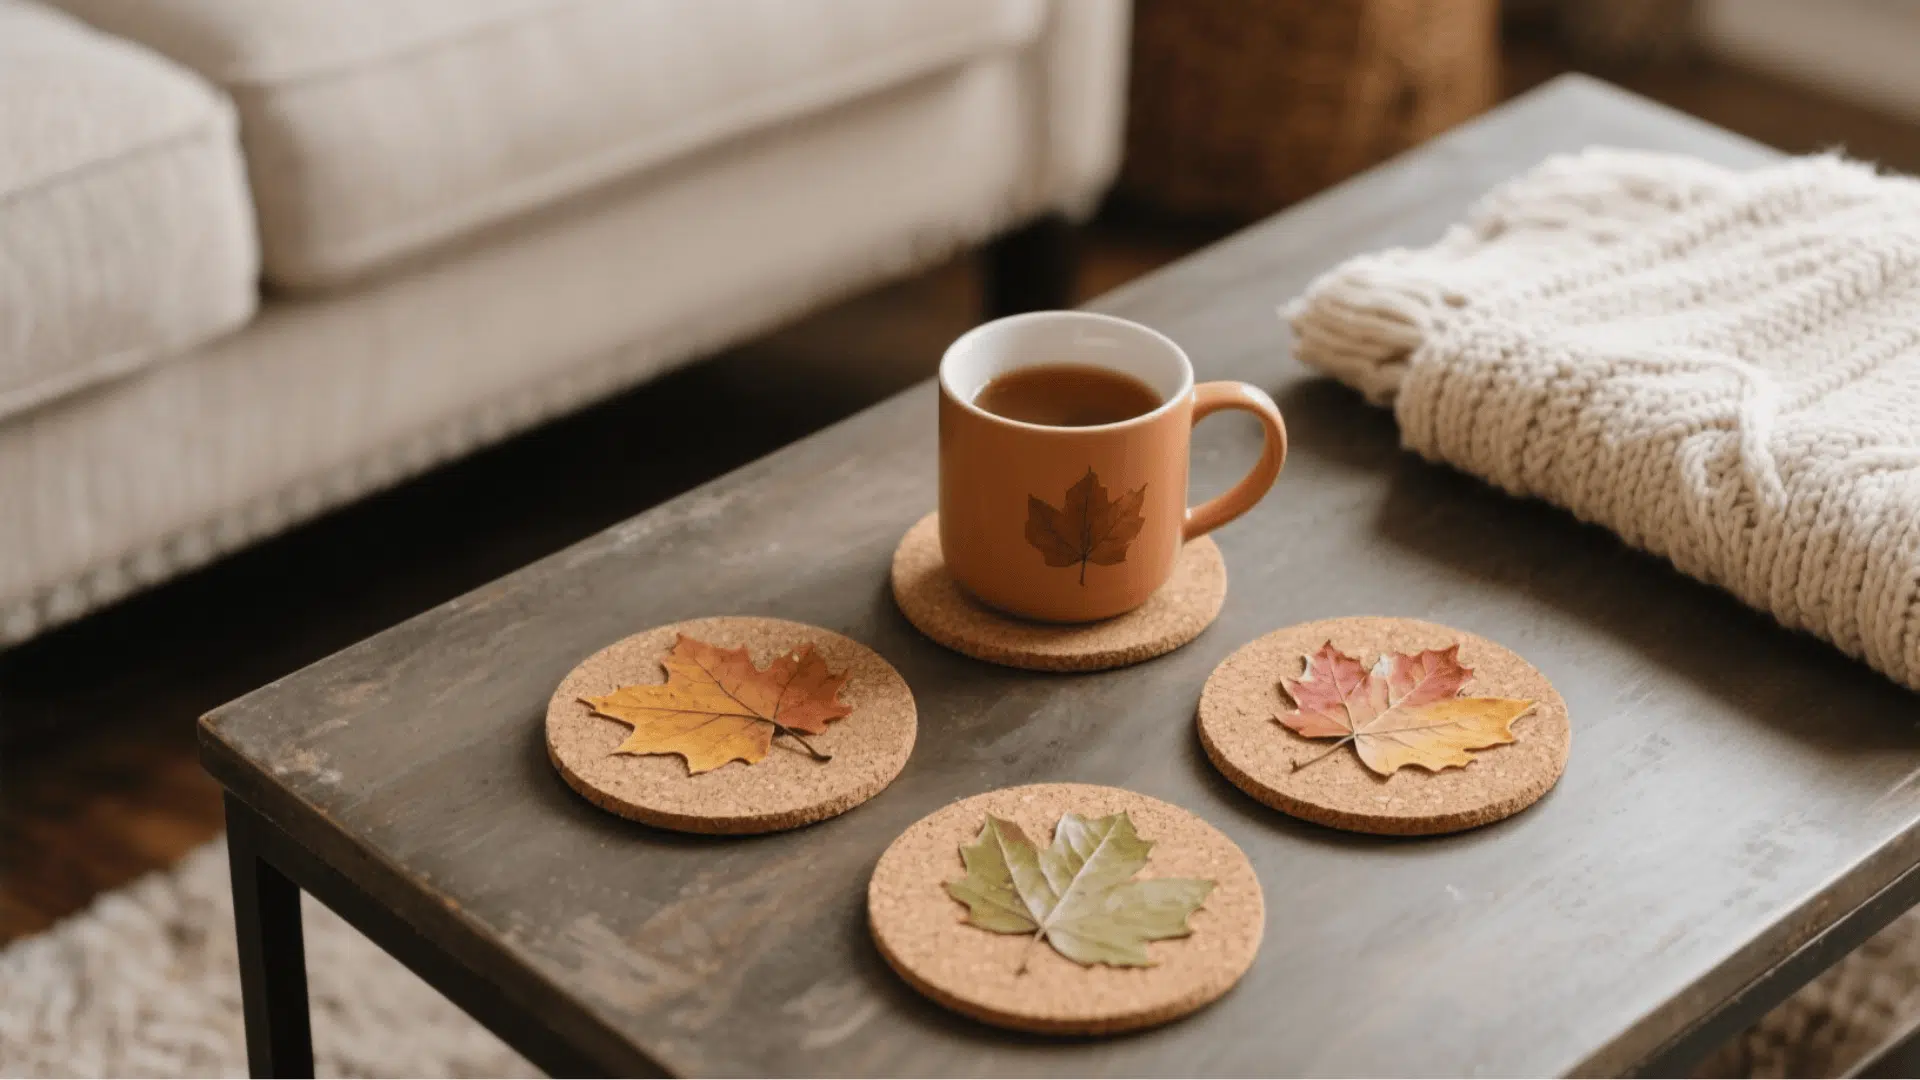
Apply Mod Podge to cork circles, press leaves or napkin designs on top, and smooth out air bubbles. Seal with another coat and allow to dry for a waterproof finish.
- Skill Level: Beginner
- Perfect for: Individual or small group
- Tools and Materials: Cork circles, Mod Podge, fall napkins or pressed leaves, brush
25. Autumn Book Page Garland
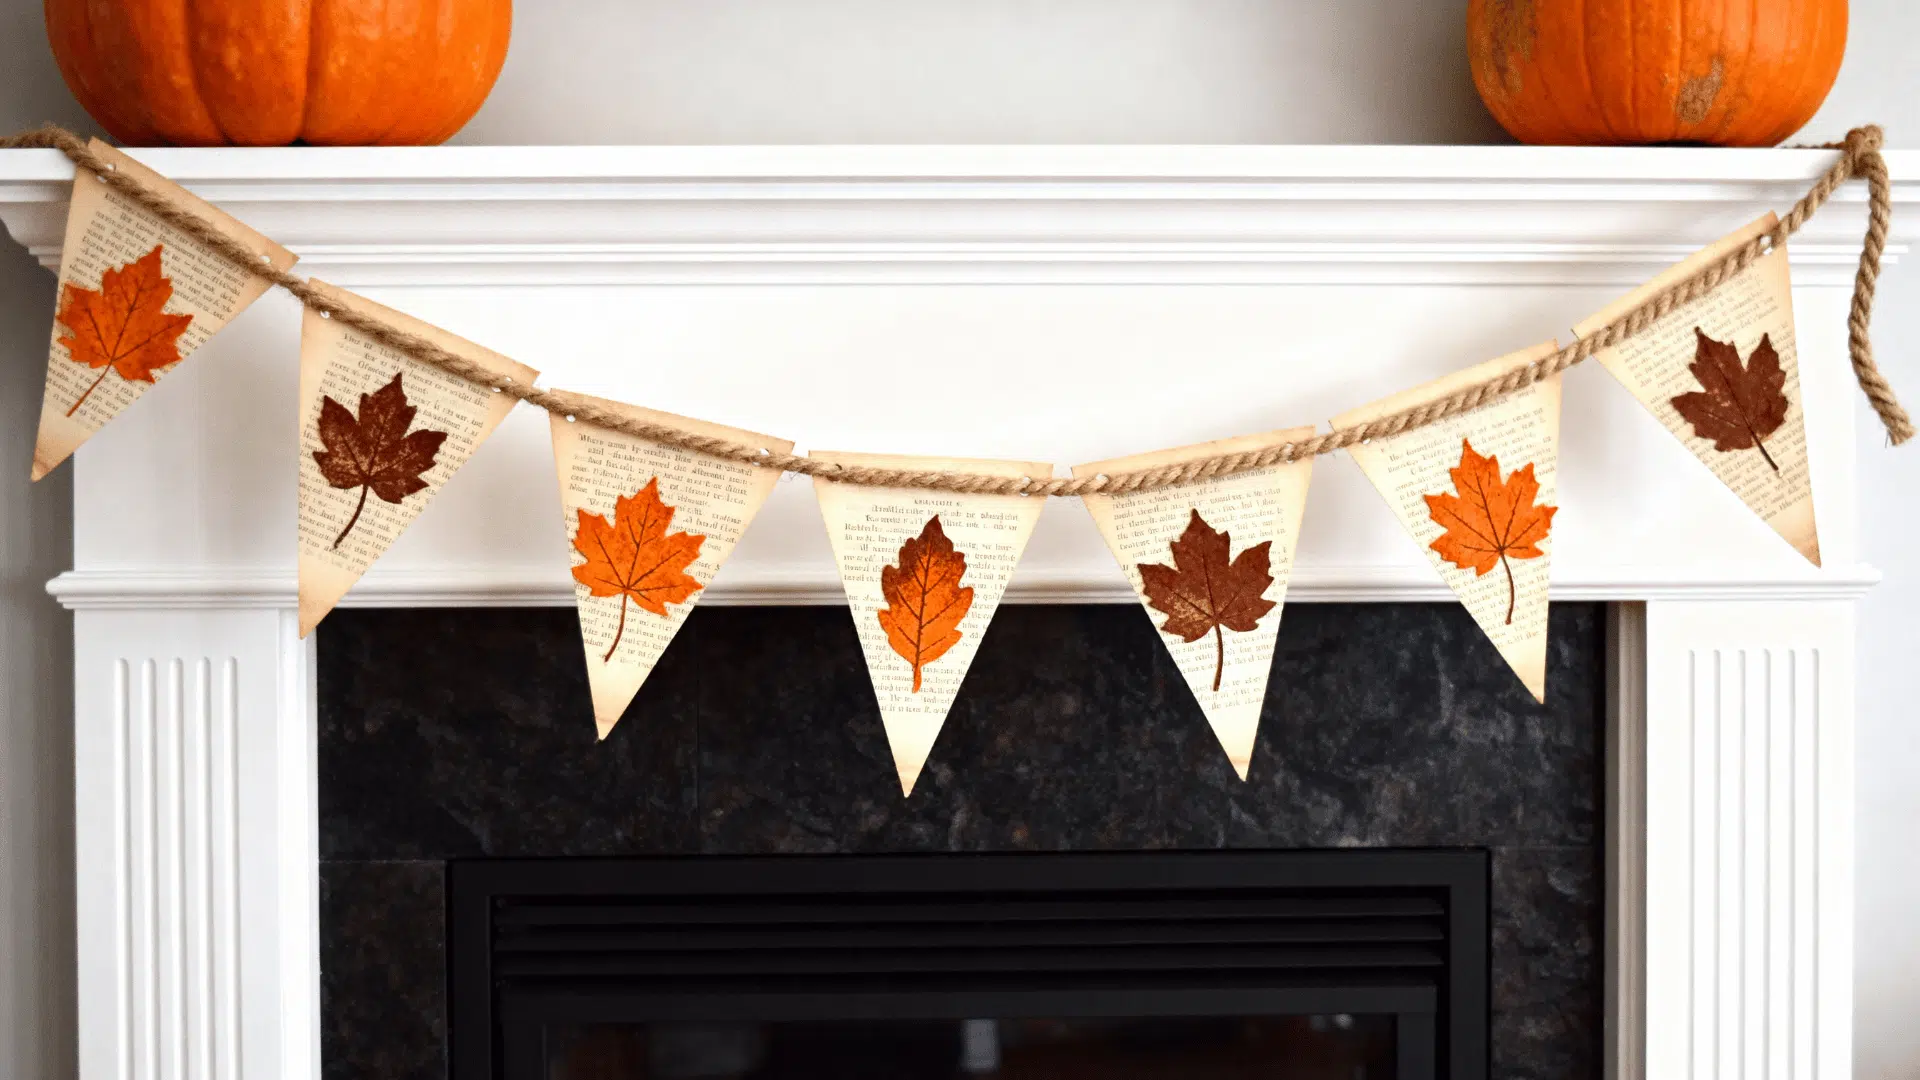
Cut old book pages into pennant shapes, decorate with stamps or lettering, and punch holes at the top. String them on twine and hang across a window or mantle.
- Skill Level: Beginner
- Perfect for: Group friendly
- Tools and Materials: Old book pages, twine, hole punch, stamps or markers
26. Pumpkin Spice Bath Salts
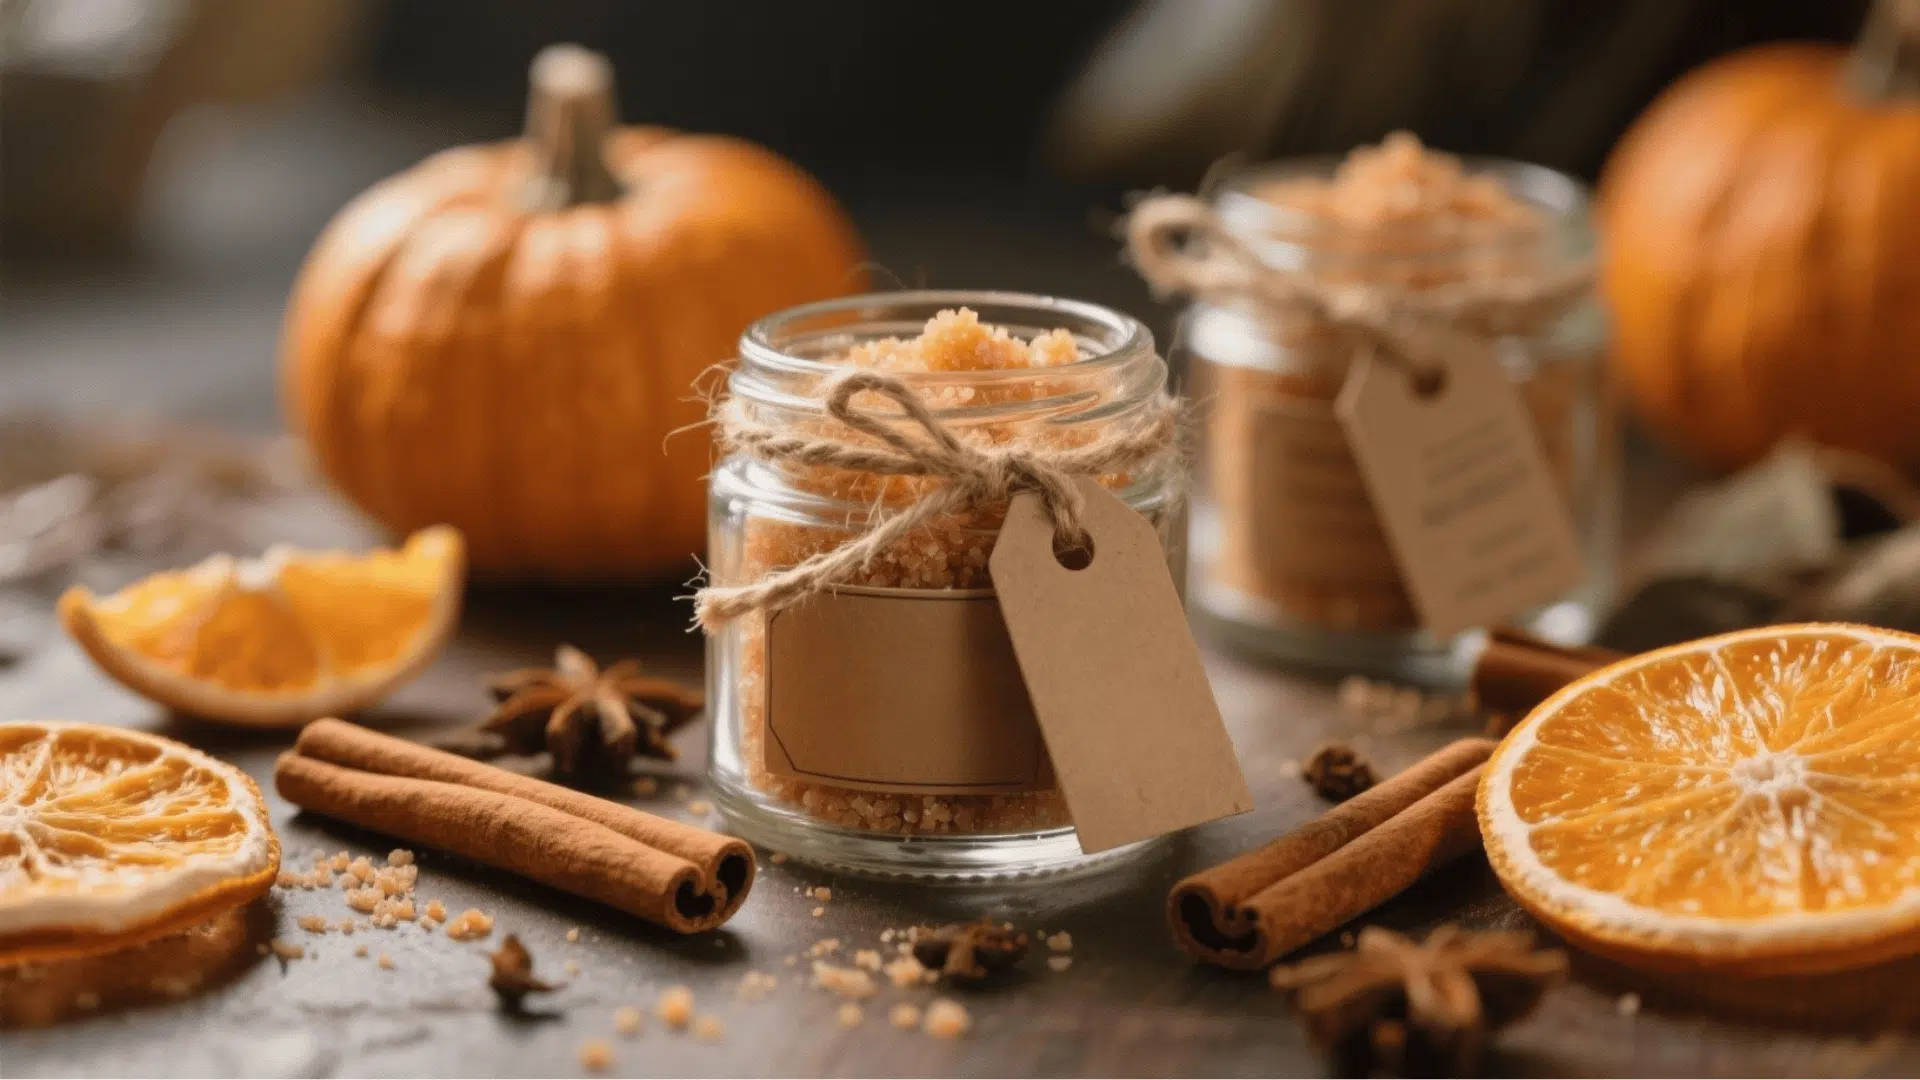
Combine Epsom salt, baking soda, and pumpkin spice in a bowl. Add essential oils, stir well, and pour into small jars. Label and decorate for gifting or home spa use.
- Skill Level: Beginner
- Perfect for: Individual
- Tools and Materials: Epsom salt, pumpkin spice, baking soda, essential oils, jar
27. Dried Orange Garland
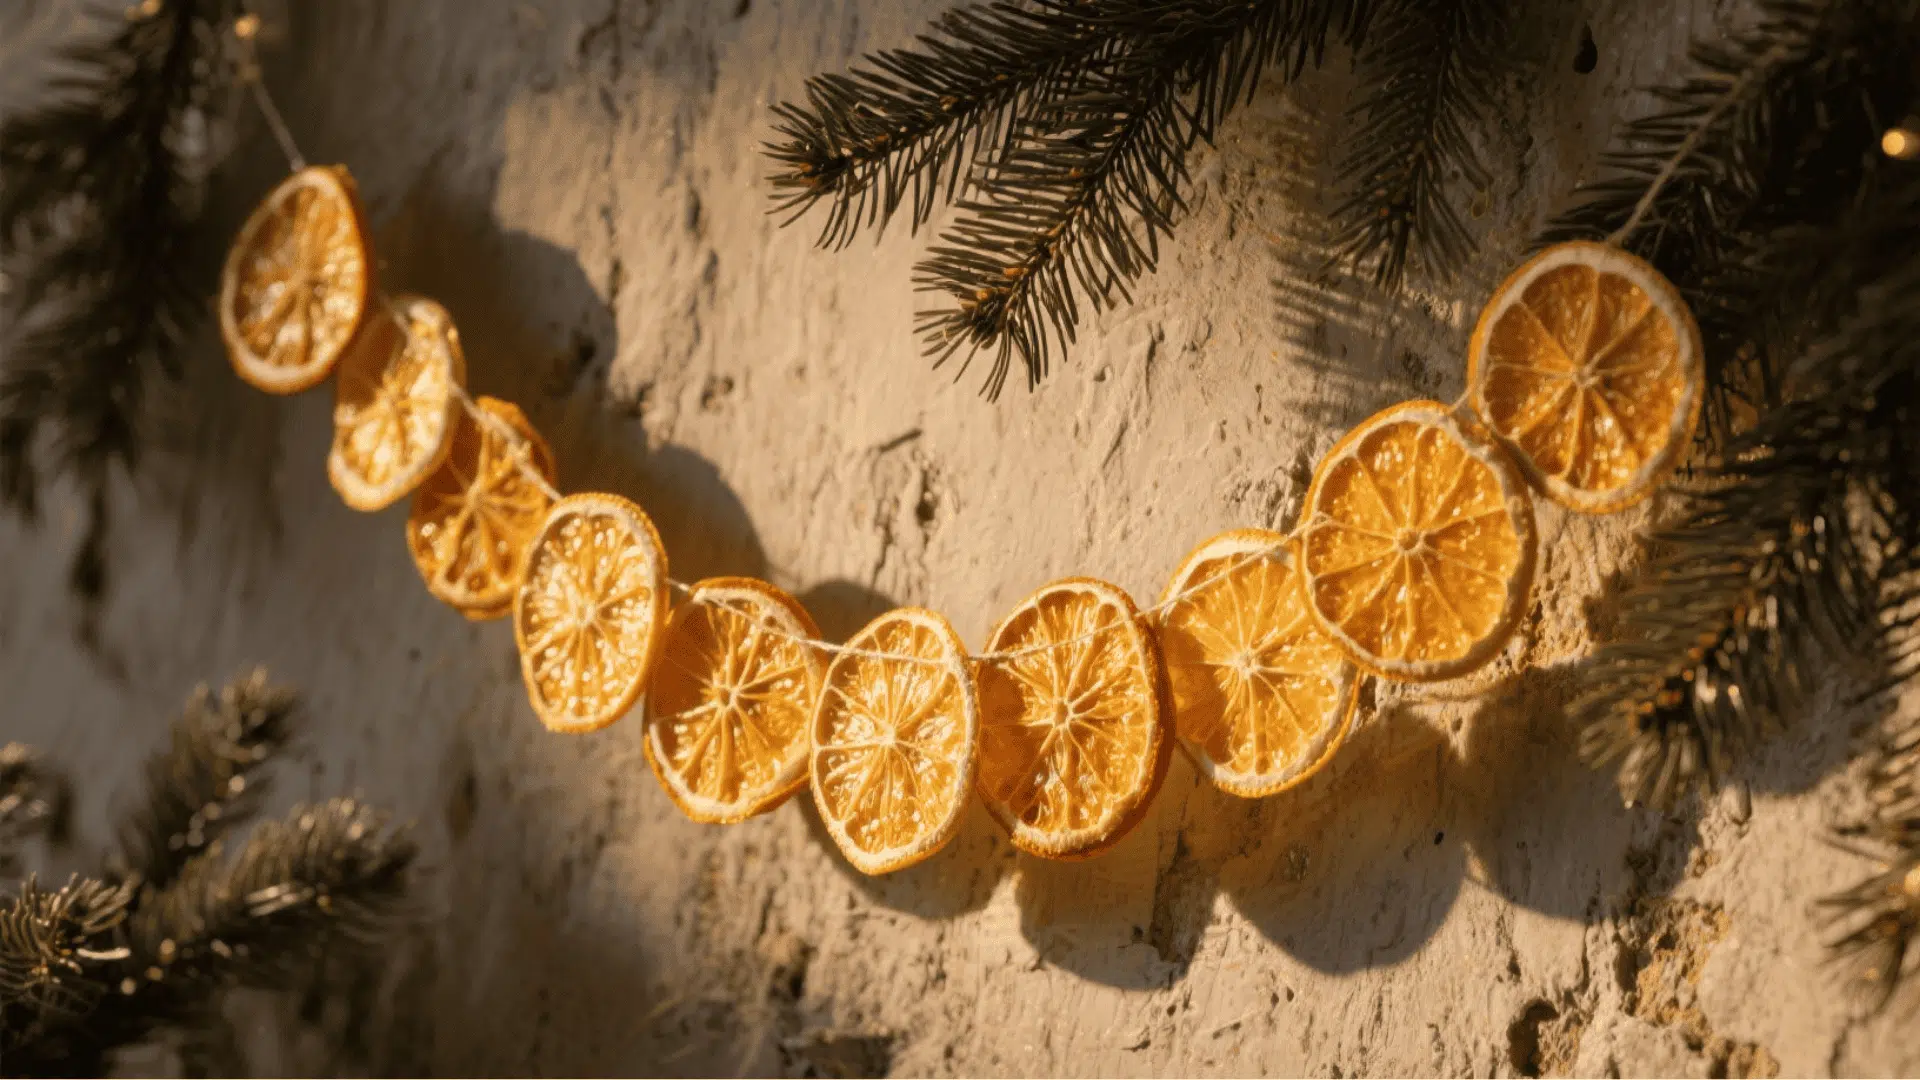
Slice oranges thinly and bake at low heat until completely dried. Once cool, string slices on twine using a needle and hang them for festive, fragrant décor.
- Skill Level: Beginner
- Perfect for: Family or group
- Tools and Materials: Oranges, oven, twine, needle
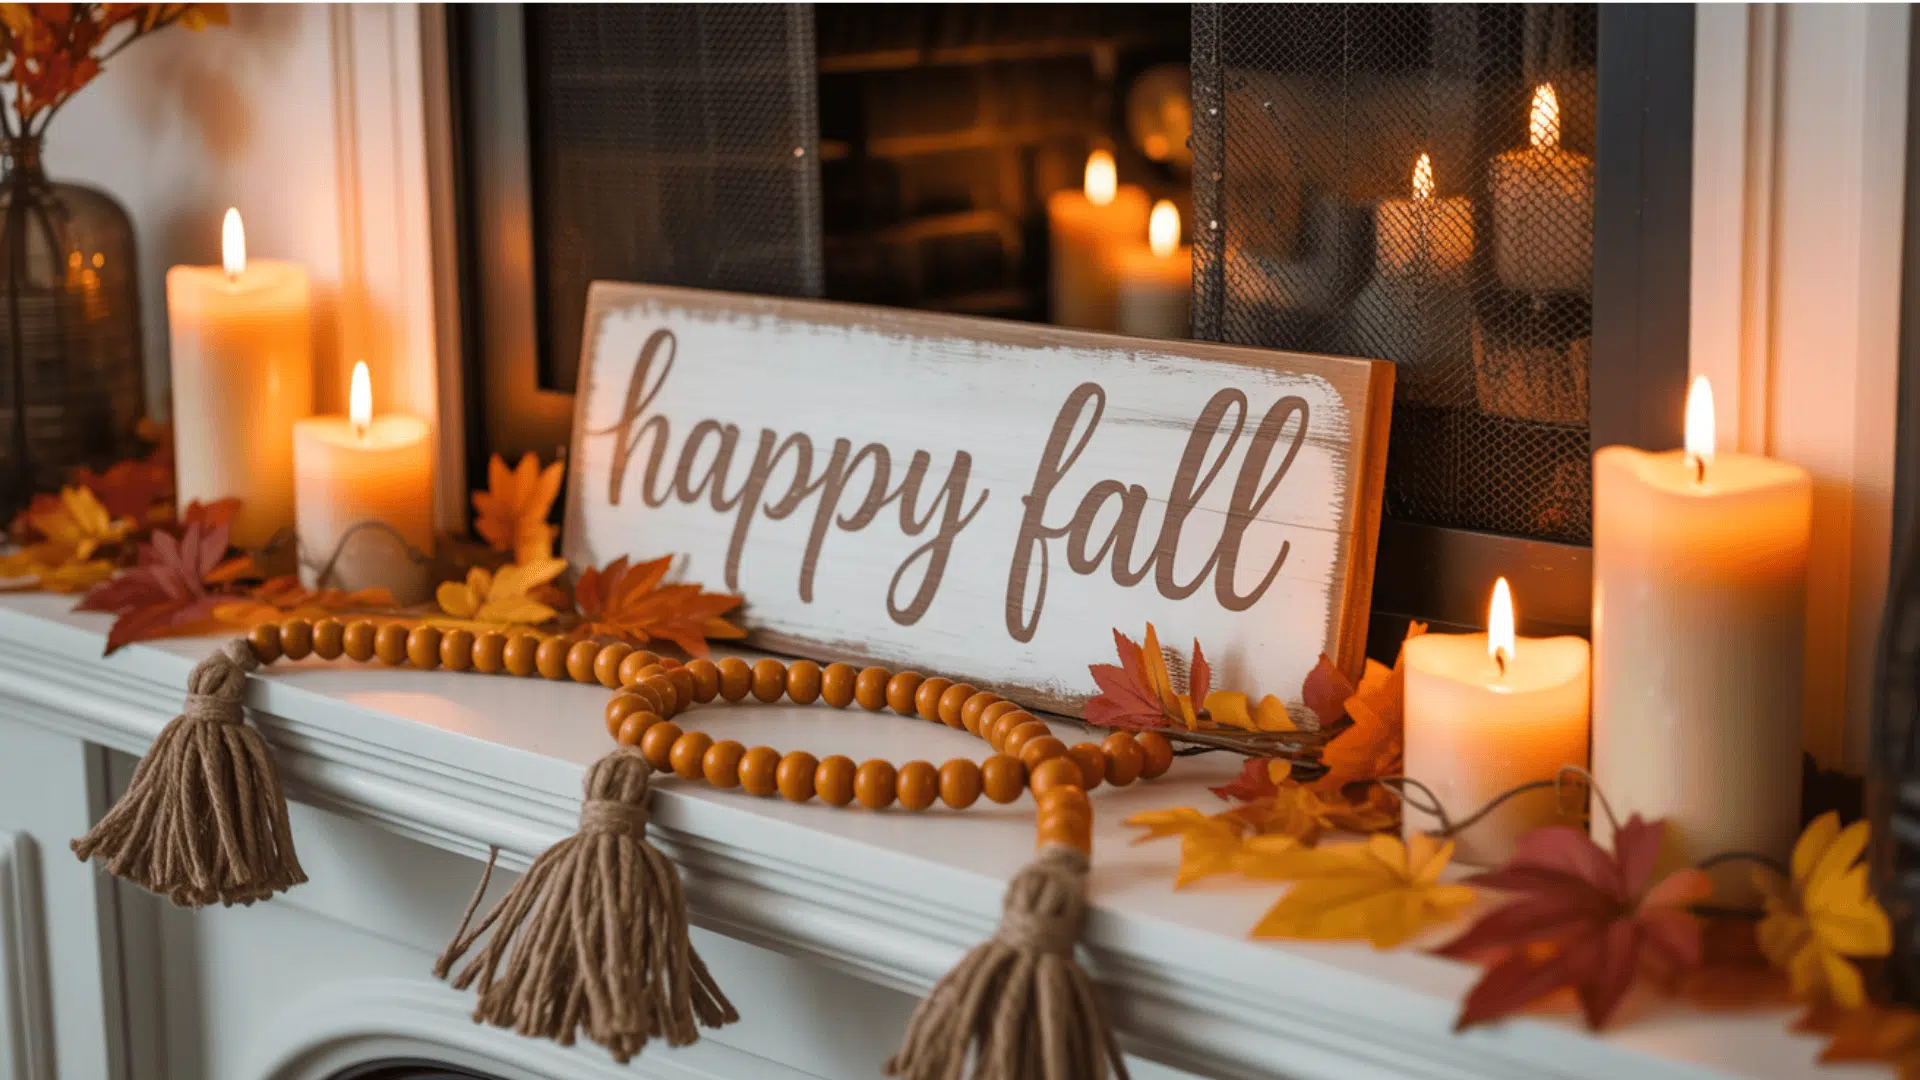
28. Chalkboard Fall Sign
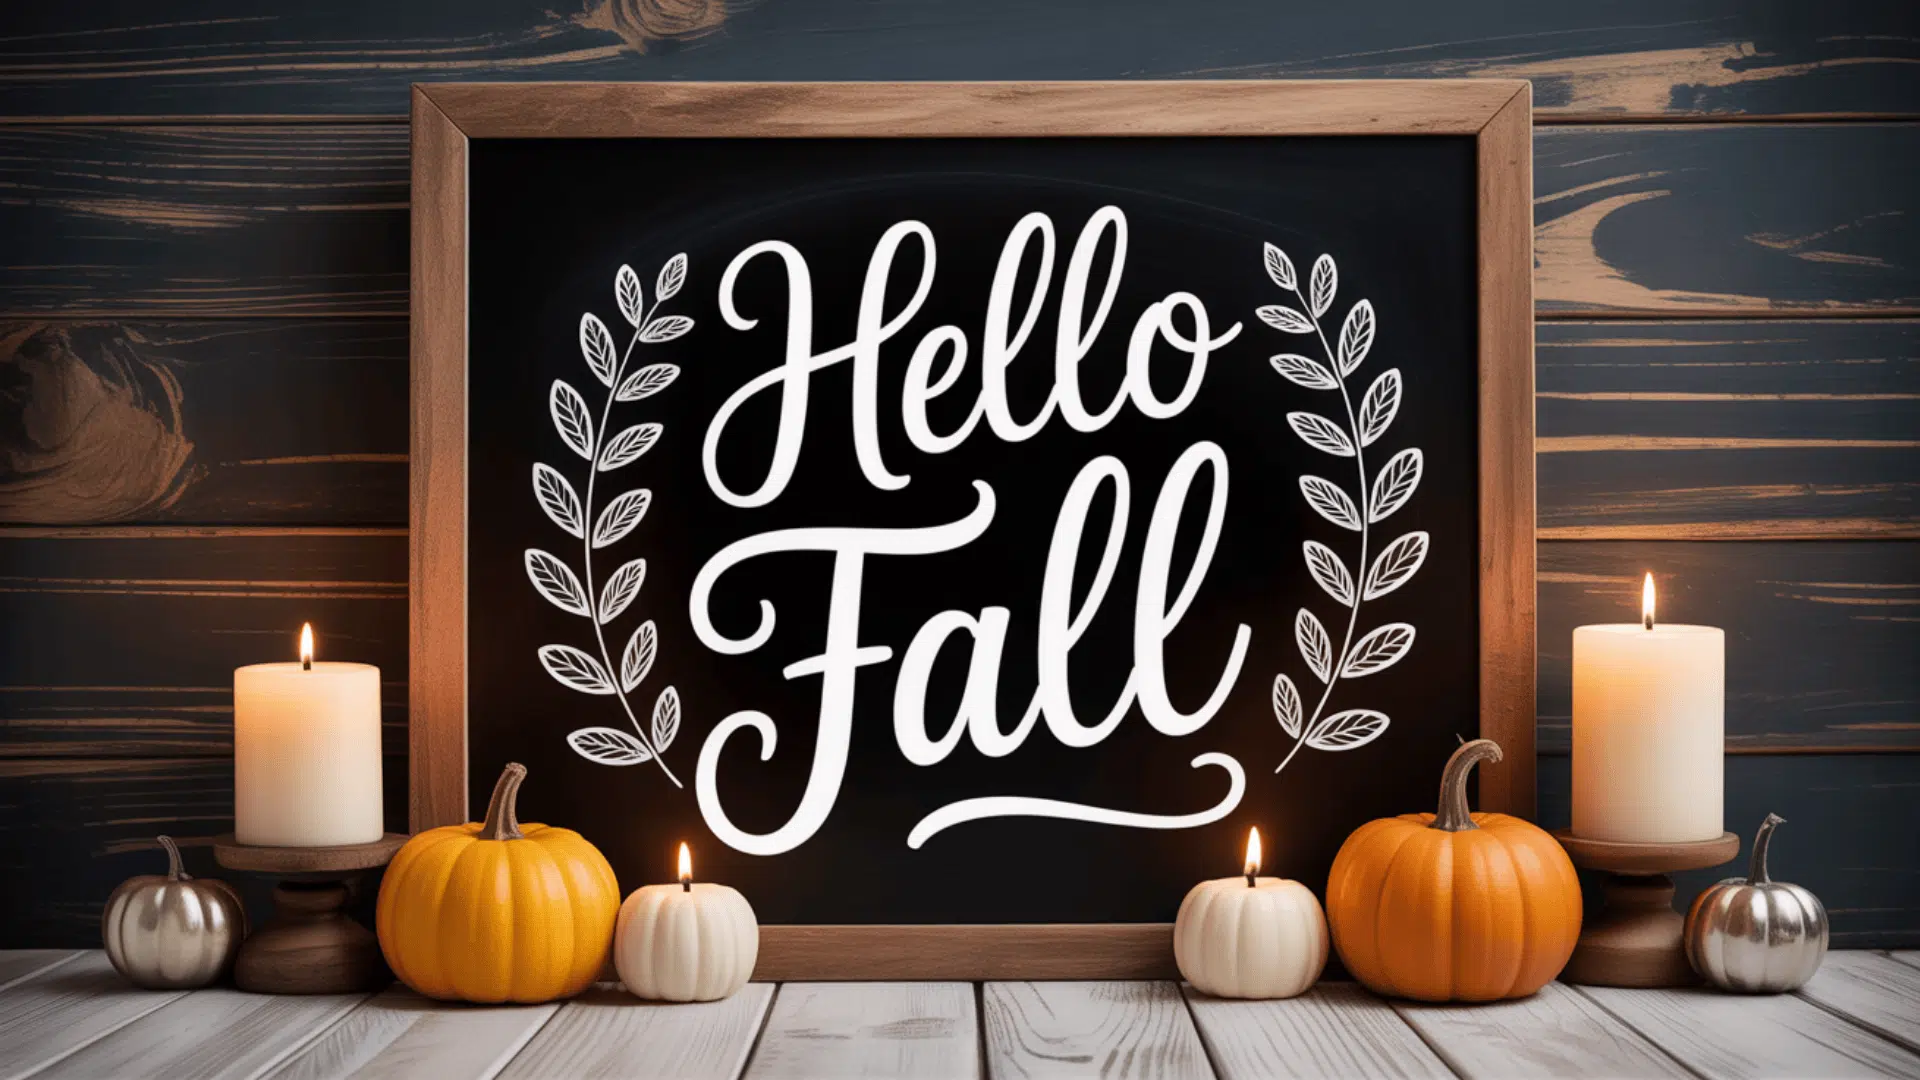
Wipe the chalkboard clean and sketch your favorite fall quote. Add leaves, pumpkins, or flourishes around it with chalk pens. Seal lightly to keep your design intact.
- Skill Level: Beginner
- Perfect for: Individual
- Tools and Materials: Chalkboard, chalk pens, stencil, or freehand design
29. Sweater Vase Covers
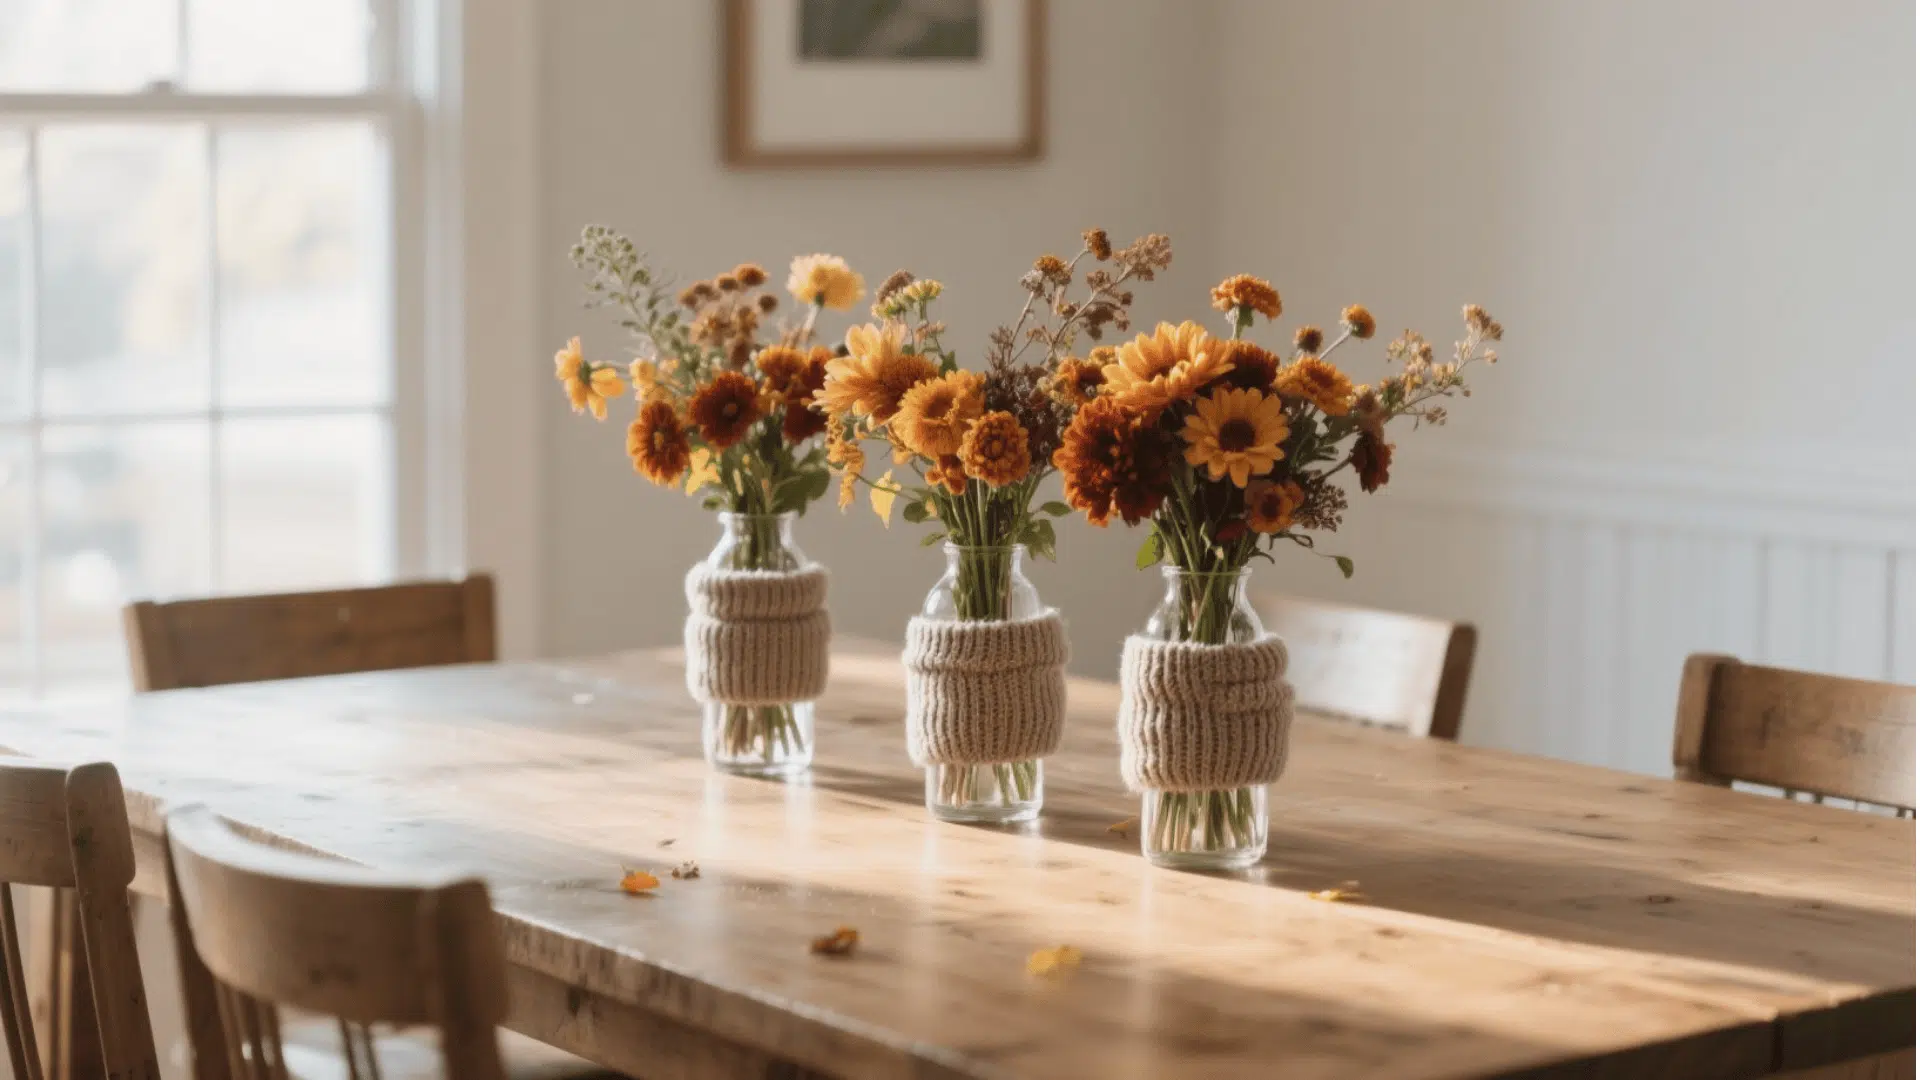
Cut the sweater sleeves to fit the height of your vase, then slide them over snugly. Fold the edges inside or glue them for a neat look, then tie a bow for cozy texture.
- Skill Level: Beginner
- Perfect for: Individual or group
- Tools and Materials: Old sweater sleeves, vases, scissors, glue
30. Wood Slice Pumpkin Decor
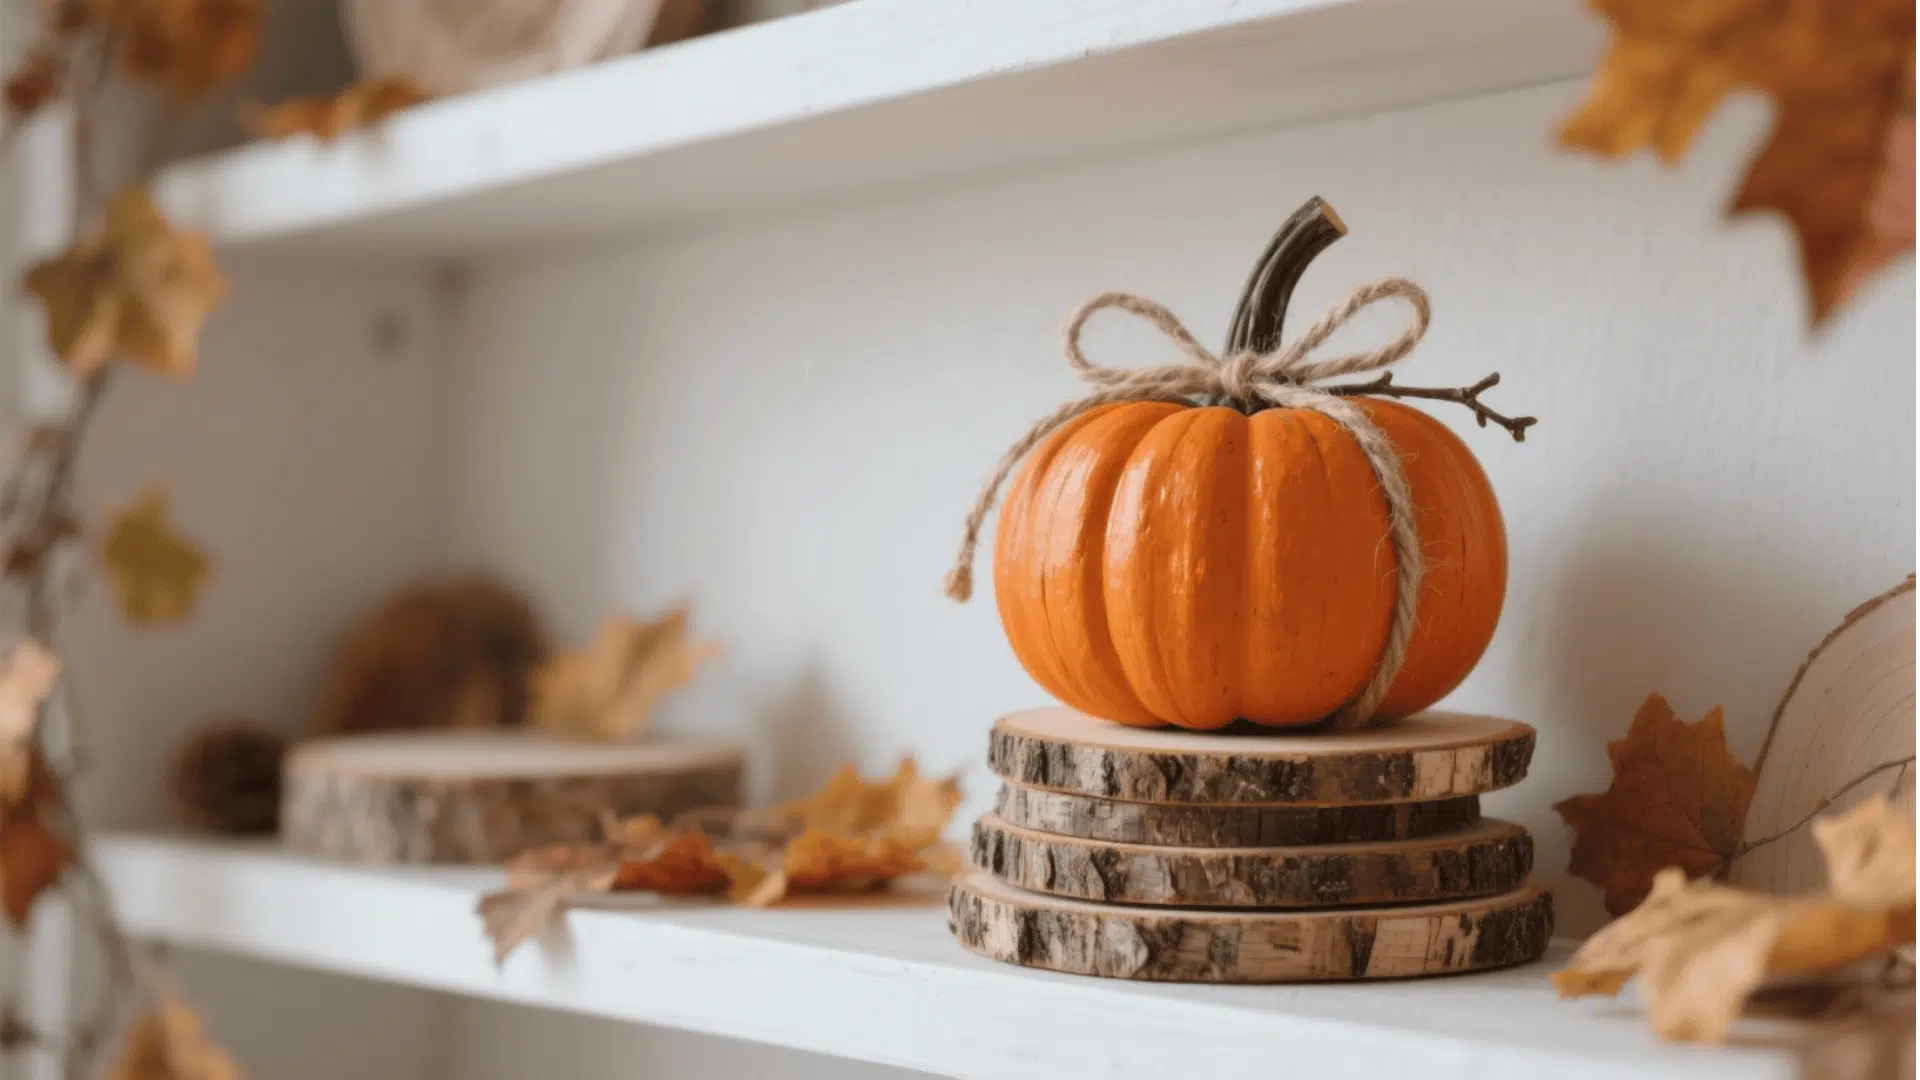
Paint wood slices orange and let them dry fully. Glue them together in a pumpkin shape, add a small twig for the stem, and wrap twine around for a rustic finish.
- Skill Level: Beginner
- Perfect for: Individual
- Tools and Materials: Wood slices, orange paint, hot glue, stick stems, twine
31. Pinecone Fire Starters
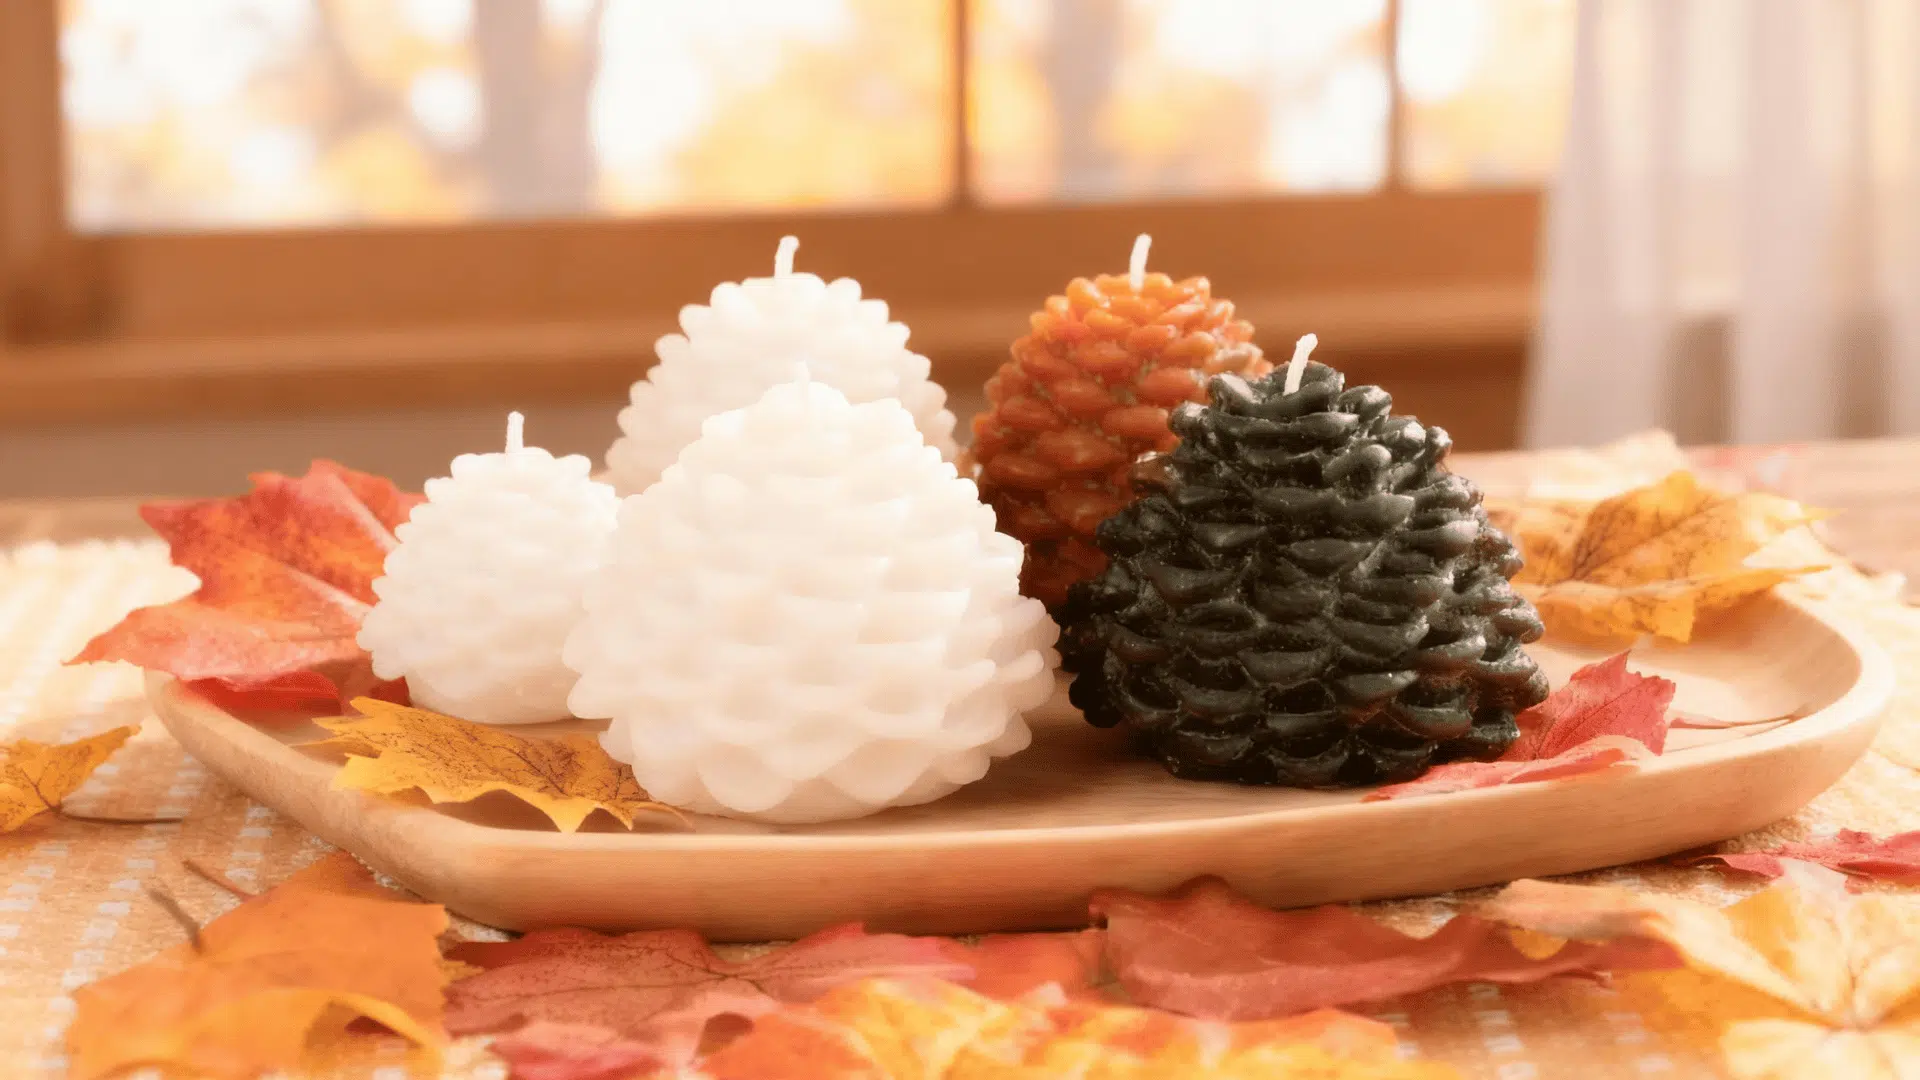
Place wicks in paper cups, set pinecones inside, and pour melted wax over them. Add a few drops of essential oil, let harden, then remove from cups to use for fires.
- Skill Level: Beginner
- Perfect for: Individual
- Tools and Materials: Pinecones, wax, wicks, essential oil, paper cups
32. Fabric Leaf Garland
Cut leaf shapes from colorful fabric and arrange them along a string. Sew or glue each leaf in place, then hang across mantels or doorways for a soft fall accent.
- Skill Level: Beginner
- Perfect for: Group or family
- Tools and Materials: Fabric, scissors, needle, thread, string
33. Fall Centerpiece Crate
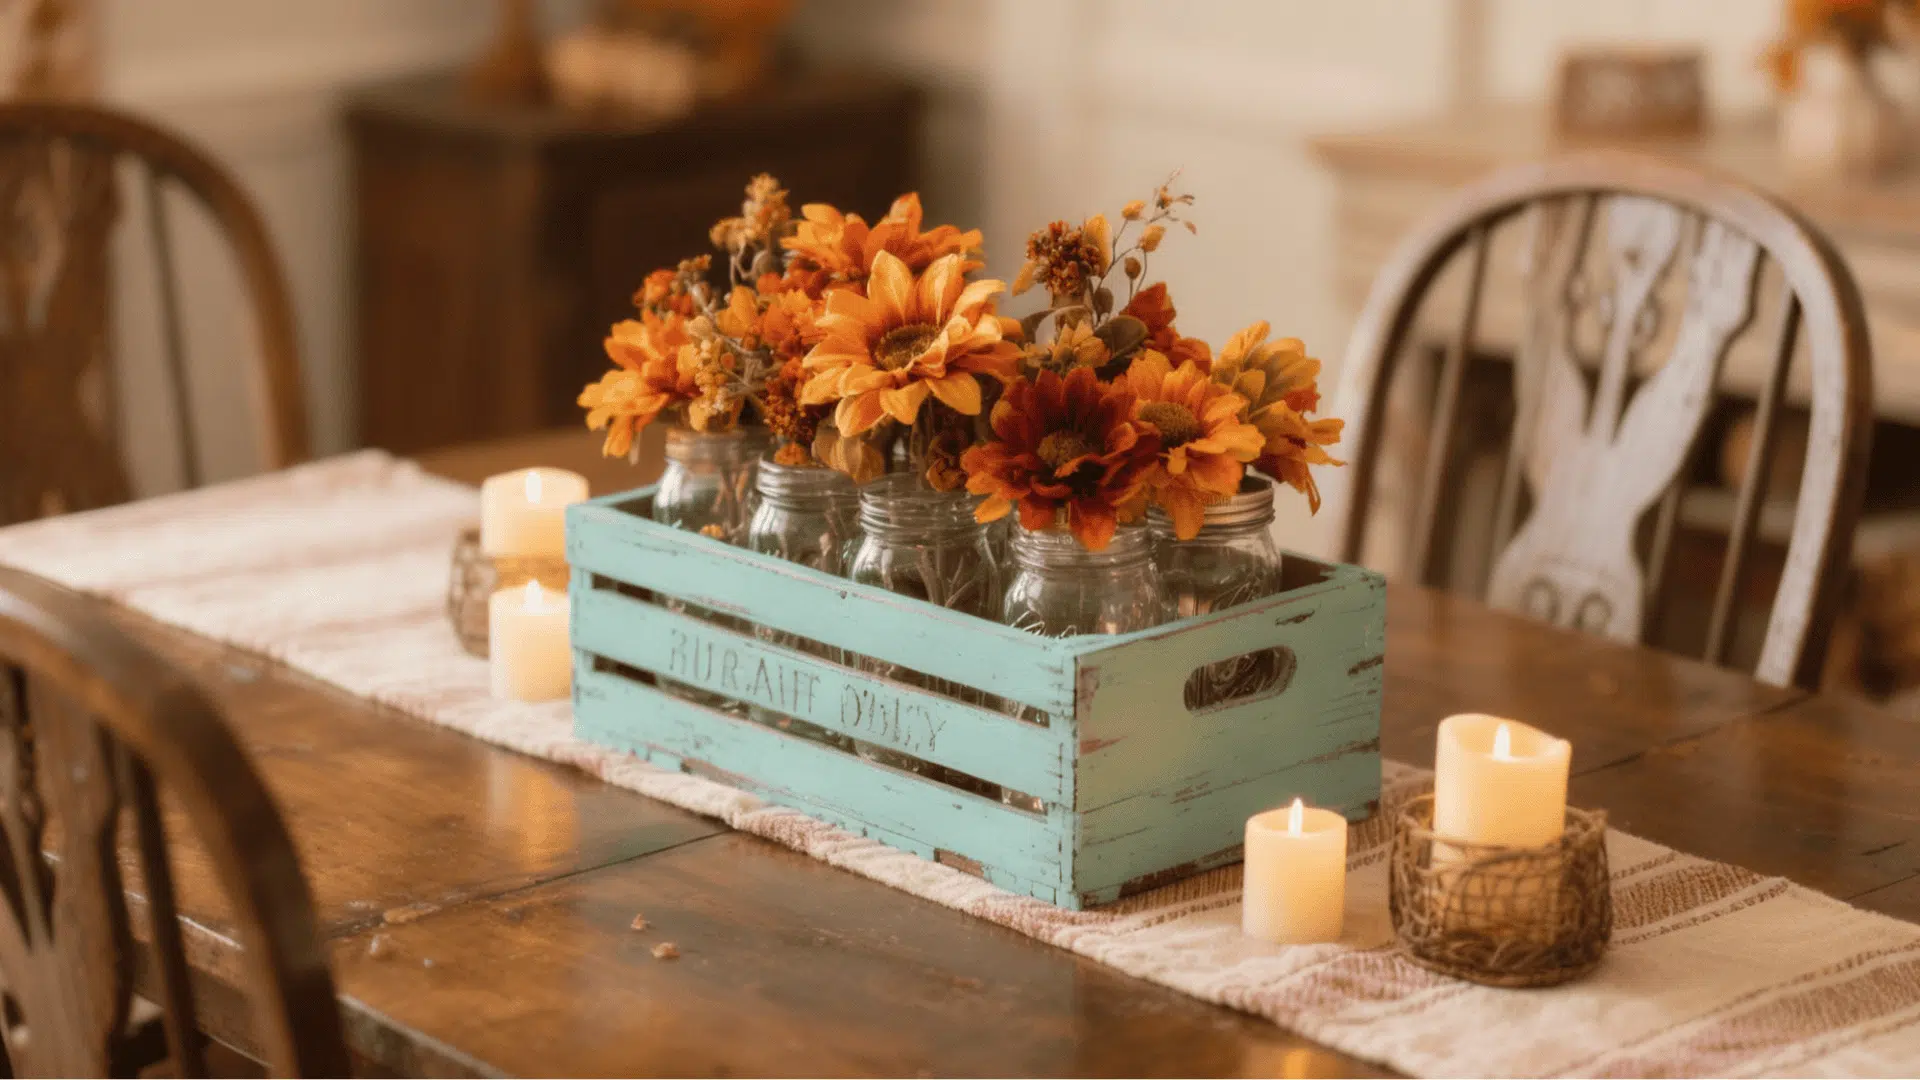
Paint or stain your wooden crate and let it dry. Fill mason jars with faux flowers or greenery and arrange them inside. Add a ribbon or raffia bow for a farmhouse touch.
- Skill Level: Beginner
- Perfect for: Group or event project
- Tools and Materials: Wooden crate, paint, mason jars, faux florals
34. Acorn Napkin Rings
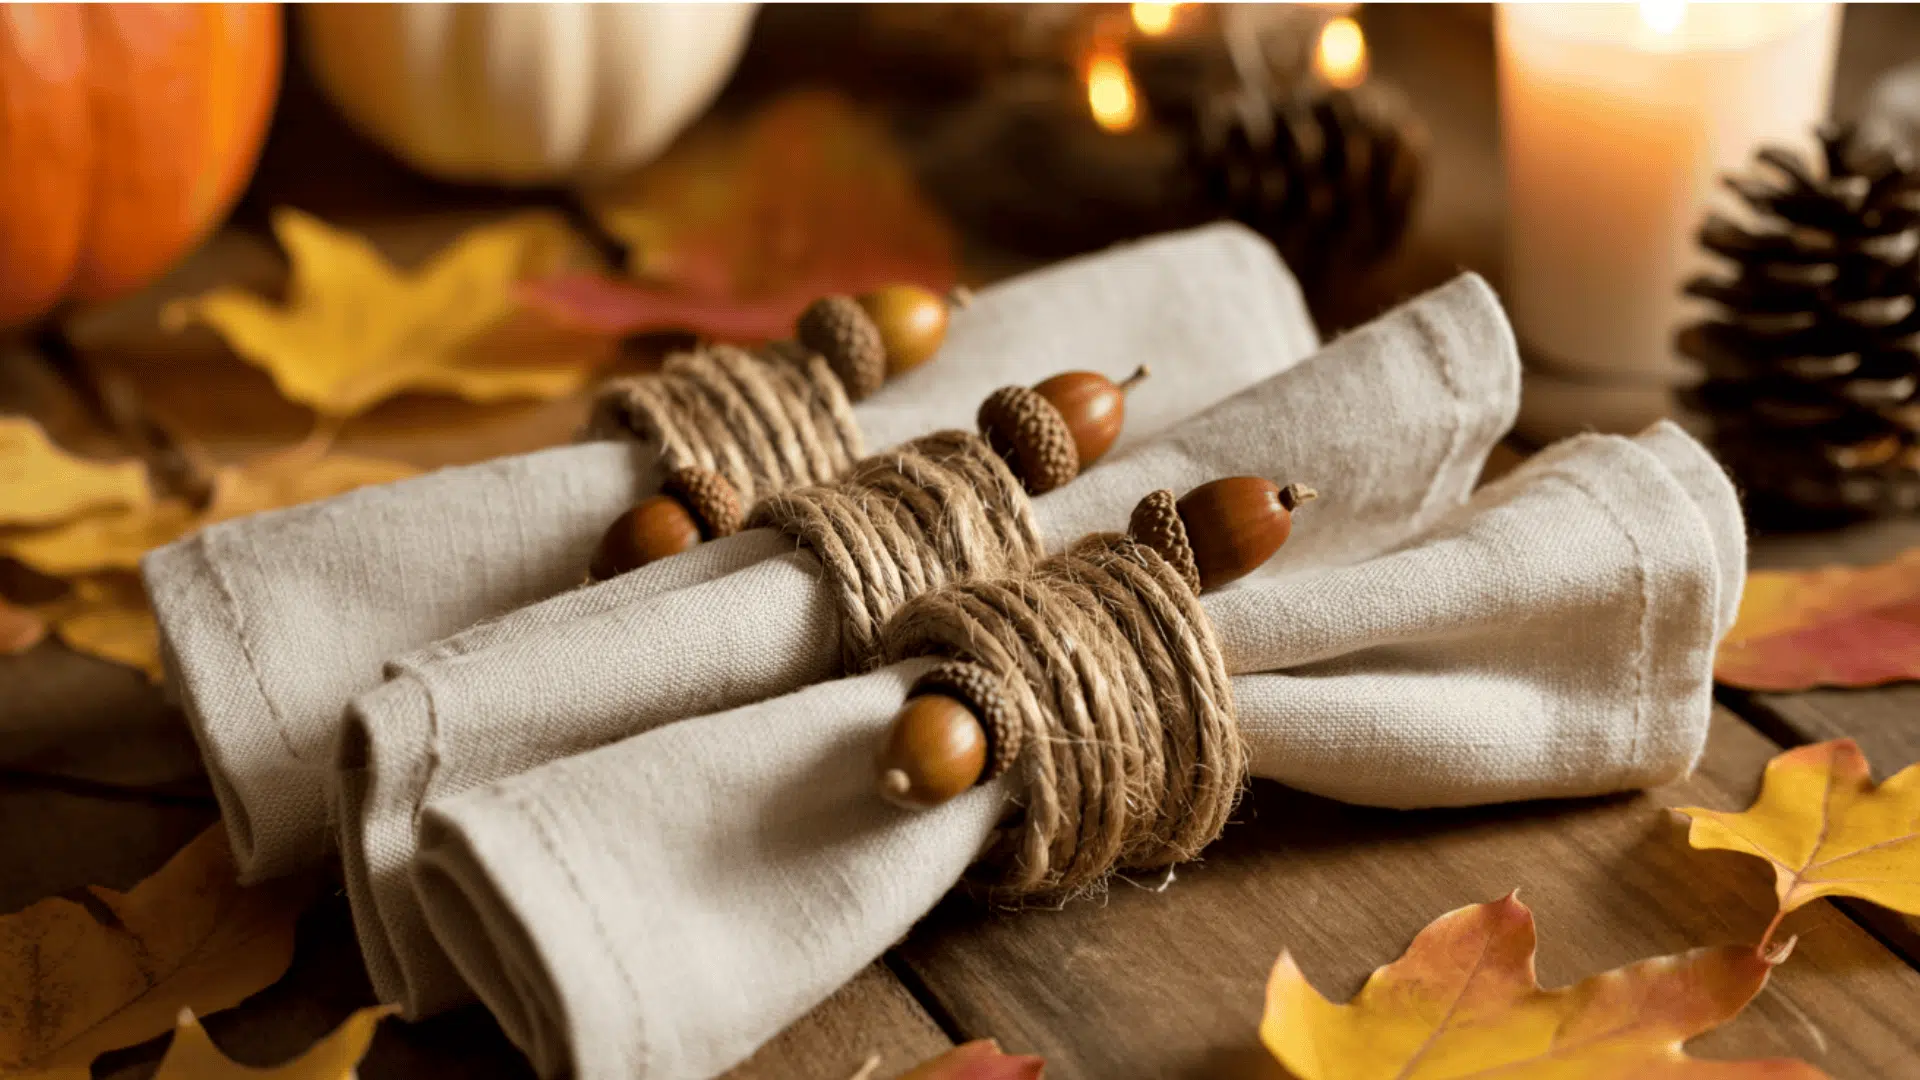
Twist twine into small rings and glue faux acorns along one side. Let them dry completely before using to wrap around napkins for your fall table setting.
- Skill Level: Beginner
- Perfect for: Individual
- Tools and Materials: Twine, small faux acorns, hot glue
35. Twig Frame Art

Cut twigs to match your frame’s size and glue them around the outer edge. Layer a few for dimension and insert a fall photo or pressed leaf to finish.
- Skill Level: Beginner
- Perfect for: Individual
- Tools and Materials: Picture frame, twigs, glue, leaves, or photo
36. Painted Pumpkin Rocks
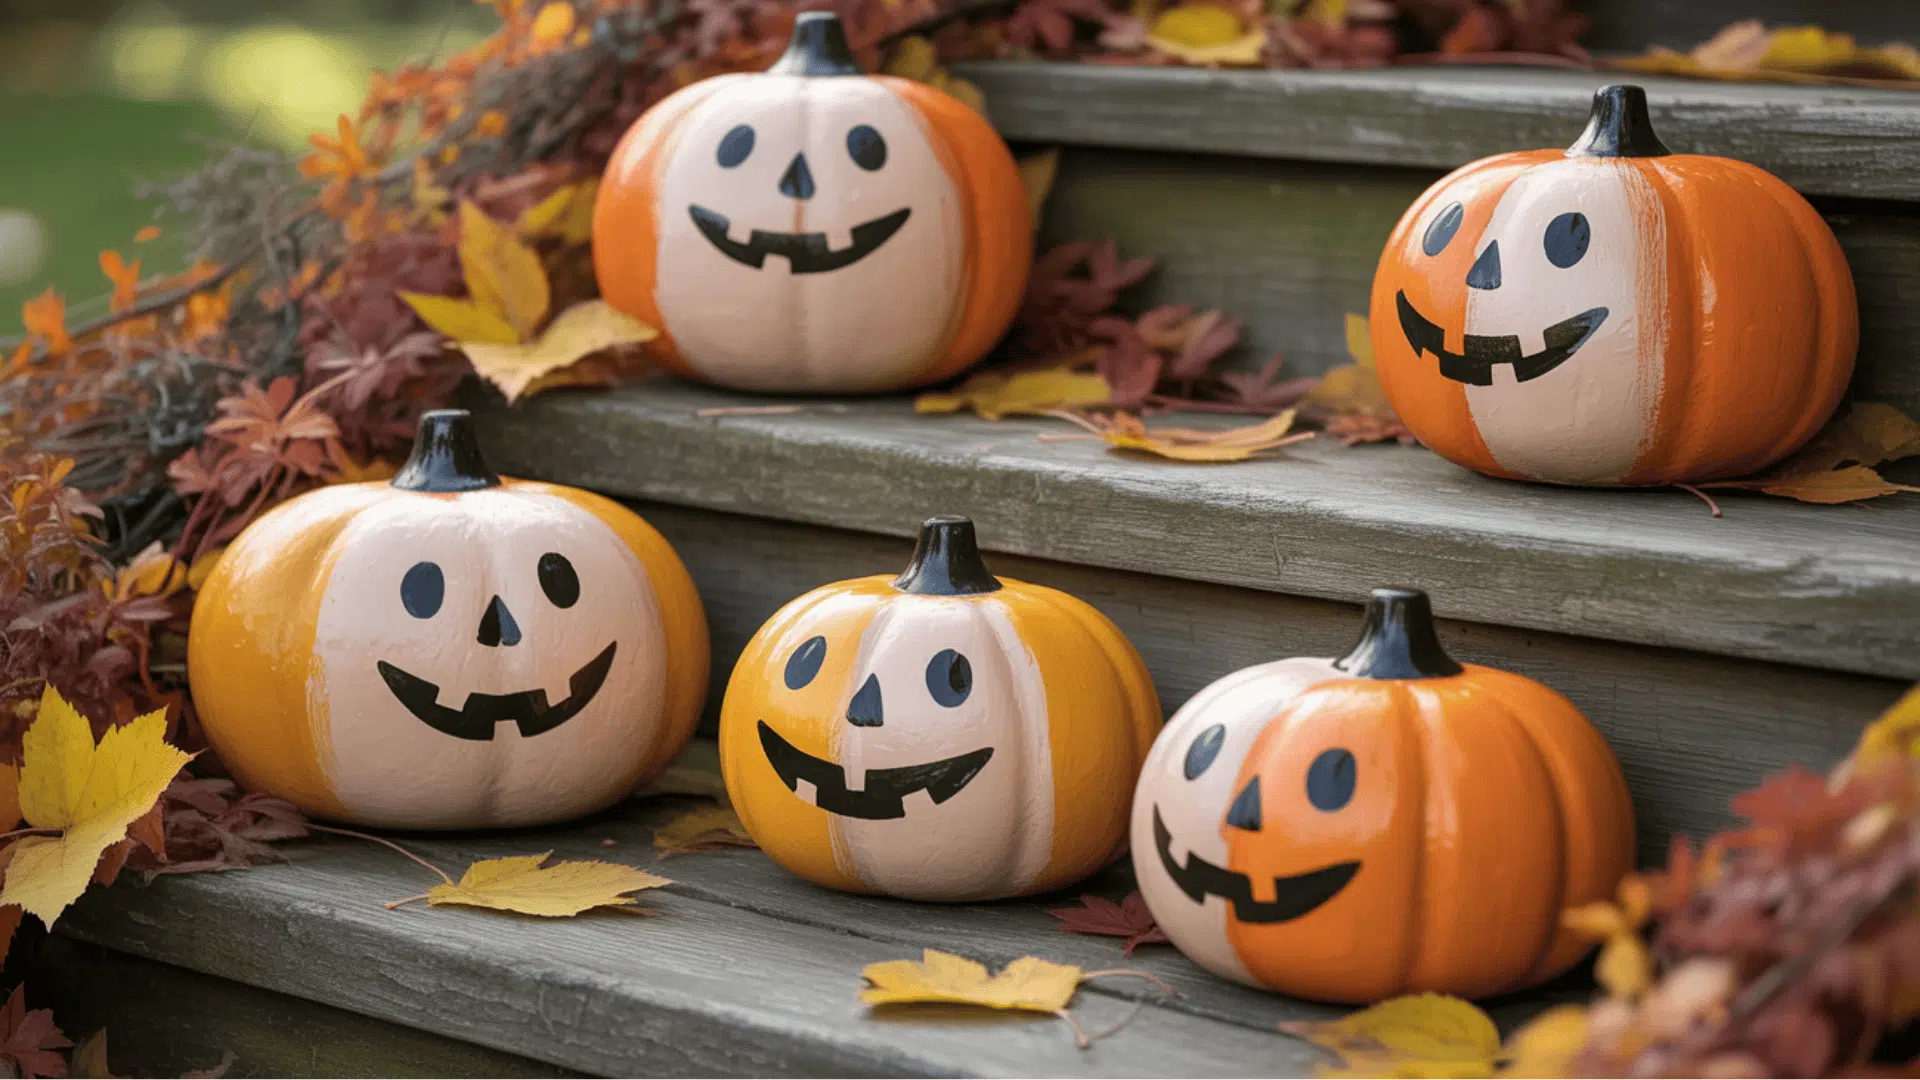
Paint smooth rocks orange or white and let them dry. Add green stems, vines, or fun faces using small brushes. Seal with clear coat for outdoor or tabletop use.
- Skill Level: Beginner
- Perfect for: Kid-friendly
- Tools and Materials: Smooth rocks, acrylic paint, brushes, sealant
37. Burlap Table Runner
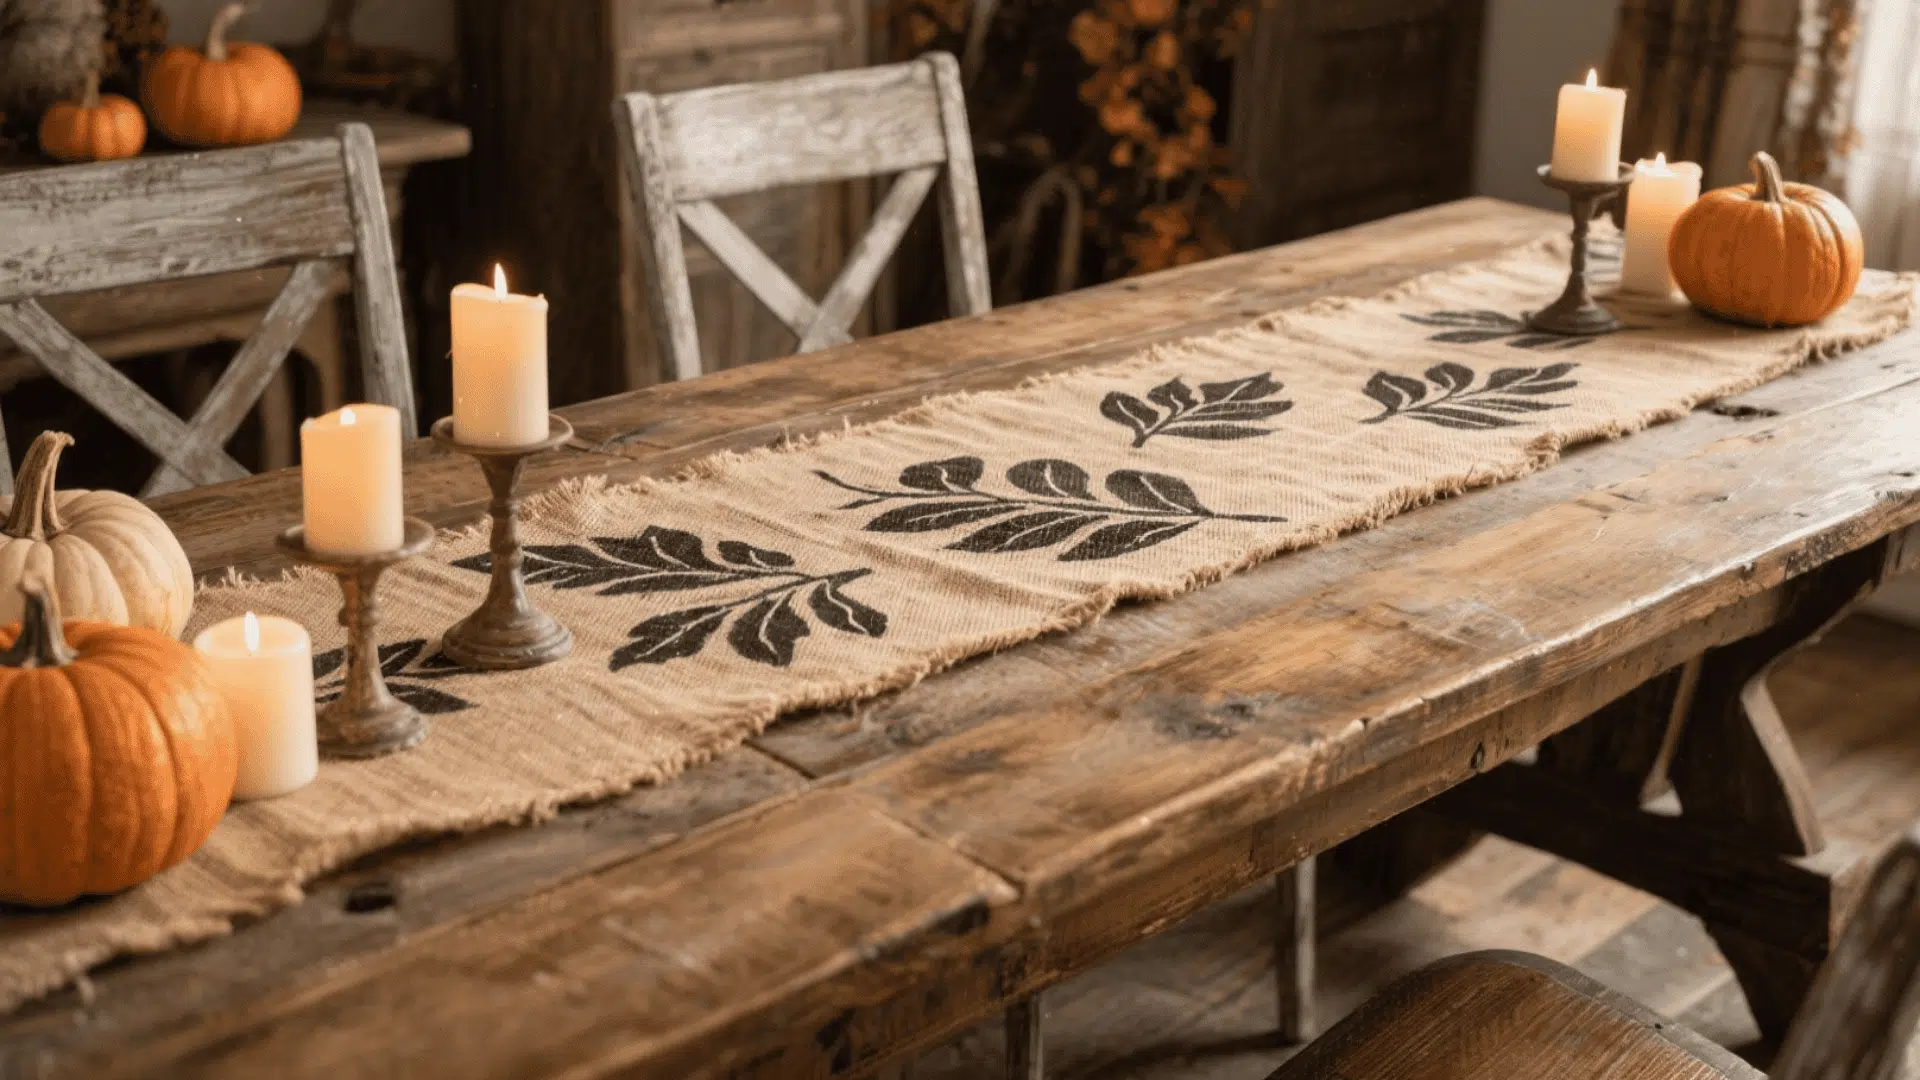
Cut burlap to the length of your table and lay it flat. Use a stencil to paint leaves or pumpkins across it, and lightly fray the ends for a rustic finish.
- Skill Level: Beginner
- Perfect for: Group or family
- Tools and Materials: Burlap fabric, scissors, paint, stencil
38. Pumpkin Wood Bead Garland
Paint the wood beads orange and let them dry. Thread them onto jute twine, add tassels or bows at the ends, and drape across mantels or tiered trays.
- Skill Level: Beginner
- Perfect for: Group friendly
- Tools and Materials: Wood beads, orange paint, jute, tassels
39. Book Page Pumpkins
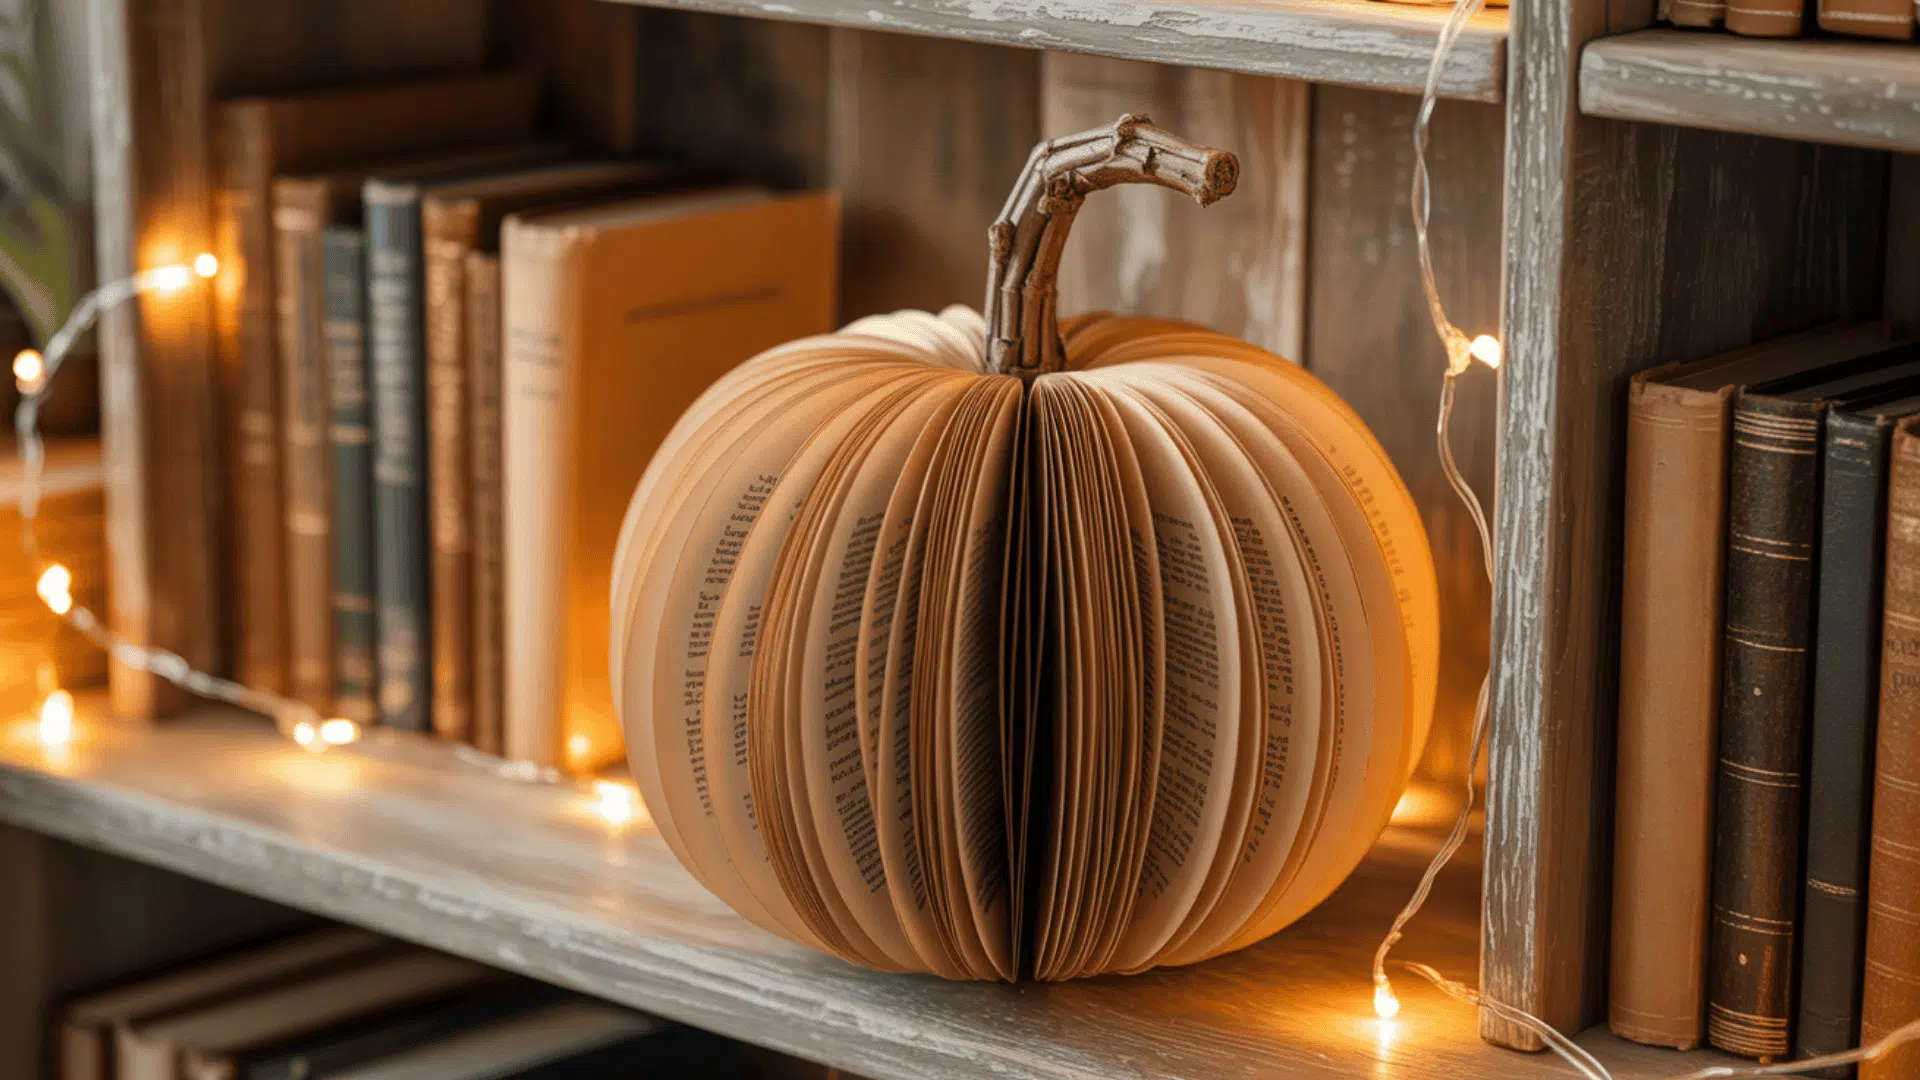
Cut a pumpkin outline into an old book, leaving the spine intact. Fan out the pages into a full circle, glue the ends together, and top with a twig stem.
- Skill Level: Intermediate
- Perfect for: Individual
- Tools and Materials: Old book, craft knife, glue, paint
40. Felt Leaf Wreath
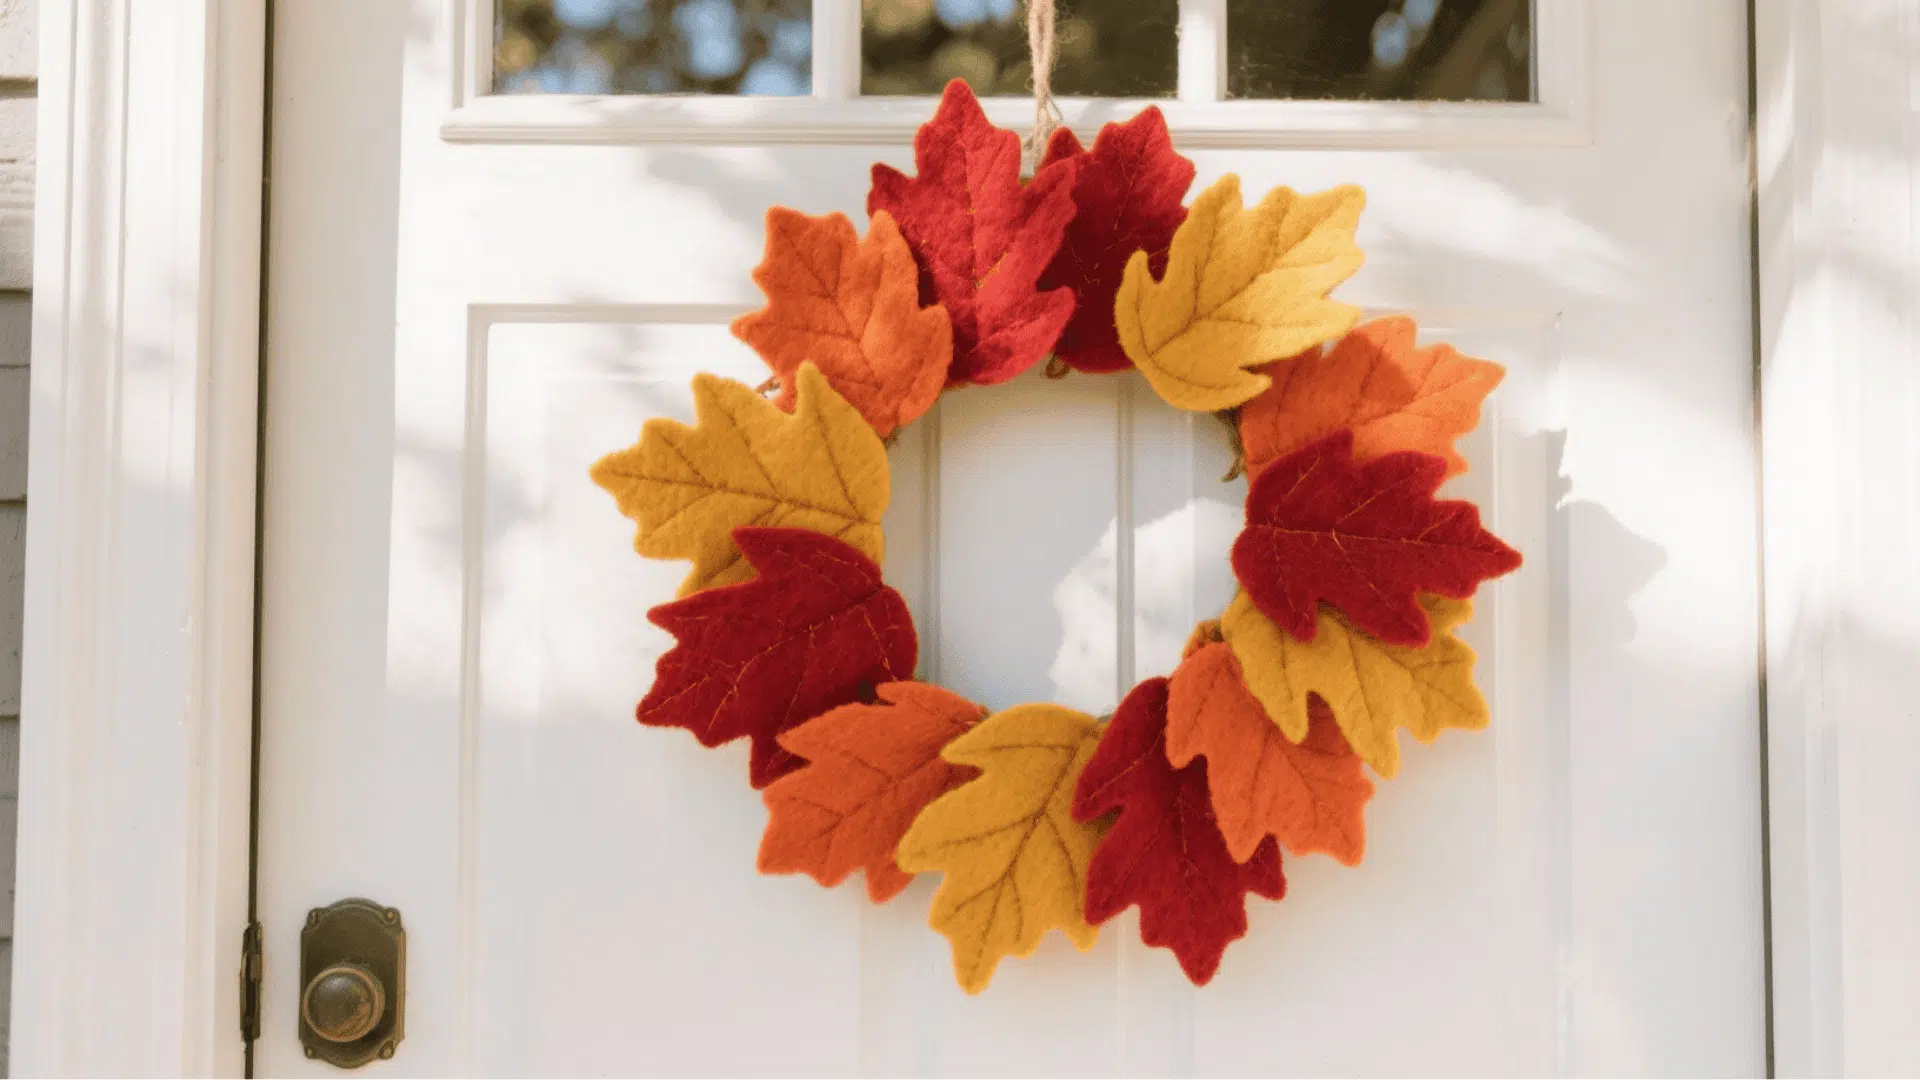
Cut felt into leaf shapes of various colors. Glue them around a foam wreath form, overlapping for fullness, and finish with a ribbon for hanging.
- Skill Level: Beginner
- Perfect for: Group or family
- Tools and Materials: Felt sheets, scissors, wreath form, hot glue
41. Painted Doormat
Position a stencil over a plain doormat and tape it down. Dab outdoor paint gently with a brush, lift the stencil carefully, and let it dry before use.
- Skill Level: Beginner
- Perfect for: Group friendly
- Tools and Materials: Plain doormat, stencil, outdoor paint, brush
42. Pumpkin Patch Tiered Tray
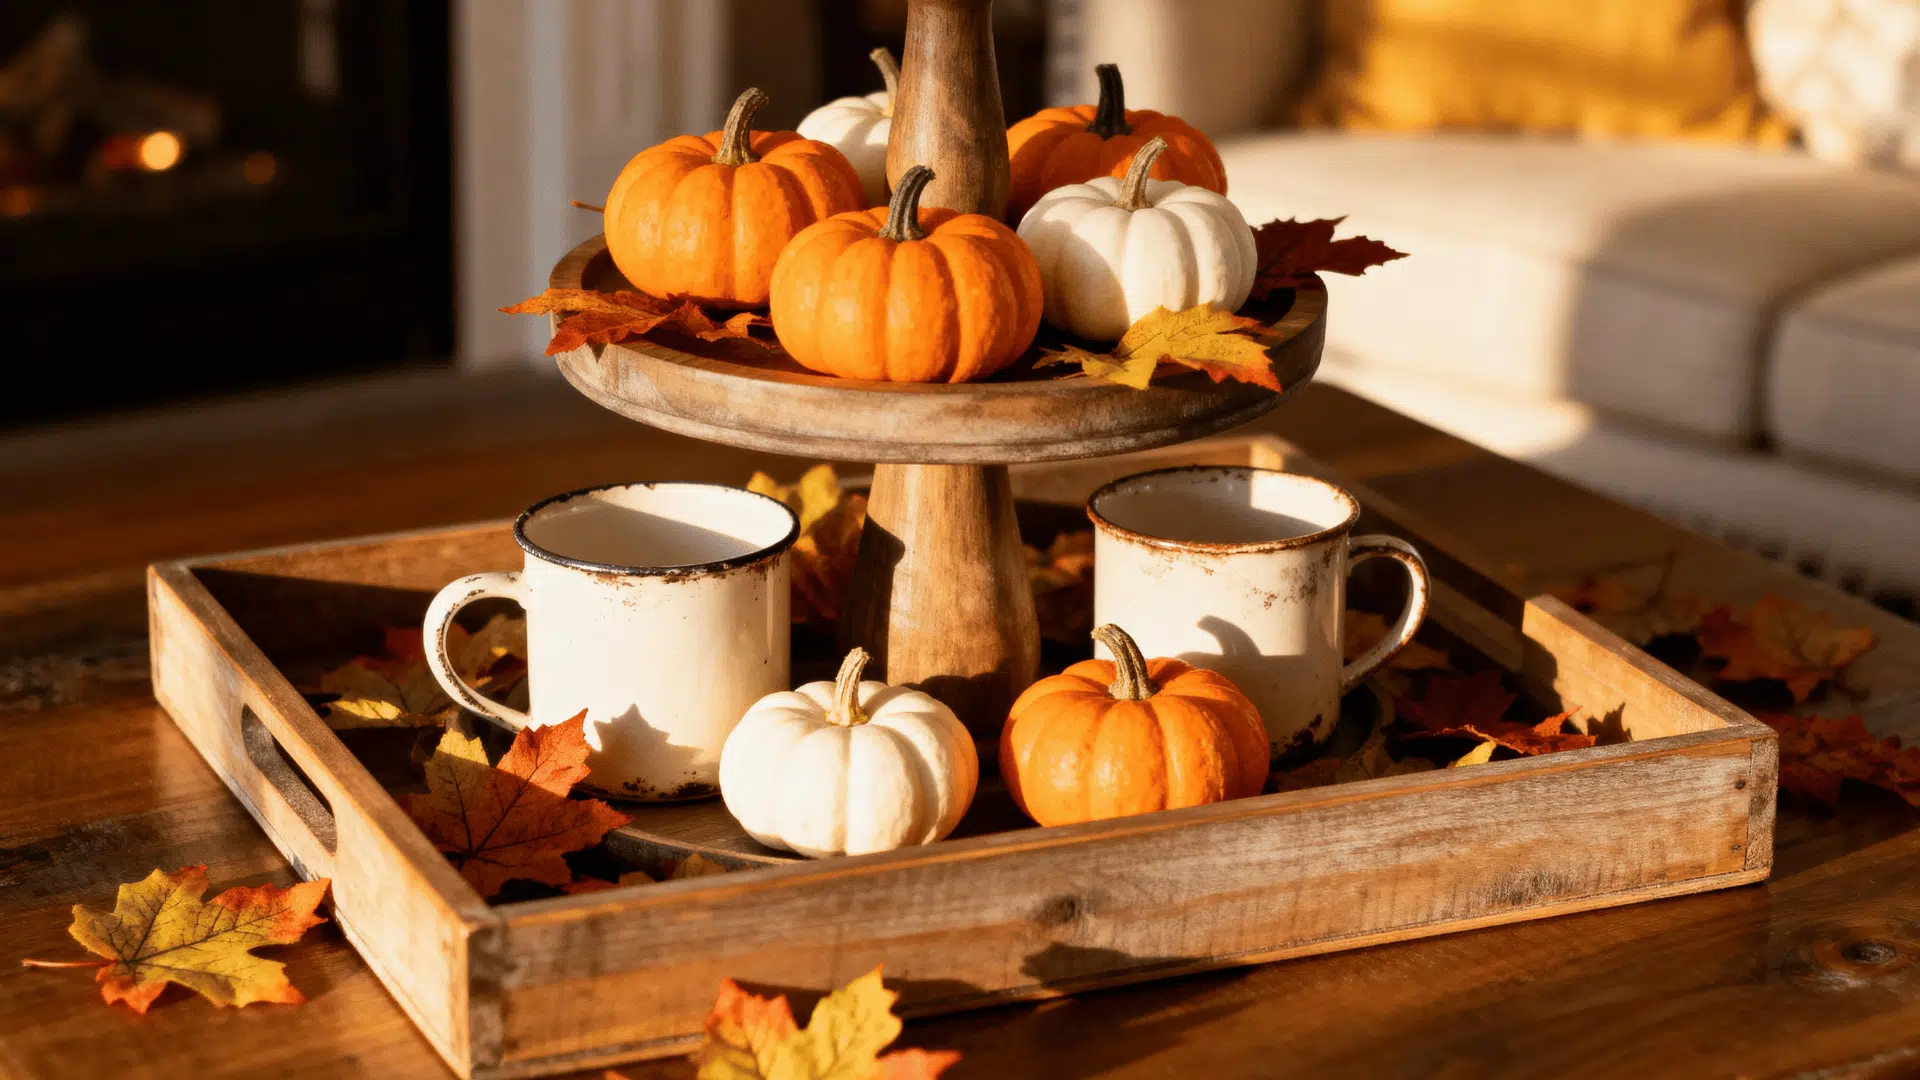
Gather mini pumpkins, mugs, and faux leaves. Arrange decor pieces across each tray level, balancing colors and heights for a charming display.
- Skill Level: Beginner
- Perfect for: Individual
- Tools and Materials: Tiered tray, mini pumpkins, faux leaves, mugs
43. Wooden Leaf Magnets
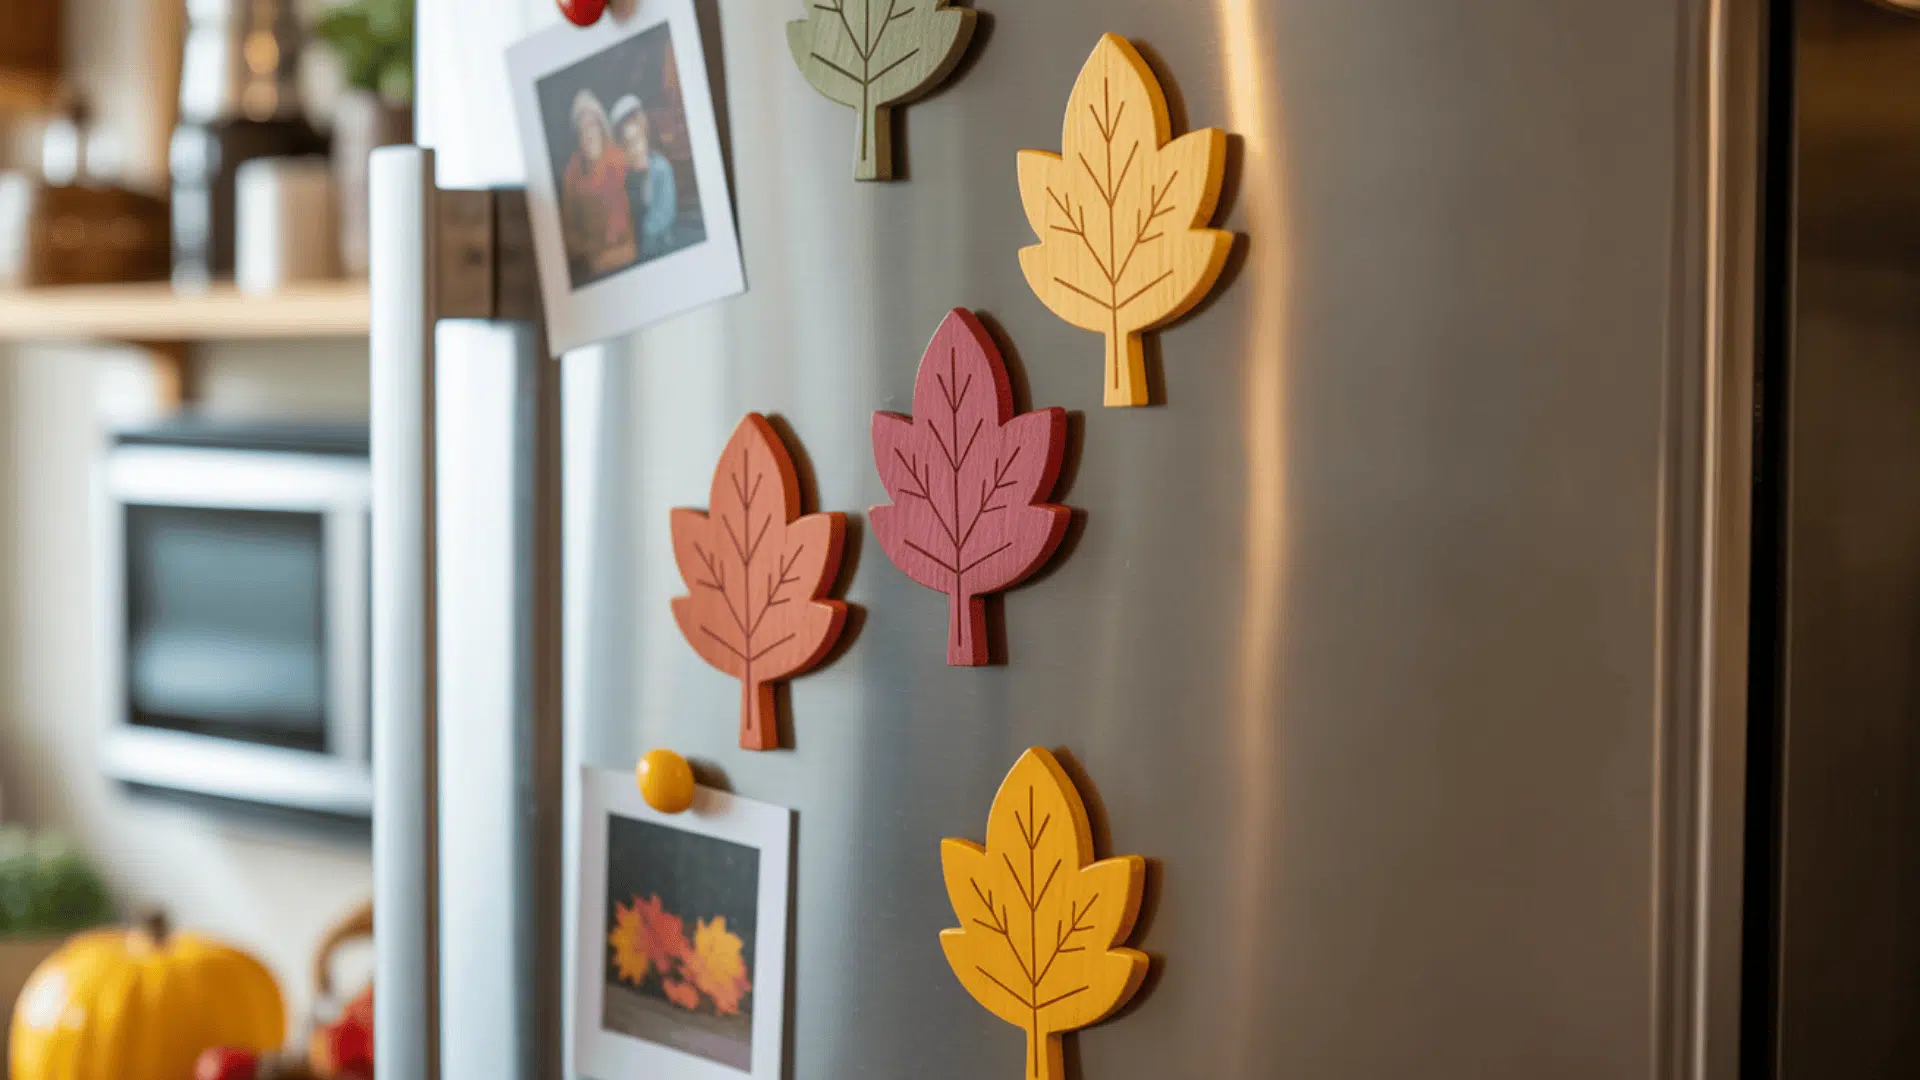
Paint small wooden leaf shapes in fall hues and allow them to dry. Glue small magnets to the back and decorate your fridge or board with seasonal flair.
- Skill Level: Beginner
- Perfect for: Kid-friendly
- Tools and Materials: Small wood cutouts, magnets, paint, glue
44. Mini Hay Bale Centerpiece
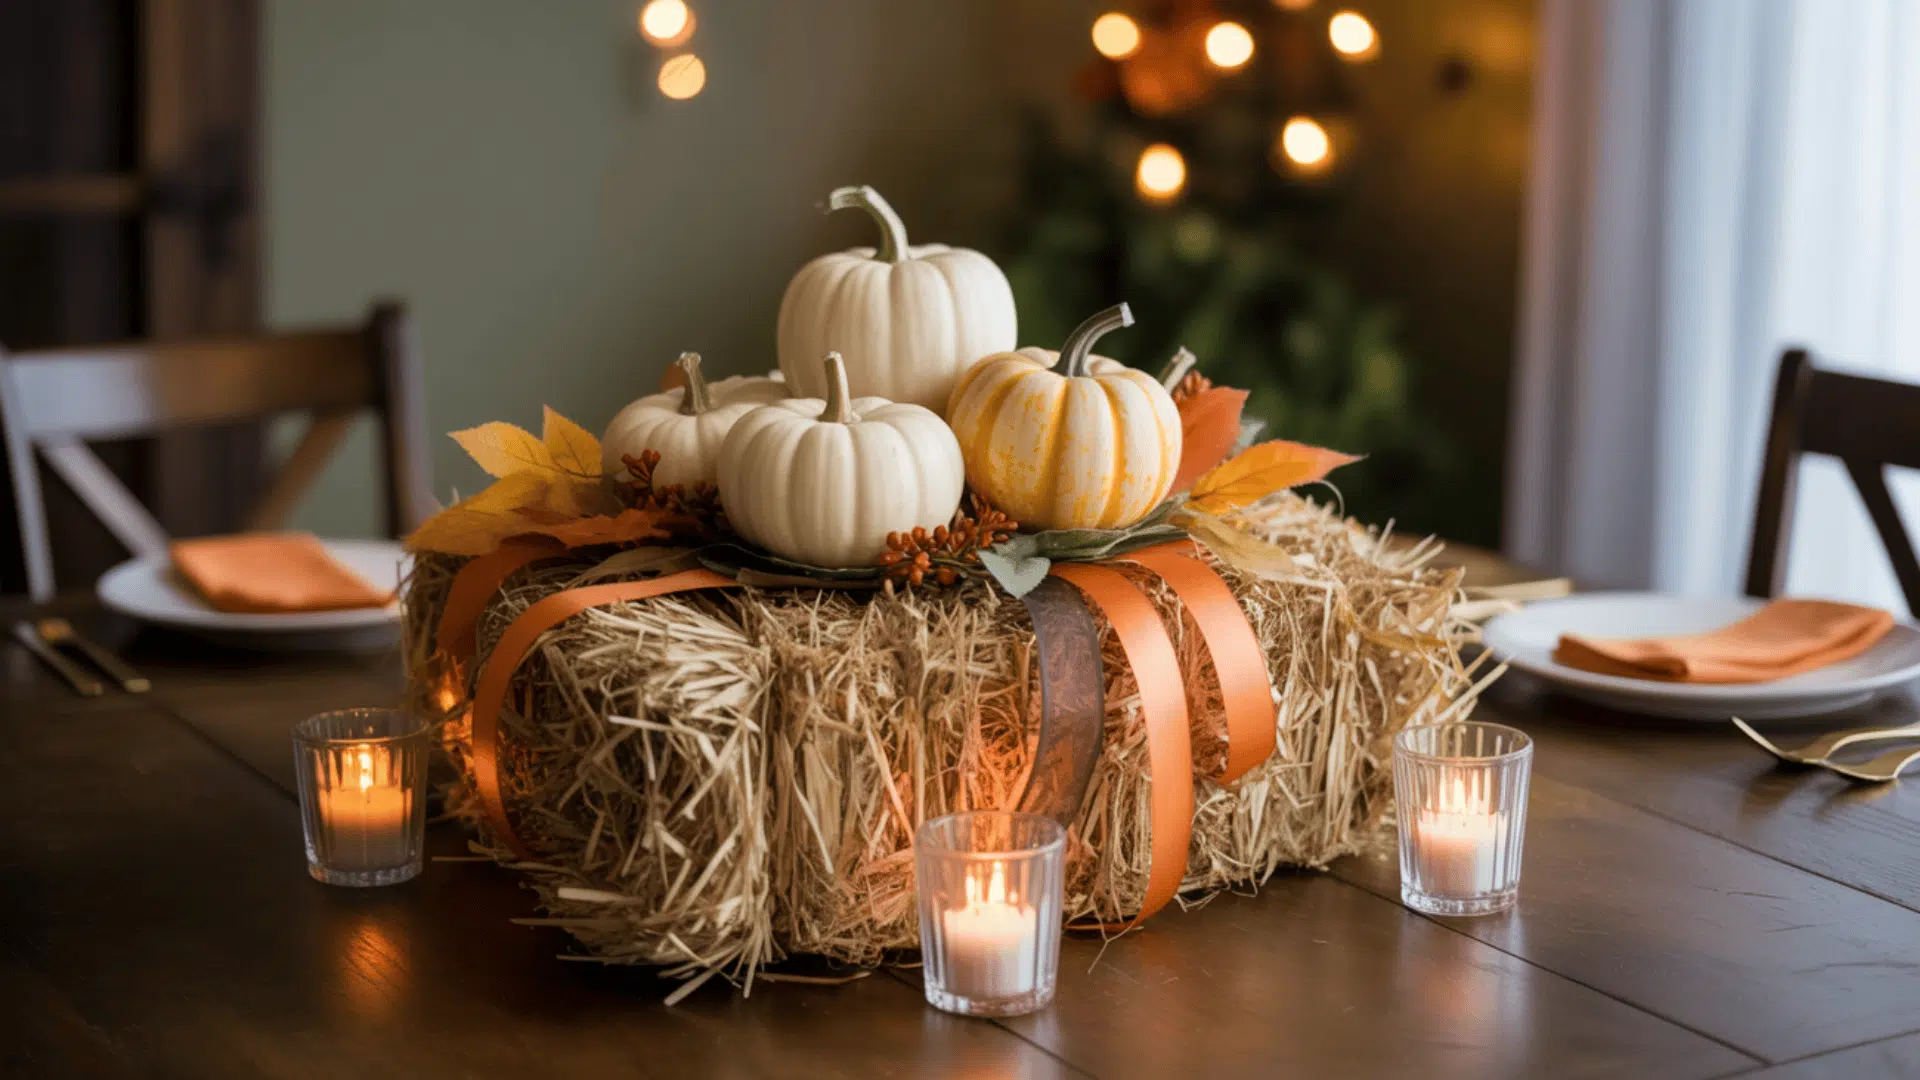
Stack mini hay bales and secure them with a ribbon wrap. Glue on faux pumpkins or leaves for color and use as a rustic centerpiece.
- Skill Level: Beginner
- Perfect for: Group or event
- Tools and Materials: Mini hay bales, faux pumpkins, ribbon, glue
45. Fall Scented Candles
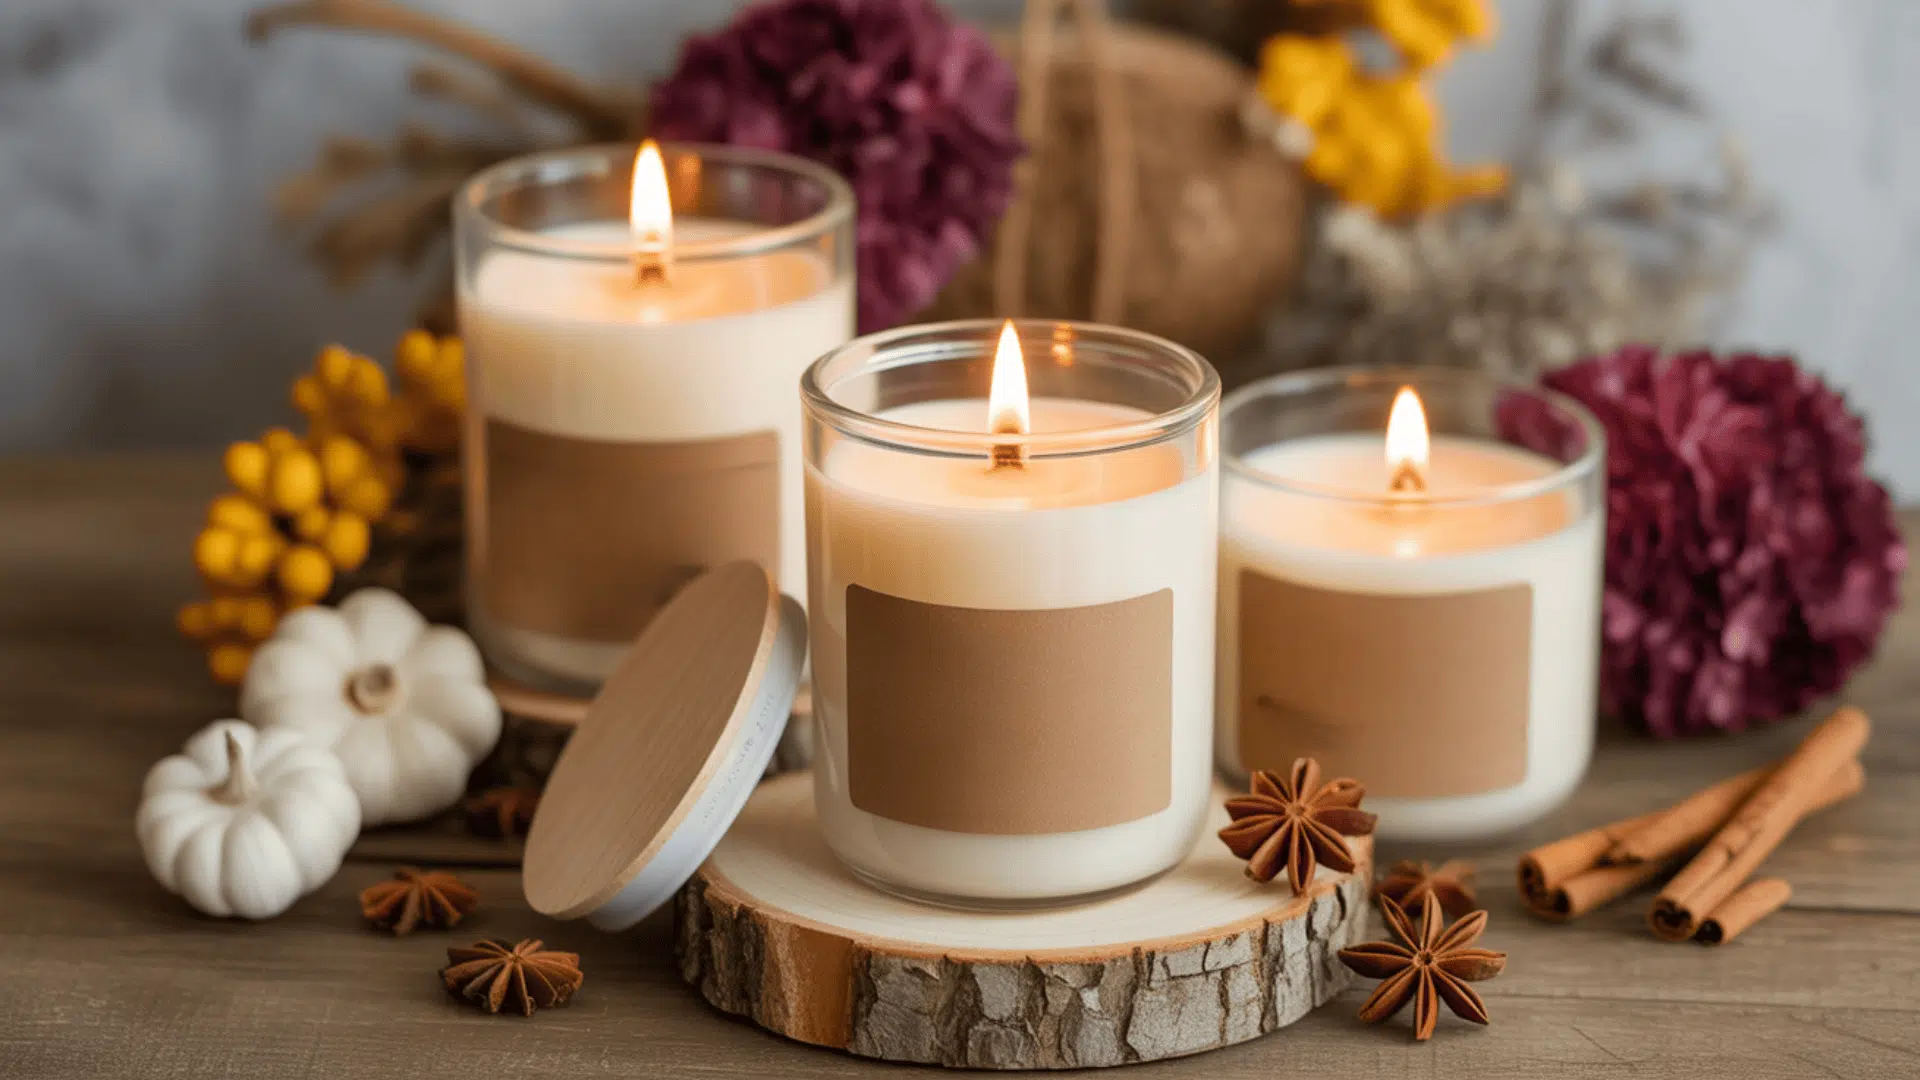
Melt soy wax and mix in a few drops of cinnamon, vanilla, or clove oil. Pour into jars with centered wicks, let cool, then trim the wick and decorate lids.
- Skill Level: Intermediate
- Perfect for: Individual
- Tools and Materials: Soy wax, wicks, jars, essential oils
46. Plaid Flannel Pillow Covers
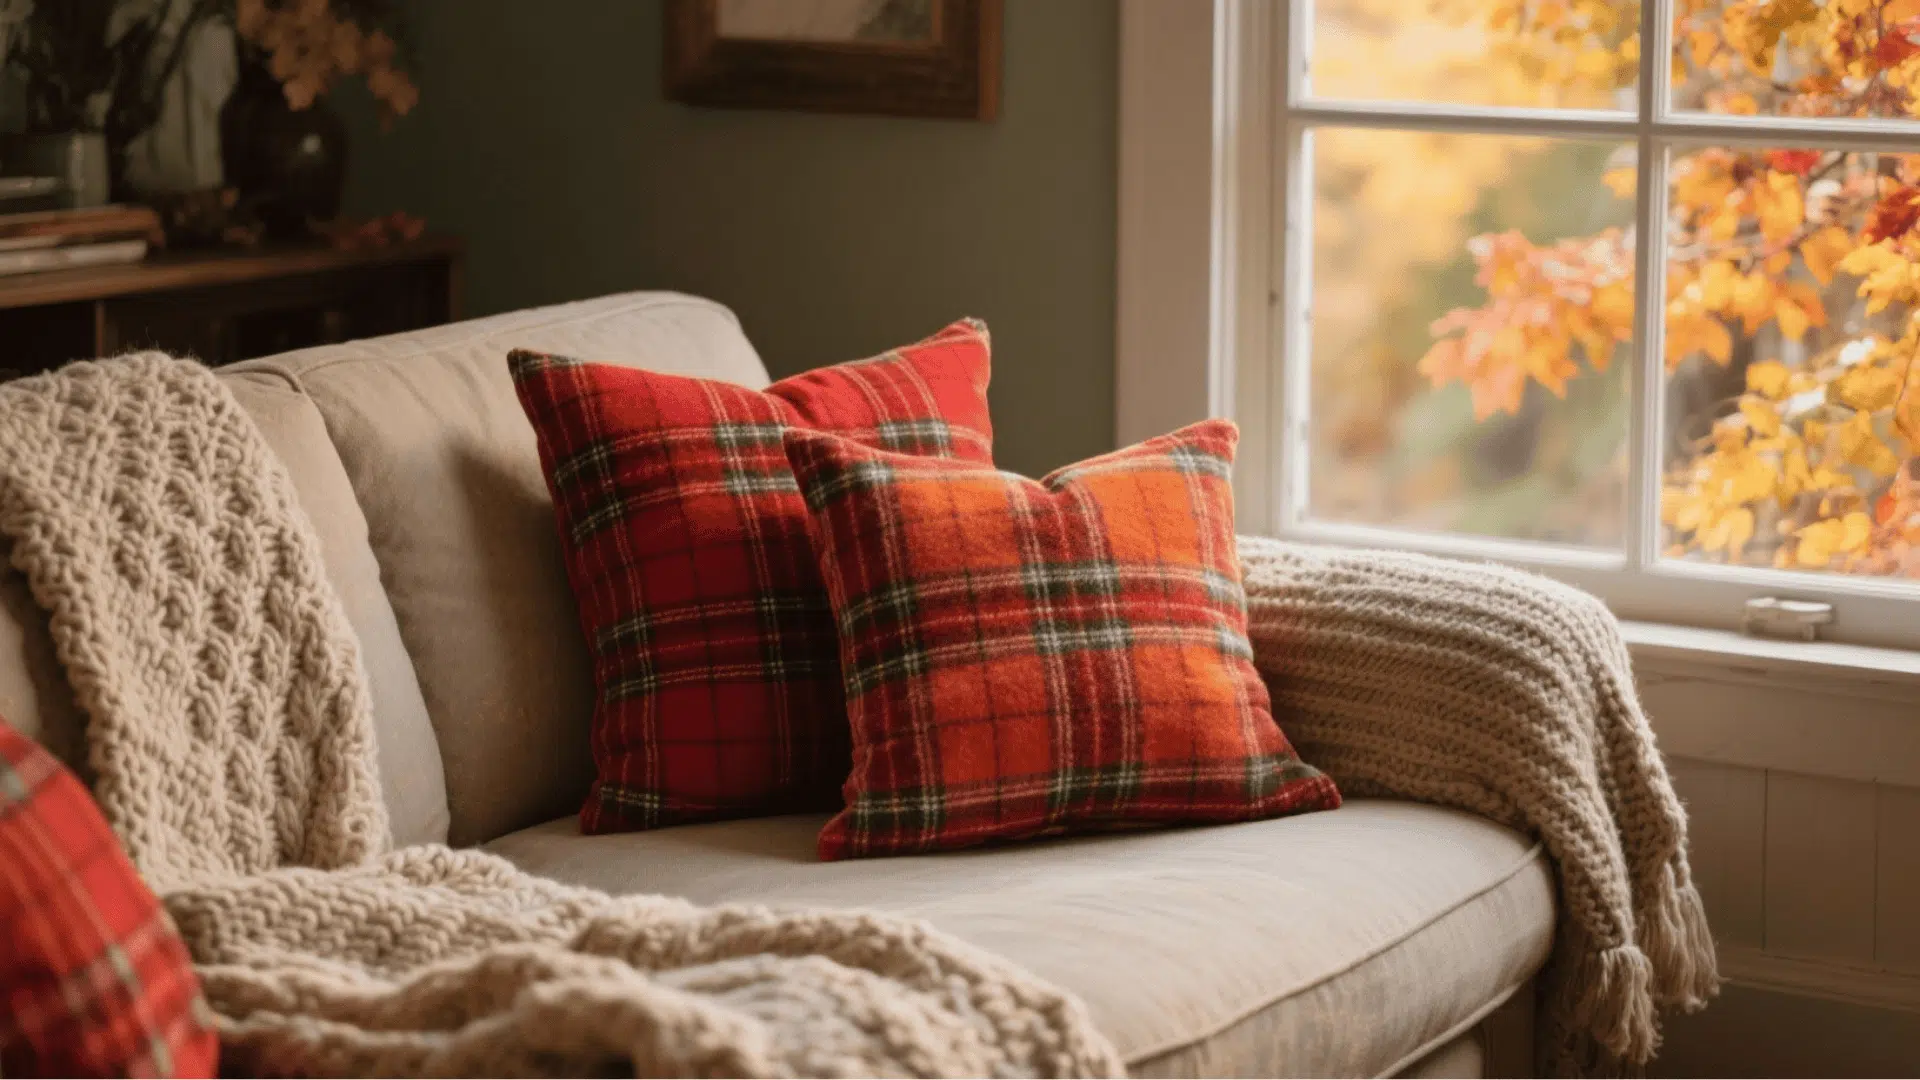
Cut two equal squares of flannel fabric slightly larger than your pillow insert. Sew or glue three sides, insert the pillow, and close the last edge. Add buttons or fringe for style.
- Skill Level: Beginner
- Perfect for: Group or solo
- Tools and Materials: Flannel fabric, scissors, glue or sewing kit, pillow inserts
47. Cozy Fall Lantern Centerpiece
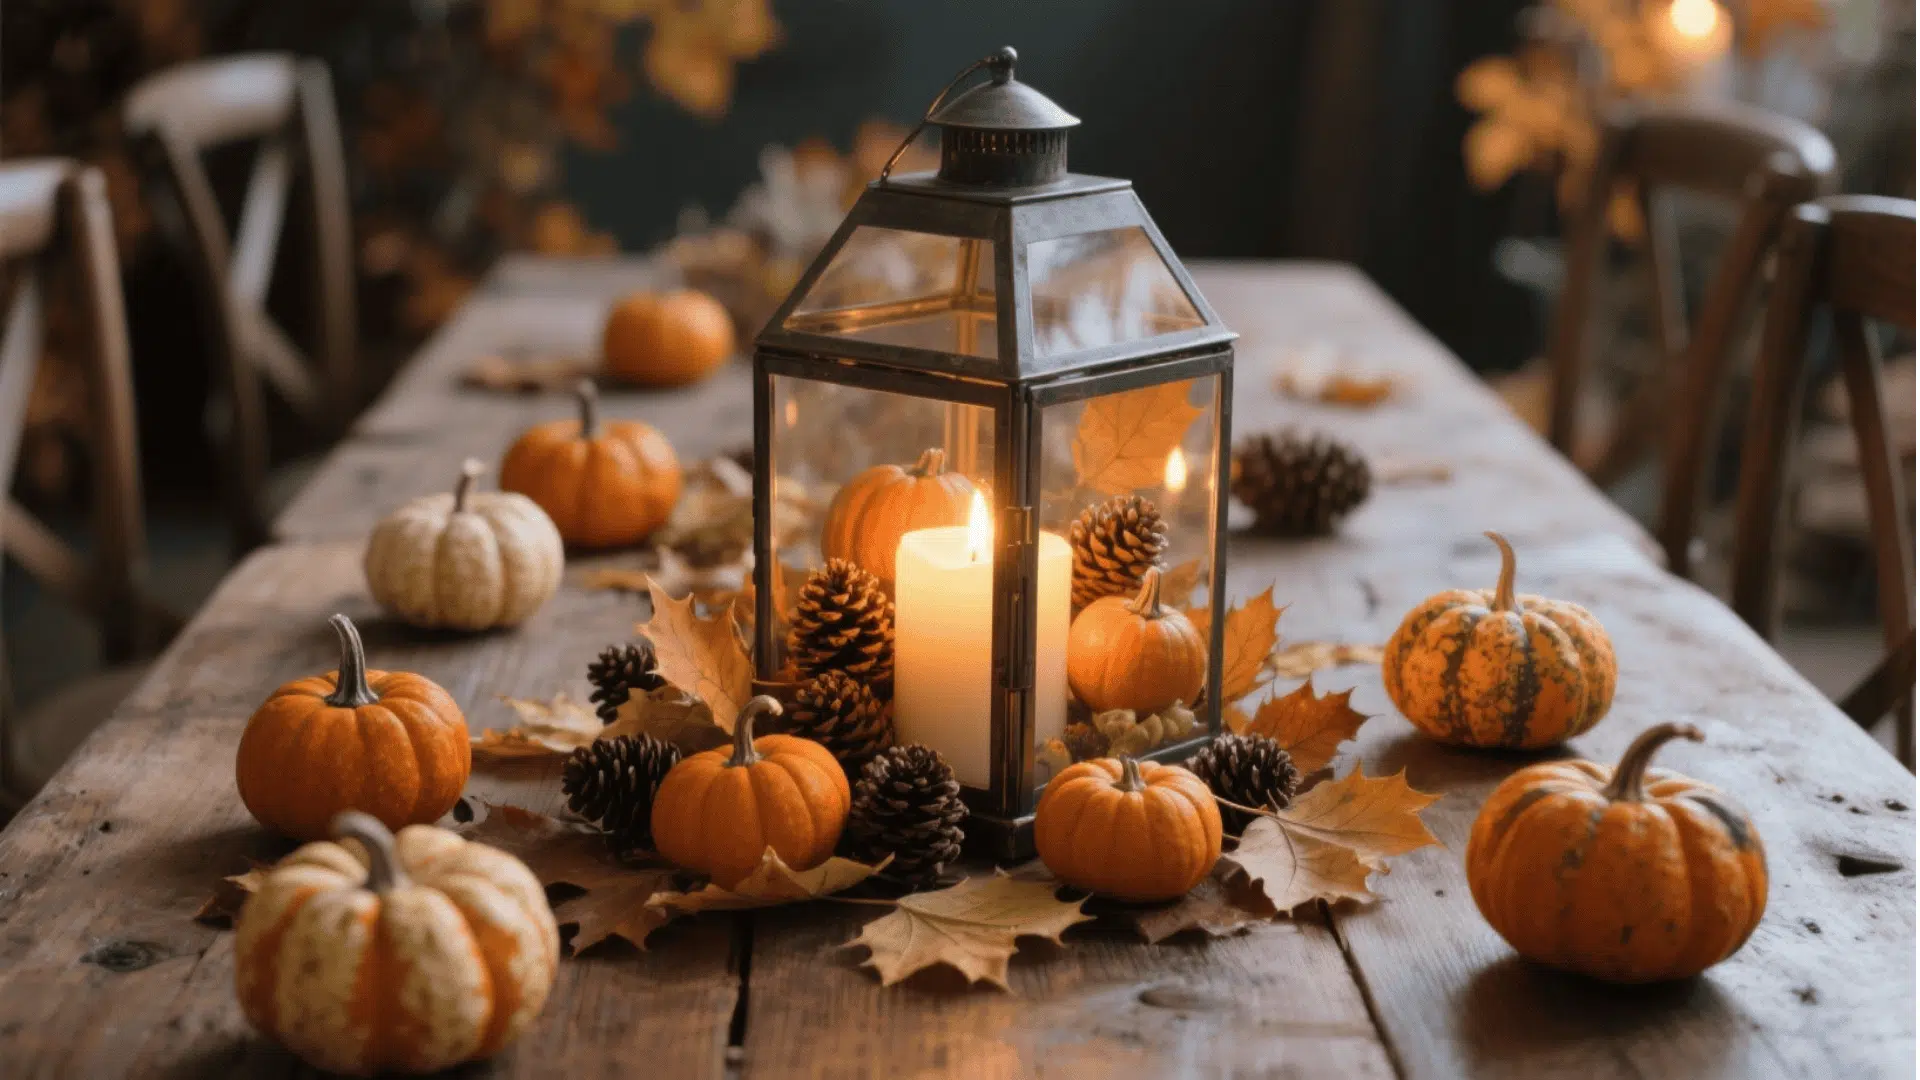
Place a large glass lantern in the center of your table and fill the base with mini pumpkins, pinecones, and faux leaves. Add a flameless candle or fairy lights inside for a soft glow. Surround the lantern with small gourds or acorns to complete a warm, inviting fall display.
- Skill Level: Beginner
- Perfect for: Individual or group
- Tools and Materials: Glass lantern, faux leaves, mini pumpkins, pinecones, flameless candle or fairy lights, small gourds
These easy fall crafts prove that creativity doesn’t have to be complicated or expensive. A few simple materials, a cozy afternoon, and a bit of imagination can turn any space into a fall haven.
Tips for Successful Fall Crafting
Getting your craft ideas for fall right comes down to a few smart moves. These tips will keep frustration away. Whether you’re tackling your first project or your tenth, they’ll make the process smoother.
- Gather supplies first: Check what you have before starting fall projects to avoid mid-craft interruptions
- Start simple: Master basic techniques before complex patterns, and you’ll actually finish your projects
- Prep your workspace: Cover tables with newspaper. Easy fall crafts get messy, but cleanup doesn’t have to be
- Work in good lighting: Natural light helps you see colors accurately and prevents eye strain
- Let things dry completely: Rushing ruins projects. Give paint and glue proper drying time
These small changes make crafting way more enjoyable. Plus, your finished pieces will look so much better when you approach easy fall crafts with patience and preparation.
The Bottom Line
These easy fall crafts prove you don’t need expensive supplies or advanced skills to change your space for autumn.
I’ve shown you many projects that work with what you already own, and honestly, that’s the beauty of seasonal crafting.
Pick one project this weekend, maybe those fabric pumpkins or the mason jar lanterns, and see how quickly your home feels cozier.
Start with the beginner-friendly options if you’re new to crafting, then work your way up as your confidence grows. Your fall décor is waiting to happen, and it’s simpler than you thought.