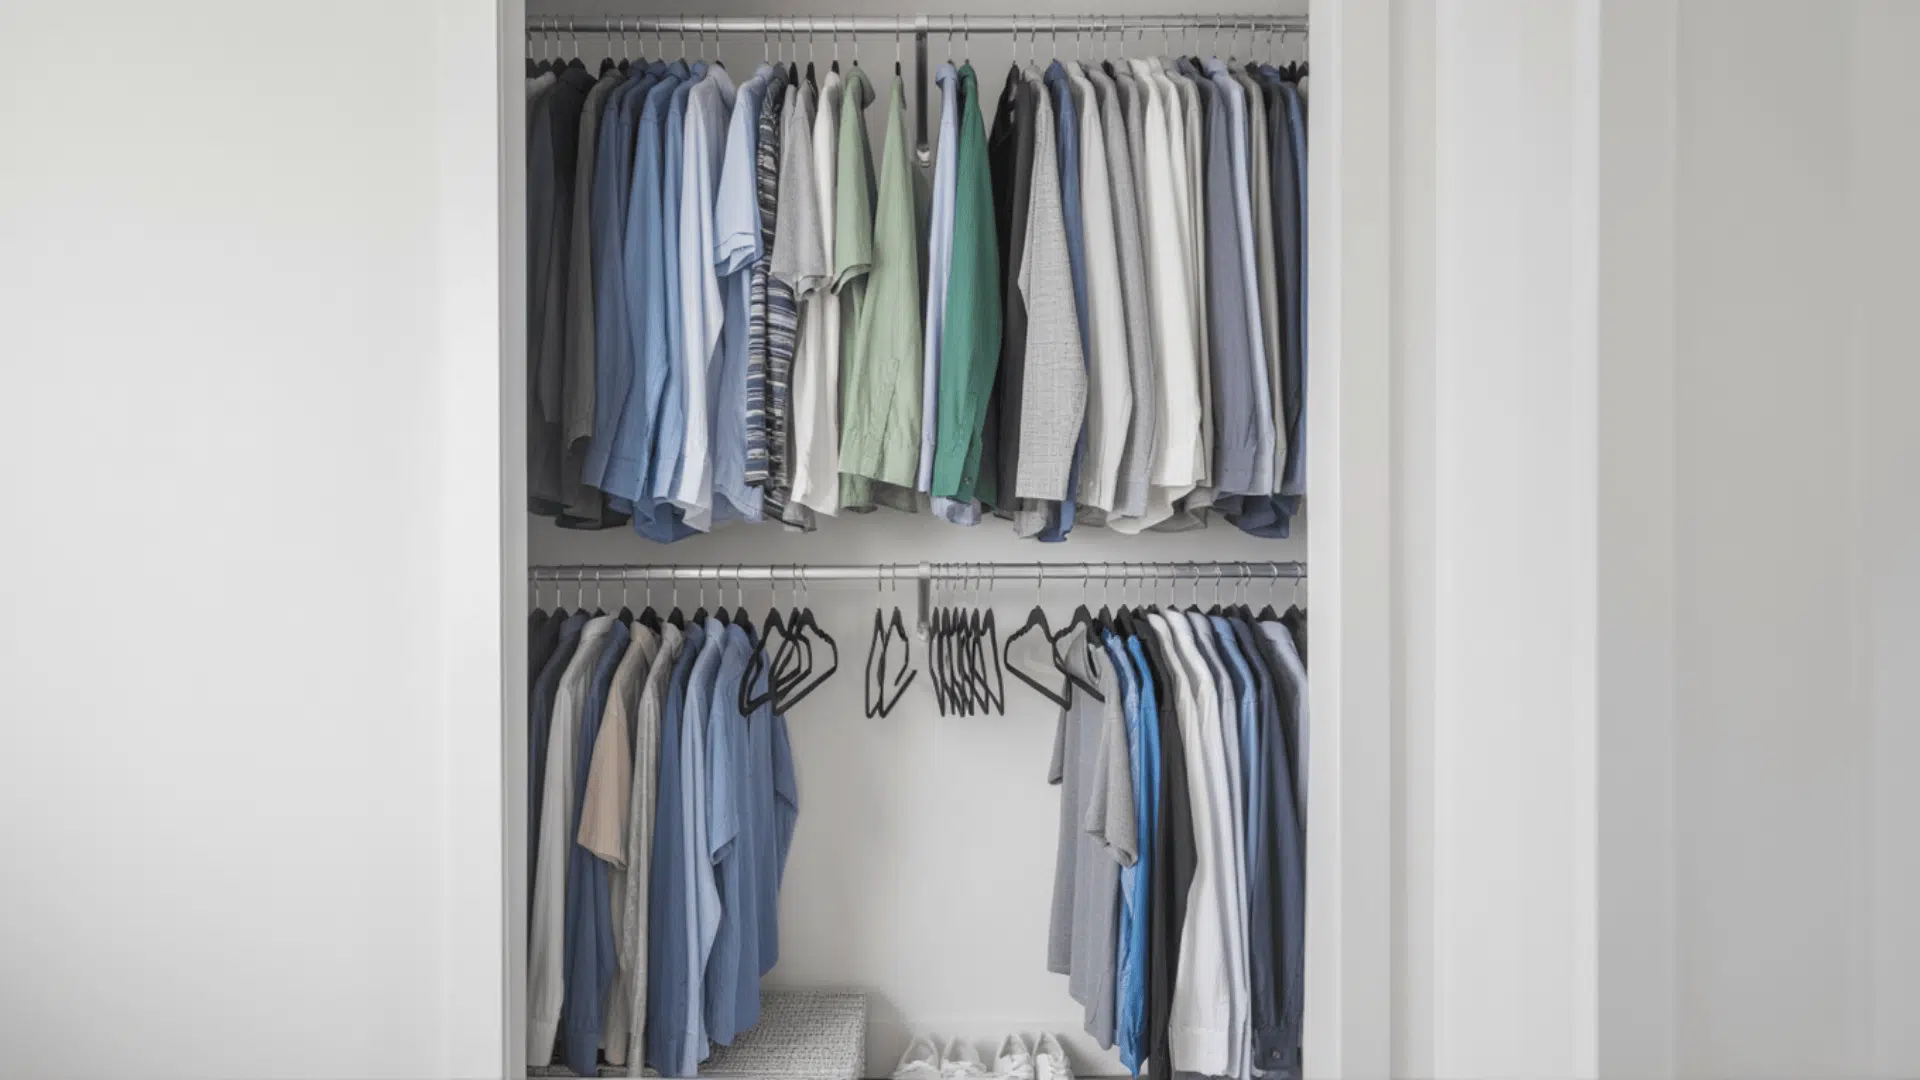
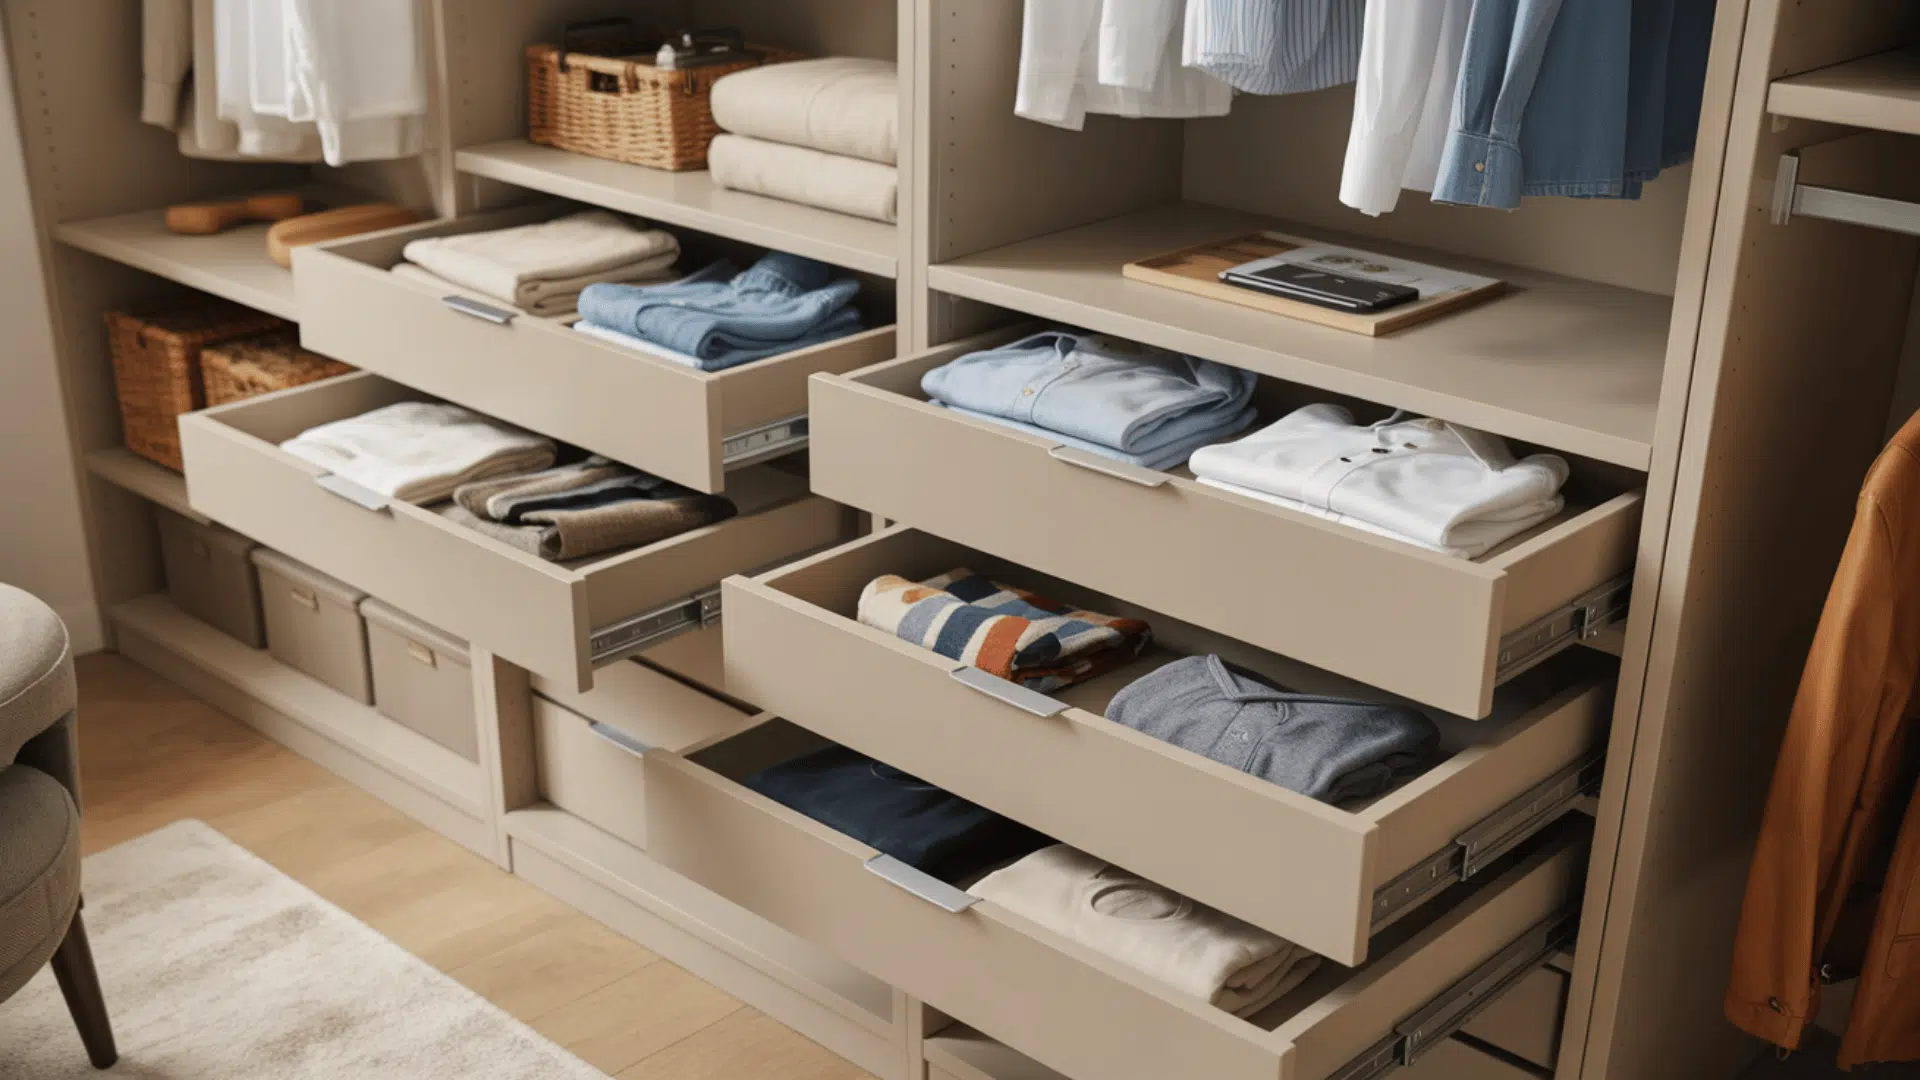
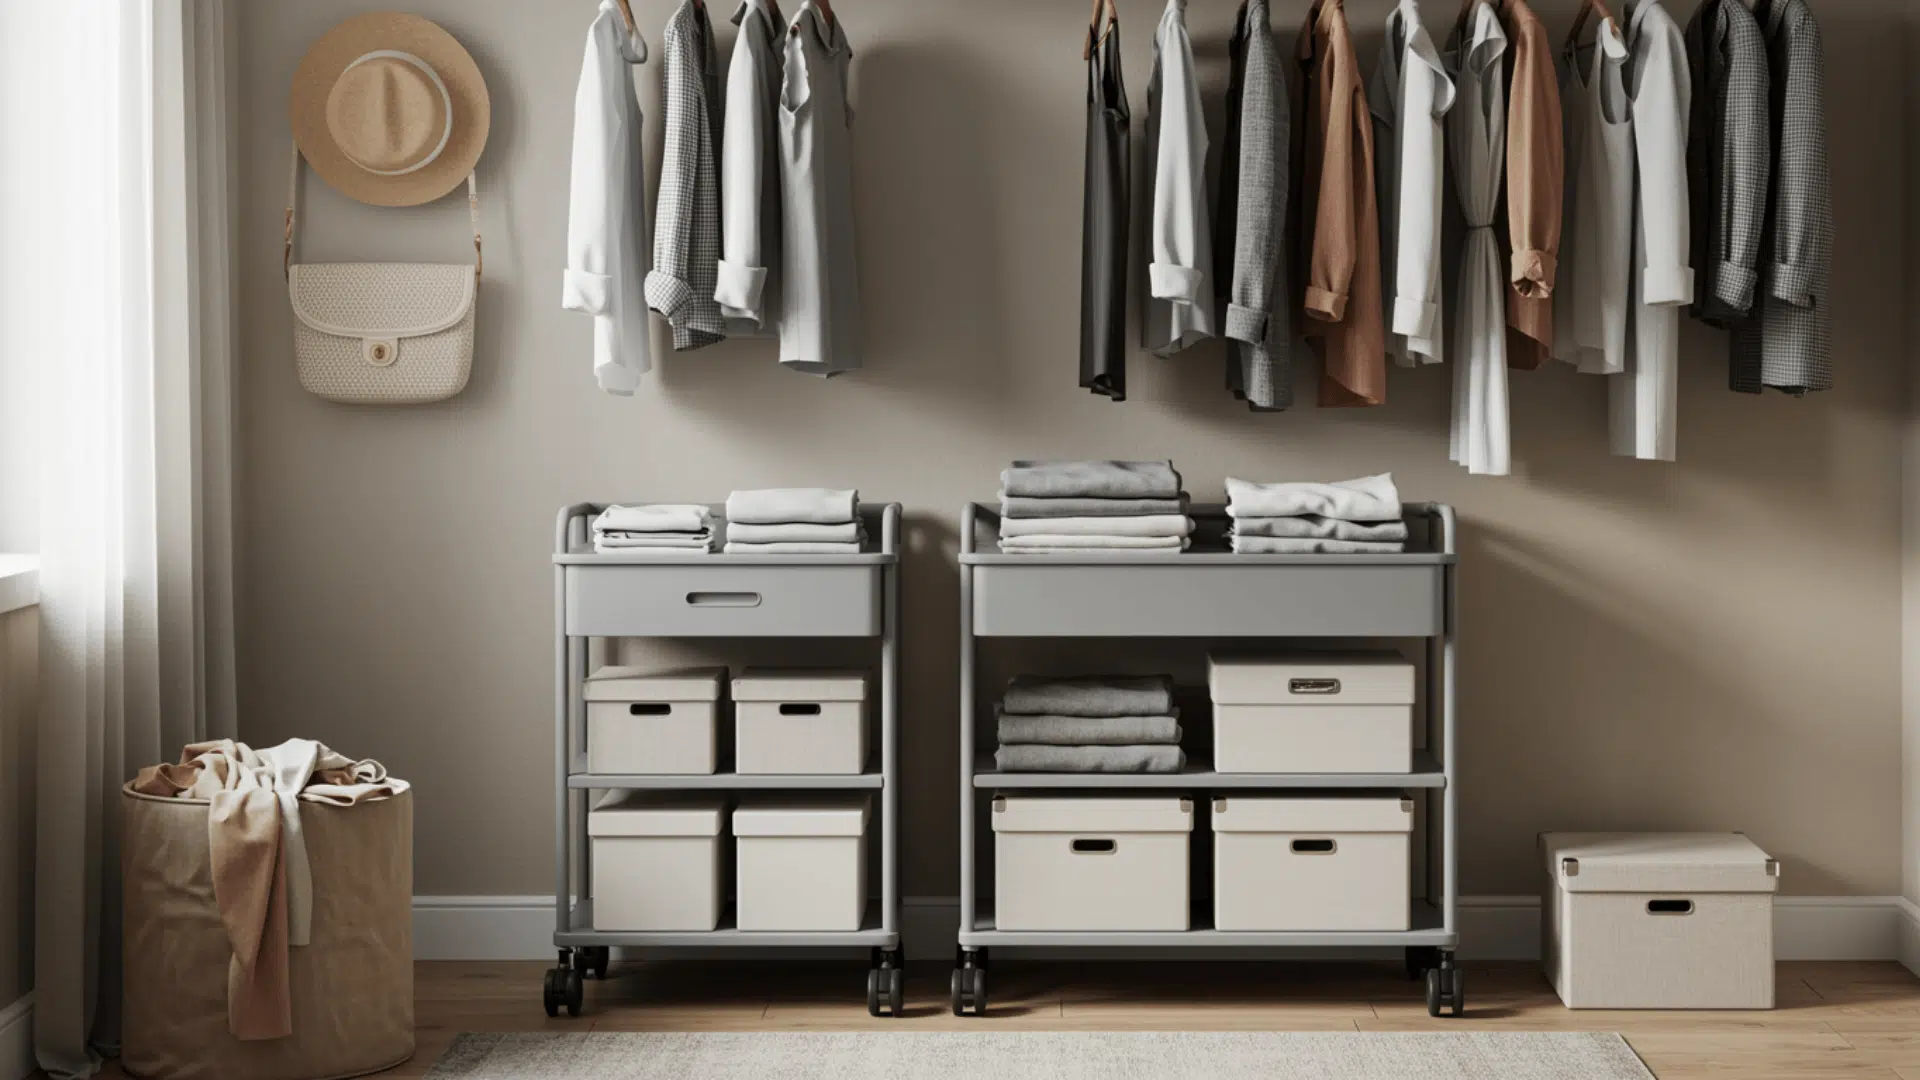
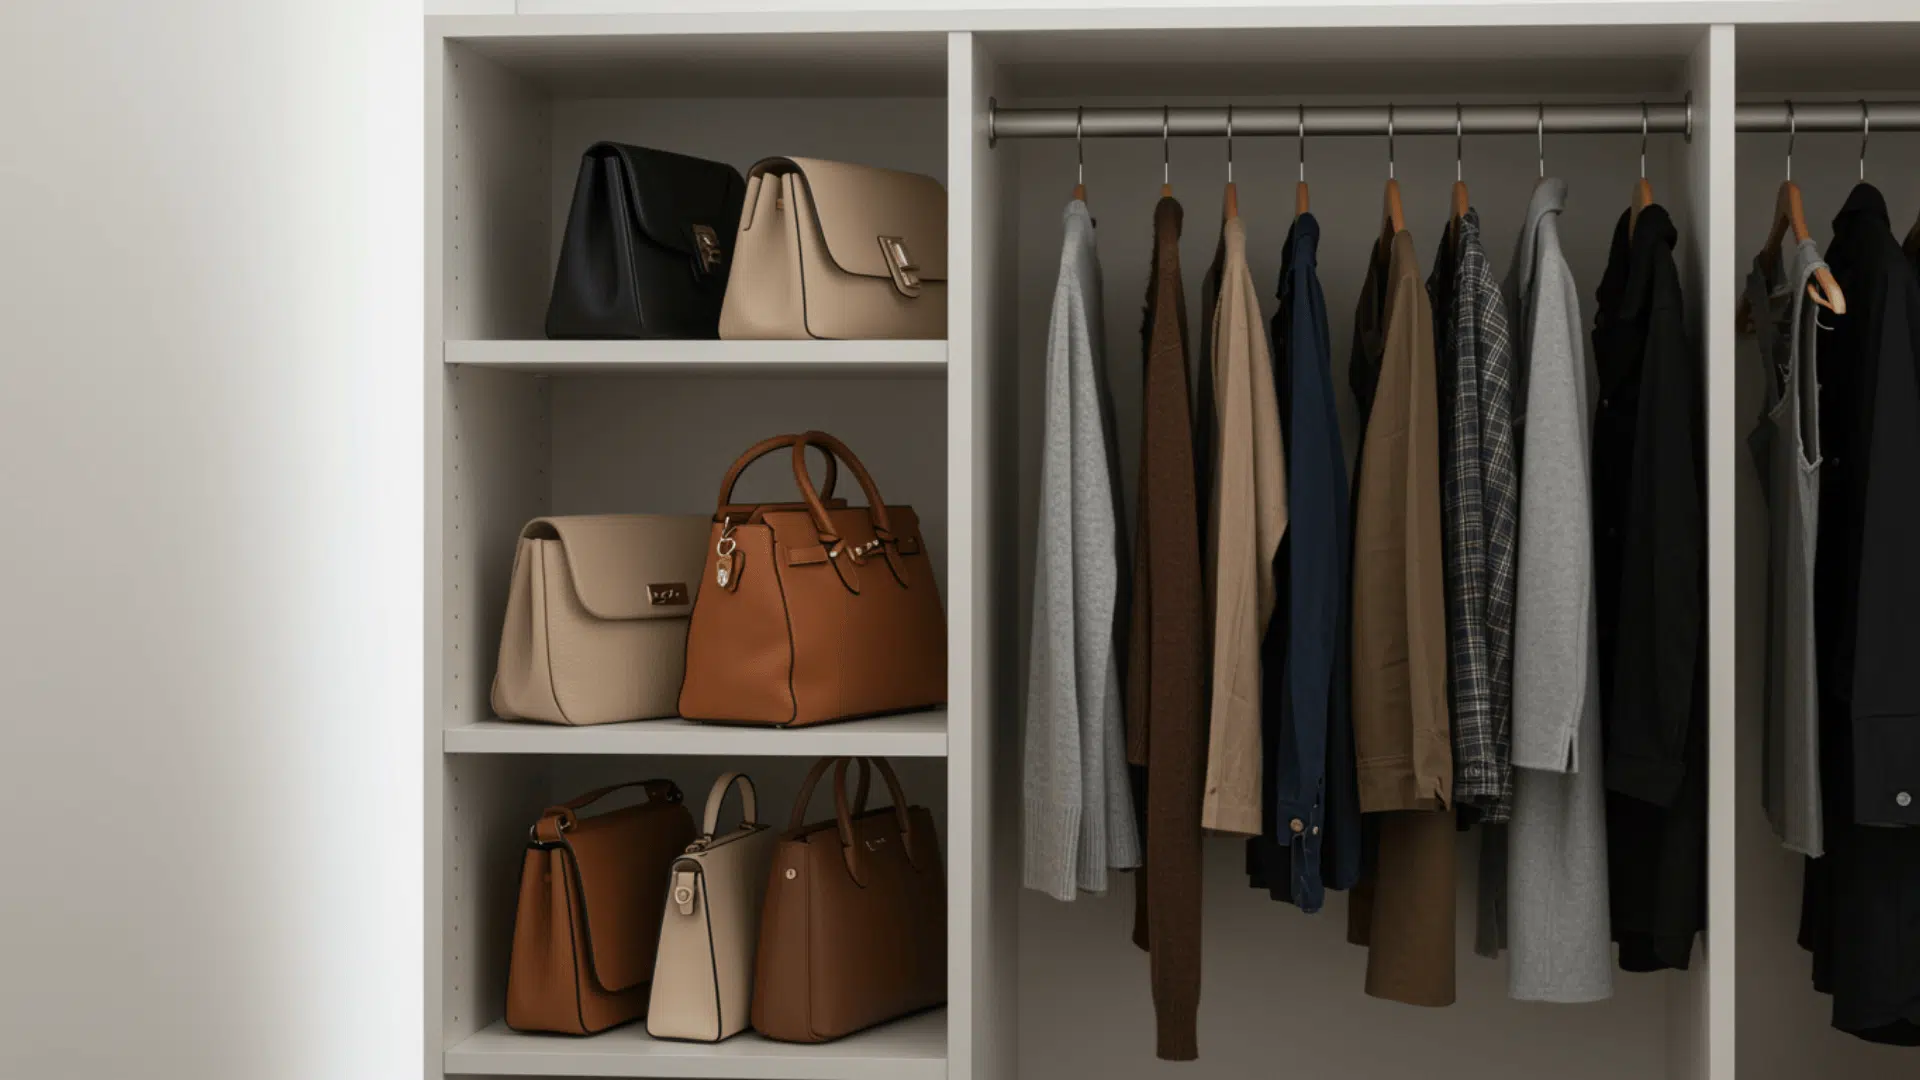
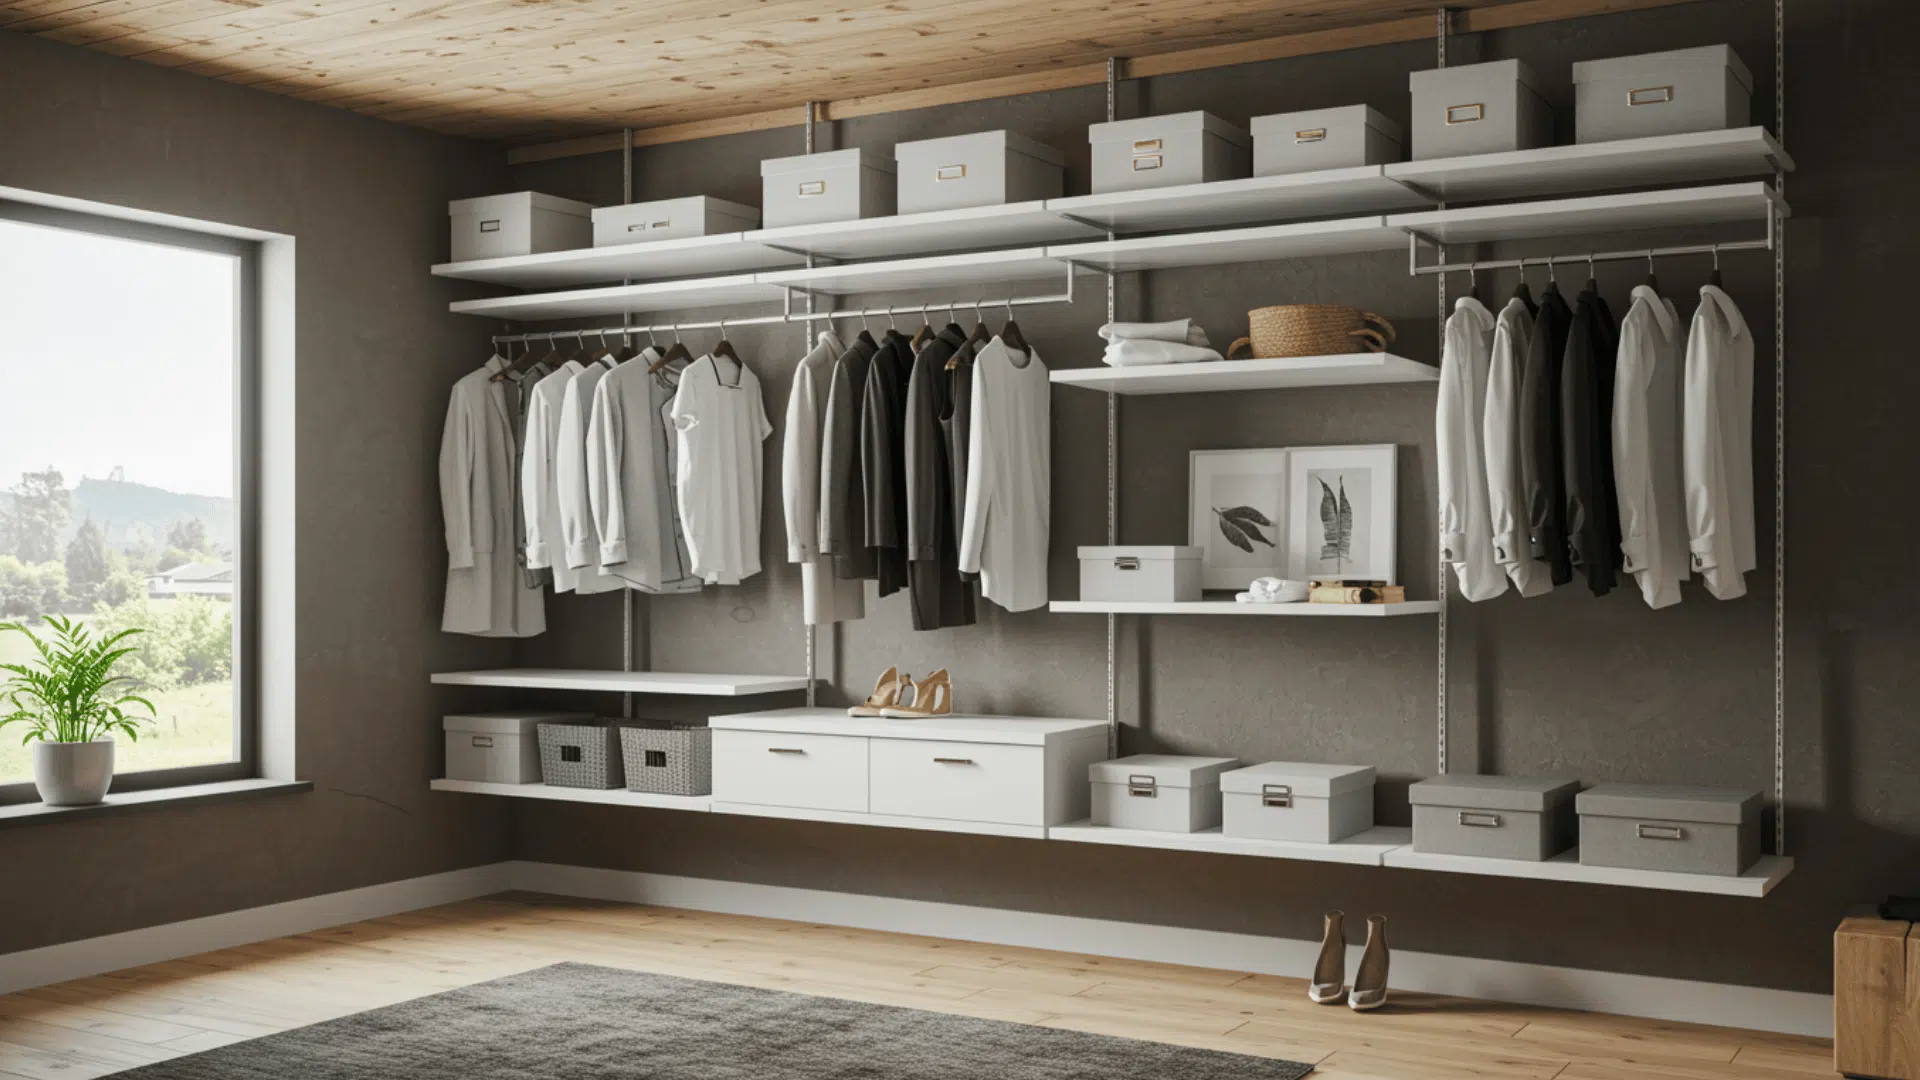
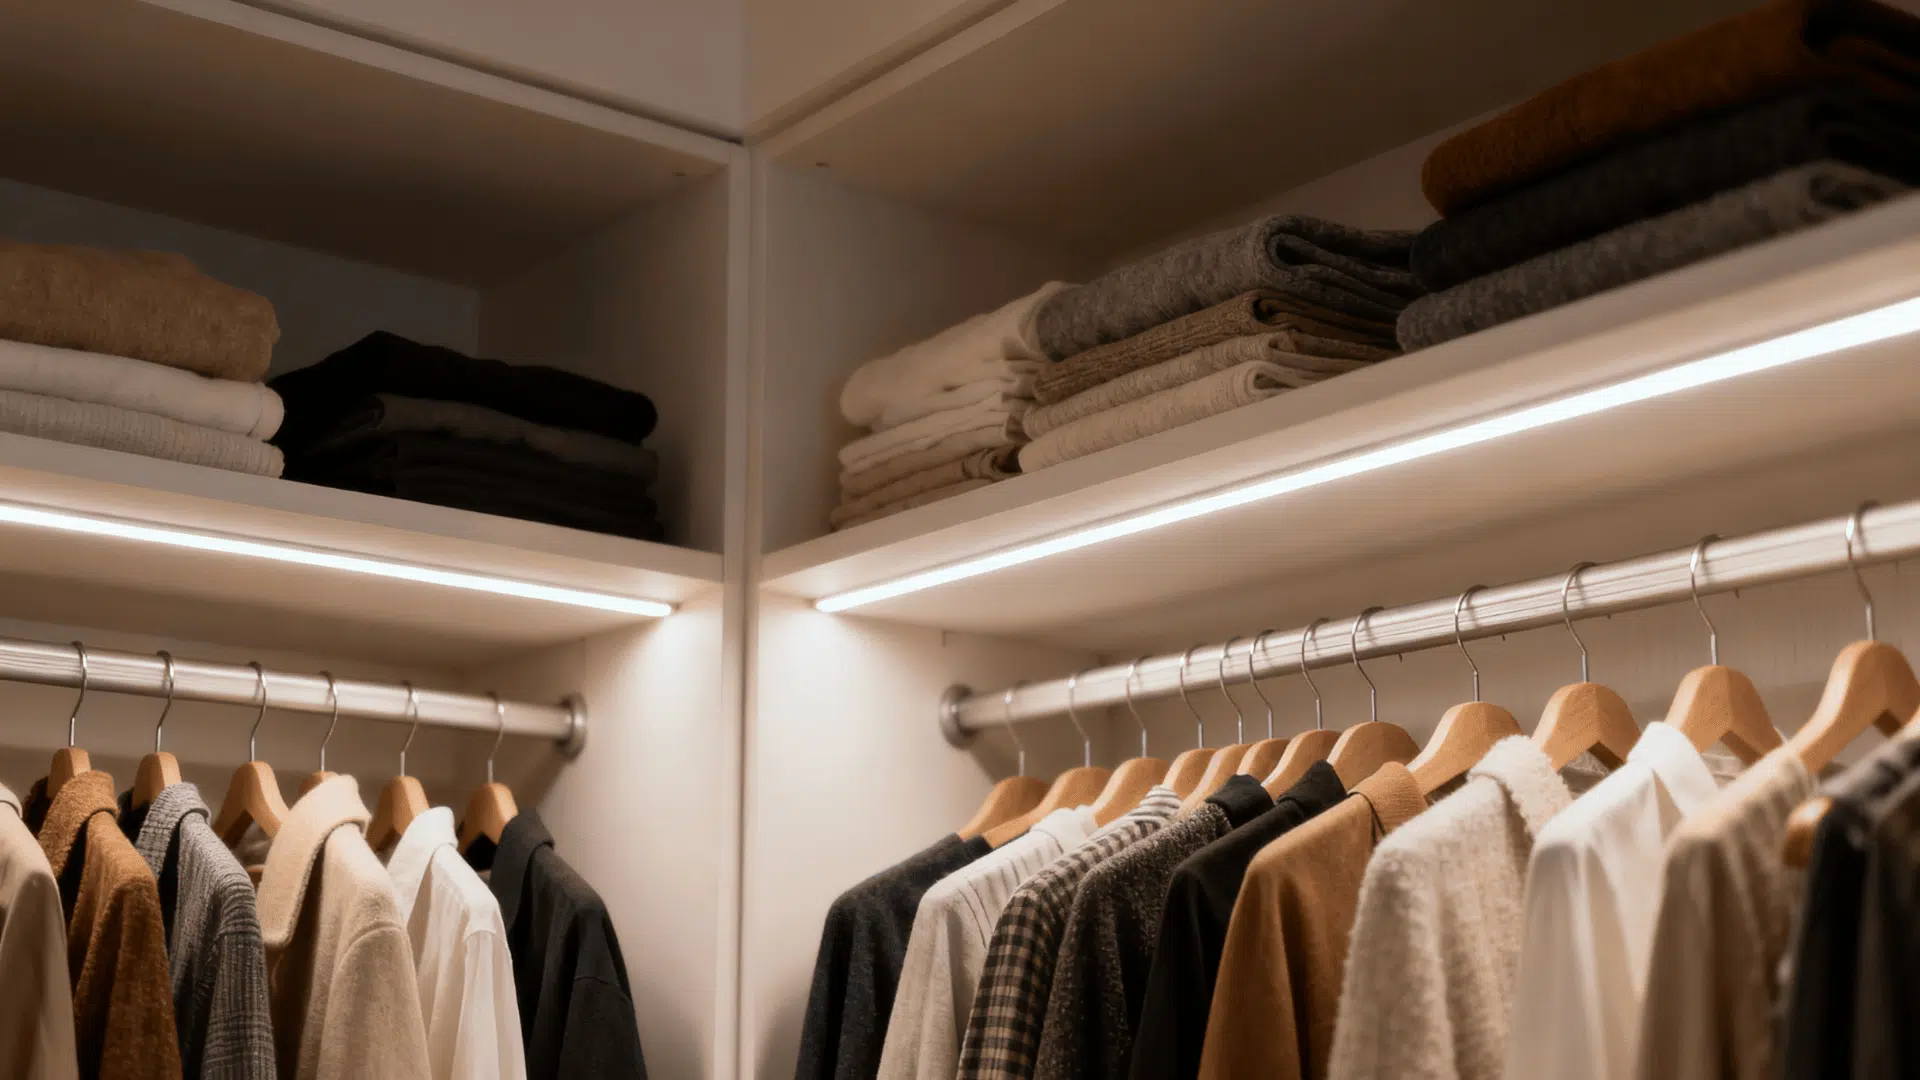
Tired of digging through piles of clothes every morning? Your closet doesn’t have to be a chaotic mess. A DIY closet system can change that cluttered space into an organized haven.
You don’t need to spend thousands on a professional installer. We’ll show you how to build a functional, stylish closet organizer using simple materials and basic tools.
By the end of this, you’ll have a custom storage solution that fits your space perfectly and keeps everything in its place. Let’s get started!
Why Choose a DIY Closet System Over Store-Bought?
Store-bought organizers might seem convenient, but they rarely fit your space perfectly. Building your own DIY closet organizer gives you complete control over design, size, and budget while delivering better results.
- Cost Savings: Custom systems from stores can run $2,000-$5,000, but DIY versions cost a fraction of that price.
- Perfect Fit: You measure and build exactly what your closet needs, maximizing every available inch.
- Quality Materials: Choose solid wood or durable plywood instead of flimsy particleboard that store kits often use.
- Flexible Design: Add shelves, drawers, or hanging rods wherever you actually need them, not where manufacturers decided.
- Personal Satisfaction: There’s something incredibly rewarding about using a storage system you built with your own hands.
Tools and Materials Needed
Before starting your DIY closet system, gather everything you’ll need. Having the right tools and materials ready saves time and prevents frustrating mid-project trips to the hardware store.
| Tools | Materials |
|---|---|
| Drill with bits | Plywood sheets (3/4″) |
| Circular saw | Wood screws (various sizes) |
| Level | Closet rods and brackets |
| Tape measure | Shelf pins or supports |
| Stud finder | Wood glue |
| Sandpaper | Paint or stain (optional) |
Steps for Building a Basic DIY Closet System
These five straightforward steps will lead you through creating a functional DIY closet organizer from scratch. Just take it one step at a time, and you’ll have a professional-looking system up and running before you know it.
Step 1: Measure Your Closet Space
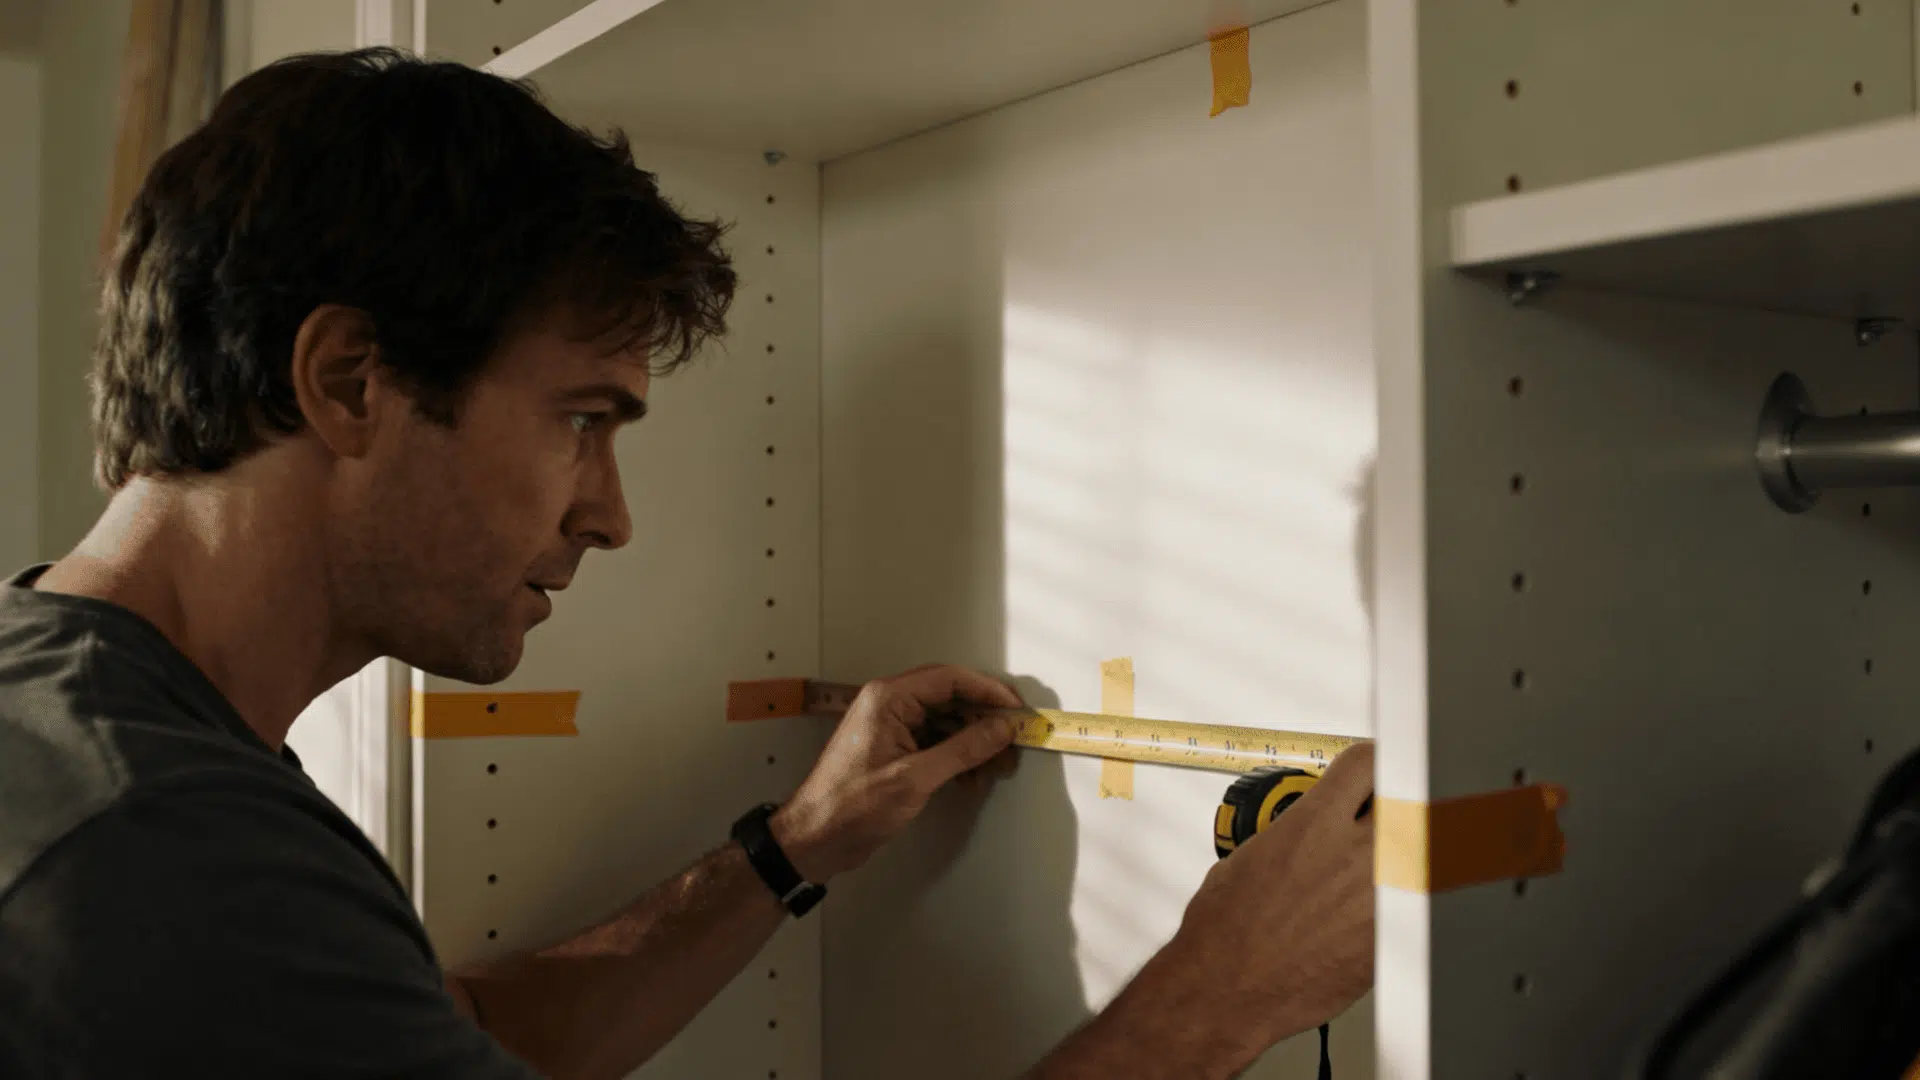
Start by carefully measuring your closet’s width, height, and depth. Write down these numbers because accurate measurements are crucial for cutting materials correctly.
Don’t forget to locate wall studs using your stud finder, as you’ll need them for secure mounting. Mark stud positions with painter’s tape for easy reference during installation.
Step 2: Plan Your Layout
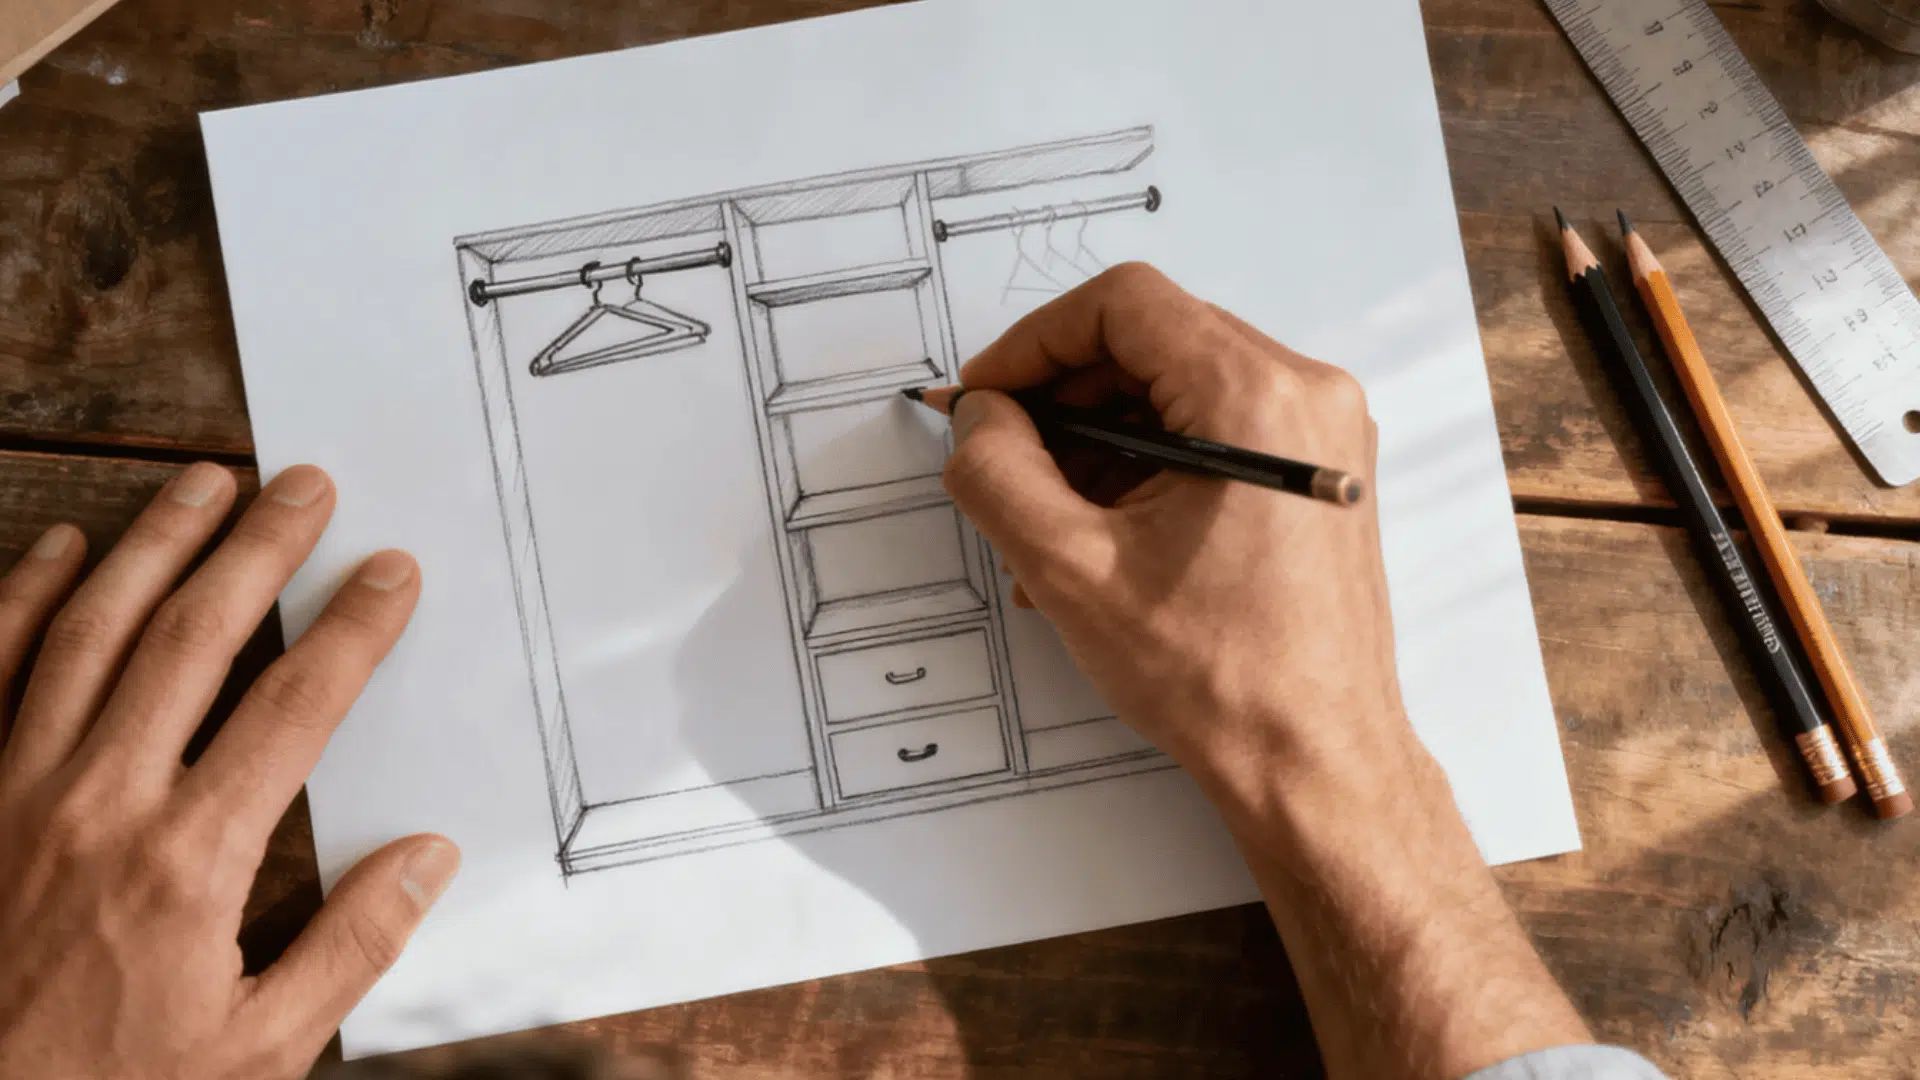
Sketch out your closet organizer ideas on paper before cutting anything. Decide where you want hanging rods, shelves, and drawers based on what you store most.
Consider dedicating the upper shelves to seasonal items and the lower areas to everyday clothing. This planning phase prevents costly mistakes and material waste later on.
Step 3: Cut Your Materials
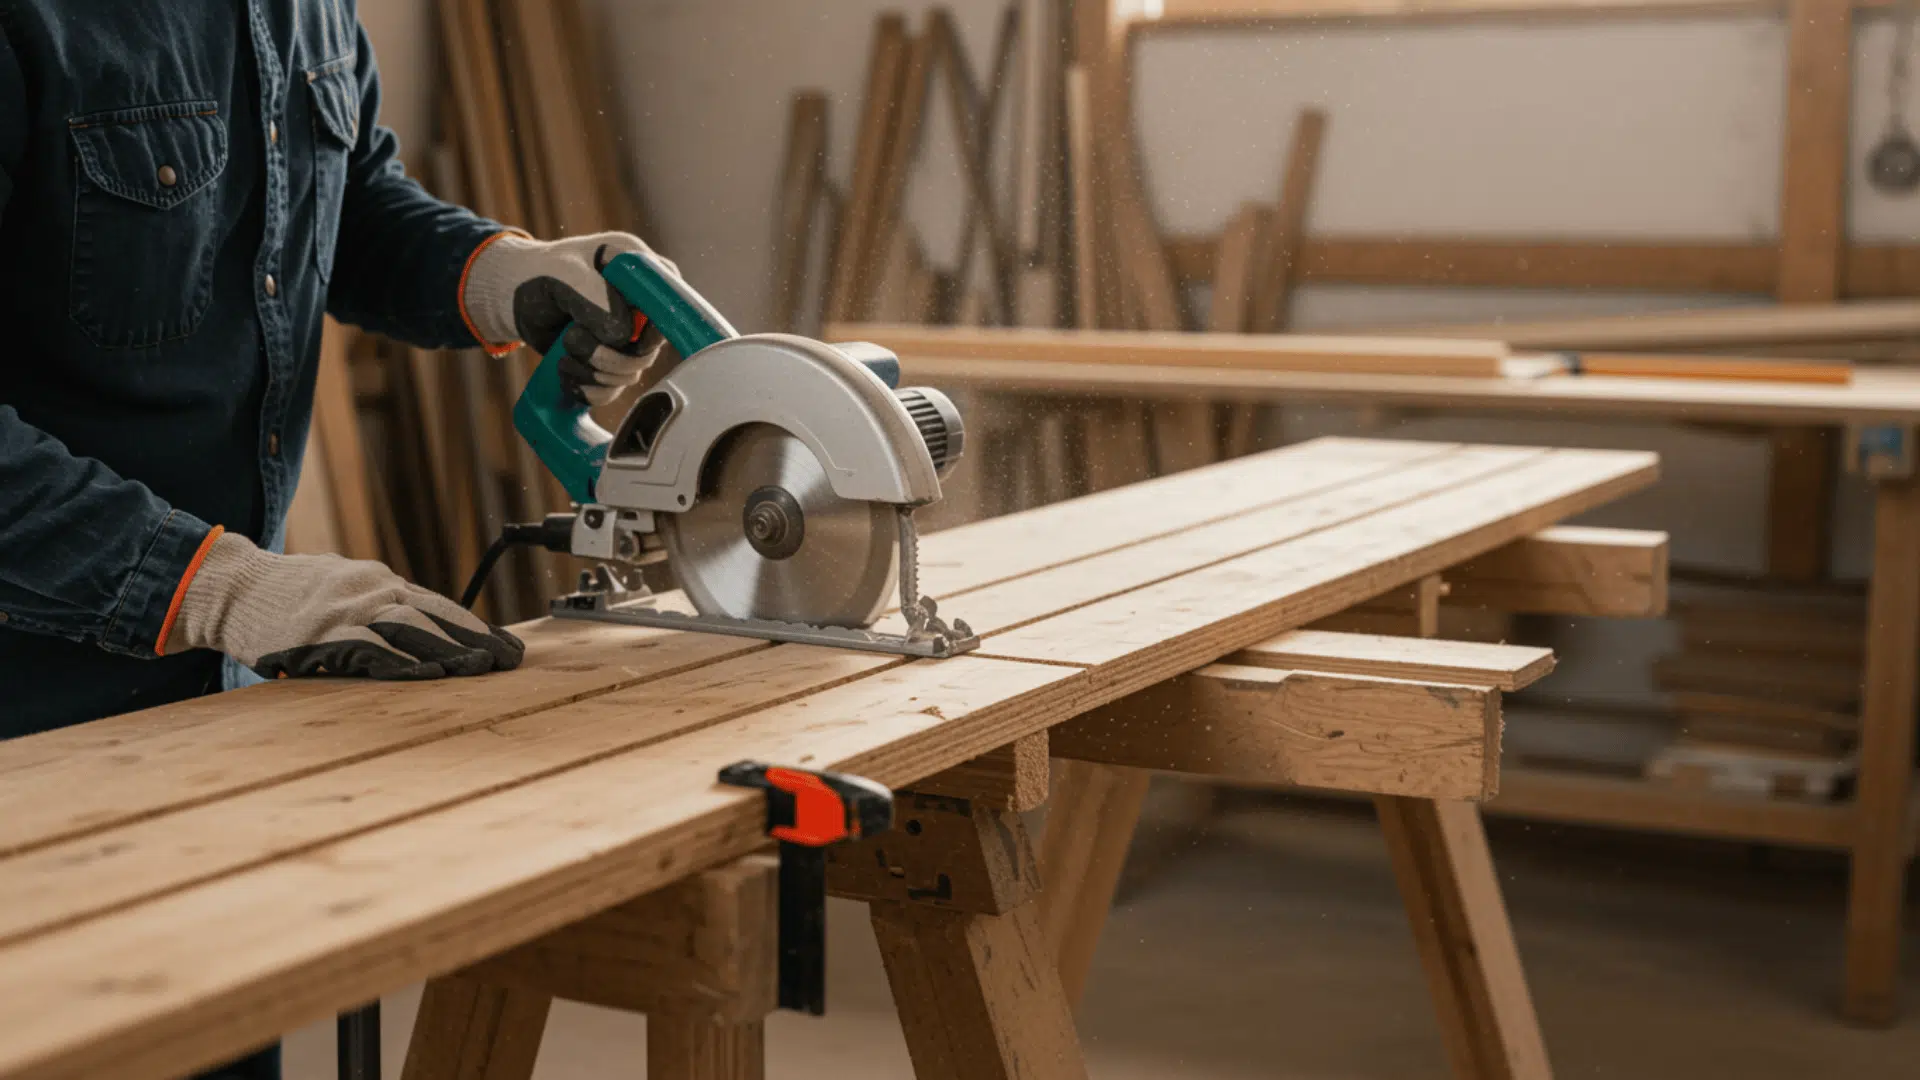
Using your measurements, cut plywood sheets to size with a circular saw. Make clean, straight cuts by clamping a straight edge as a guide.
Sand all edges smooth to prevent splinters when handling clothes later. Double-check each piece against your measurements before moving to the next cut. Measure twice, cut once. It really matters here.
Step 4: Assemble the Frame
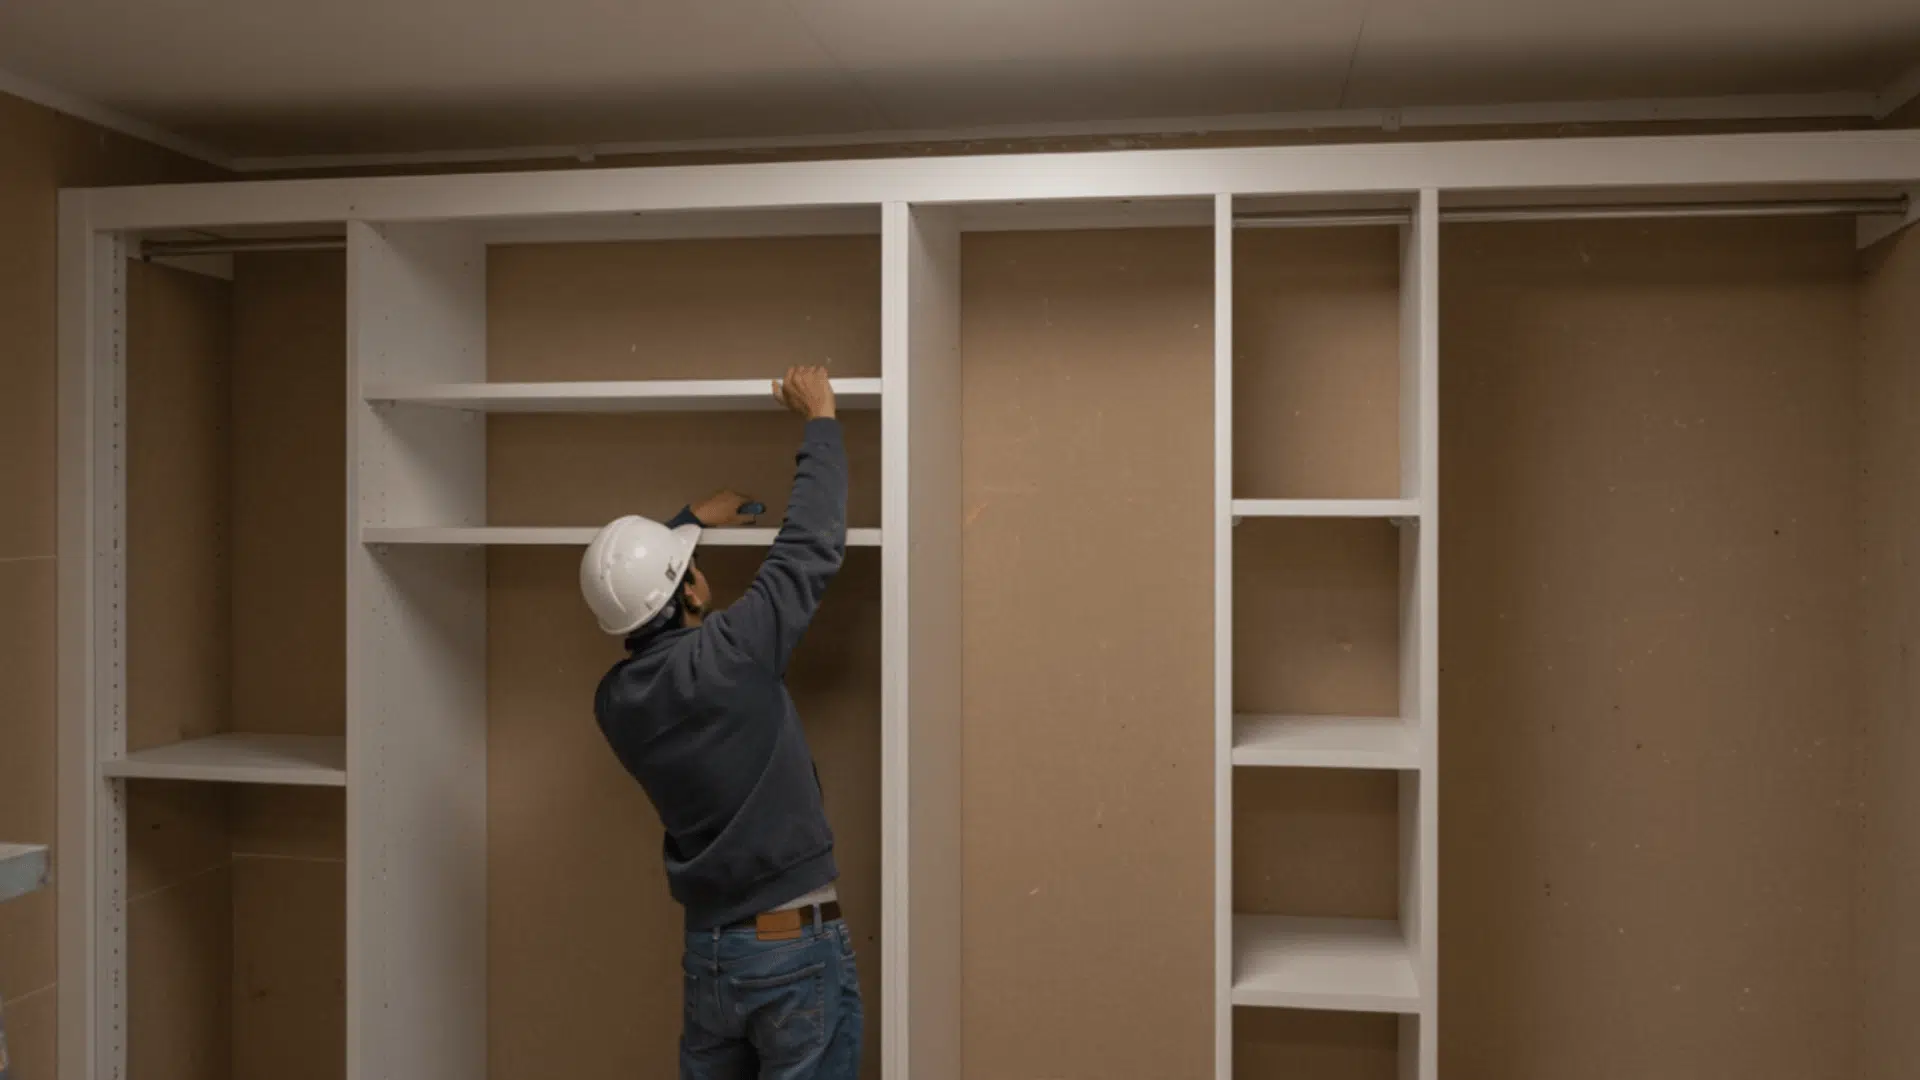
Build the basic structure by attaching vertical panels to wall studs first. Use a level constantly to keep everything straight and square.
Connect horizontal shelves to the vertical supports with wood screws and glue for extra strength. Work from bottom to top, securing each section firmly before adding the next level.
Step 5: Install Rods and Finishing Touches
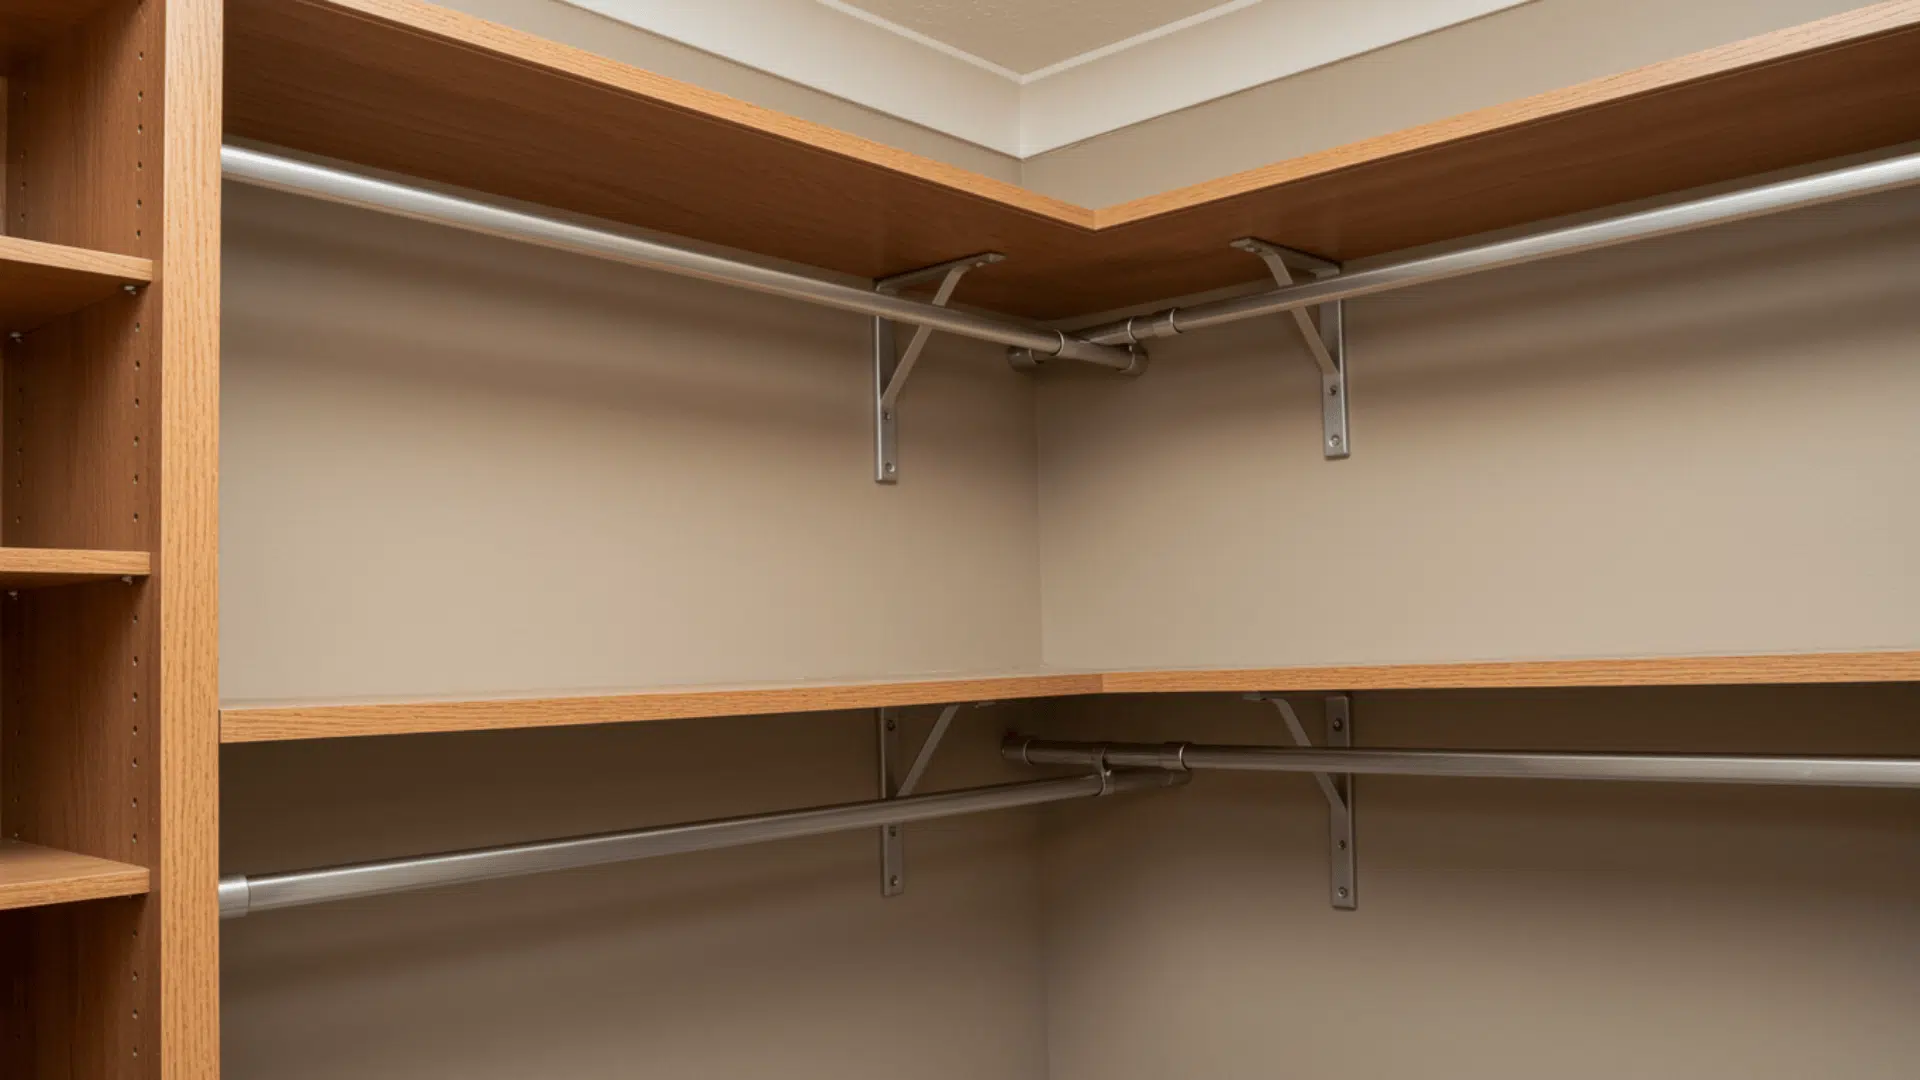
Attach closet rods at appropriate heights, typically 40 inches for shirts and 65 inches for longer garments. Add shelf brackets where needed for extra support on wider spans.
Apply paint or stain if desired, then let everything dry completely. Finally, step back and admire your custom DIY closet system that fits your space perfectly.
There you have it, a complete DIY closet system built with your own hands. While the process takes some effort and patience, the results are worth every minute spent.
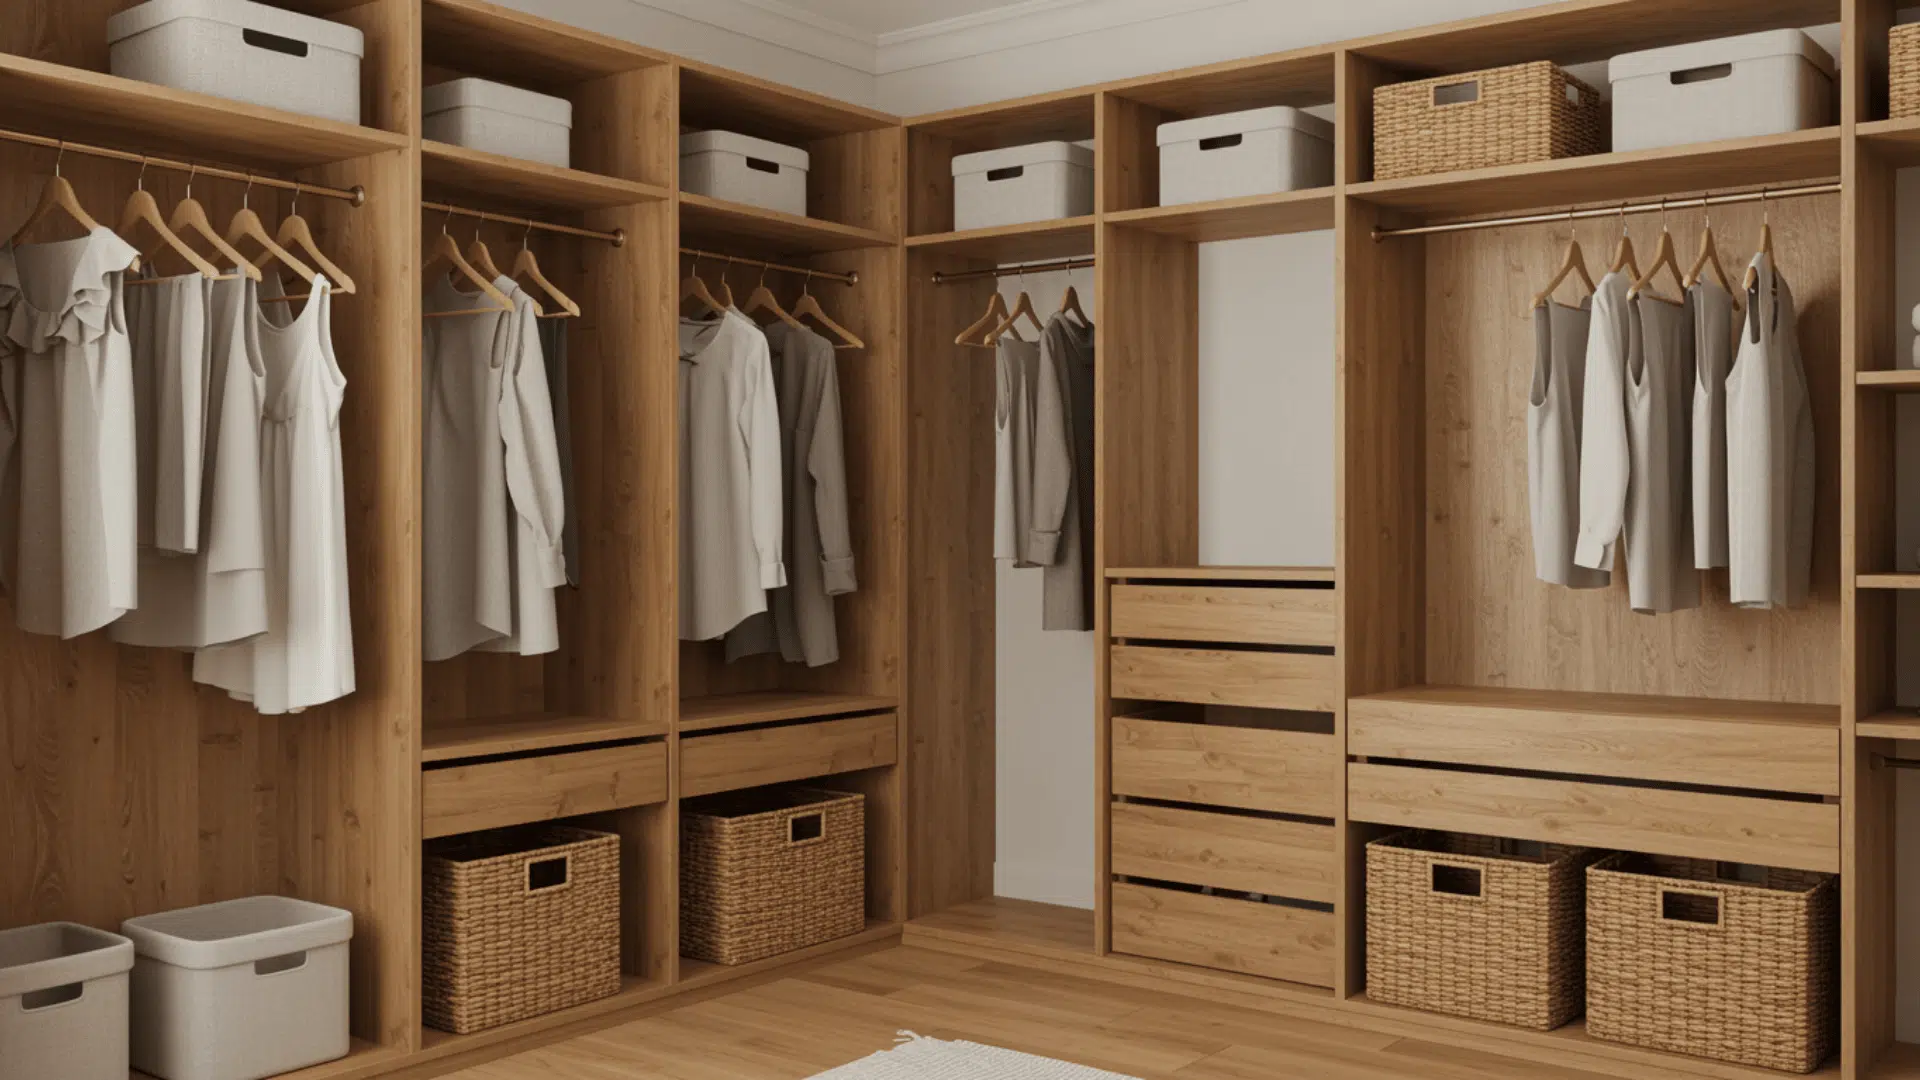
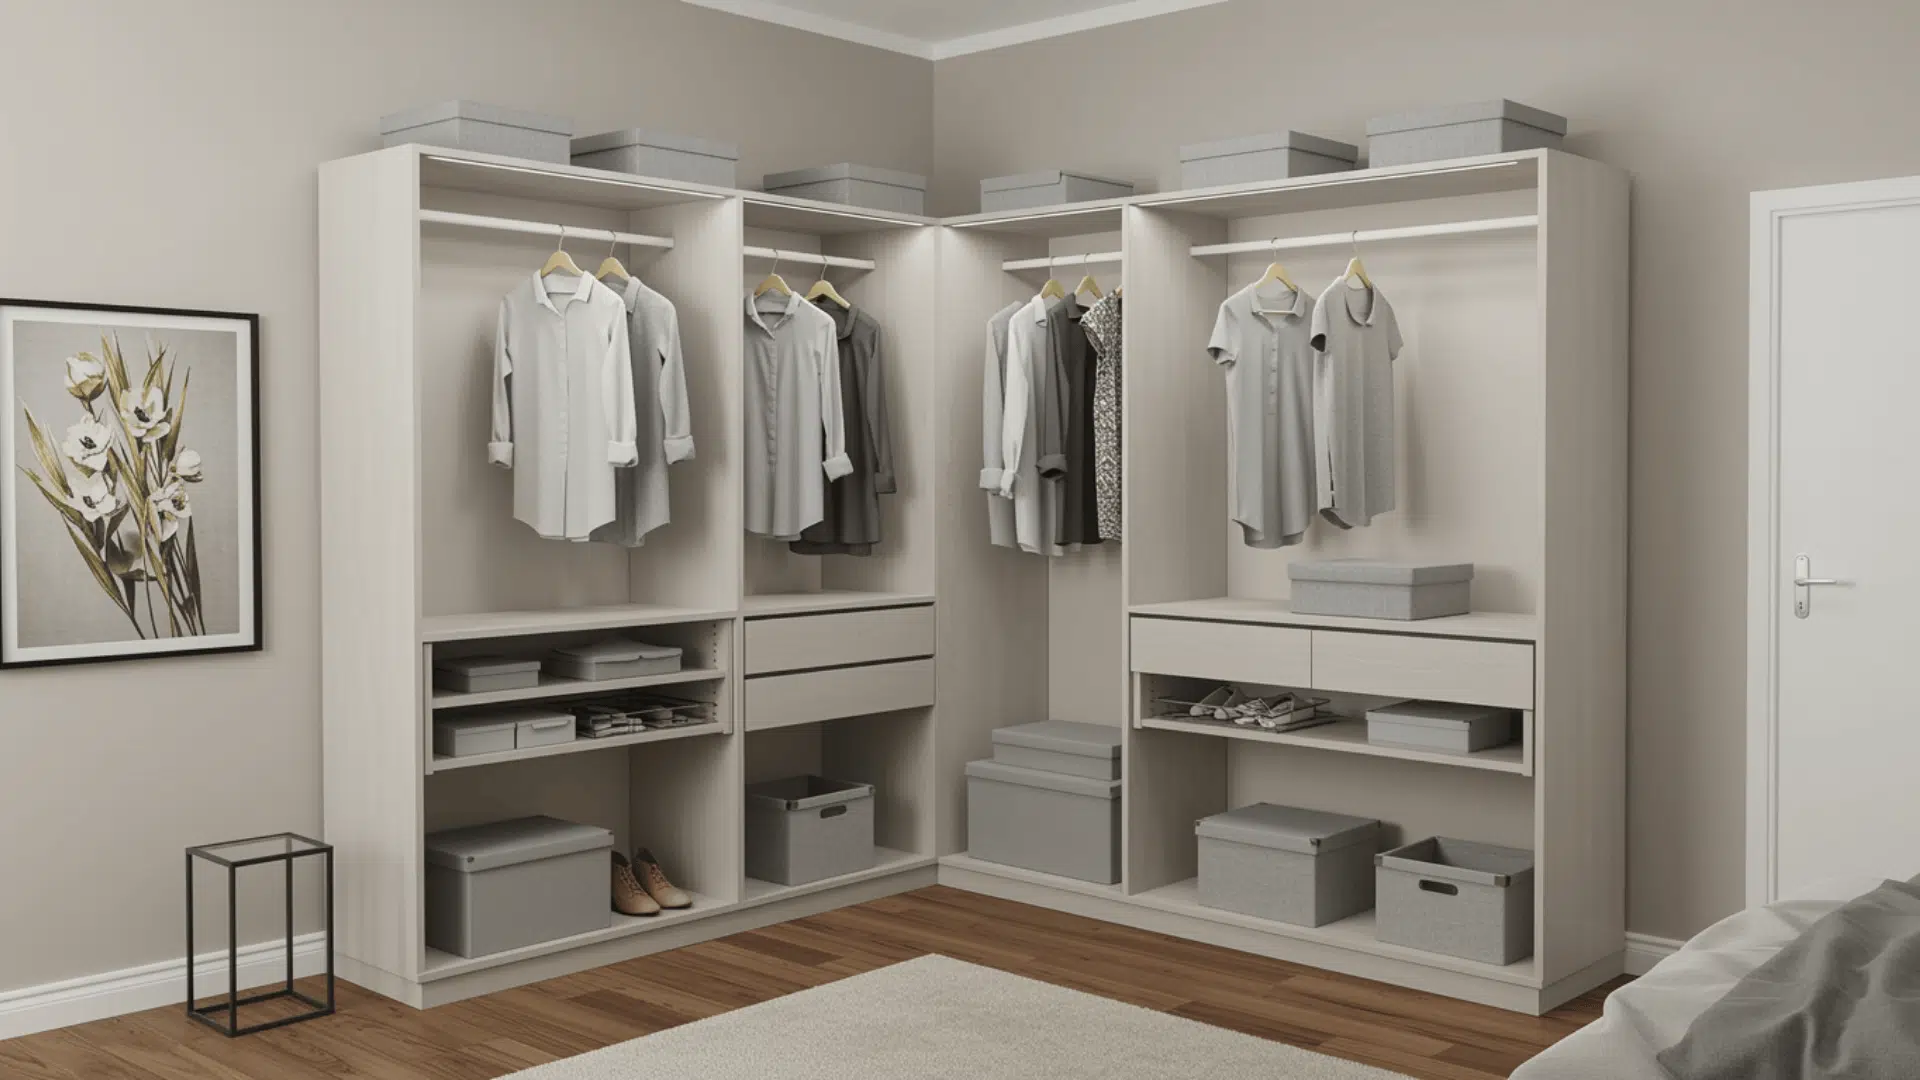
DIY Closet System Ideas You Can Build at Home
These ideas help you make the most of every inch of your closet using simple tools and materials. Each option is practical, beginner-friendly, and easy to adapt to your space.
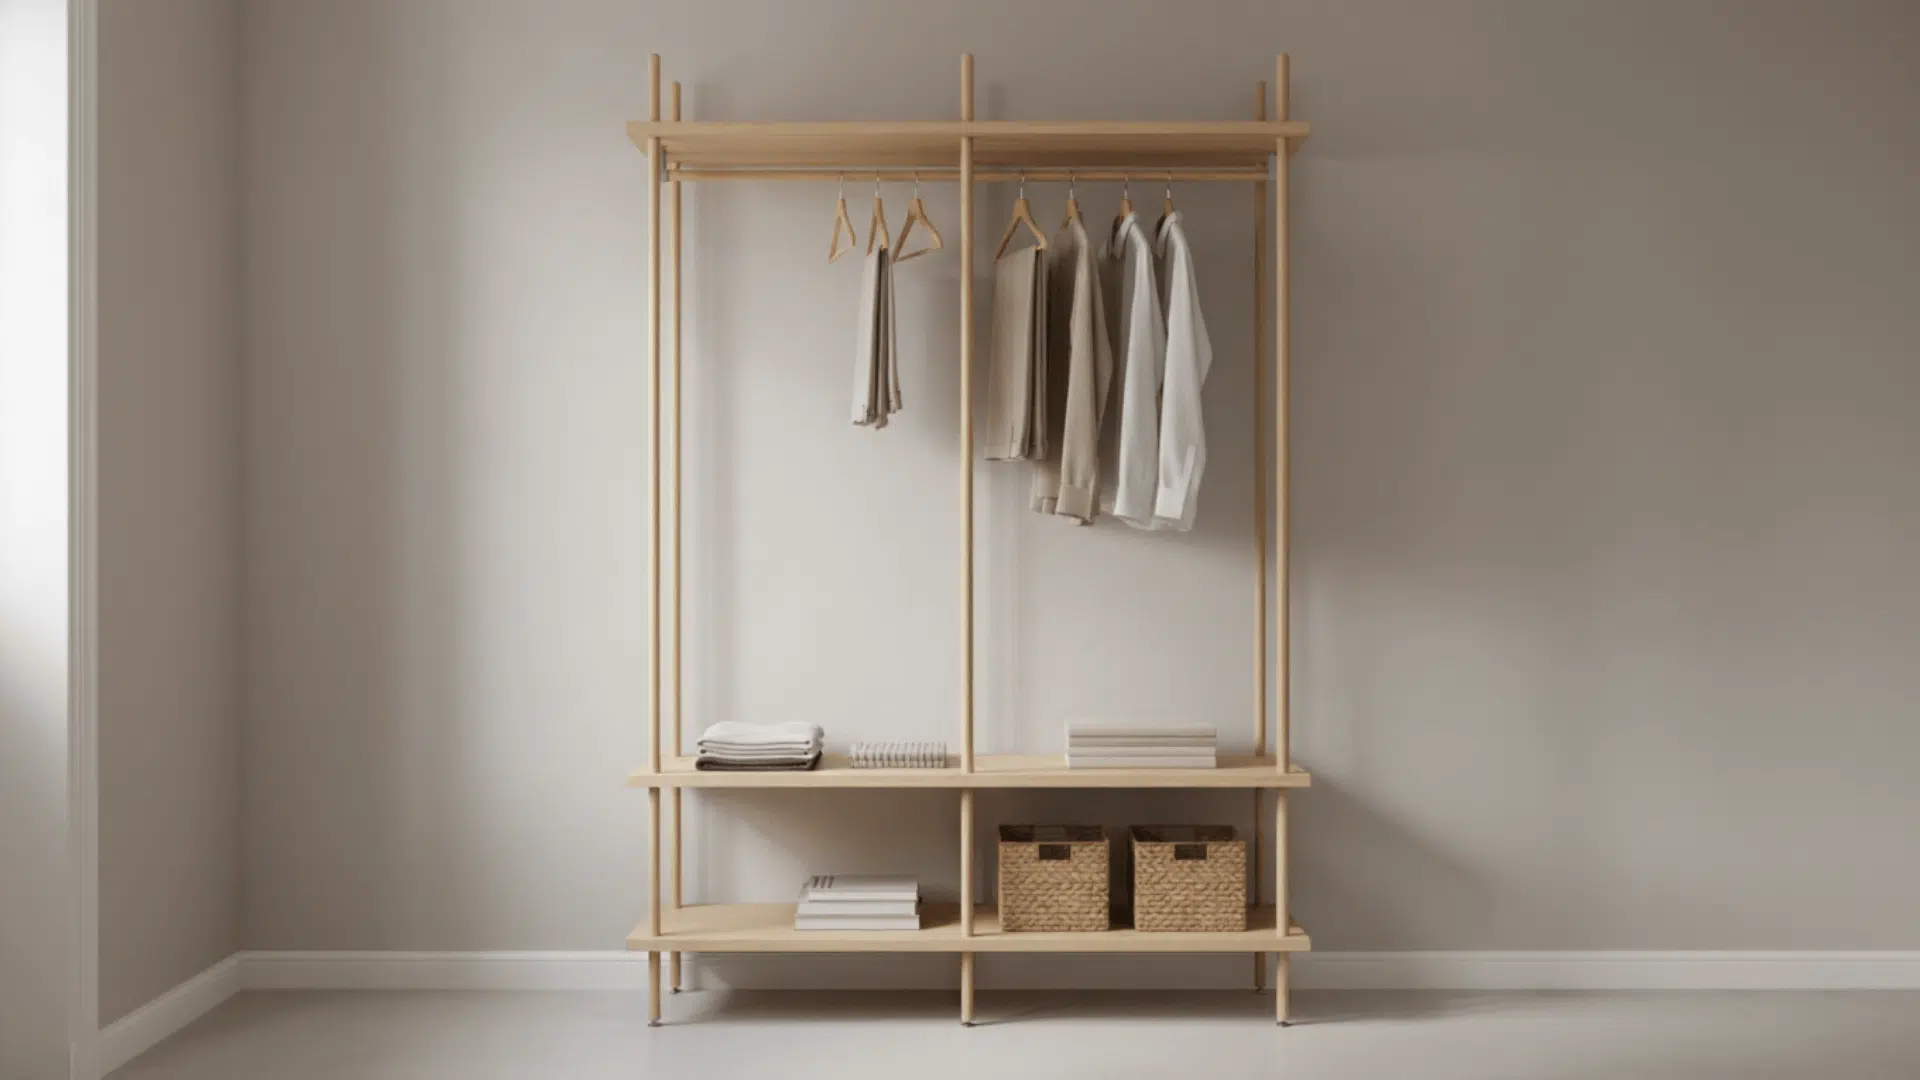
1. Modular 1×12 Wood Tower System
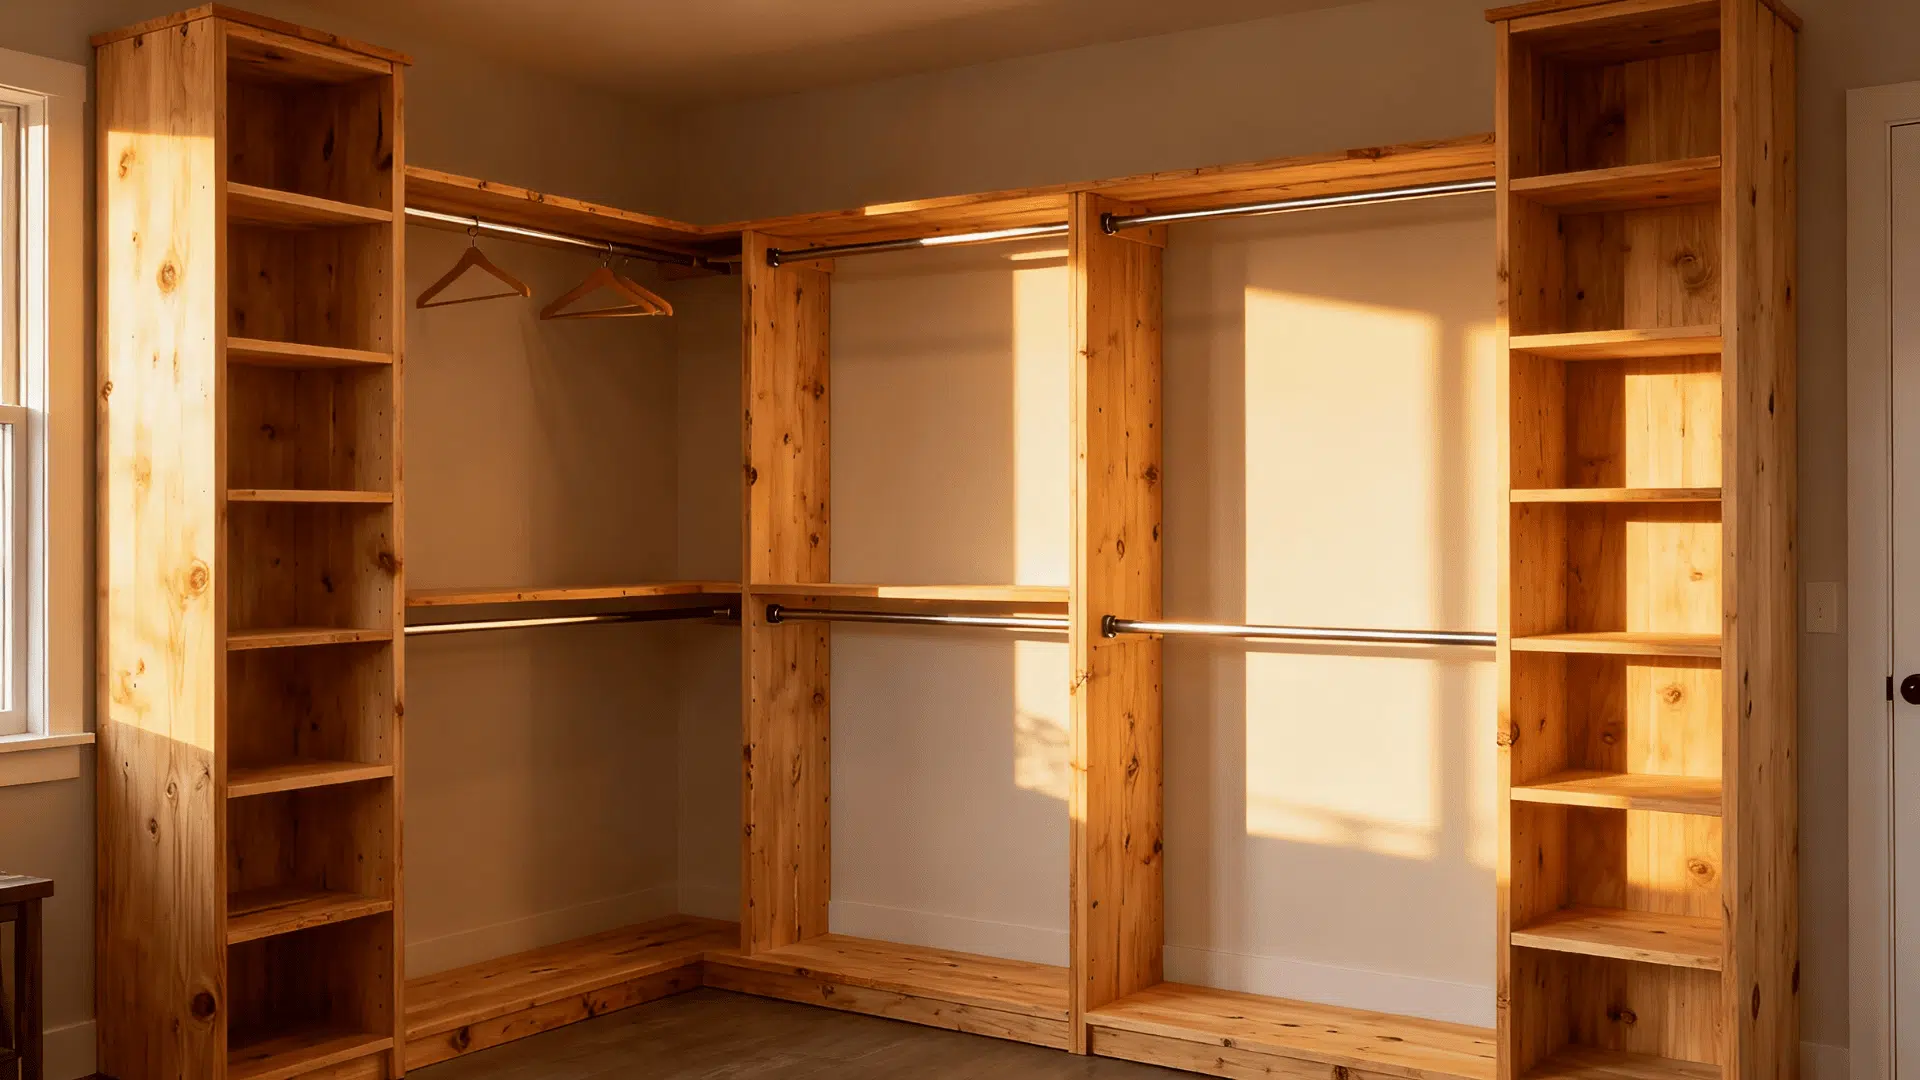
Build tall towers using 1×12 pine boards cut to size. Create two side panels and connect them with fixed or adjustable shelves.
Secure the tower to the wall studs so it will not shift. Add rods on each side for hanging clothes. This system is great because it grows with your space. You can stack, shift, or remove shelves later without rebuilding the structure.
2. Industrial Pipe and Wood Shelving System
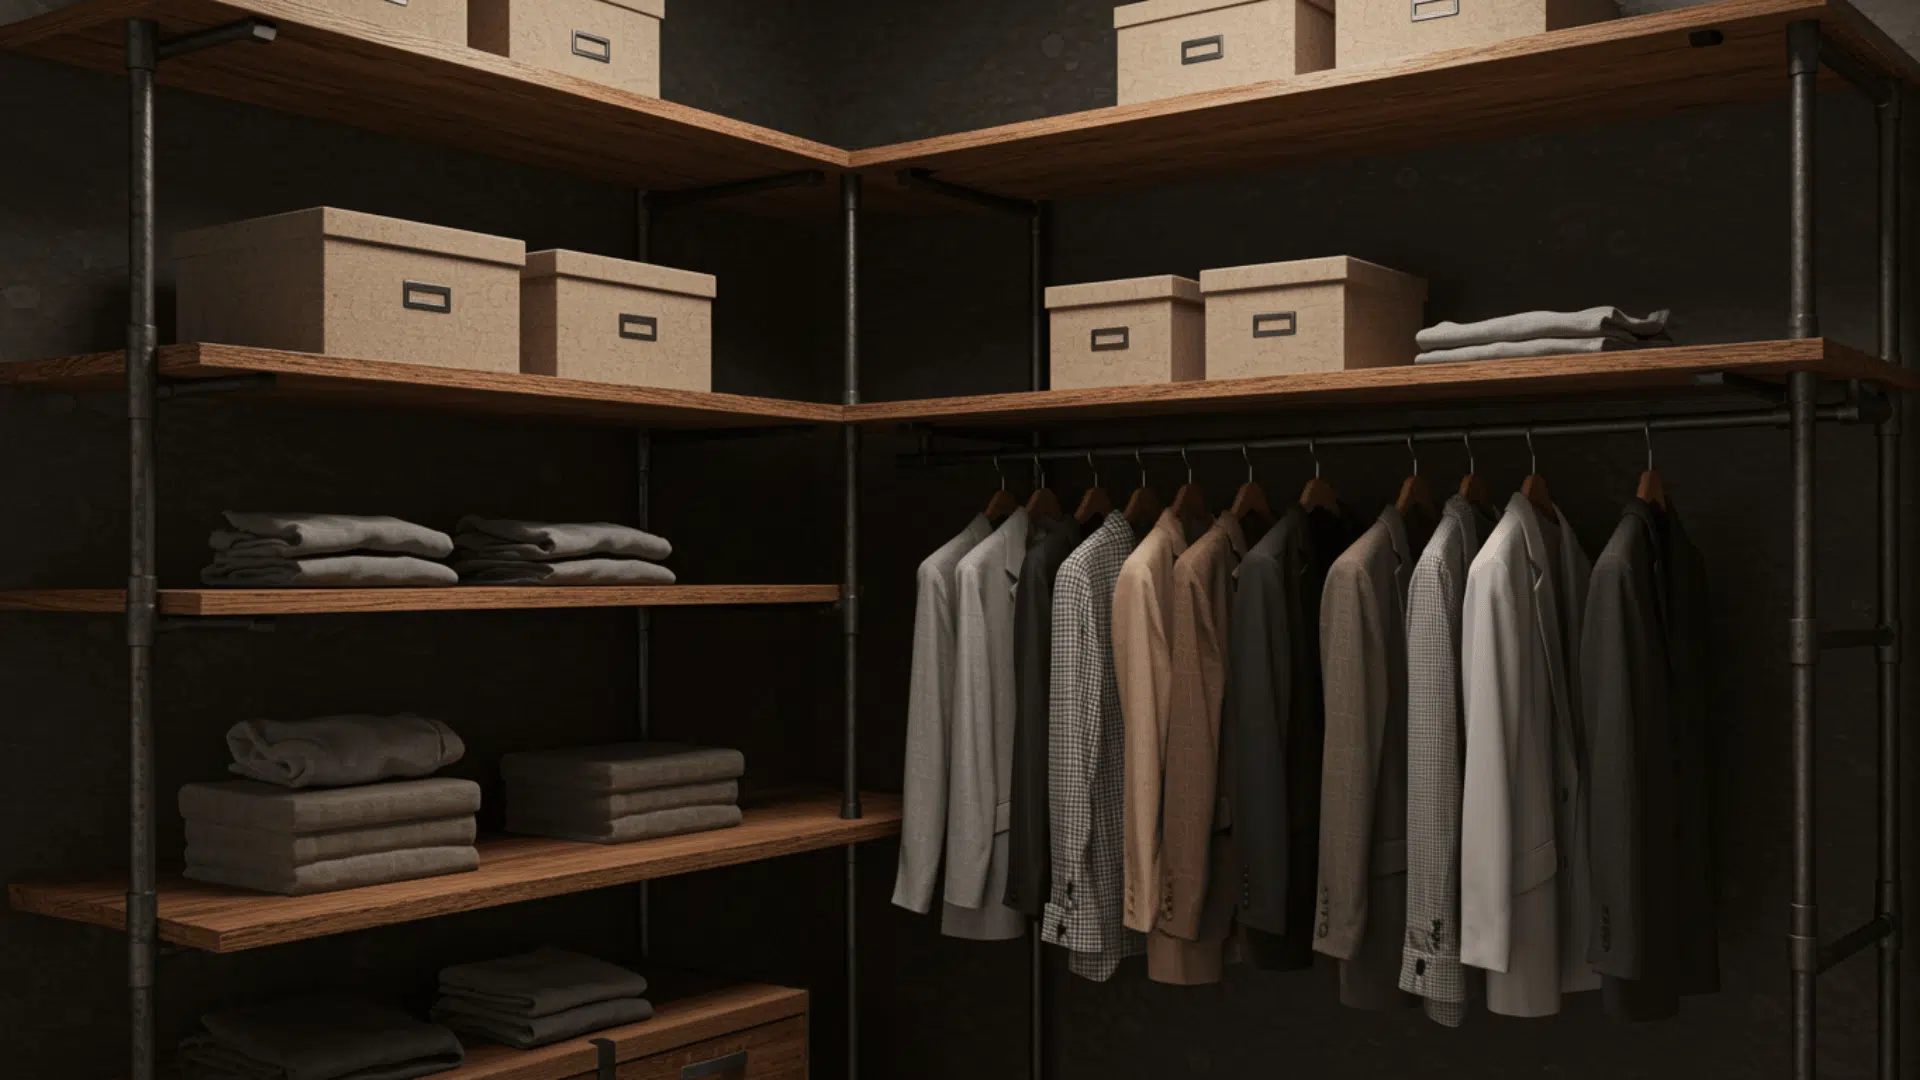
Use metal pipe fittings for vertical supports and attach wooden shelves on top. Install flanges into wall studs, then screw in the pipes. Place stained boards across the pipes and secure them with pipe straps.
It creates a sturdy, open system that handles heavy loads. The style works well in modern and rustic rooms. The setup is simple, and the materials are easy to find.
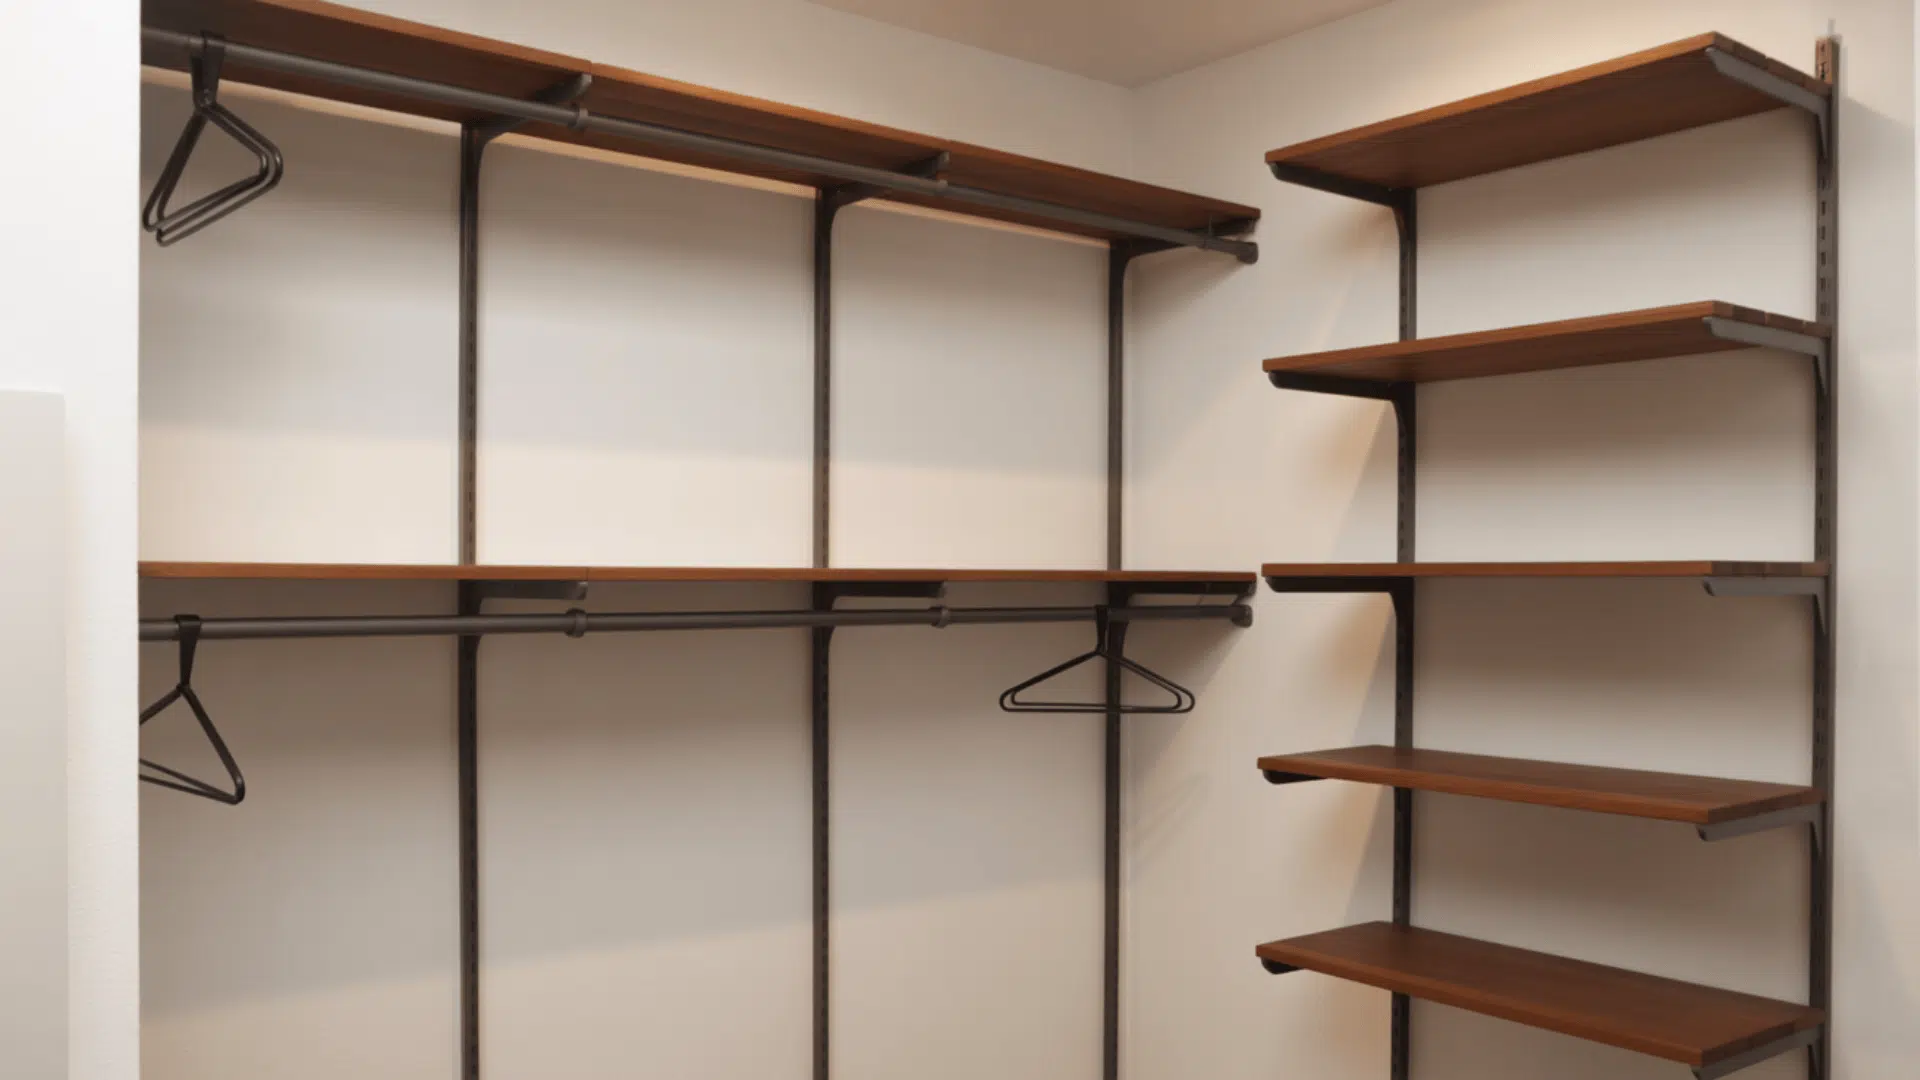
3. Floor-to-Ceiling Adjustable Track System
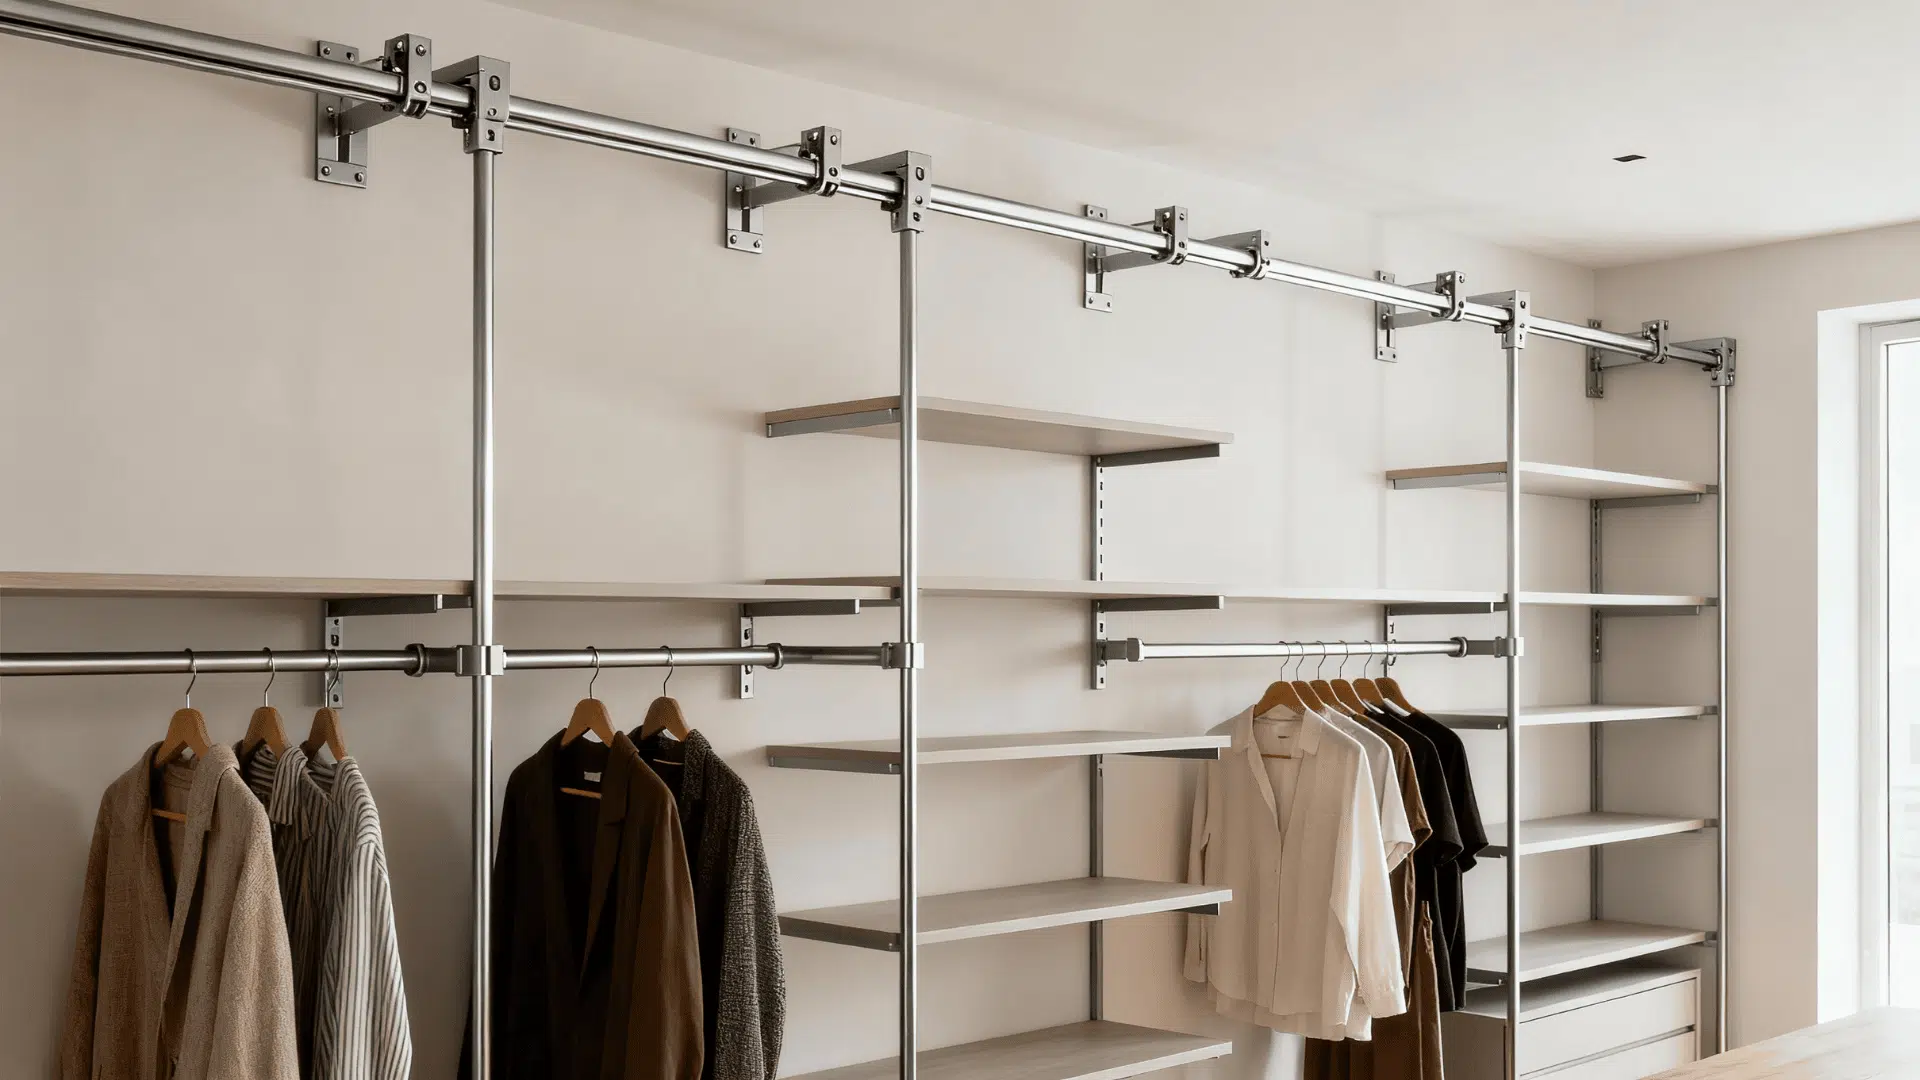
Mount metal wall tracks from floor to ceiling, ensuring each one hits a stud.
Add brackets and shelves at any height. Install hanging rods between brackets to create zones for long and short items.
This system allows quick changes as your wardrobe grows. You can move shelves without tools. It offers a clean, flexible layout that suits both reach-in and walk-in closets.
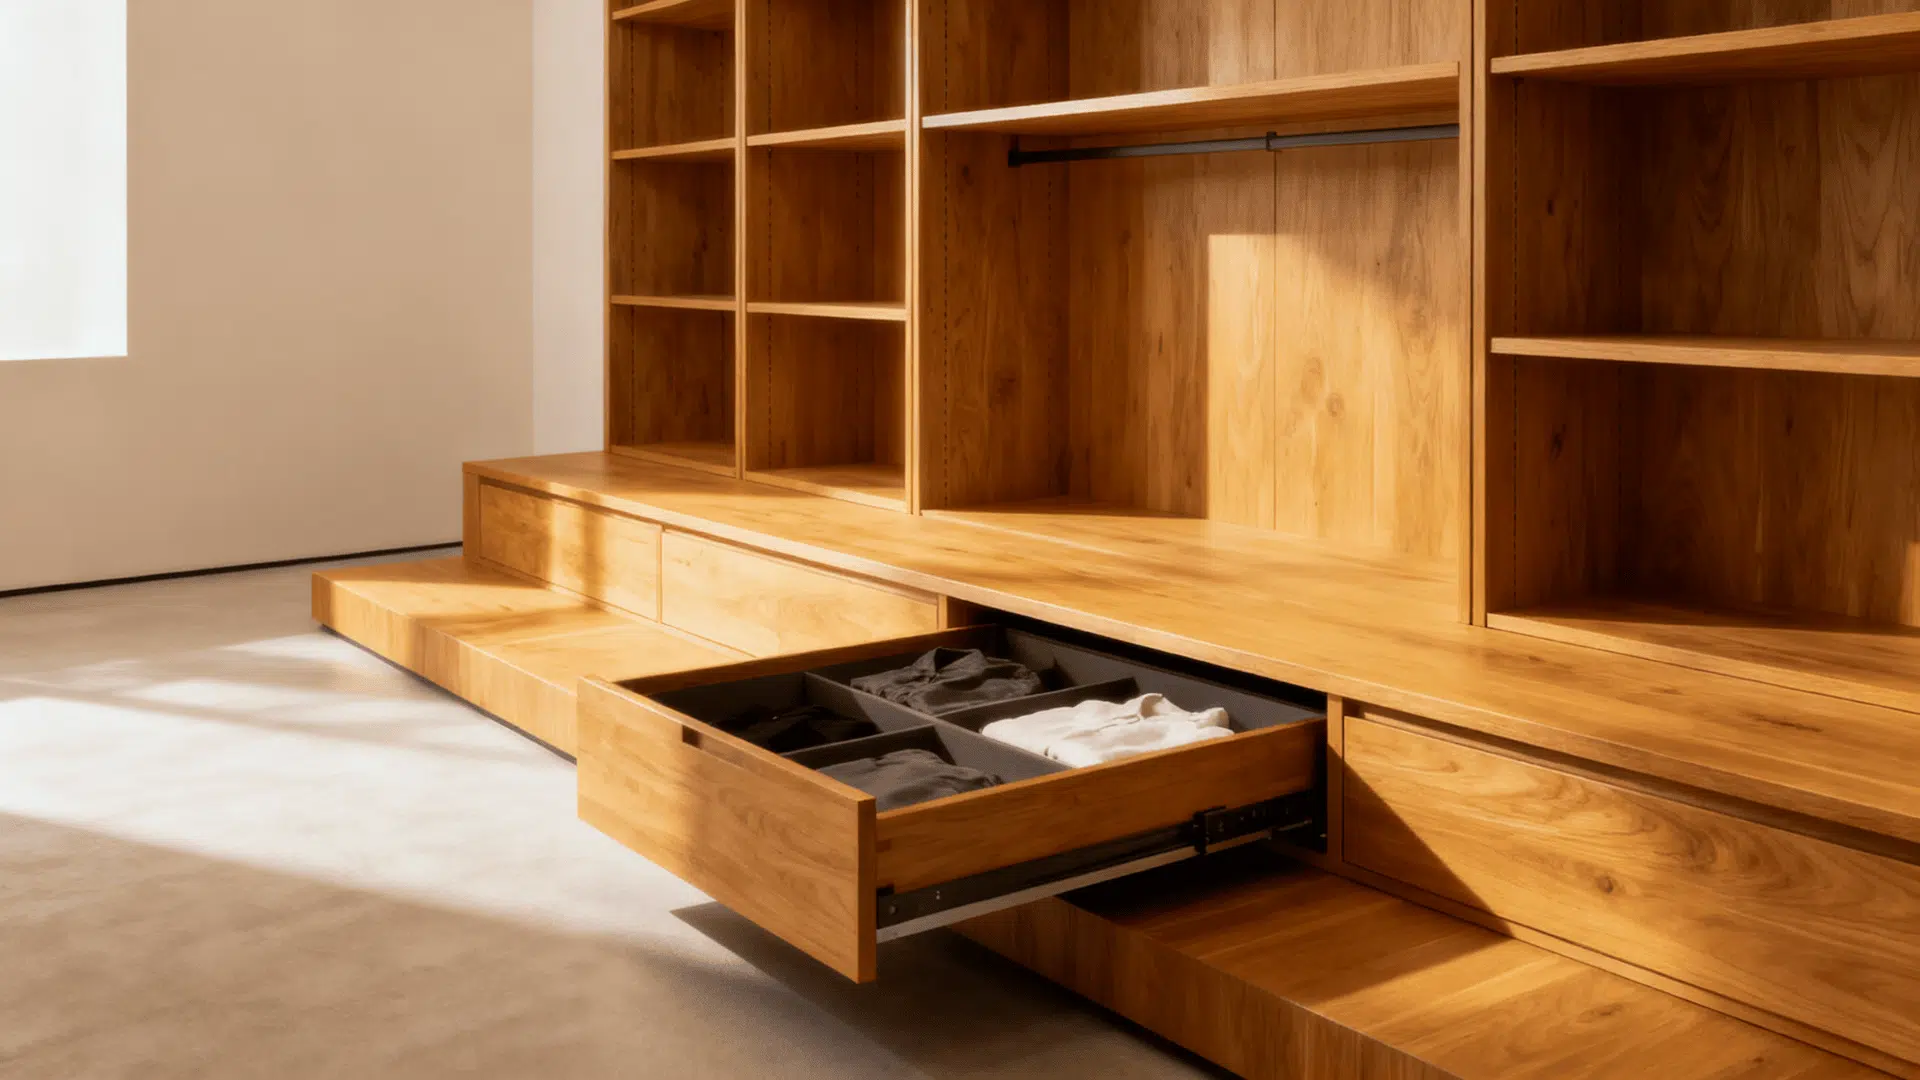
4. Plywood Built-In With Edge Banding
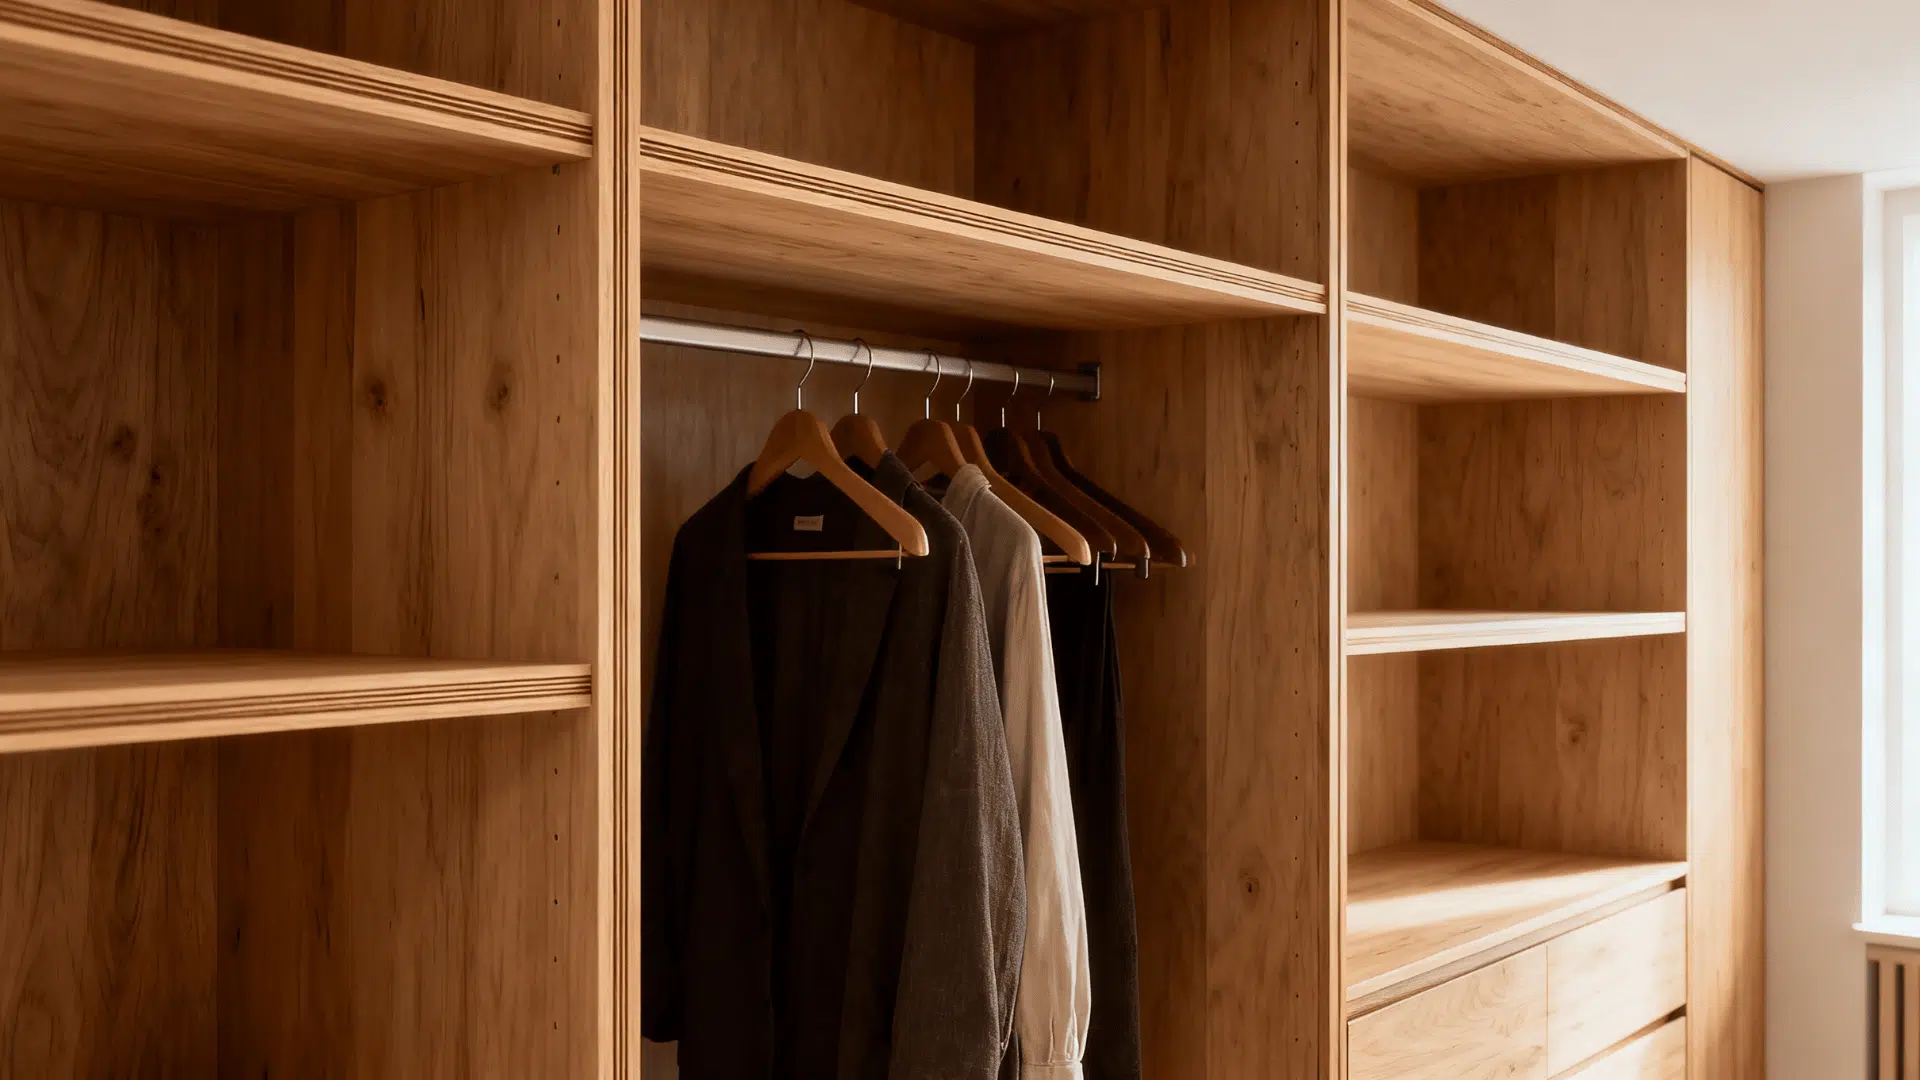
Cut plywood sheets into vertical panels, horizontal shelves, and dividers. Apply iron on edge banding to cover exposed edges for a finished look. Secure the structure to studs and level everything before fastening.
Add rods or drawers depending on your needs. The result looks like a custom-built system but costs far less. This approach is strong and lasts many years with minimal upkeep.
5. Closet System From Kitchen Cabinets
Use premade kitchen base cabinets or wall cabinets as the main units. Place them inside the closet and anchor them to wall studs. Add a countertop or shelf over the cabinets to create a smooth surface.
Install rods between cabinets to complete the system. This idea gives you deep drawers and hidden storage without custom carpentry. It works well for anyone who prefers closed storage.
6. Double Hang Rod Conversion System
Place a second rod below your main rod using side brackets or vertical supports. Measure enough space so shirts and pants will not drag. Keep the upper rod higher than normal to create room.
This simple change doubles hanging capacity without rebuilding the closet. It is best in reach in closets where vertical space is wasted. The setup takes less than an hour.
7. Minimalist Open Frame Closet System
Build a light frame from 2×2 or 2×3 lumber to form vertical supports. Add shelves and rods between the supports. Keep the structure open without doors or backing.
Anchor it to studs to prevent movement. This approach saves material and creates a clean look. It works well in small spaces where bulky cabinets feel heavy. Simple lines make everything easy to access.
8. Rustic Farmhouse System Using Reclaimed Wood
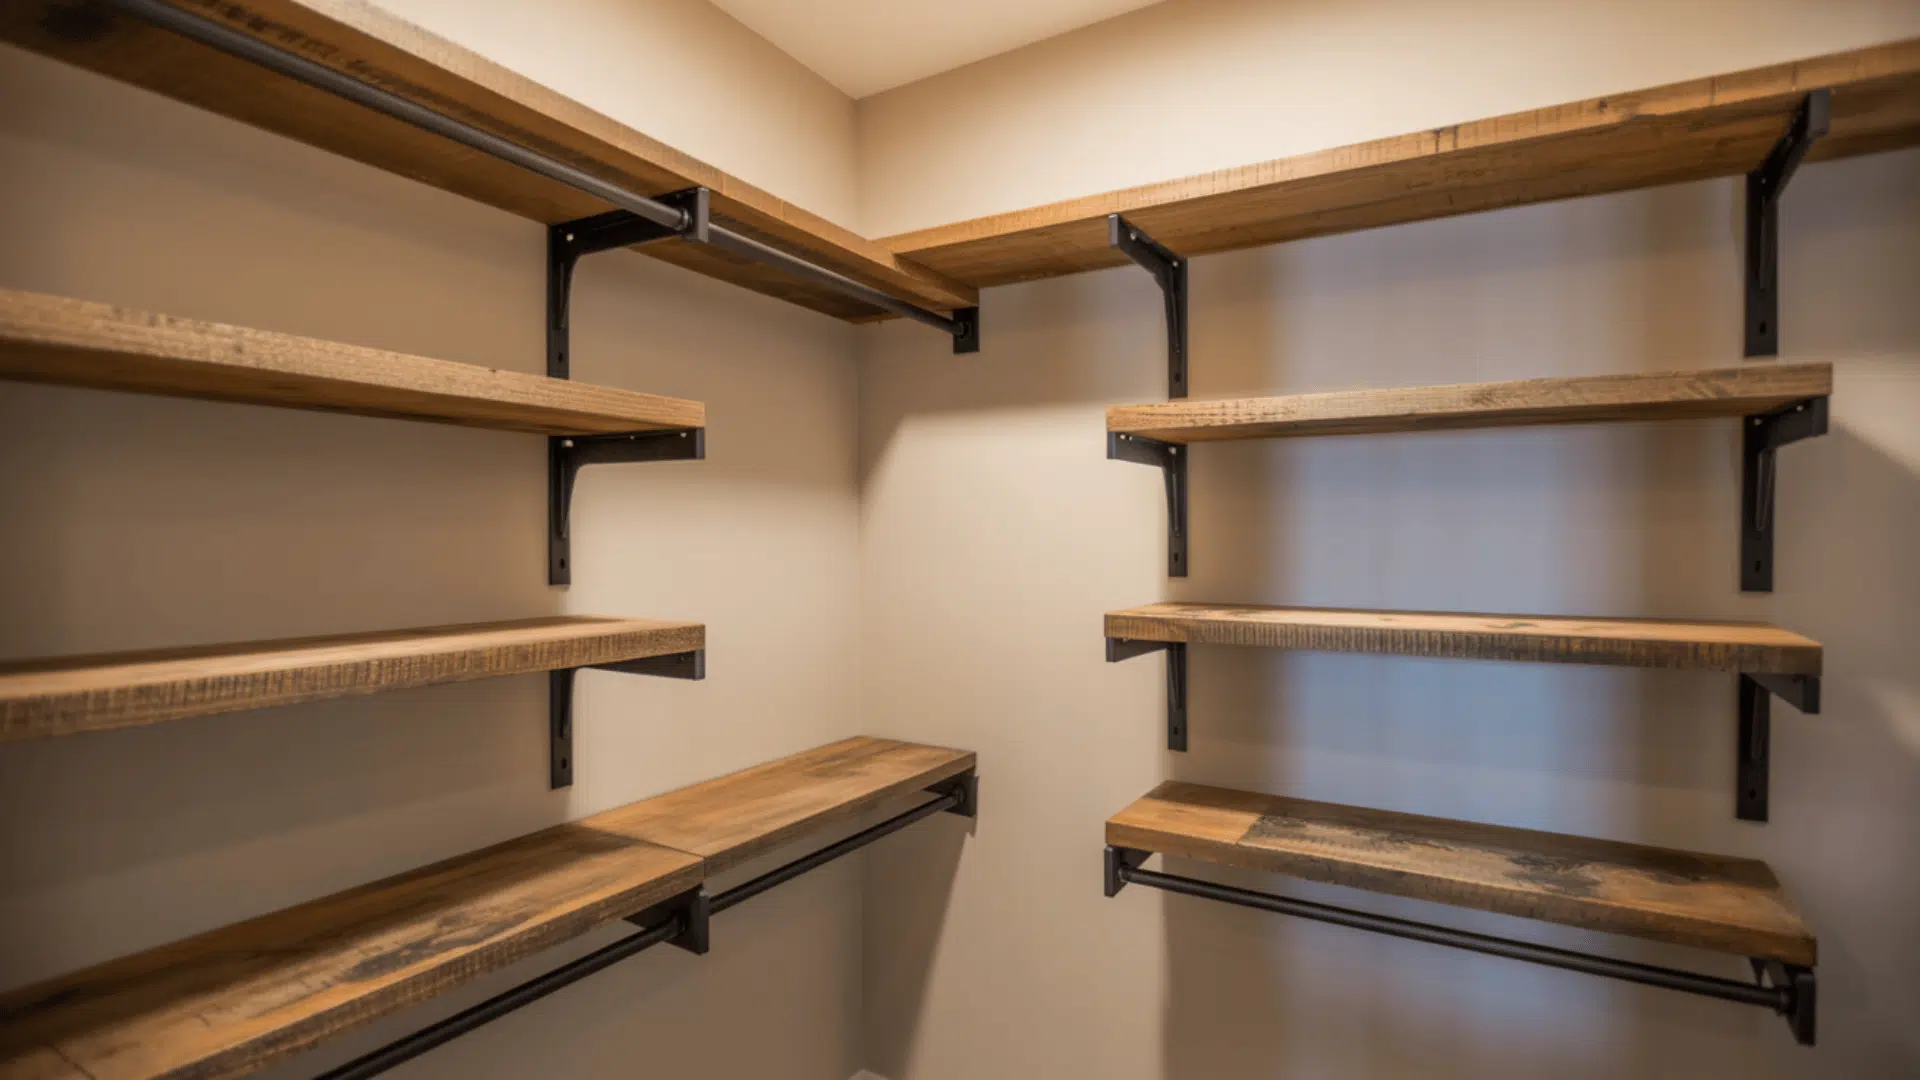
Use reclaimed barn boards or old timber for shelves and dividers.
Sand lightly but keep the natural character. Install strong metal brackets into studs, then place the wood shelves on top.
Add a dark metal rod for hanging. This setup feels warm and textured without looking messy. It is ideal for vintage or farmhouse-style rooms. The cost stays low if you source leftover wood.
9. Wire Grid Modular Closet
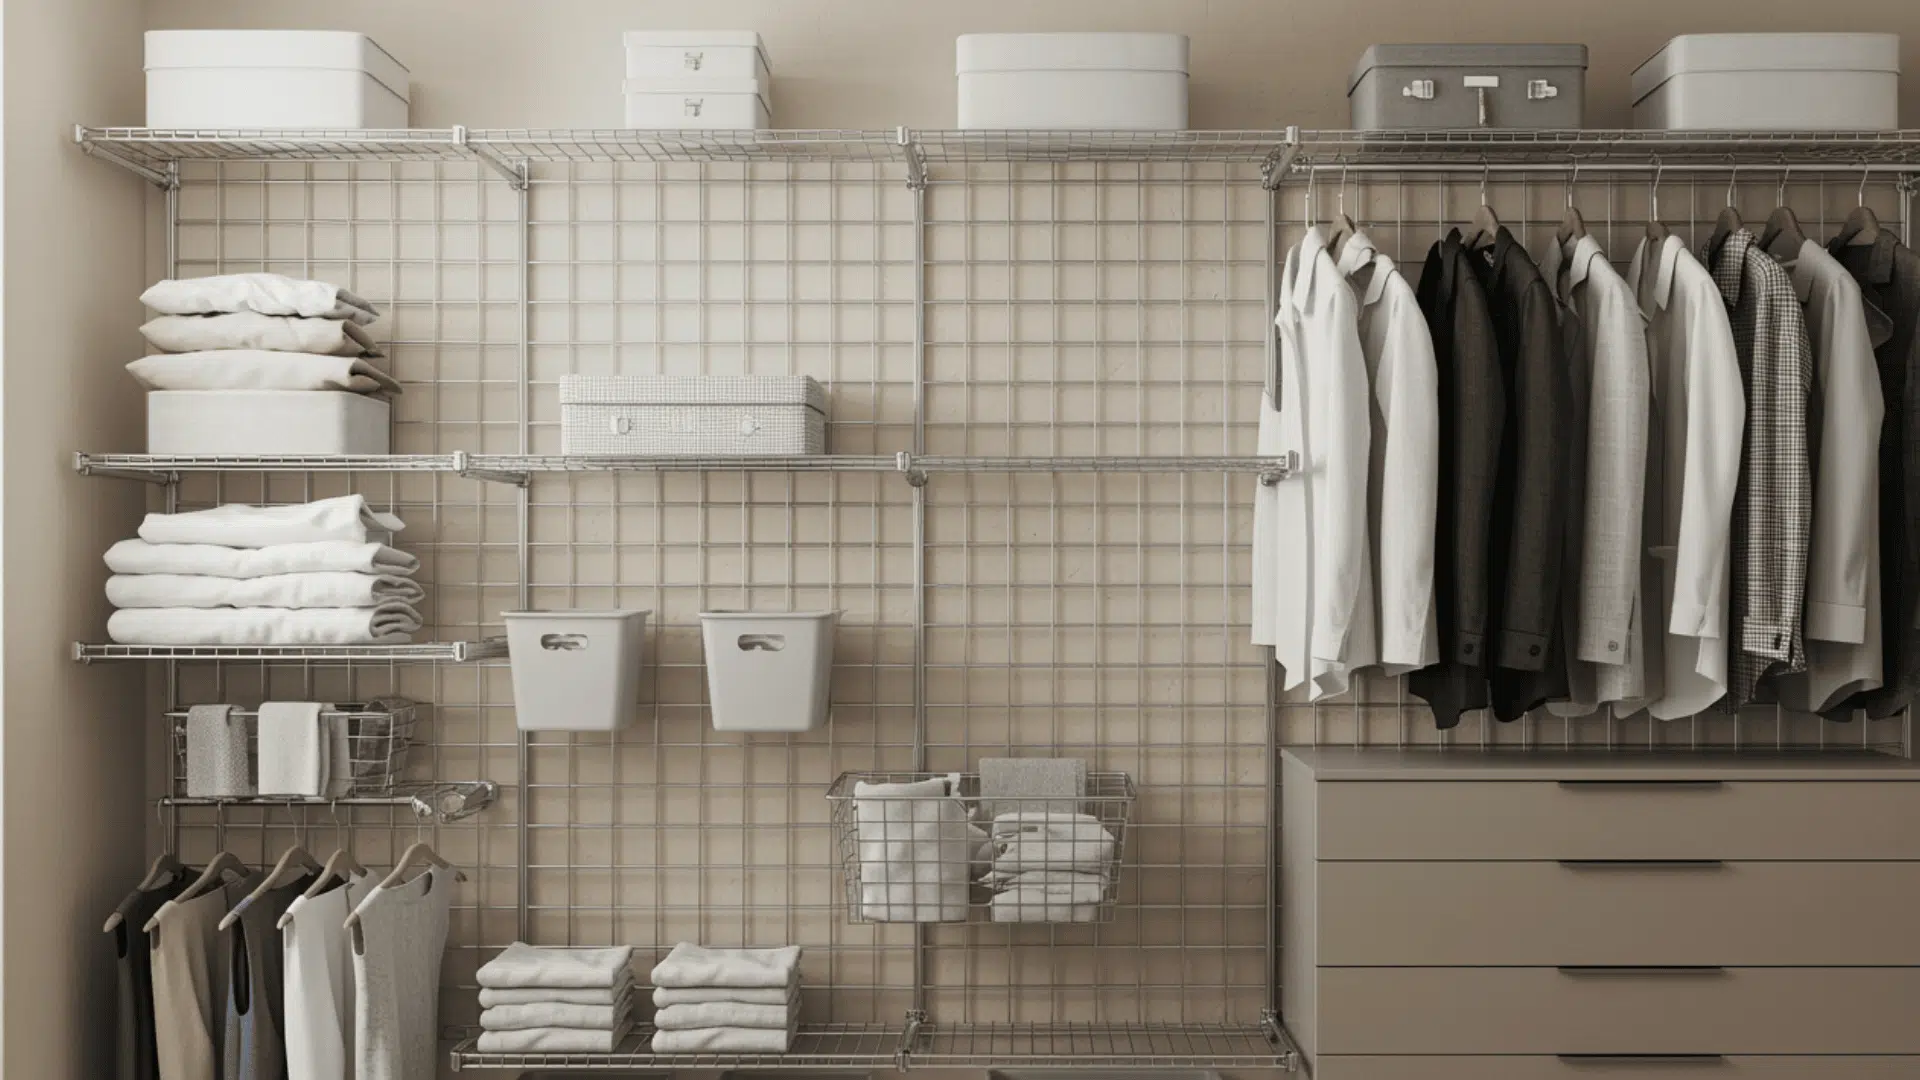
Attach metal grid panels to the wall using screws and anchors. Clip on shelves, baskets, hooks, and rods as needed. The grid system makes it easy to change layouts without drilling more holes.
You can shift anything to match seasons or new items. It works well in teen rooms, rentals, or shared closets. The light materials help keep the closet airy and clean.
10. Sliding Shelf and Drawer Closet System
Install drawer slides on vertical panels and build shallow shelves that glide out. Add handles for easy pulling. This idea solves the problem of deep shelves where items hide in the back.
Make sure the slides are rated for decent weight. The system helps you organise shoes, shirts, and accessories with less digging. It creates a tidy, accessible layout even in narrow closets.
11. Built-In Shoe Wall With Adjustable Pegs

Drill rows of evenly spaced holes in two tall side panels. Insert wooden pegs to hold the shoe shelves at any height. Attach the side panels to the studs, then place the shelves across the pegs.
This setup makes it simple to reorganise your shoe display. The shallow design fits many closets with limited space. It looks tidy and uses every inch effectively.
12. Closet Bench With Vertical Towers
Build a strong bench using 2×4 framing and plywood. Add cubbies or drawers under the seat. Install tall shelving towers on each side of the bench to frame the space. Anchor the towers to studs.
This creates a built-in look that feels custom. The bench doubles as seating and storage, and the towers hold folded clothes or bins. It works well in walk-in closets.
13. Corner Optimised L Shaped Closet System
Use L-shaped shelves to bridge the corner so no space goes to waste. Install a long rod across one wall and a shorter rod on the other side. Anchor everything to studs for support.
The corner shelf becomes the link between storage zones. This idea solves the common dead corner problem in reach in closets. The design feels natural and efficient.
14. Divider Panels With Integrated Rods
Cut tall panels from MDF or plywood and secure them to studs. Attach rods directly to the sides of the panels. This creates separate hanging zones without bulky cabinets.
You can add shelves inside each section if needed. The layout keeps clothes organised and prevents crowding. It is an easy way to create order in a closet that feels too open.
15. Rolling Closet Cart System
Build a small cart using plywood and caster wheels. Include shelves, dividers, or hooks. Make sure the wheels lock to keep the cart stable when in use. Slide it under rods or into open spaces.
This cart fills awkward gaps where fixed shelves will not fit. It is ideal for renters or anyone who needs portable storage. You can roll it out when needed.
16. Pegboard Accessory Wall System
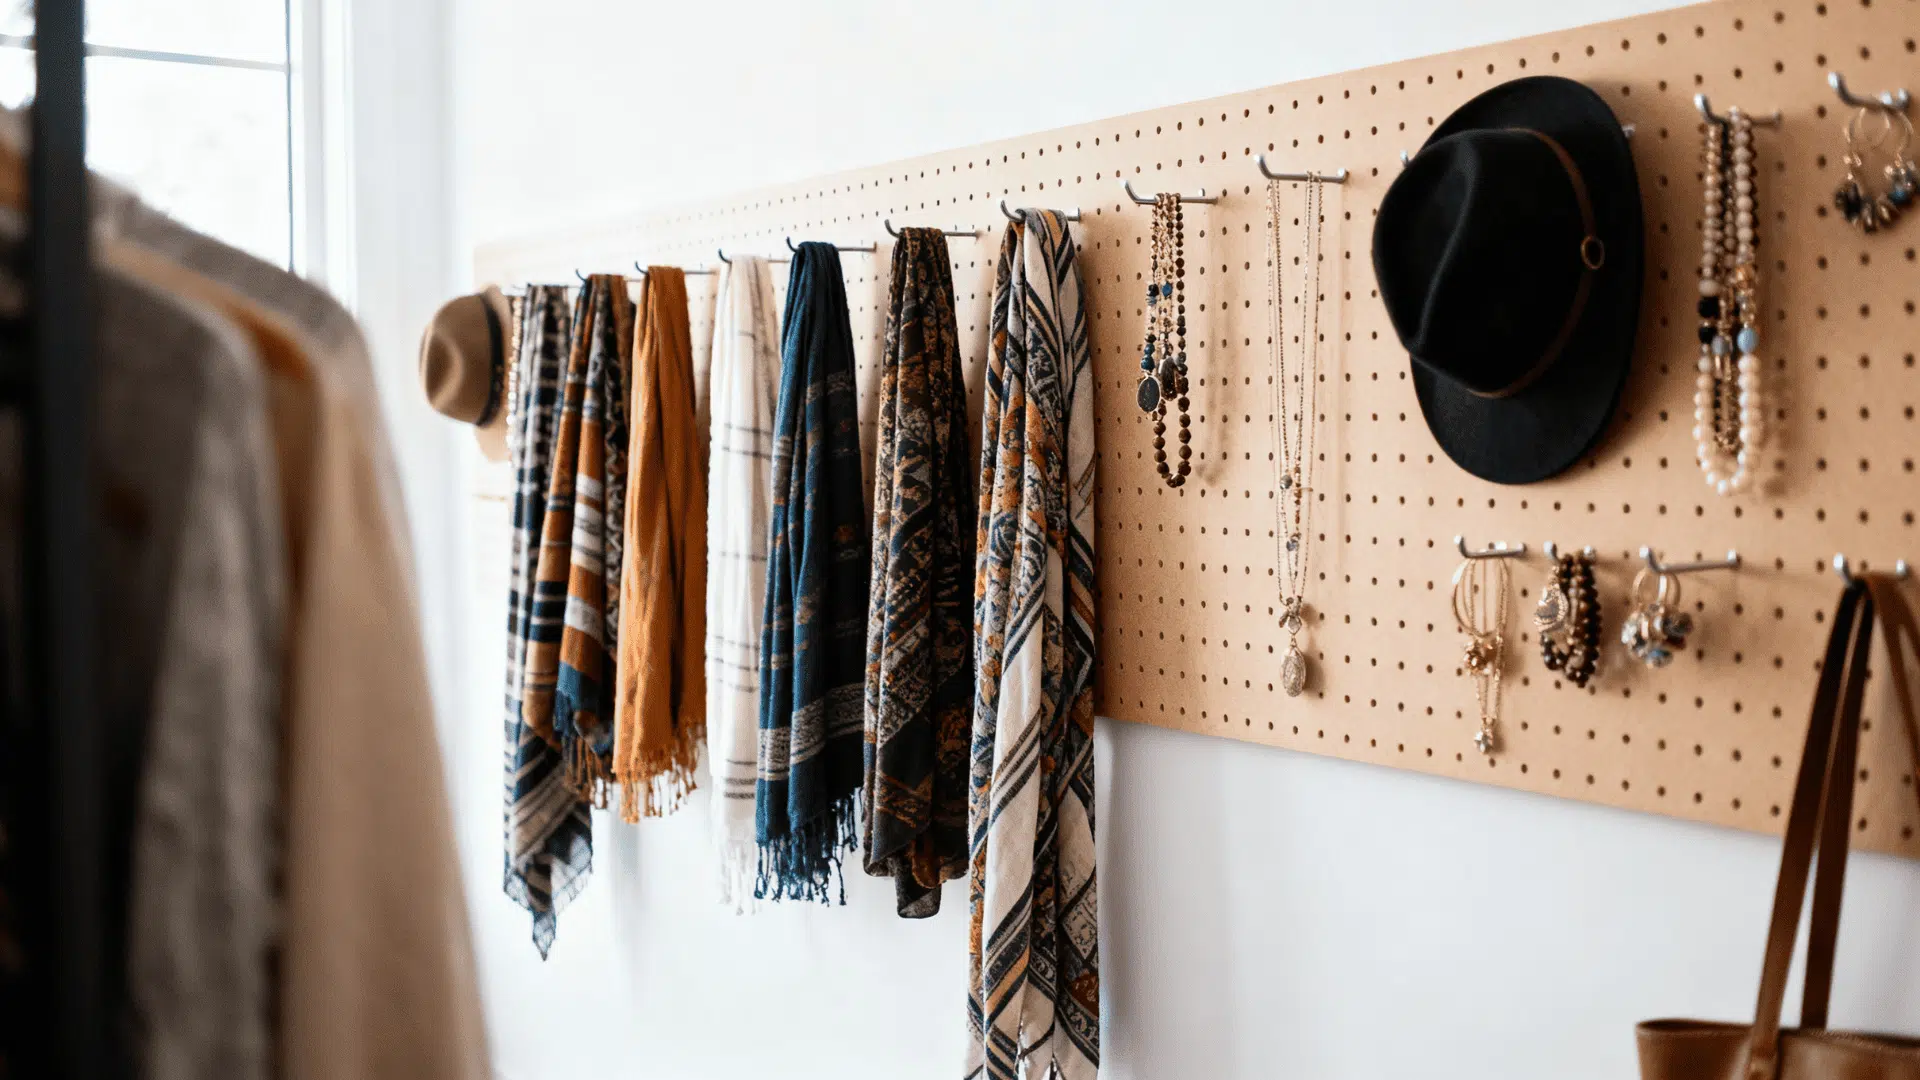
Mount a large pegboard sheet on the wall using wood spacers. Add metal or wooden hooks, small shelves, and baskets. Use it for belts, scarves, hats, and jewellery.
The board keeps small items visible and easy to grab. It also fills wall space that is often ignored. You can rearrange the layout any time without new holes. This works in both small and large closets.
17. Platform Closet System Raised Off the Floor
Build a low platform from 2×4 framing and plywood. Mount the closet tower or shelving system on top of it. The gap under the platform becomes hidden storage for shoes or bins. Secure everything to studs for safety. Raising the system keeps the closet cleaner and more open. This approach works especially well in older homes where floors may be uneven.
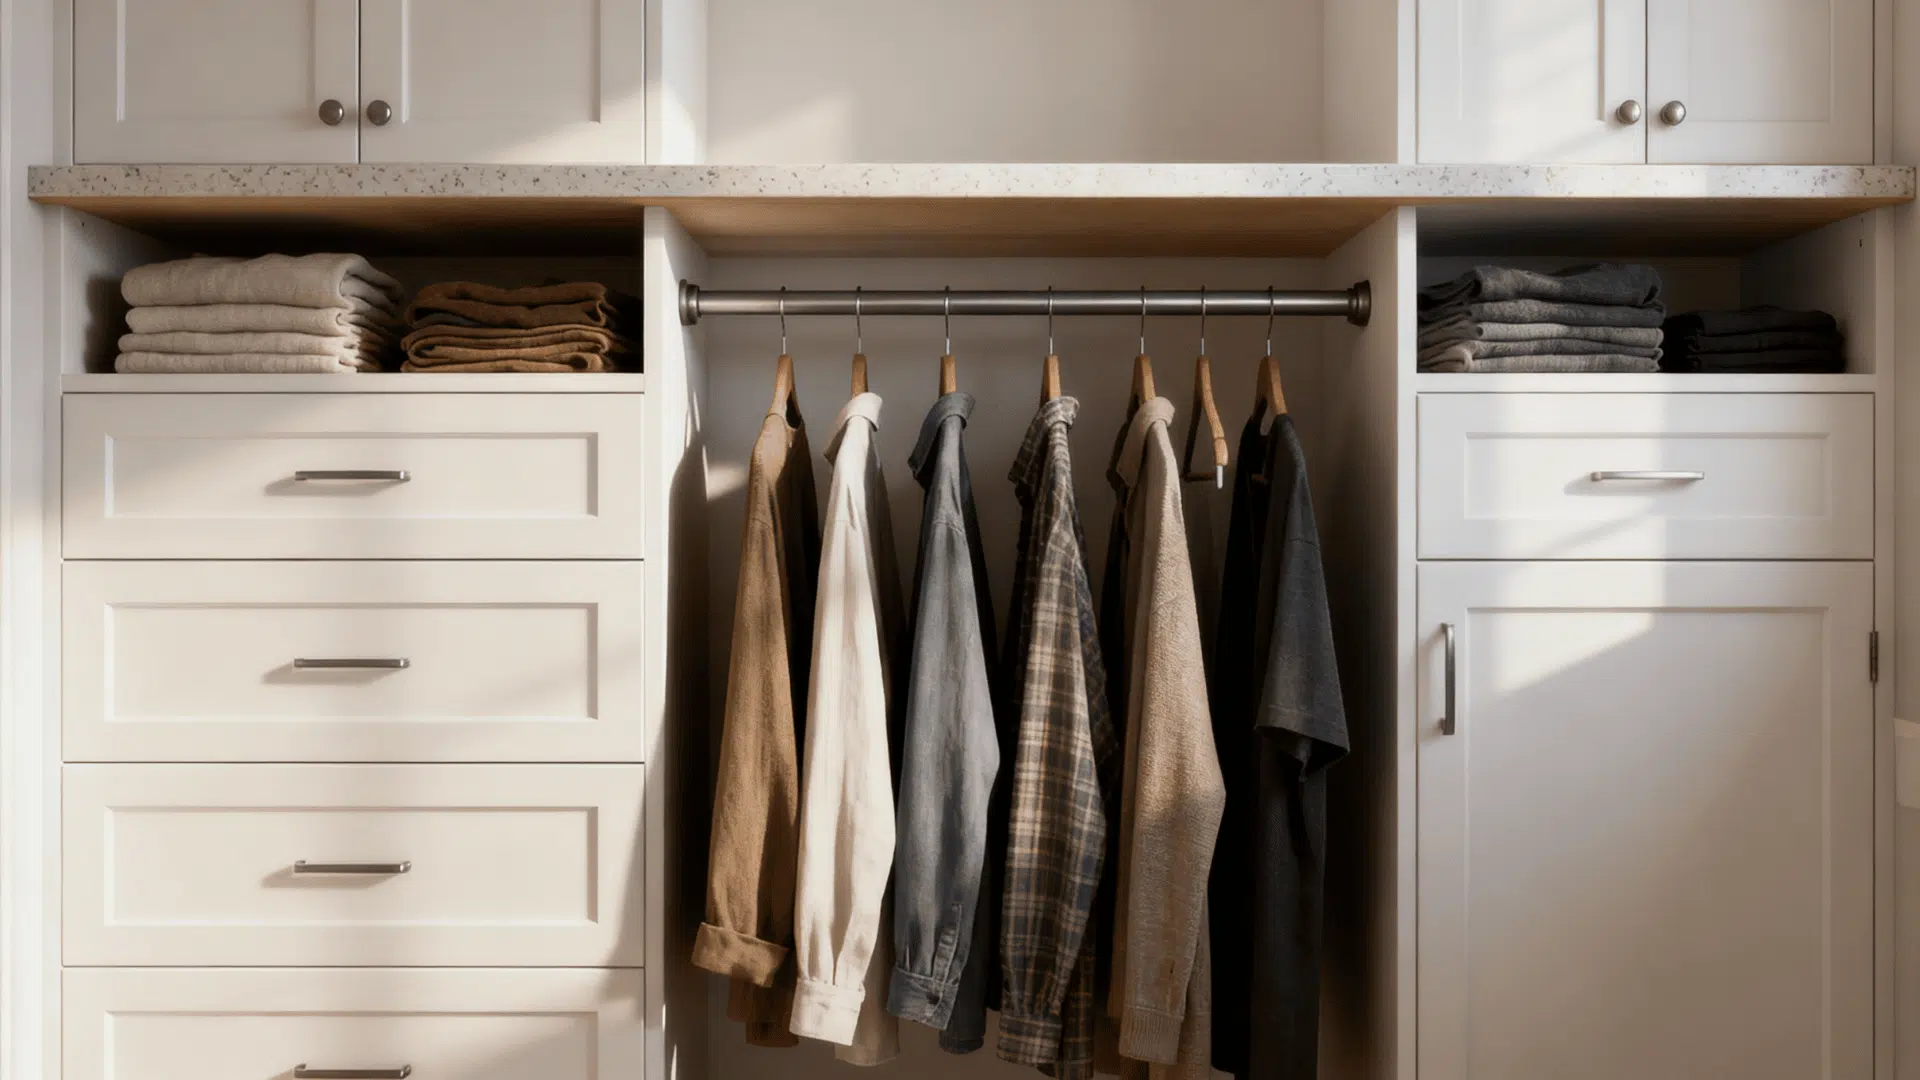
18. Floating Shelf with Single Rod System
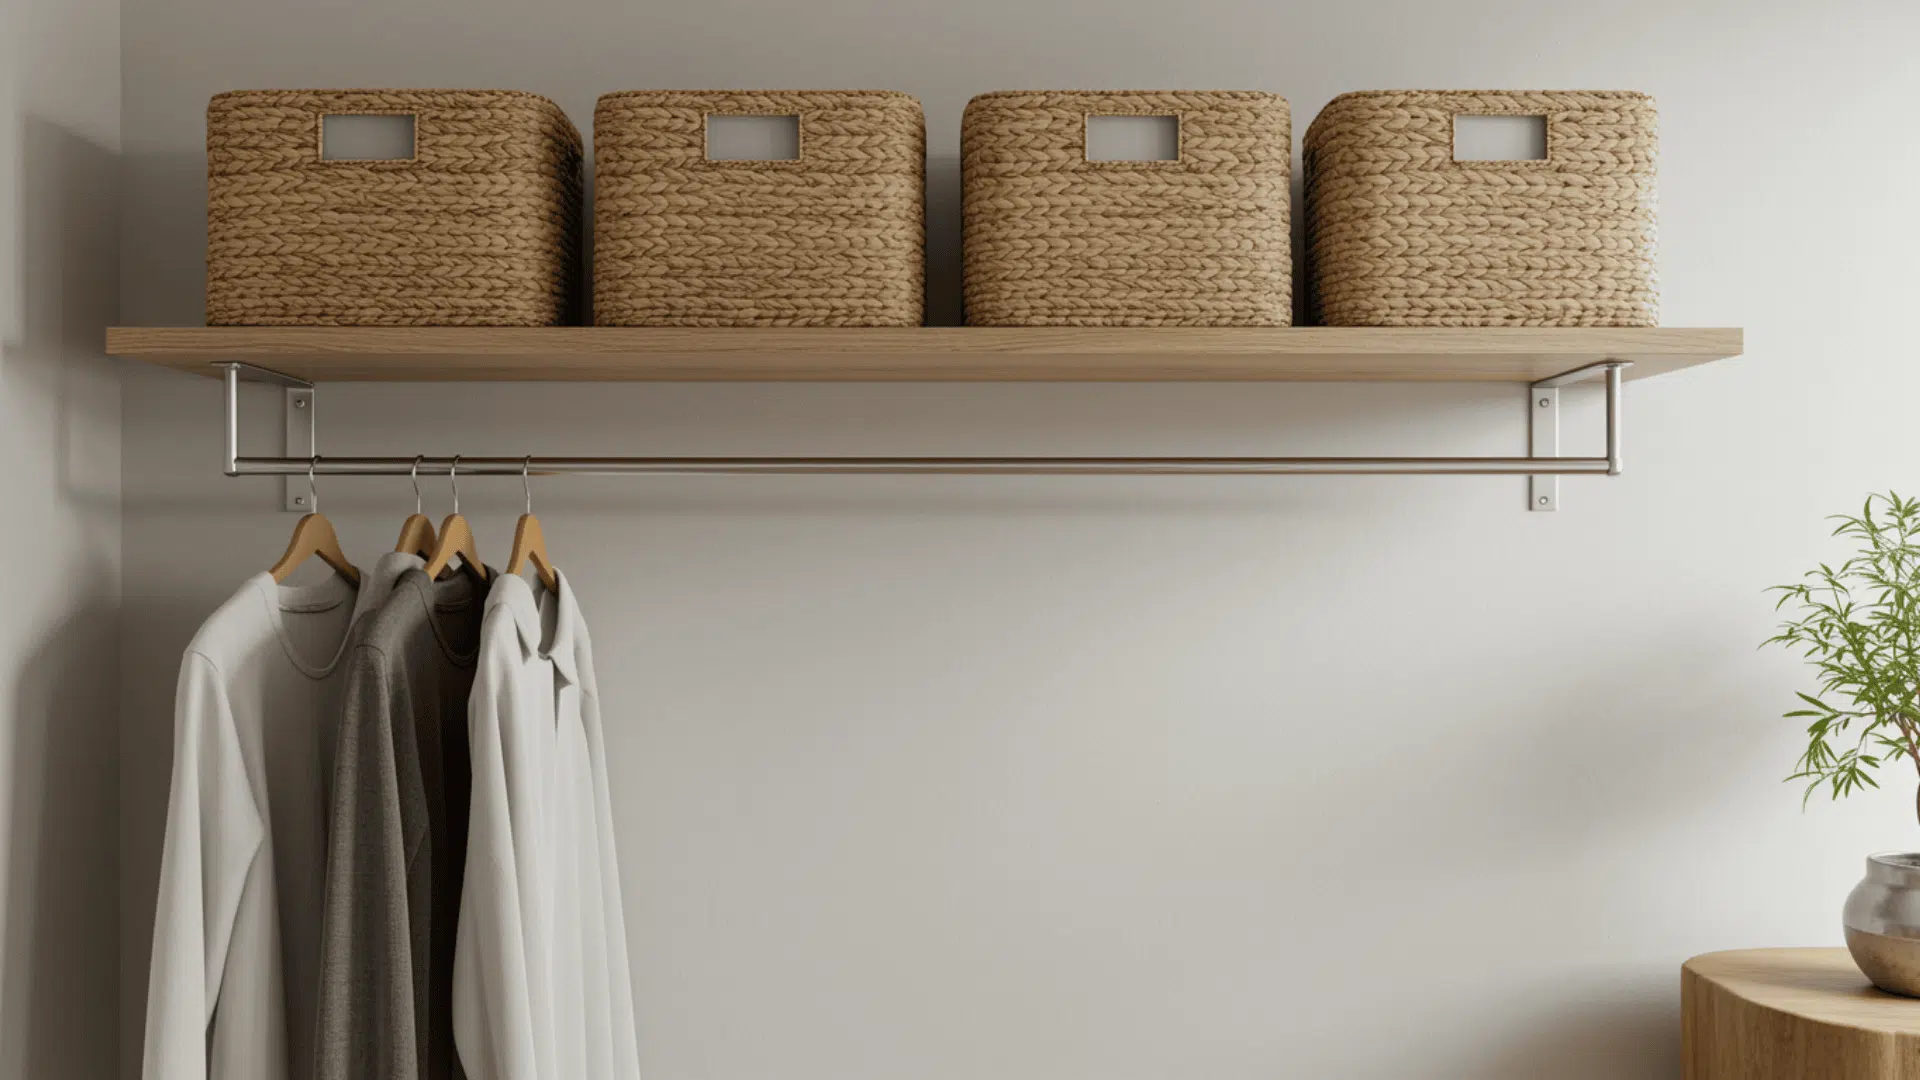
Install a long floating shelf at the top of your closet by securing brackets into wall studs. Add a single hanging rod underneath the shelf using rod brackets.
This setup is quick, cheap, and perfect for small closets. It gives you storage above for baskets and reliable hanging space below without building a full framework.
19. Vertical Divider Rod System for Purses
Install vertical dividers made of plywood or acrylic on a shelf. Add small rods or hooks inside each section to keep bags upright. Secure the dividers so they will not tip.
This idea protects handbags from creasing and makes them easy to grab. It works well for people with many accessories. The system is simple but keeps everything neat.
20. Slatted Wood Wall Closet System
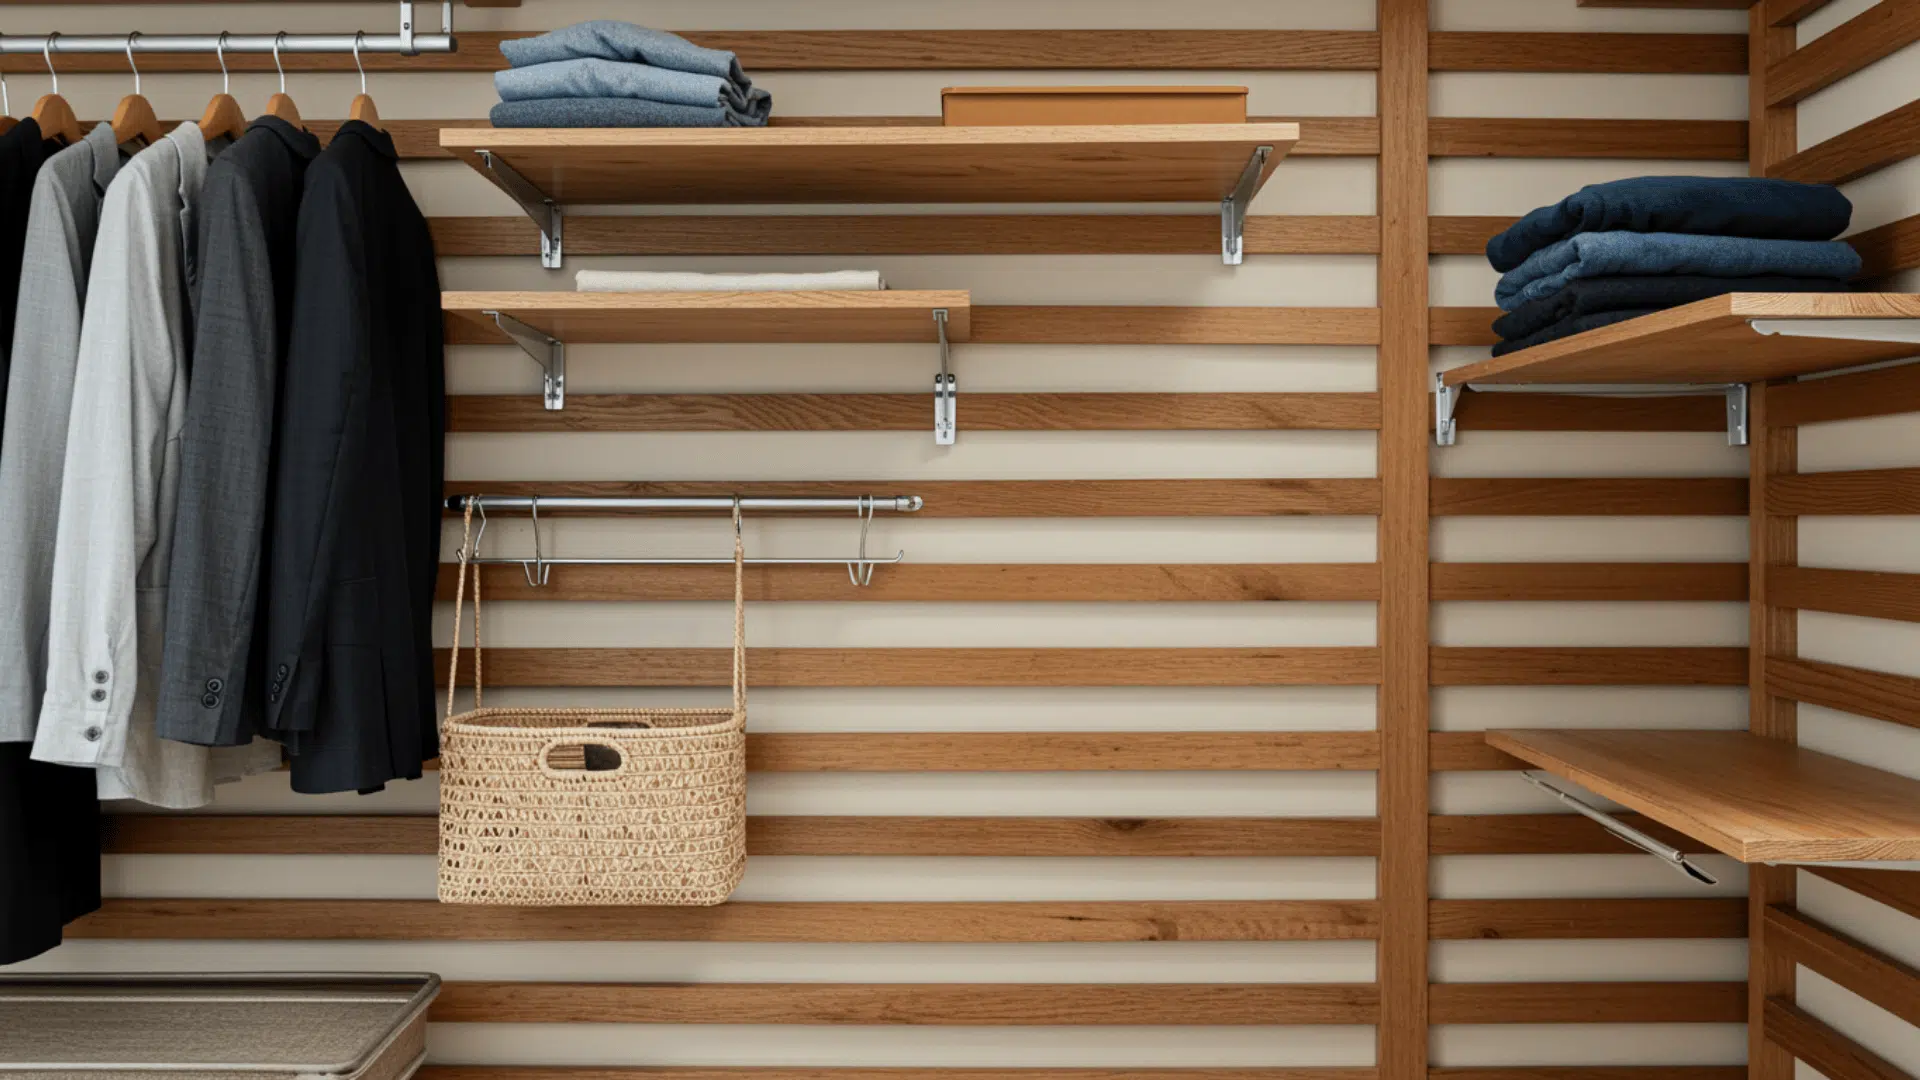
Mount horizontal wooden slats across the wall with small gaps between them. Use hooks, shelves, or rod brackets that fit between the slats. You can move the accessories anytime.
This solution works like a flexible wall organiser. It is great for small closets or entry spaces. The design looks clean and modern while staying practical.
21. Built-In Ladder Shelf Closet System
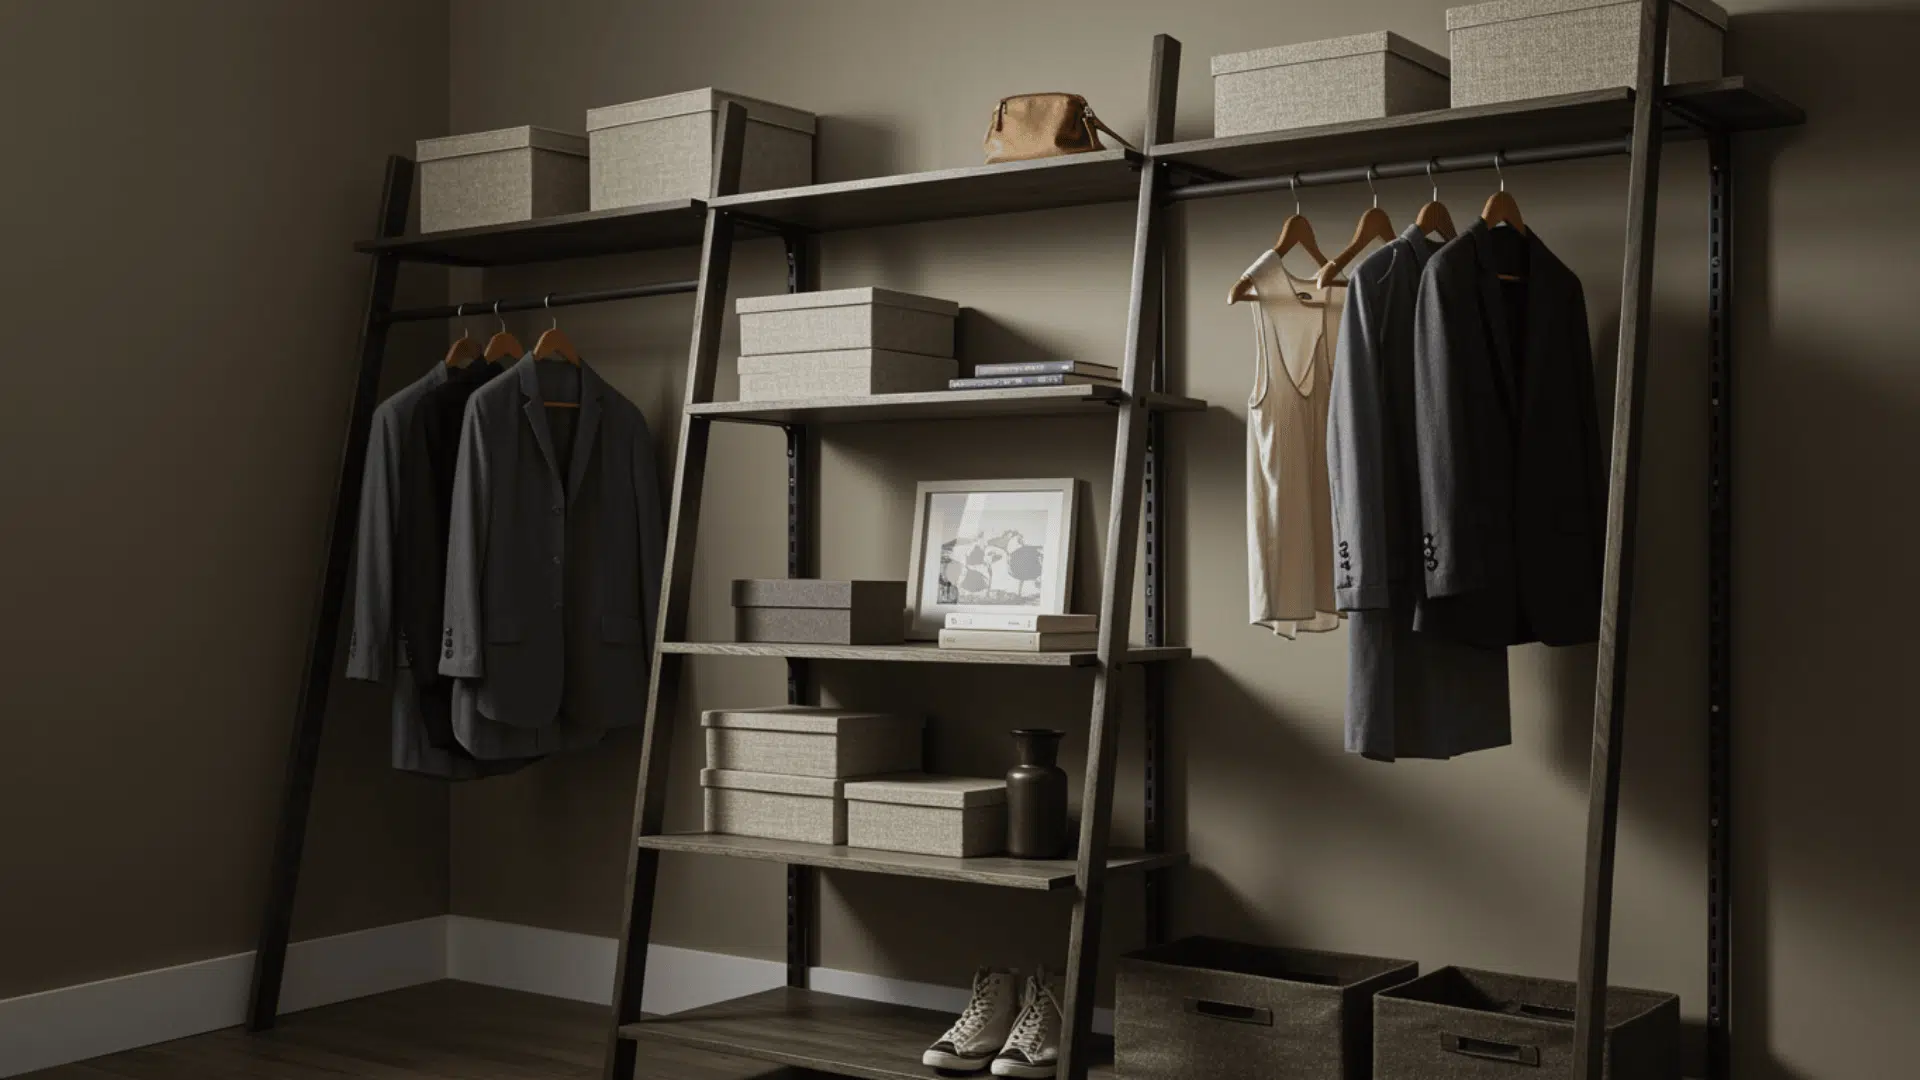
Use ladder-style side frames made from 2x4s or metal. Place shelves between the rungs or steps. Anchor the ladders to studs to keep them steady. Add rods between ladders for hanging clothes.
This system is light, simple, and easy to adjust. It brings a casual look and suits tight spaces where bulky cabinets would overwhelm the room.
22. Closet System From Metal Storage Racks
Use heavy-duty metal racks usually meant for garages. Add wooden boards on top for a cleaner finish. Install a hanging rod underneath a shelf by attaching rod brackets.
This system is strong, fast to set up, and holds a lot of weight. It is perfect for basements, laundry rooms, or budget closets. The open shelves make it easy to see everything.
23. Suspended Closet System Hanging From Ceiling
Use metal brackets or wood beams anchored into ceiling joists. Hang vertical supports from these brackets. Add shelves and rods between the supports.
This lifts the system off the floor, giving the room a floating look. It works well where wall space is weak or uneven. The style is modern and airy while still being very functional.
24. Slide-Out Vertical Storage Panels
Build narrow vertical panels and mount them on full-extension drawer slides. Add hooks or shallow shelves on each panel. Slide them in and out like tall drawers.
These panels store belts, ties, jewellery, or small items without taking up much space. It is a smart use of tight spaces where normal shelves do not fit. The items stay organised and hidden.
25. Mirrored Door Closet System With Inside Shelving
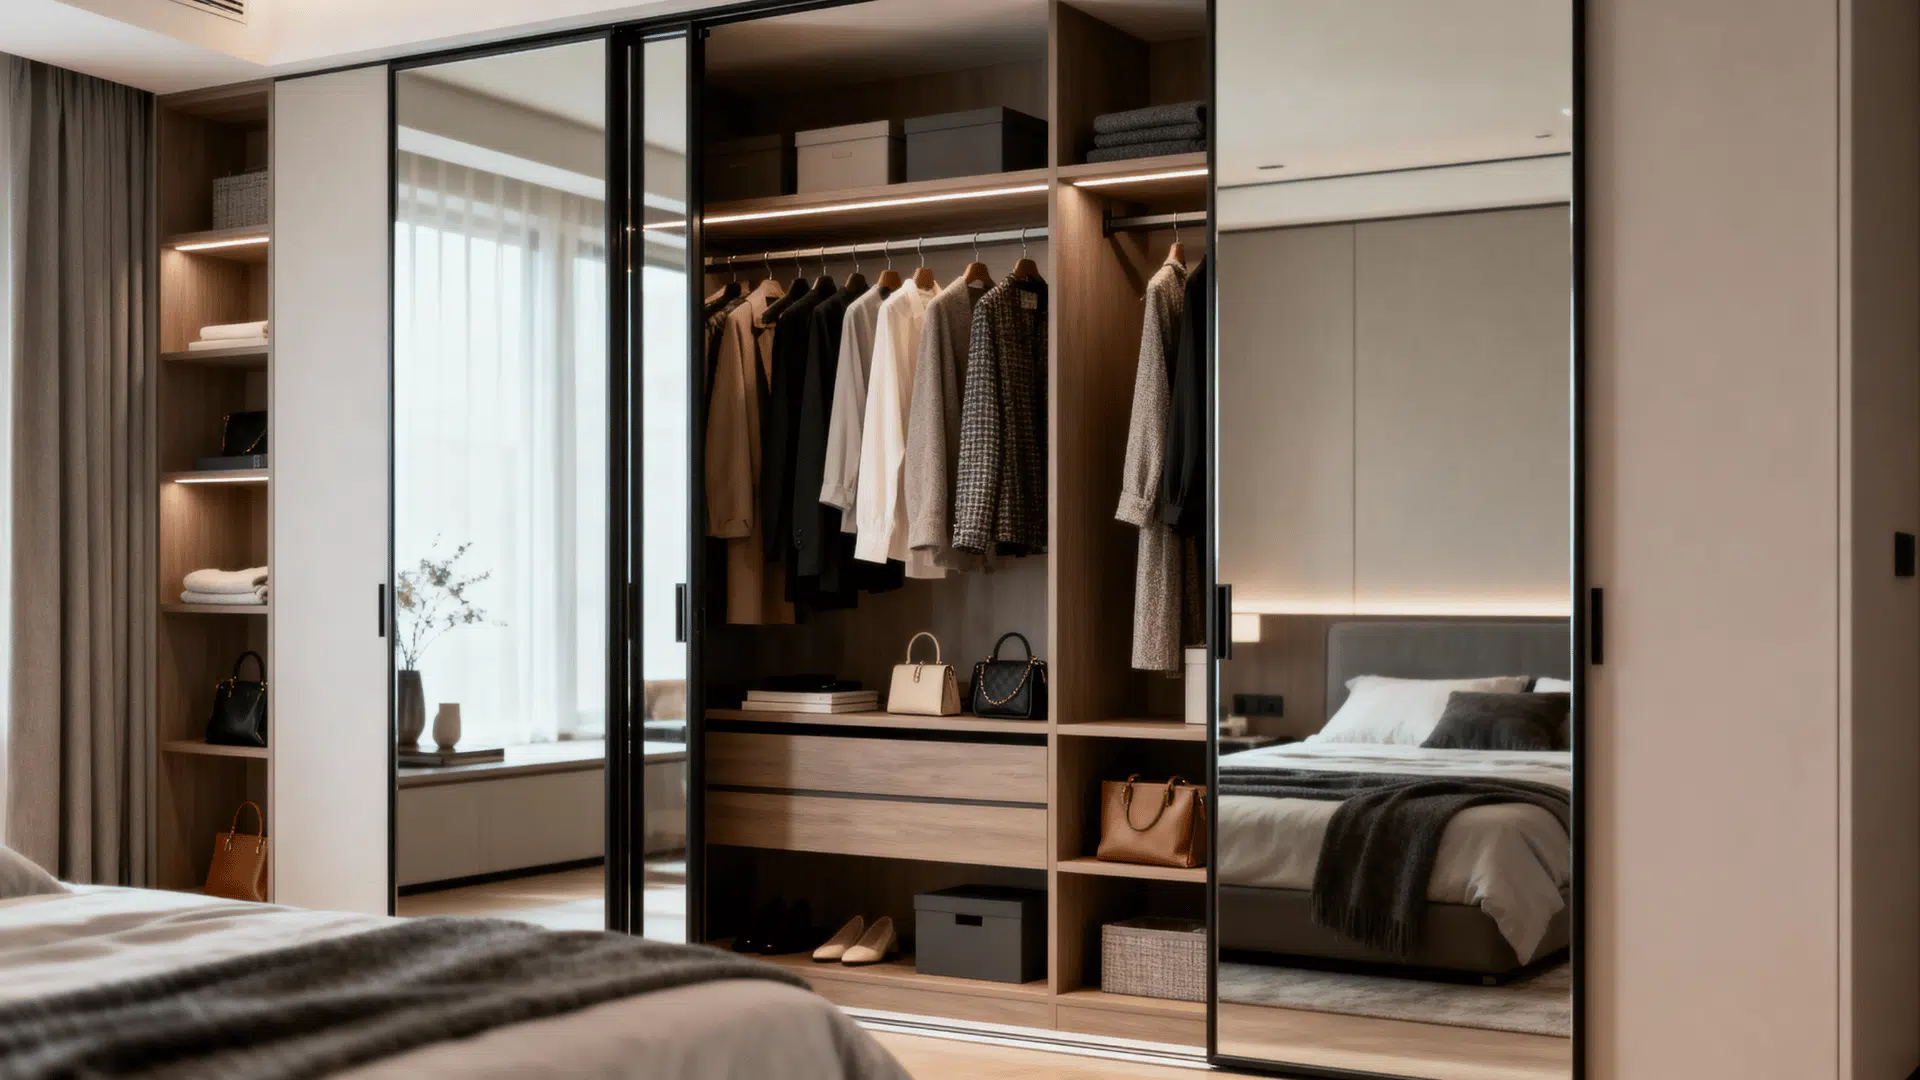
Install mirrored doors on your closet, then add shallow shelves behind the door area. The shelves hold accessories, perfumes, or small bags. Use strong hinges so the doors remain steady.
This system adds storage without taking shelf space from the main closet. The mirrors brighten the room and double as a dressing aid.
26. Color-Coded Closet Zoning System
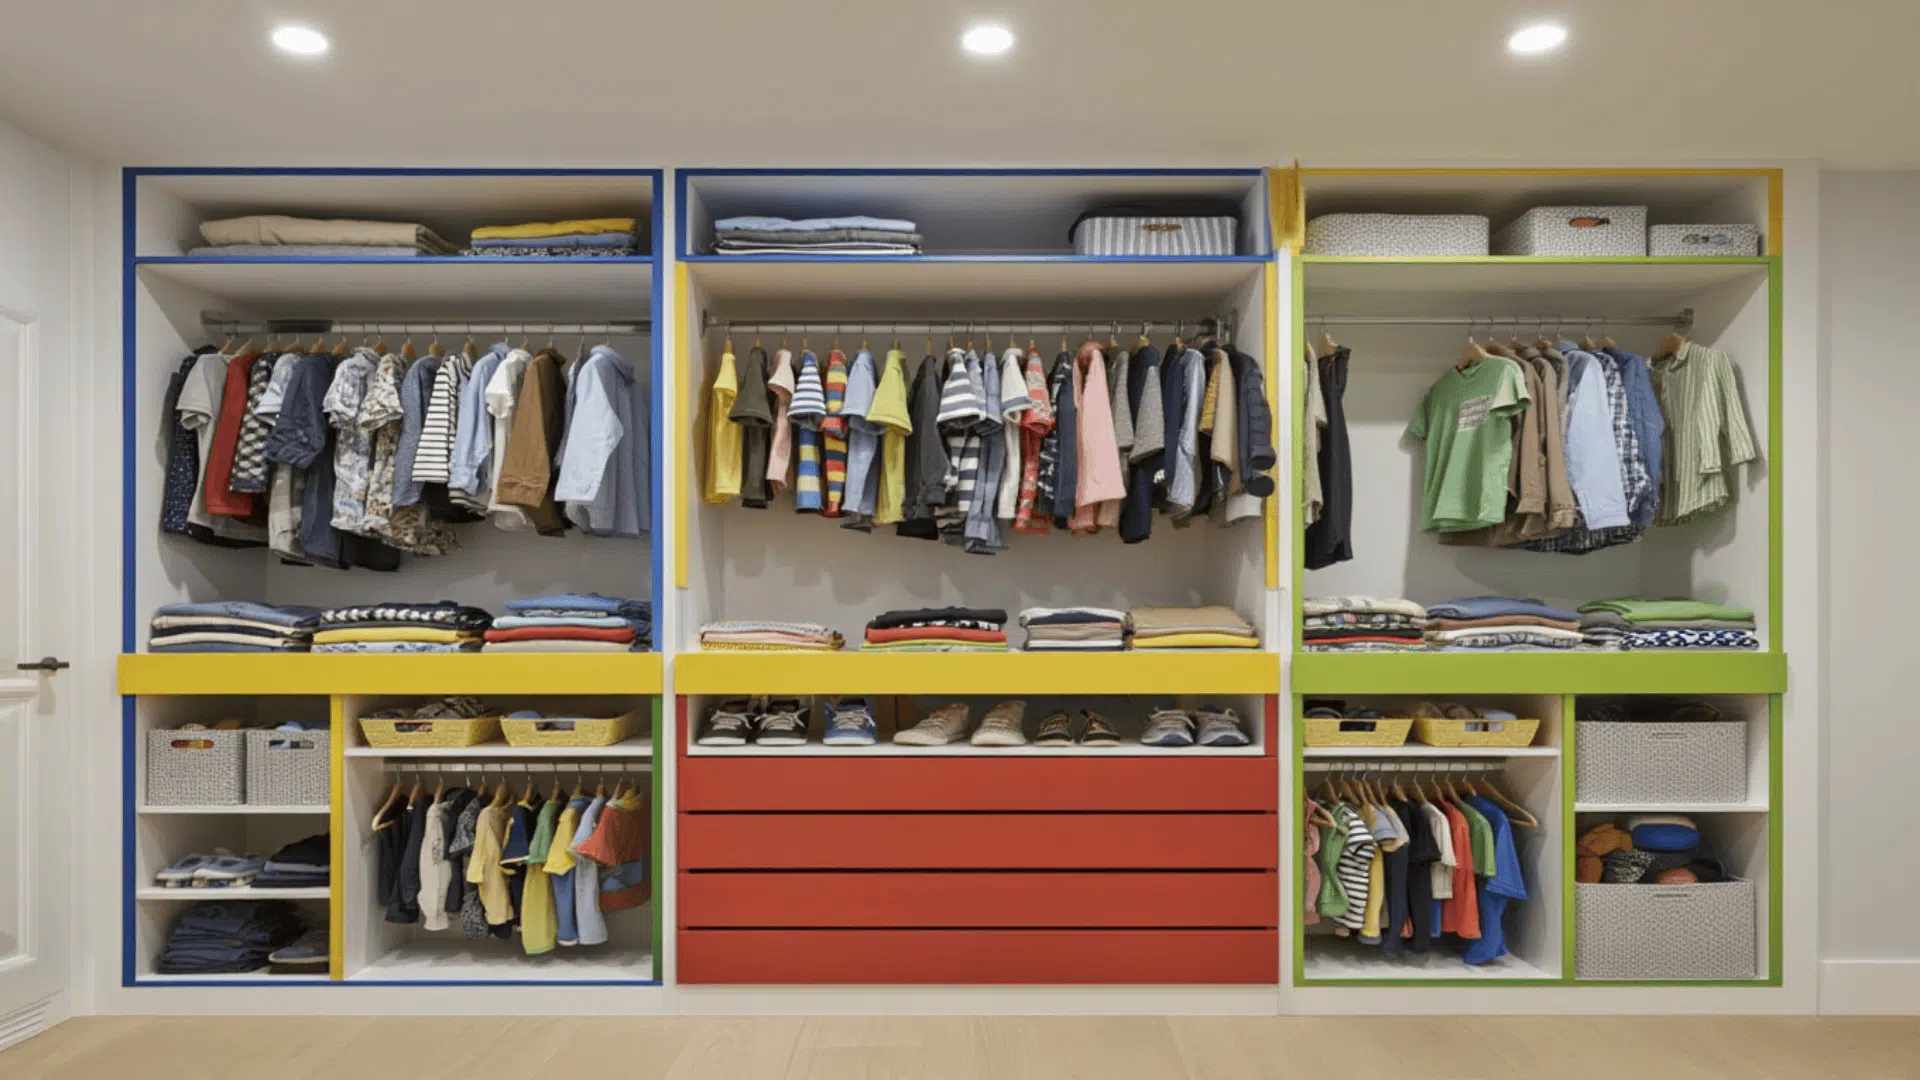
Create zones using different colored shelf trims, labels, or dividers. Build simple shelves and rods, then add color to mark each category.
This is helpful for families, kids, or anyone who wants quick visual cues. The colors guide where items belong and make sorting easy. This idea works with any closet system you already have.
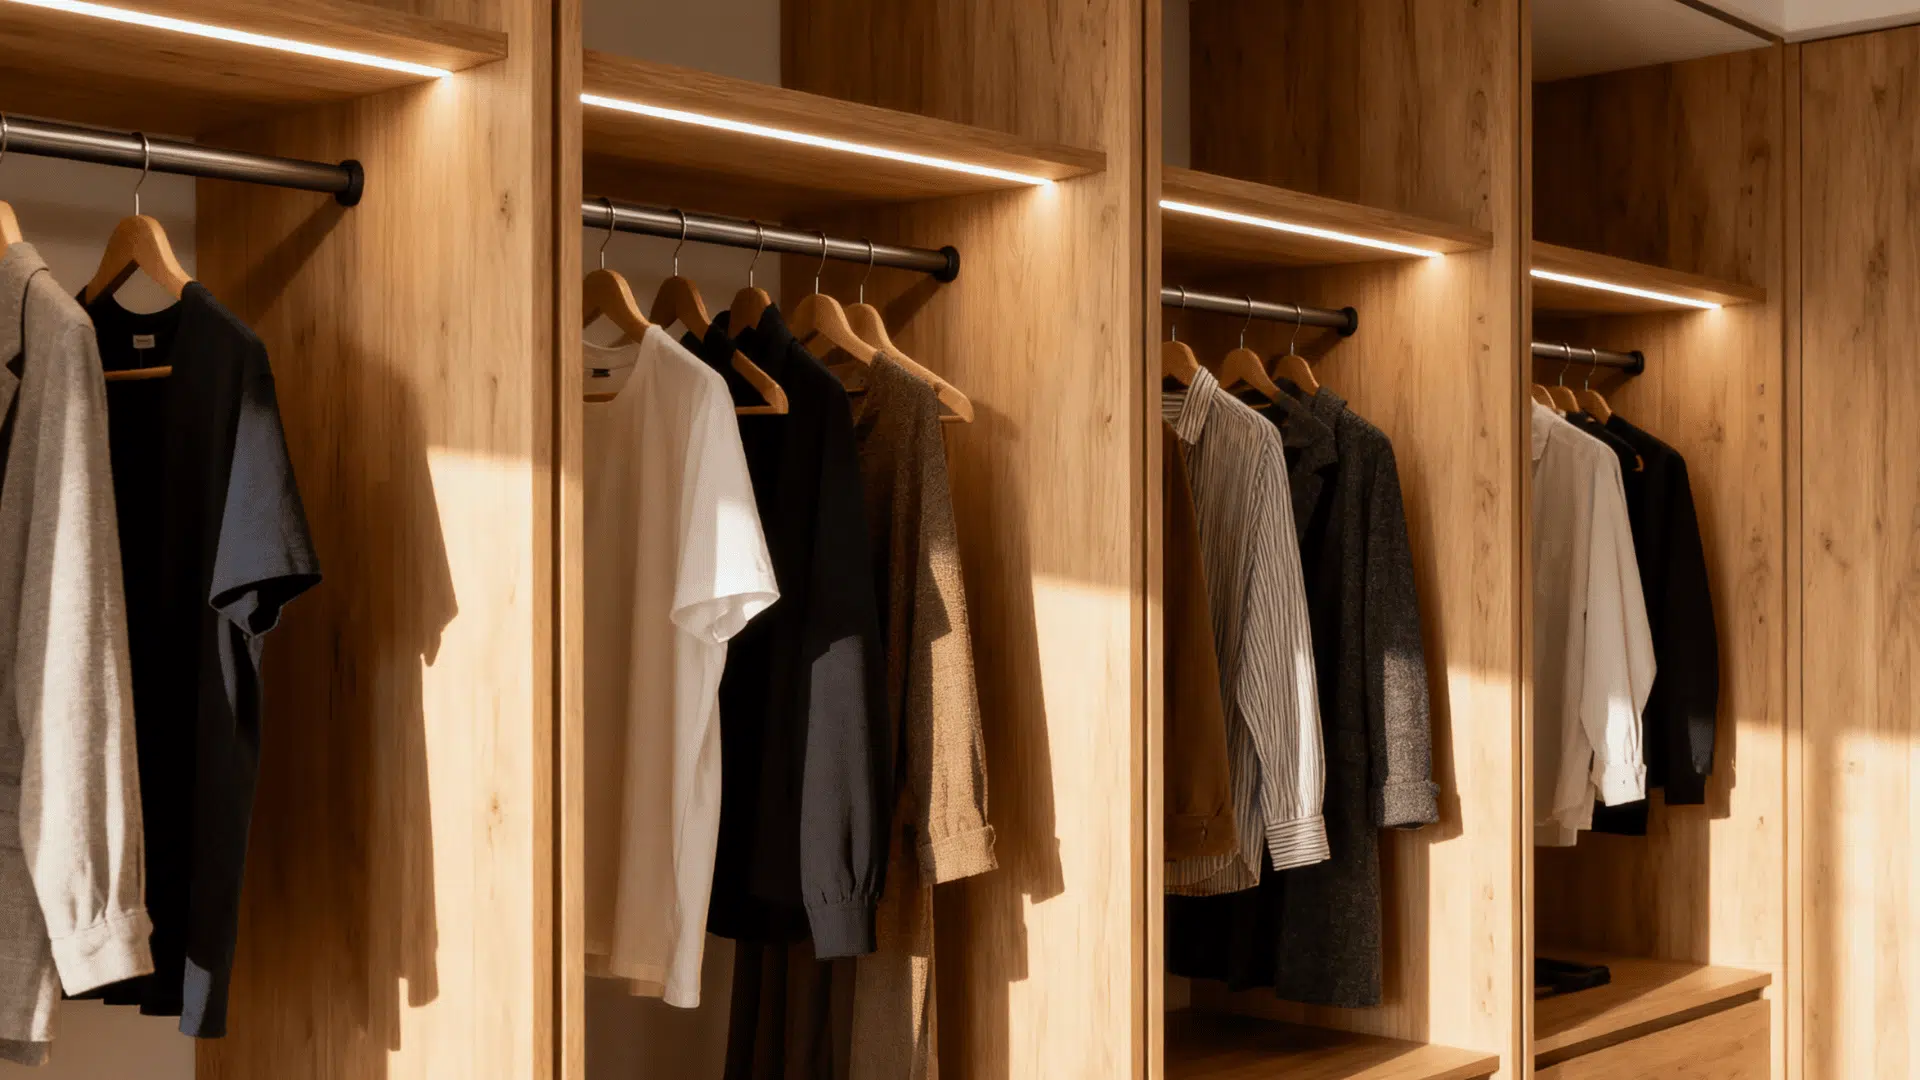
27. Built-In Lighting Closet System
Add LED strip lighting under each shelf or along the rods. Use battery or plug in lights depending on your setup. Install a switch or motion sensor for convenience.
The lighting helps you see clothes clearly and makes the closet feel more luxurious. You still build shelves and rods as usual, but the lighting makes the system feel polished and finished.
28. Budget PVC Pipe Closet System

Use PVC pipes and elbows to build frames and rods. Screw pipe flanges into studs, then connect the PVC pieces. Add boards on top for shelves.
This system is light, cheap, and easy to assemble. It is perfect for temporary setups or kids rooms. You can paint the PVC for a nicer look. Despite the low cost, it holds light to medium loads well.
29. Fold-Down Hanging Bar System
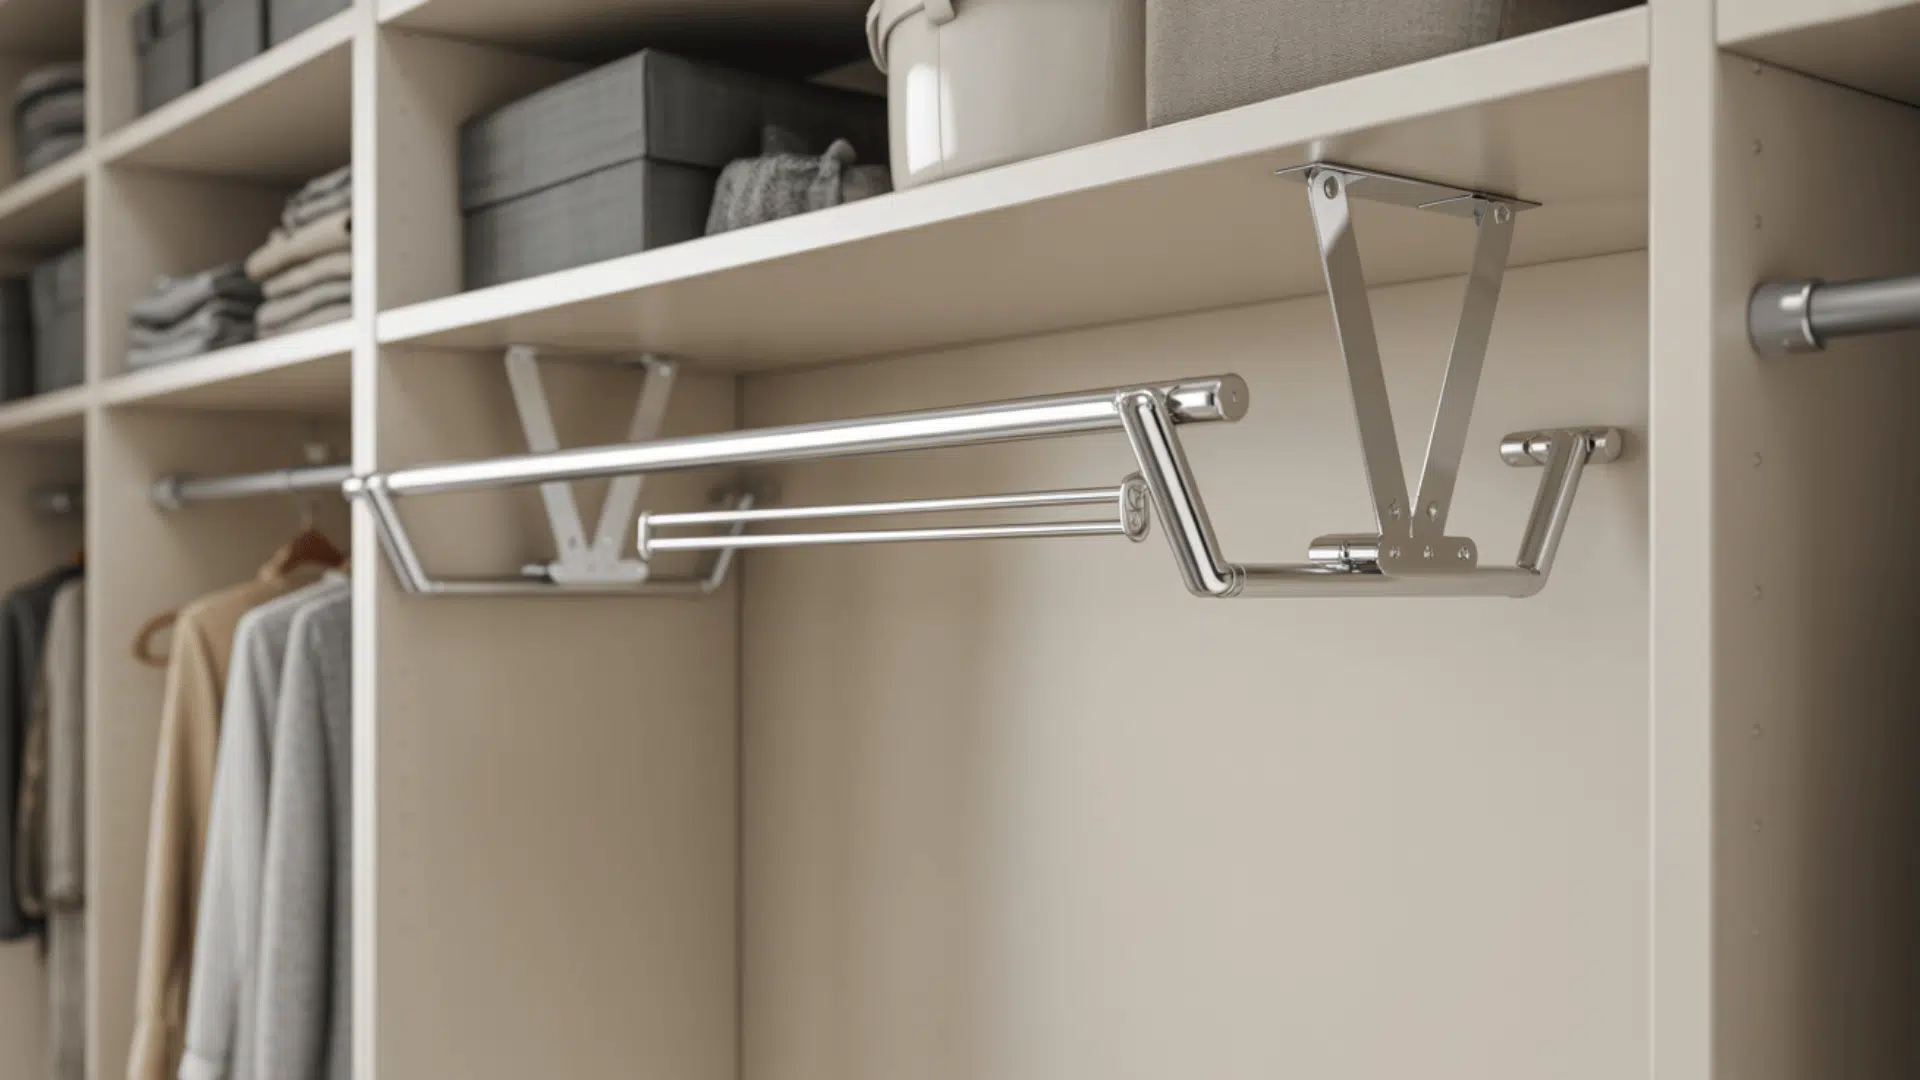
Install a fold-down bar using a hinge and support arm. Mount it high on the wall, then pull it down when you need access.
It is great for tall ceilings because it brings high hanging space down to your reach. Build a simple support frame and secure it well. This system helps you use vertical space that would otherwise go unused.
Common Mistakes to Avoid
Even experienced people make errors when building closet organizer ideas from scratch. Learning from these common pitfalls will save you time, money, and frustration as you create your perfect storage solution.
- Skipping the Stud Finder: Mounting shelves to drywall alone leads to collapse. Always anchor heavy components directly into wall studs for proper support.
- Ignoring Vertical Space: Many people focus only on lower areas, leaving valuable upper storage space unused. Use your closet’s full height for maximum efficiency.
- Cutting Before Measuring Twice: Rushing through measurements results in pieces that don’t fit. Take your time and verify every dimension before making cuts.
- Overloading Shelves: Installing shelves without considering weight limits causes sagging or breaking. Add center supports on spans wider than 36 inches.
- Forgetting Future Needs: Your storage requirements change over time, so build flexibility into your DIY closet organizer design.
The Bottom Line
Building a DIY closet system turns chaotic storage into an organized sanctuary that actually works.
The process requires patience and careful planning, but people who tackle this project gain valuable skills and significant cost savings.
Beyond the practical benefits, there’s genuine pride in creating something functional with one’s own hands. The custom fit ensures every inch serves a purpose, unlike generic store options that rarely match individual needs.
Ready to reclaim that cluttered space? Grab those tools, follow these steps, and start building today. An organized closet awaits!