Tired of carefully spreading grass seed, only to have the wind scatter it or birds eat it all up?
Covering a large bare patch can be tough, especially when you want a quick, affordable way to grow a thick, healthy lawn.
If that struggle rings true, it might be time to look beyond traditional seeding methods. Hydroseeding combines efficiency and precision, turning bare soil into a growing green landscape in a fraction of the time.
In this blog, you will learn what hydroseeding is, what goes into that incredible green slurry, and how it changes bare earth into a lively, healthy landscape.
Basics of Hydroseeding
So, what is hydroseeding? Simply put, it’s an advanced liquid lawn application process that sprays a slurry directly onto prepared soil.
This green concoction typically contains grass seed, wood or paper mulch for moisture retention, fertilizer to kickstart growth, a sticky agent called a tackifier to hold everything in place, and, of course, water.
As it’s sprayed, you get incredibly rapid and even coverage across your area. When does this method truly shine?
If you have a very large area to cover, are watching your budget, or need results faster than traditional methods but can’t stomach the high cost of sod, hydroseeding is often the perfect middle ground.
It saves time and ensures better seed-to-soil contact for superior germination across tough slopes and wide expanses.
When Is the Best Time for Hydroseeding?
When you’re figuring out the best time to hydroseed, it really boils down to your local climate since the goal is mild weather for germination. Here’s the breakdown:
- Temperate Regions: Early fall is usually the absolute best time! The soil is still warm from summer, but the air temperatures are dropping, which is perfect for cool-season grasses, and there’s less weed competition
- Hot or Arid Regions: Aim for late spring to early summer. This window lets you use the warm weather for quick growth, but you must have a strict irrigation plan because those high temperatures dry out the new slurry fast
- Cold Regions: Generally, avoid deep winter when the ground might be frozen unless you plan on dormant seeding (applying it before a hard freeze with the expectation it won’t sprout until spring)
Ultimately, matching your hydroseeding date to your local climate’s mildest season is the key ingredient to ensuring that expensive slurry truly pays off with a healthy lawn.
Factors to Consider Before Opting for Hydroseeding
Before choosing hydroseeding, it’s important to understand whether the method suits your site, expectations, and timeline.
Evaluating these factors ensures the method delivers the dense, healthy lawn or slope stabilization you expect.
| Factor | What to Consider |
|---|---|
| Soil Quality | Requires proper grading and nutrient amendments for best results. |
| Climate | Seed blends must match local temperature and growing conditions. |
| Water Availability | Needs consistent moisture for 2–3 weeks to germinate well. |
| Slope & Erosion | Steep areas may need tackifier or double coverage. |
| Project Timeline | Germination takes time; not an instant lawn solution. |
Step-by-Step Guide to Hydroseeding
Understanding what hydroseeding is is one thing, but seeing the process laid out step-by-step shows you just how much planning goes into getting that perfect green result! Here is what you can expect during your application:
1. Site Evaluation and Soil Testing
First things first, before anyone mixes up a single drop, you’ll need a good look at the land itself. We confirm details such as the existing grade and its slope to anticipate water runoff.
We check out the drainage and any major shade patterns that might affect grass growth later on. This initial assessment helps us plan for the best possible start for your seeds.
2. Ground Preparation
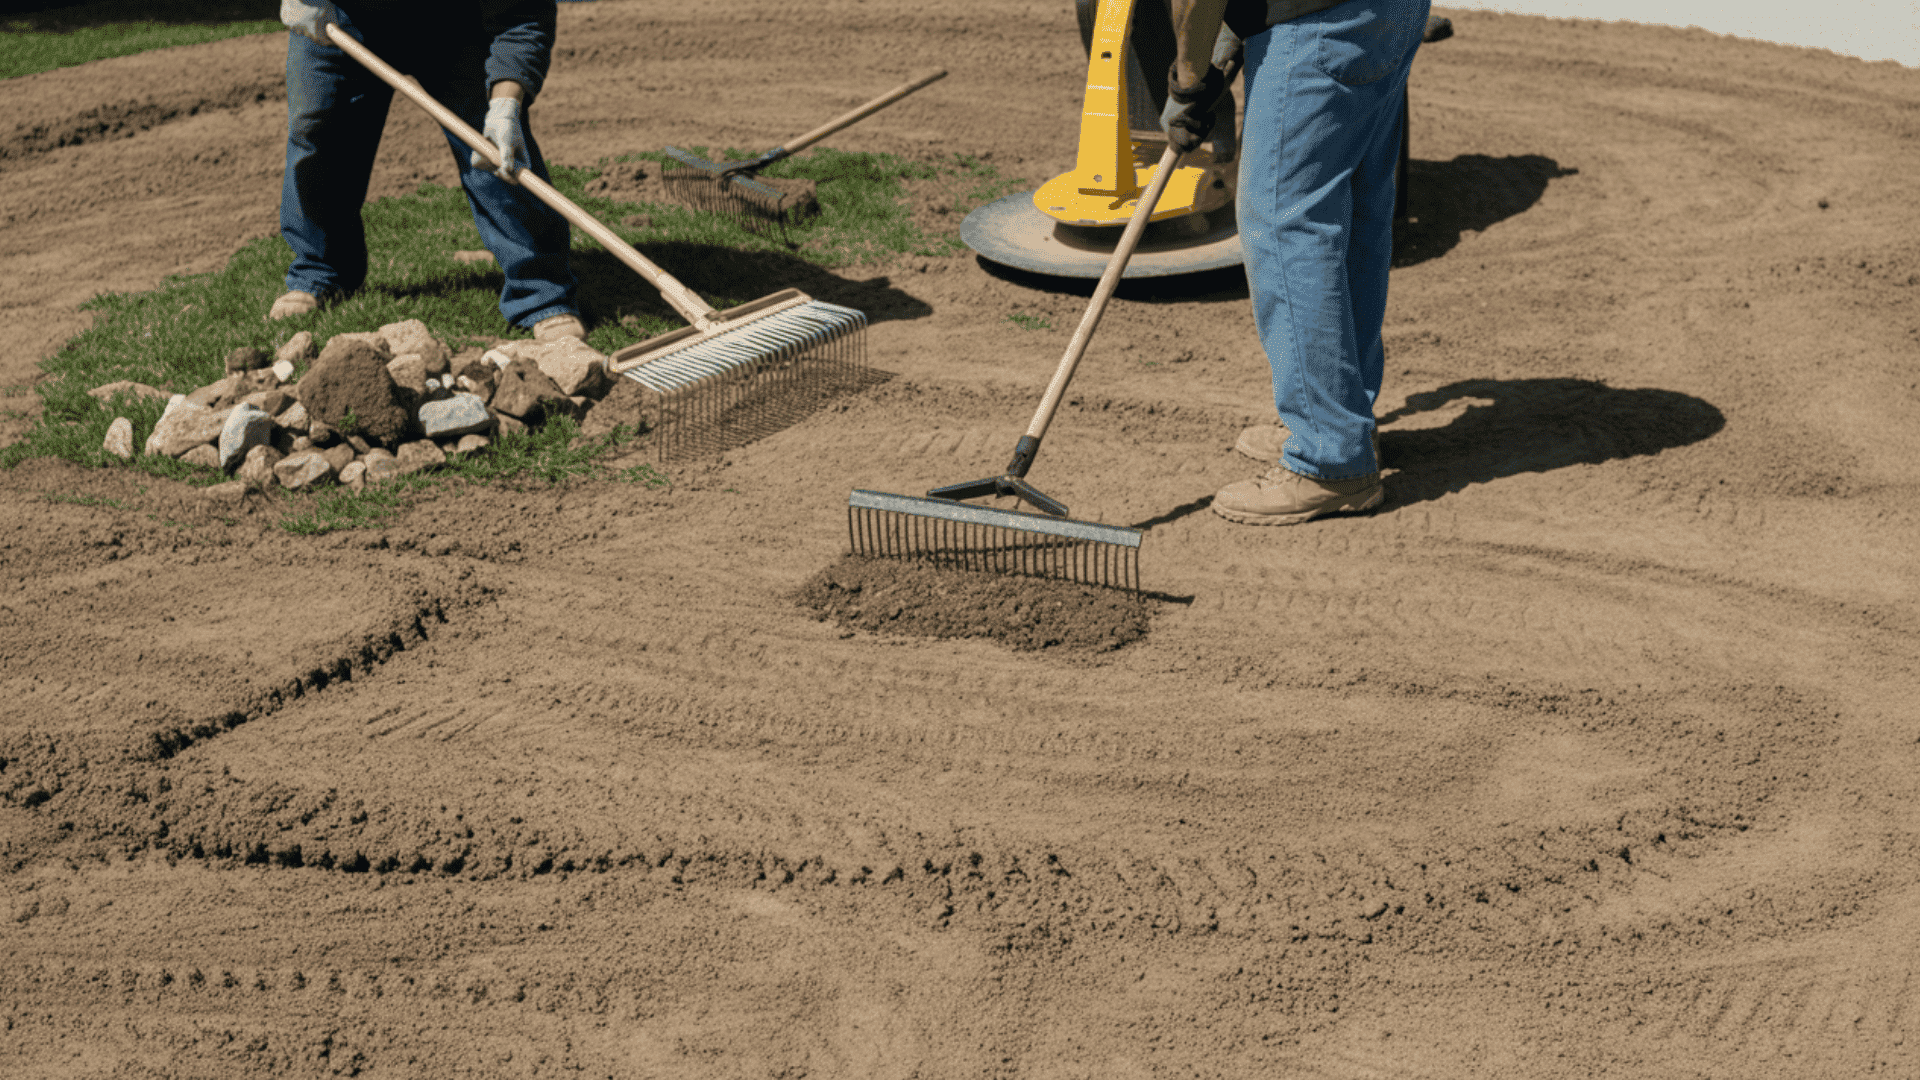
This is where the real groundwork happens; we need to create the perfect bed for the seed to hug.
You’ll see us removing all the old debris, weeds, and rocks lying around, followed by rough grading to properly shape the area.
Crucially, we amend the soil with nutrients and then rake it one last time to ensure excellent seed-to-soil contact, which is vital for germination.
3. Choosing the Seed Blend

Since you want the right grass for your specific location, this step involves selecting the perfect seed blend. We match the mix to your local climate, deciding between cool-season or warm-season varieties.
Consider how much use the area will get, like if you need high traffic tolerance. A smart blend means a stronger, more resilient lawn down the road.
4. Mixing the Slurry
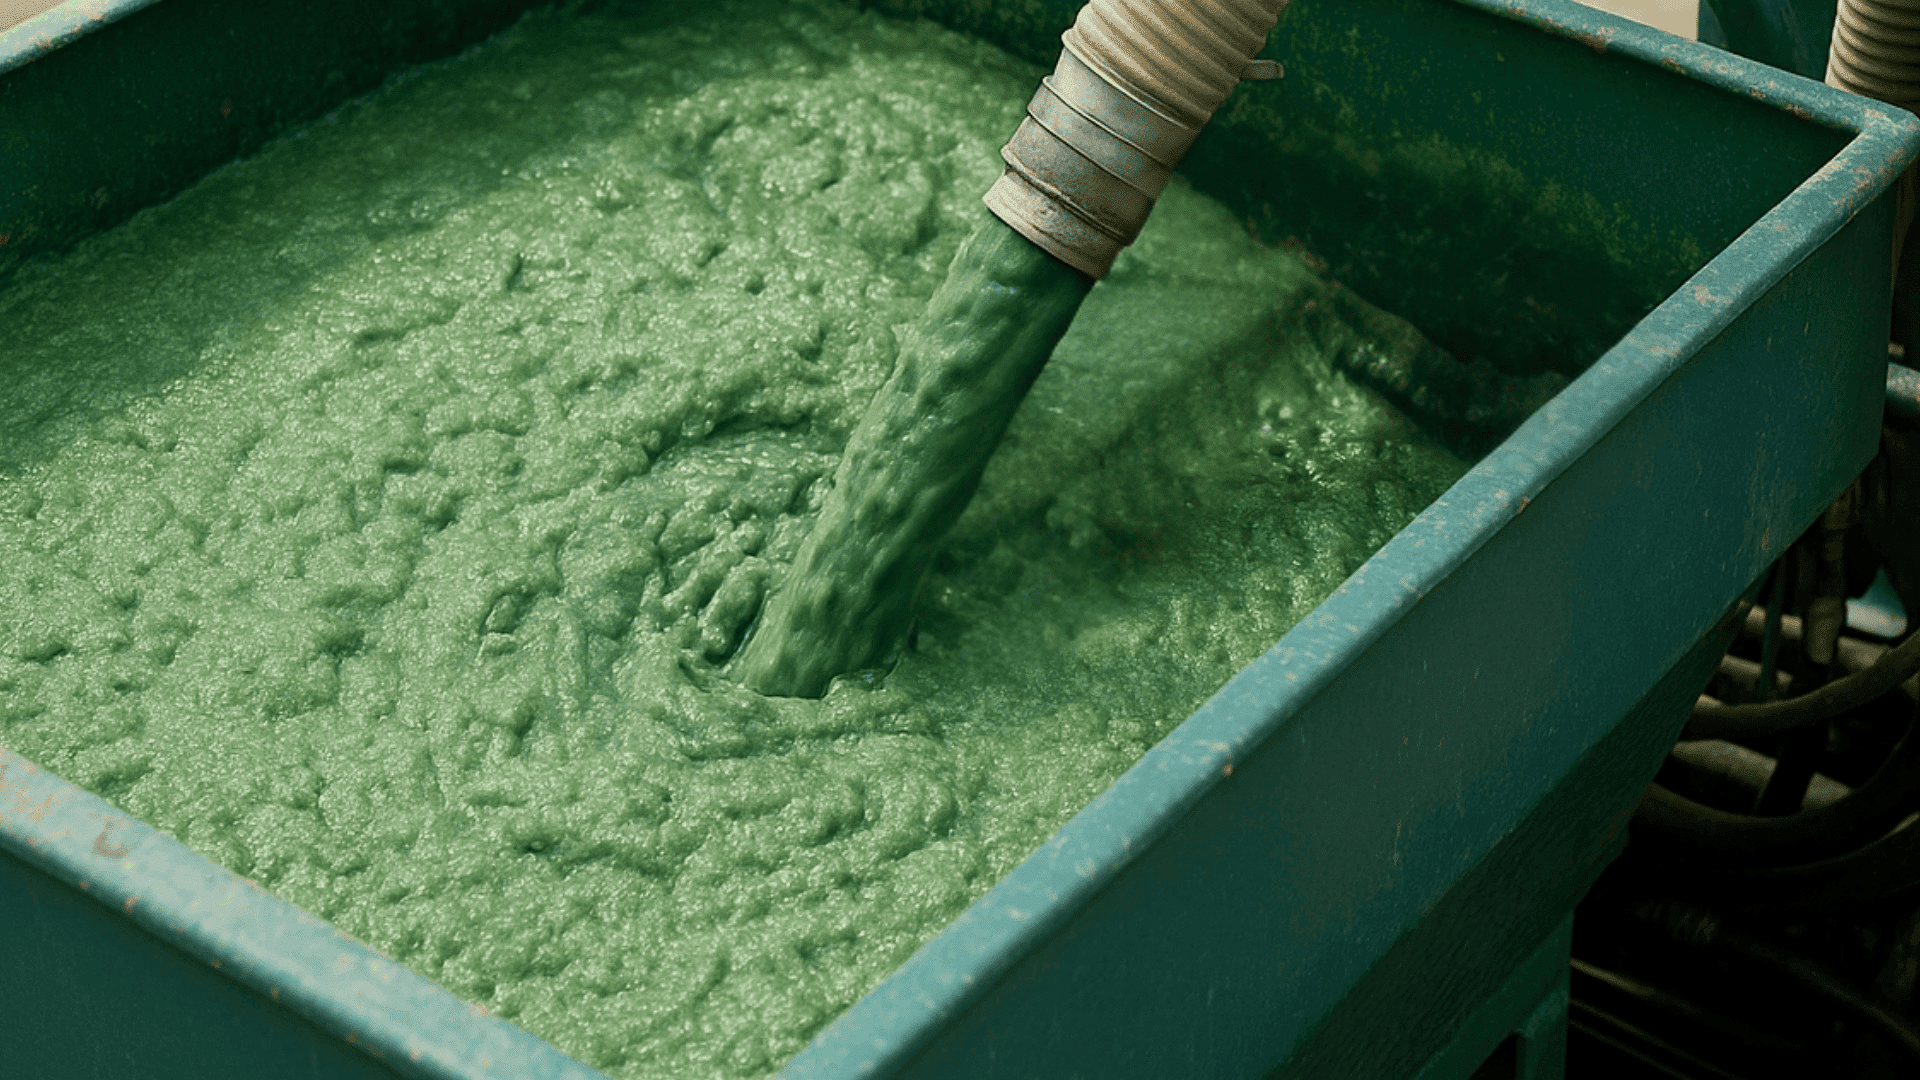
Everything goes into the hydroseeder tank, starting with water, and then we add the right proportions of mulch, your chosen seed, fertilizer for that initial boost, and the tackifier to make it stick.
Getting this proportional mix just right is critical to ensure the application is consistent across the whole job site, as it is the the heart of hydroseeding.
5. Application Technique
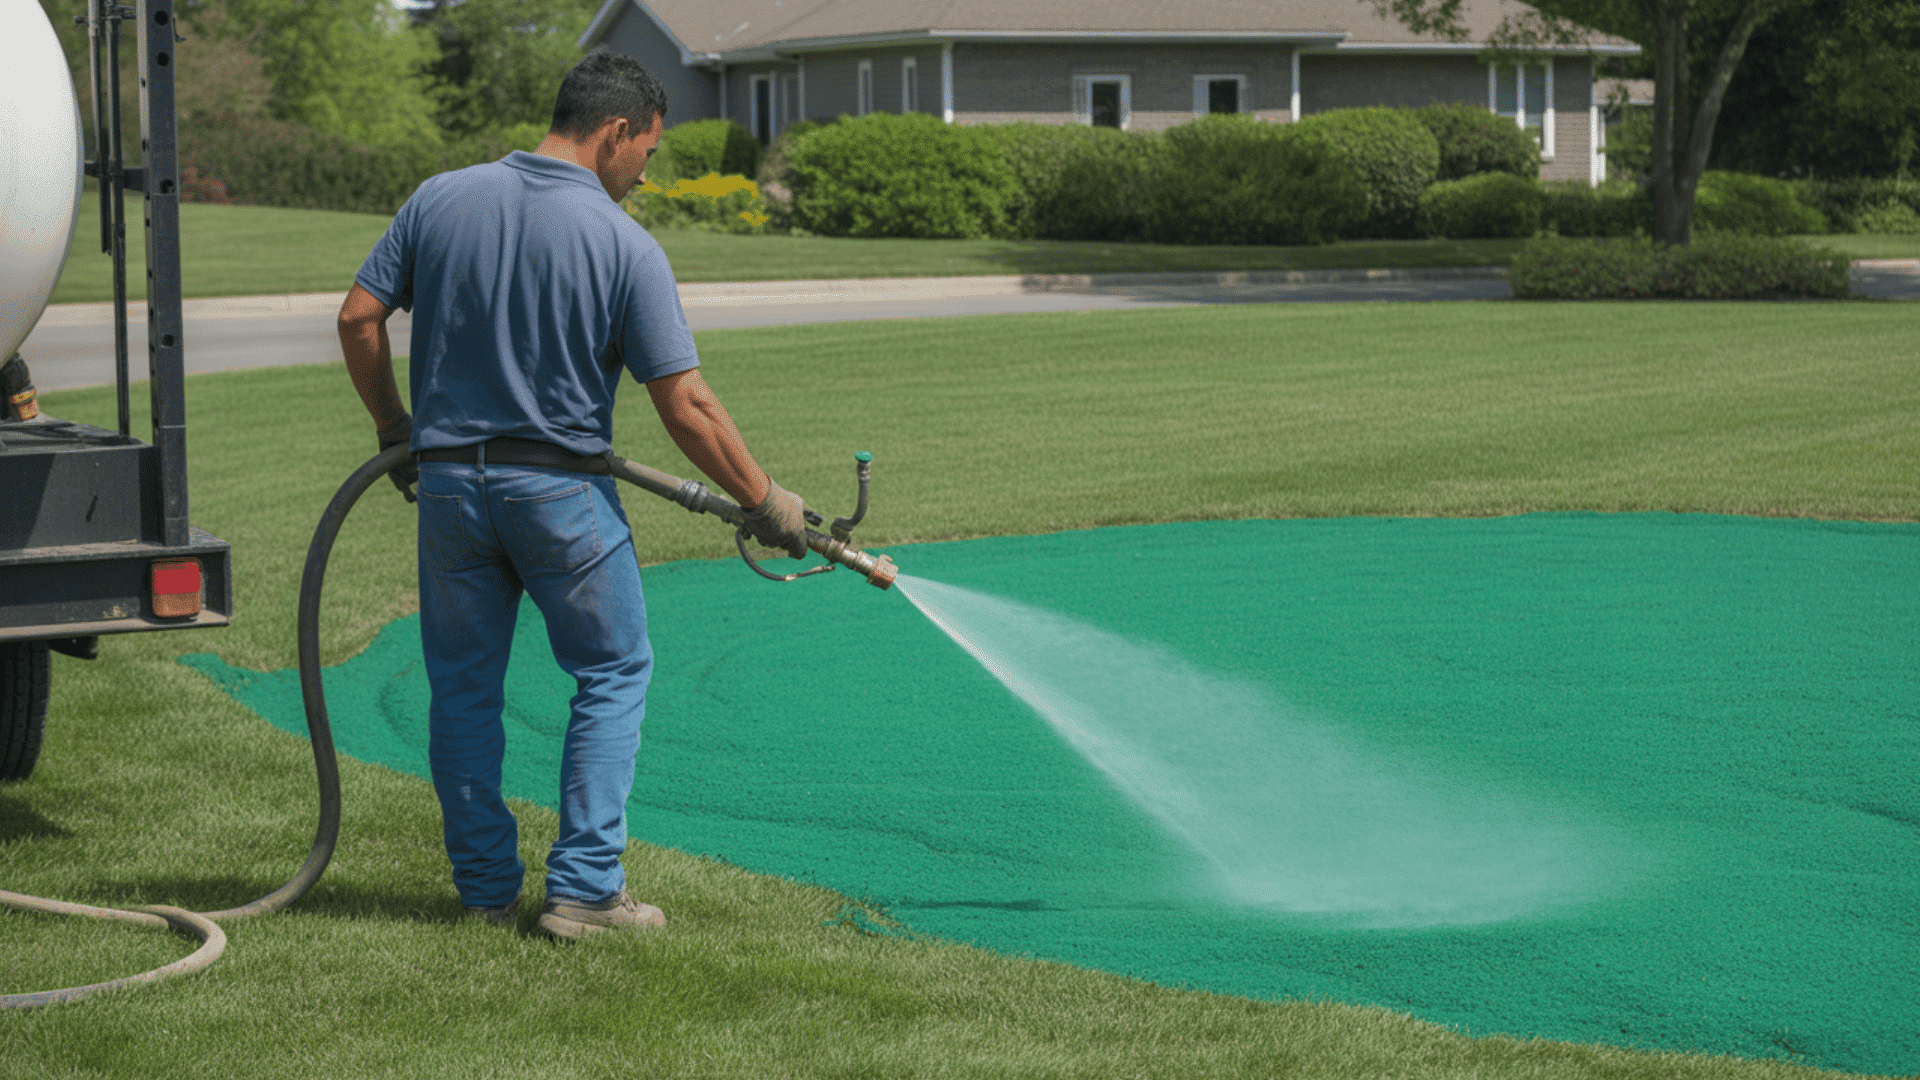
This phase is all about skillful spraying to ensure every inch is beautifully covered. Technicians use an even fan pattern while controlling the edges to avoid messy borders.
In areas prone to erosion, such as steep spots, we often apply a double cover to build up extra protective material along seams and slopes.
6. Moisture Management
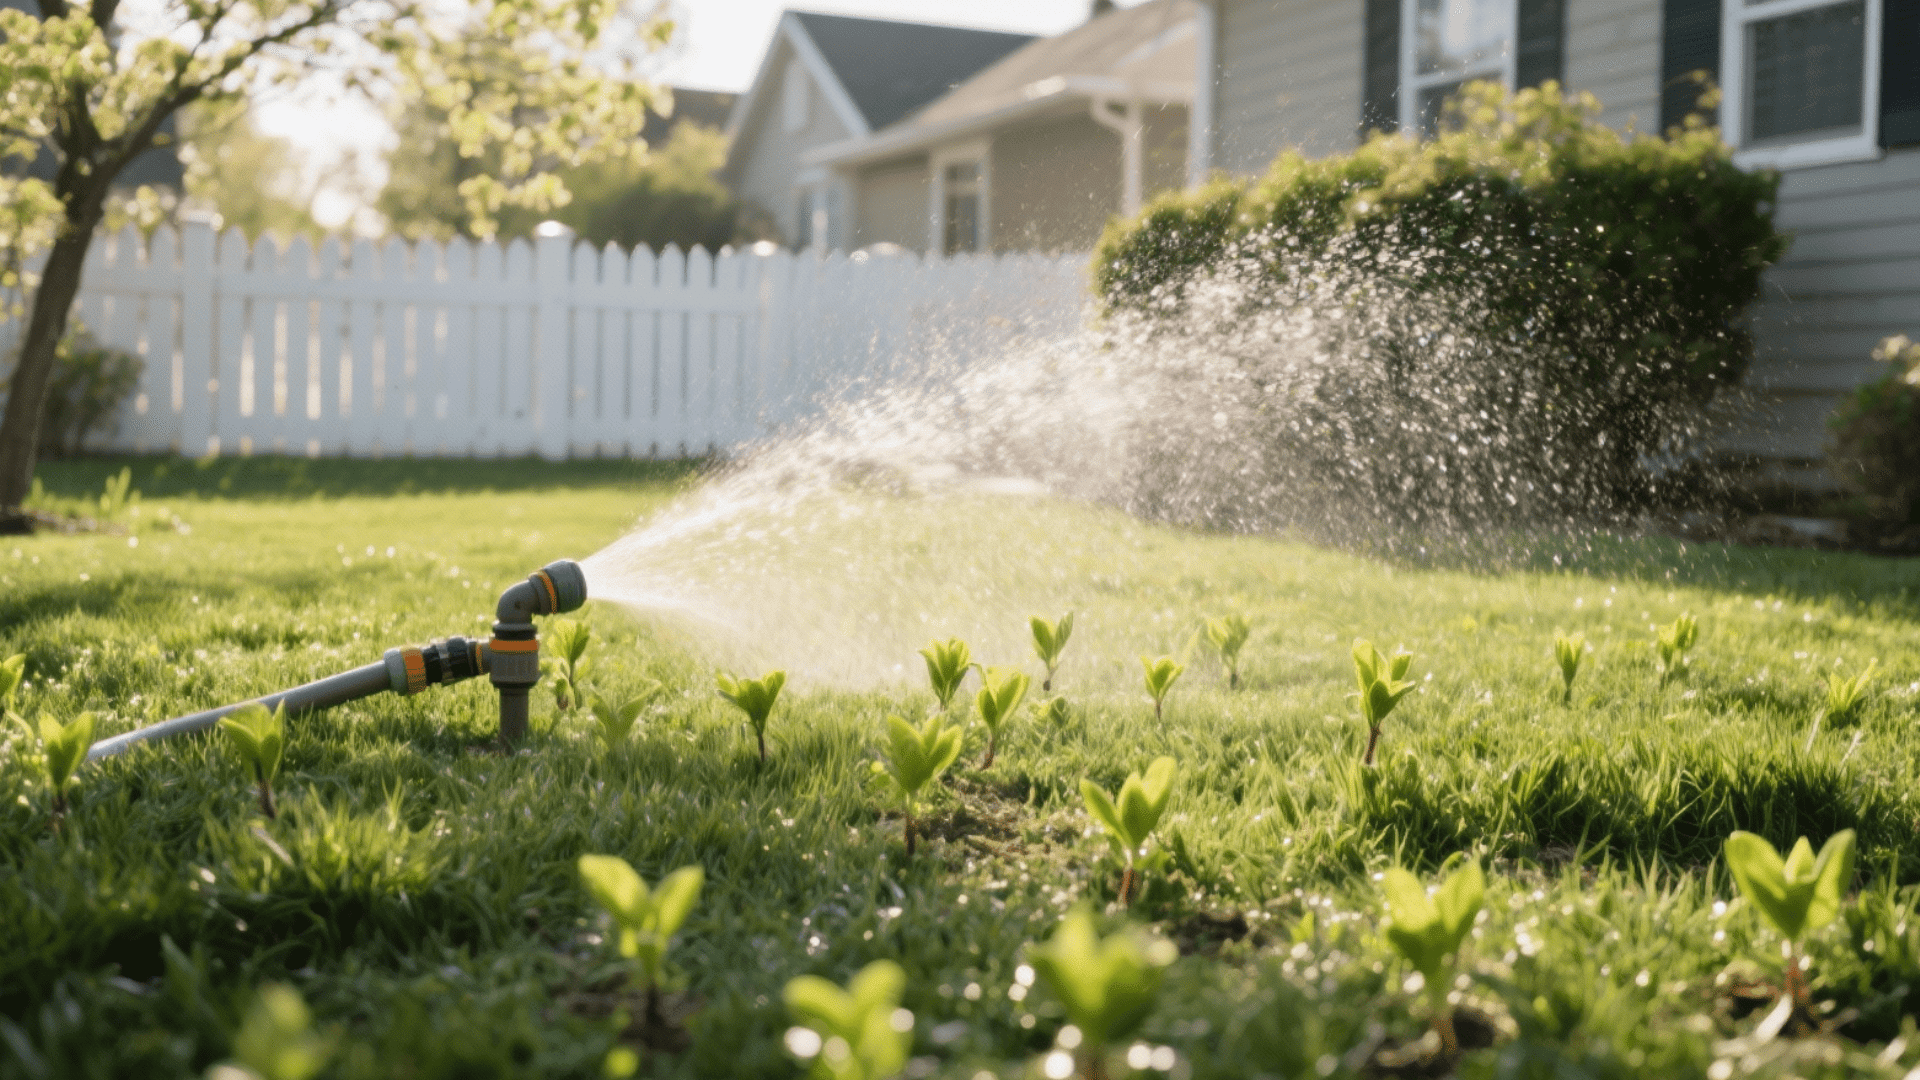
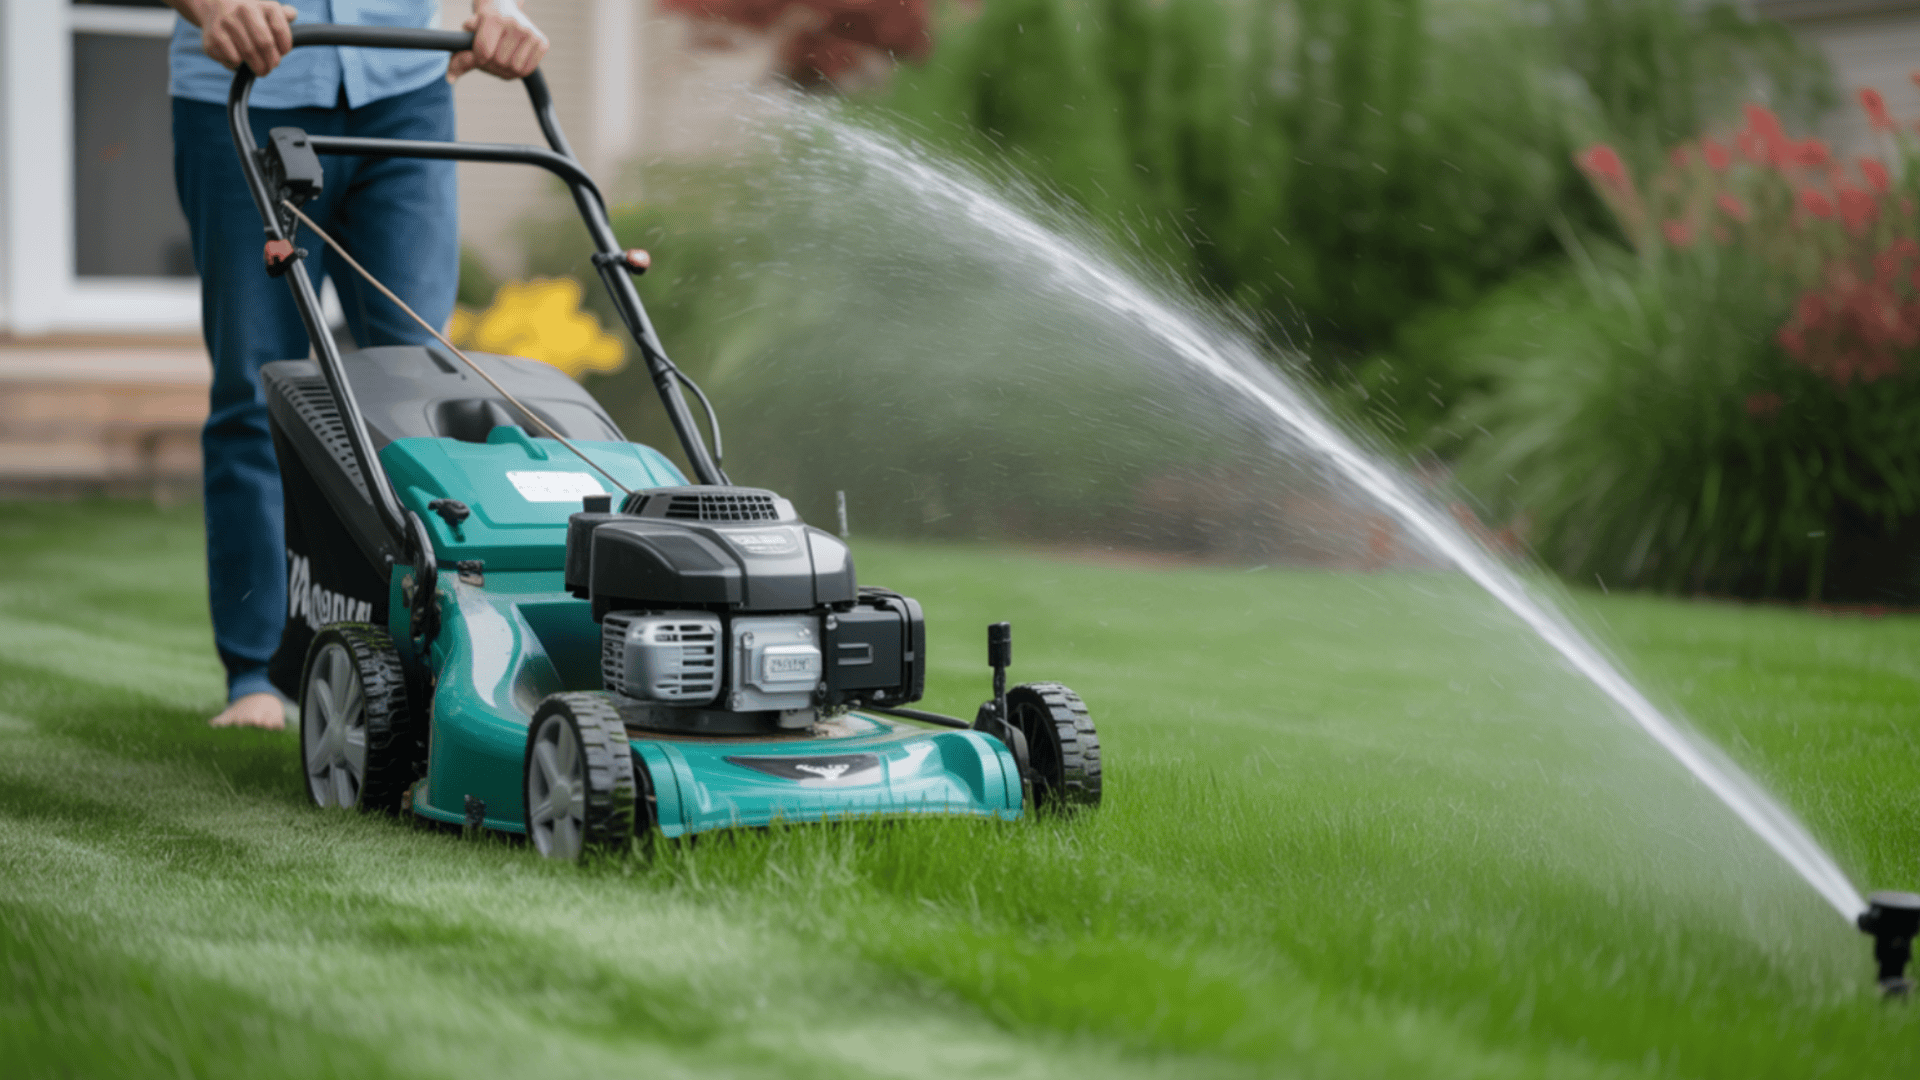
The initial couple of weeks are all about keeping things damp! You’ll need to be very diligent about moisture management, ensuring the top layer never fully dries out, meaning light, frequent watering for you.
We’ll check for any early signs of erosion, and you should start seeing little green sprouts emerge; those are the seeds officially waking up! This is the payoff for knowing what hydroseeding is!
Hydroseeding Cost by Property Type
Hydroseeding offers a balance between affordability and fast results, making it a popular alternative to sod. Below is a clear cost breakdown to help you plan your project.
| Project Size | Average Cost per Sq. Ft. | Typical Total Cost |
|---|---|---|
| Small lawn (1,000–5,000 sq. ft.) | $0.10–$0.20 | $100–$1,000 |
| Medium lawn (5,000–20,000 sq. ft.) | $0.08–$0.15 | $400–$3,000 |
| Large area or acre (43,560 sq. ft.) | $0.06–$0.12 | $2,600–$5,200 |
DIY vs. Professional Cost: True hydroseeding can’t be done DIY because it requires commercial equipment. Home sprayer canisters ($30–$40) attach to a garden hose and cover roughly 500 sq ft at about $0.07 per sq ft. They work only for small spots or patch repairs, not full-scale hydroseeding.
Benefits of Choosing Hydroseeding
When you compare it to traditional methods, the advantages of using a hydroseeder become really clear. Here’s why many people choose this method after learning what hydroseeding is.
1. Faster Early Establishment
The rich slurry mixture acts like a cozy blanket for your seeds right from the start. That protective layer of mulch consistently holds moisture around the seed, a major advantage over dry seeding.
This consistent dampness and warmth dramatically speed up the germination process, meaning you see those first green sprouts much quicker than you would otherwise.
2. Uniform Coverage on Large Areas
Dealing with big or complicated stretches of land can make achieving an even lawn feel impossible, but this is where hydroseeding shines.
The pressurized delivery of the slurry ensures an even, consistent coat across complex shapes, steep slopes, and wide-open areas. This technique significantly reduces skips and thin spots.
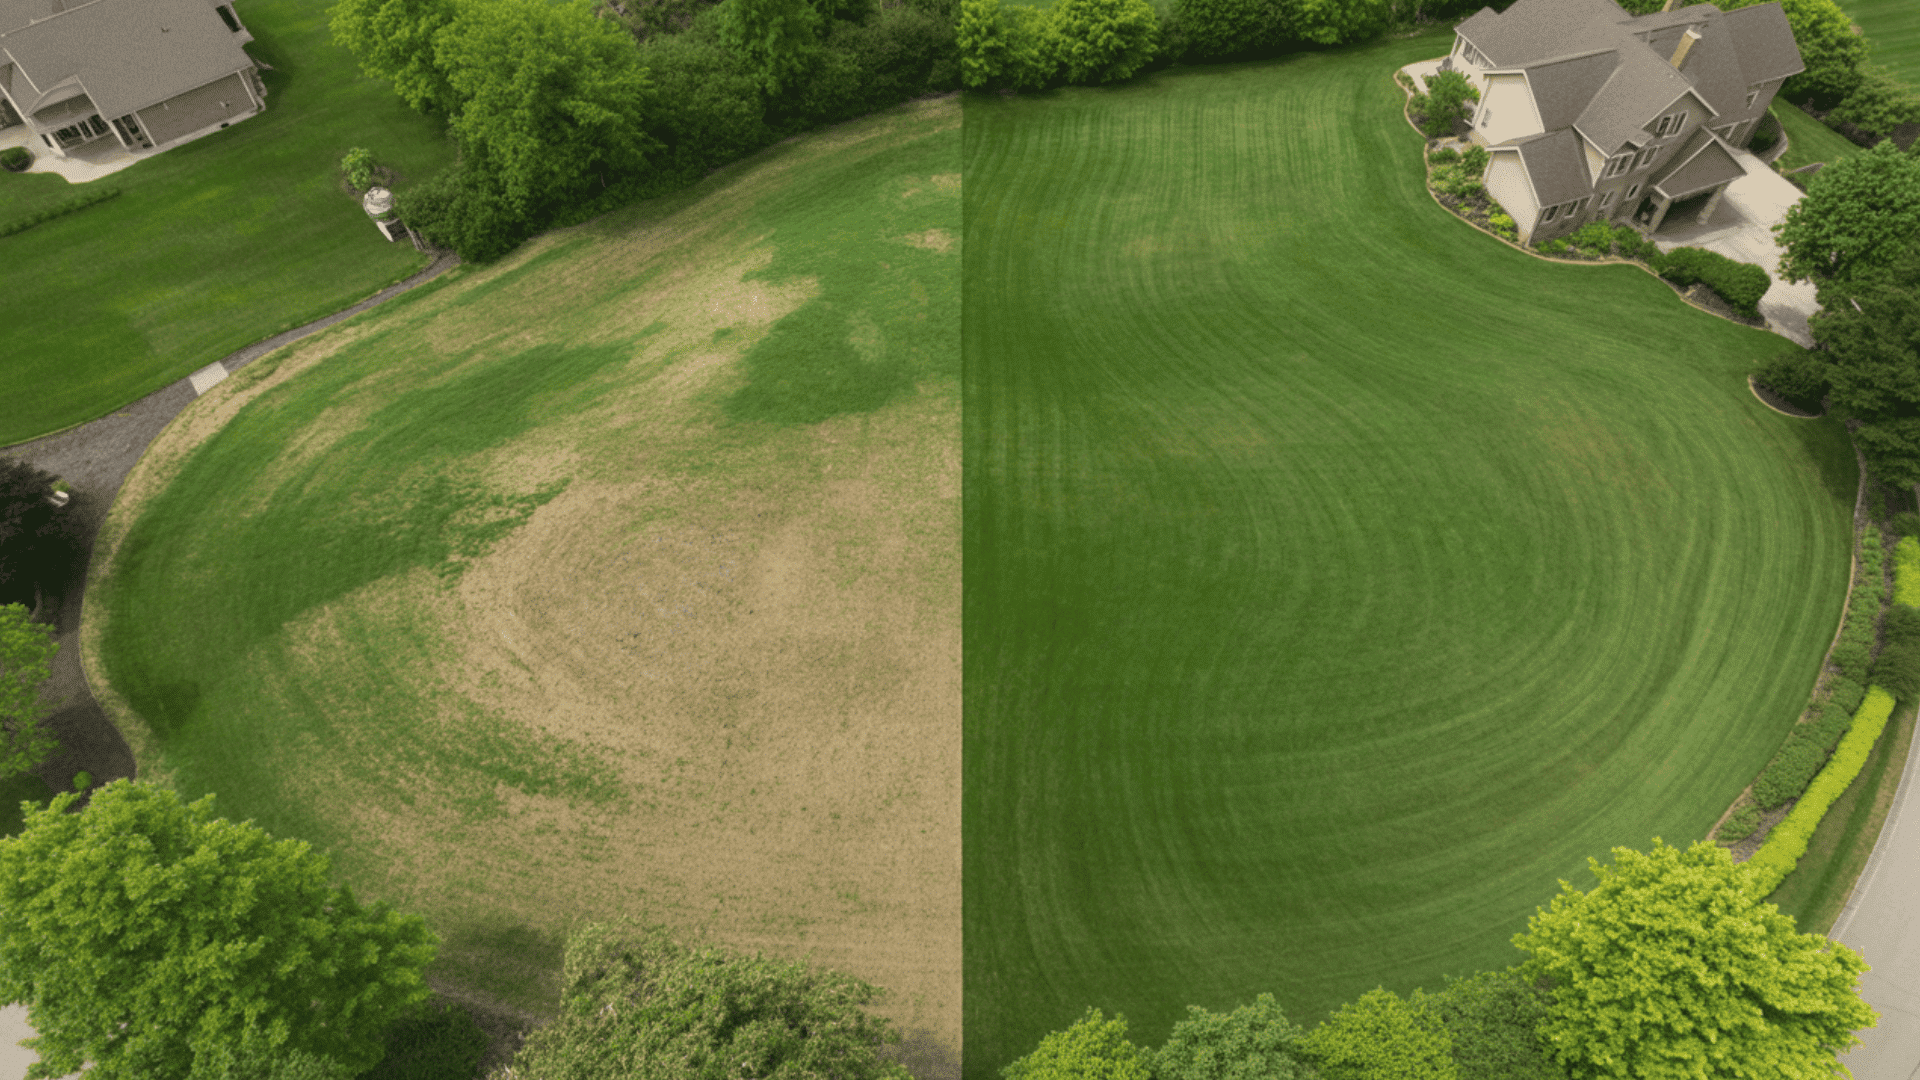
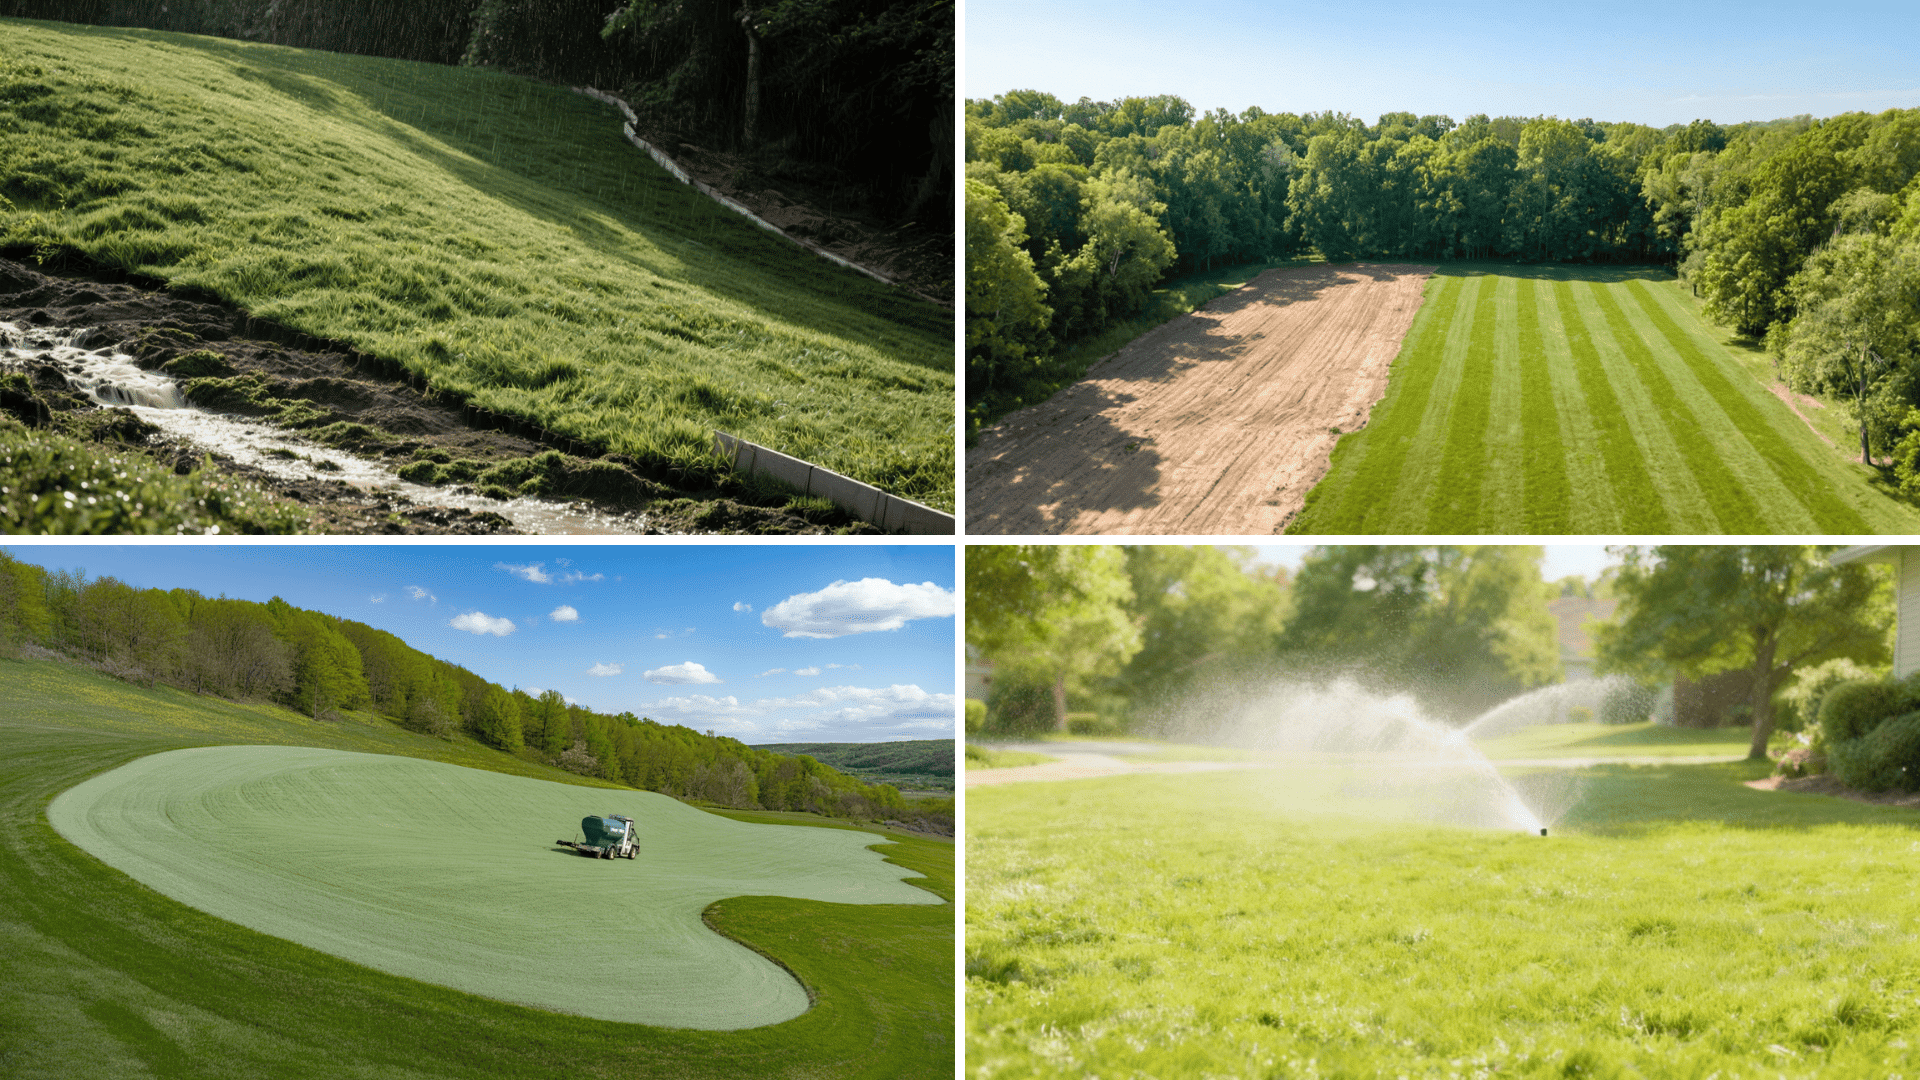
3. Strong Erosion Control
For sloped yards, banks, or newly graded construction sites, erosion is a serious worry.
The fiber mulch and sticky tackifier in the hydroseed mixture immediately lock the soil particles into place, forming a protective crust.
This holds the ground firmly against rain and wind until the grass roots can take over, making it excellent for soil stabilization.
4. Cost Efficiency for Big Spaces
While initial bags of grass seed are cheap, covering a medium to large lot with traditional seed takes a lot of time and labor, and sod is just expensive.
When you consider the vast area a machine can cover in a single application, hydroseeding is often the most economical option for establishing a new lawn or landscape, especially over a certain size threshold.
5. Custom Seed Blends
A fantastic feature is the ability to customize your mix right in the tank, giving you maximum control over the outcome.
You can request a precise blend tailored to specific challenges, such as varieties that thrive in shade, those built for heavy traffic, or mixes featuring native species and even pollinator-friendly flowers.
6. Lower Labor Intensity than Hand Seeding
Compared to the back-breaking work of spreading seed, fertilizer, and straw by hand, hydroseeding is incredibly efficient.
Truck-mounted or towable units can quickly cover large areas with a single pass.
The speed and power dramatically cut down on the labor intensity, reducing the time needed to go from bare ground to a fully sprayed area, and showing you the true power of what is seeding in a modern way.
Cons of Hydroseeding
The method depends heavily on proper watering, especially during the first two to three weeks, and failing to keep the surface consistently moist can lead to poor germination.
Results also aren’t immediate since the lawn still needs time to grow and fill in, unlike sod, which offers instant coverage.
Hydroseeding can be less effective on extremely steep slopes unless enhanced with stronger tackifiers or erosion-control blankets.
Additionally, the final outcome relies on soil quality, weather conditions, and careful preparation, so any shortcuts in these areas can compromise the lawn’s overall success.
How Hydroseeding Compares to Sod and Hand Seeding?
Hydroseeding offers a middle-ground solution between the speed of sod and the low cost of hand seeding. Here’s how it stacks up against both options:
| Method | Pros | Cons | Cost (per sq ft) |
|---|---|---|---|
| Hydroseeding | Costs much less than sod; develops stronger roots; faster, more uniform coverage than hand seeding | Doesn’t provide an instant lawn | $0.06 – $0.20 |
| Sod | Instant lawn with immediate visual results | Higher price; possible transplant shock | $1.70 – $2.60 |
| Hand Seeding (Traditional) | Cheapest upfront; simple method | Slower, patchier, and less reliable on uneven or erosion-prone sites | $0.07 – $0.23 |
Applications of Hydroseeding
Hydroseeding isn’t limited to residential lawns; it’s an all-around method used across a wide range of landscapes.
From private backyards to massive construction sites, its ability to quickly establish vegetation makes it suitable for both beauty and function.
- Residential Lawns and New Builds: Quickly establishing beautiful, uniform lawns for new homes
- Commercial Campuses, Parks, and Sports Fields: Durable, high-quality turf on large public spaces
- Slopes and Roadside Areas: Application of slurry to prevent erosion while vegetation establishes
- Post-Construction Dust Control: Adding immediate green cover on disturbed construction soil
- Native Revegetation and Wildflowers: Native grasses and wildflowers for habitat or visual appeal.
Practical Tips for Hydroseeding Maintenance
Here are some simple yet effective maintenance tips to follow, even for those who aren’t in the what is hydroseeding research stage but are already enjoying their newly seeded lawn.
- First Mow: Wait until the grass reaches about 3 inches before mowing, and trim only the top third of the blades
- Light Fertilization: Apply a balanced fertilizer 4–6 weeks after seeding to boost root strength and color
- Overseeding Thin Areas: Reseed any patchy spots for even coverage
- Consistent Watering: Water deeply two to three times a week to encourage strong root development and prevent drying
- Weed Control: Avoid using harsh herbicides early on; hand-pull weeds until the lawn is fully established
Wrapping It Up
If you’re tackling large areas, tricky slopes, or need fast, uniform coverage while keeping an eye on the budget, hydroseeding offers an incredible solution compared to traditional methods.
Remember, success hinges on choosing the right time; ideally, early fall or spring in most areas, and committing to that crucial initial moisture care schedule I discussed.
I am pretty sure you must’ve moved from thinking about what hydroseeding is. Your next best step is to find a certified local installer to perform the vital soil test and provide a final quote!
Frequently Asked Questions
Is Hydroseeding Better than Regular Hand Seeding?
Hydroseeding generally provides more consistent, reliable results because the slurry delivers even seed distribution, moisture retention, and better germination conditions.
Can You Hydroseed Over Existing Grass?
Yes, you can hydroseed over an existing lawn using overseeding to fill thin or bare areas and refresh the turf.
Is October Too Late to Plant Grass Seed?
Not always, it depends on your climate. Cooler regions need early to mid-October; warmer regions can seed into late October or early November if frost isn’t imminent.
When Is the Best Time to Hydroseed?
Early spring or early fall offers the best conditions thanks to warm soil, moderate temperatures, and reliable rainfall that support germination.
What Is the Best Alternative to Hydroseeding?
Terraseeding is considered a superior alternative, offering improved soil quality, rapid germination, and better performance on challenging terrain.