Showers are one of the most-used spaces in my home, yet they often get overlooked during renovations. My bathroom went years without updates, leaving me stuck with worn fixtures and a dated design.
A DIY shower remodel offered a practical solution without the hefty contractor bills. The process required planning, some basic skills, and patience, but it was more manageable than I initially thought.
Tackling the project myself meant creating a shower that fit my exact needs and preferences. Also, there was real satisfaction in completing a major home improvement with my own hands.
With the right preparation, changing your shower is entirely achievable.
What to Consider Before Starting Your Shower Remodel?
A successful DIY shower remodel starts with thorough planning before any demolition begins.
Assess your current bathroom setup and identify what needs updating, outdated plumbing, worn fixtures, or perhaps converting from a tub-shower combo to a walk-in configuration.
Make a comprehensive materials list. Research local building codes for plumbing and electrical work, as requirements differ significantly by location.
Set a realistic budget with a cushion for unexpected issues, such as corroded pipes or extra work. Plan the timeline carefully; waterproofing needs proper drying between coats, and grouting can’t be rushed.
Be honest about your skill level when planning a DIY shower install, especially for tasks involving plumbing relocations or creating proper floor slopes for drainage. Taking time to plan each phase prevents costly mistakes.
Step-by-Step Process to Remodel a Shower
A DIY shower remodel can seem huge at first, but breaking it down into clear steps makes it easy to handle. Here’s a simple plan to take your old shower from worn-out to beautiful and modern.
Tools and Materials Required
Before you begin your DIY shower remodel, make sure you have all the right tools and supplies ready. Having everything within reach saves time and keeps your project running smoothly from start to finish.
| Category | Item | Purpose |
|---|---|---|
| Demolition | Pry bar, hammer, drop cloth | Remove fixtures and protect surfaces |
| Plumbing | Pipes, fittings, wrench | Replace and adjust plumbing lines |
| Waterproofing | Cement board, membrane | Create a moisture barrier |
| Tiling | Tiles, thinset, grout, trowel | Lay and seal tile surfaces |
| Repairs | Drywall patch, paint | Fix and refresh walls |
| Fixtures | Vanity, faucet, toilet, shower set | Final installations |
| General | Level, tape measure, safety gear | Ensure accuracy and safety |
Remodeling a shower might seem overwhelming, but breaking it down into manageable steps makes the project totally doable.
Here’s exactly how to change your old shower into a fresh, updated space from demolition to final touches.
Step 1: Clear and Demo the Space

Begin by removing all fixtures, mirrors, and any storage units. Cover floors and tubs with a drop cloth to protect against damage.
Carefully remove old tiles, drywall, and flooring, using a pry bar or hammer where needed. Keep electrical and plumbing lines intact during demolition.
Dispose of debris properly, and ensure the subfloor and studs are clean and dry before proceeding.
Step 2: Update Plumbing
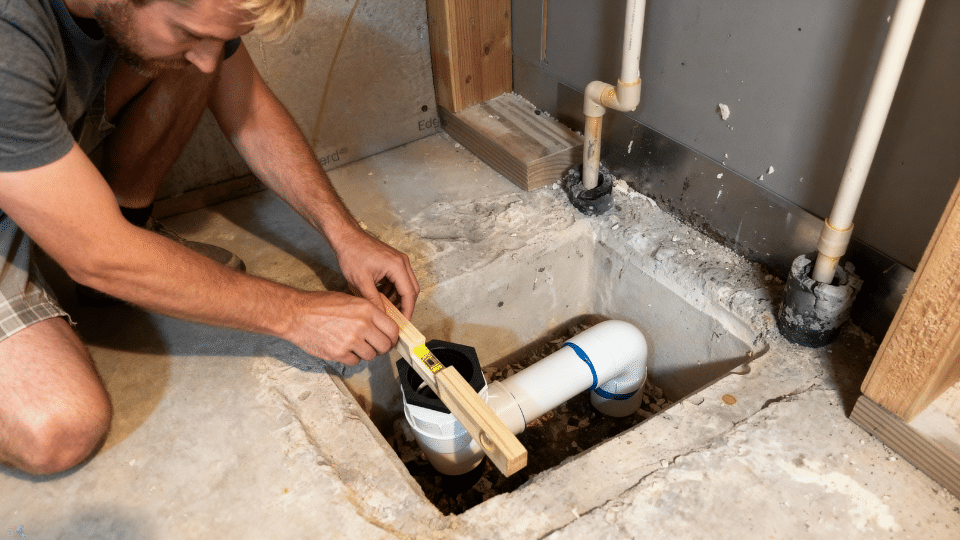
Turn off the main water supply before touching any plumbing. Replace outdated or corroded pipes and reposition the shower valve to a comfortable height.
Install or adjust the drain location to match your new shower design.
Ensure all joints are sealed and test for leaks before closing walls. Proper plumbing layout ensures long-term reliability and prevents costly future repairs.
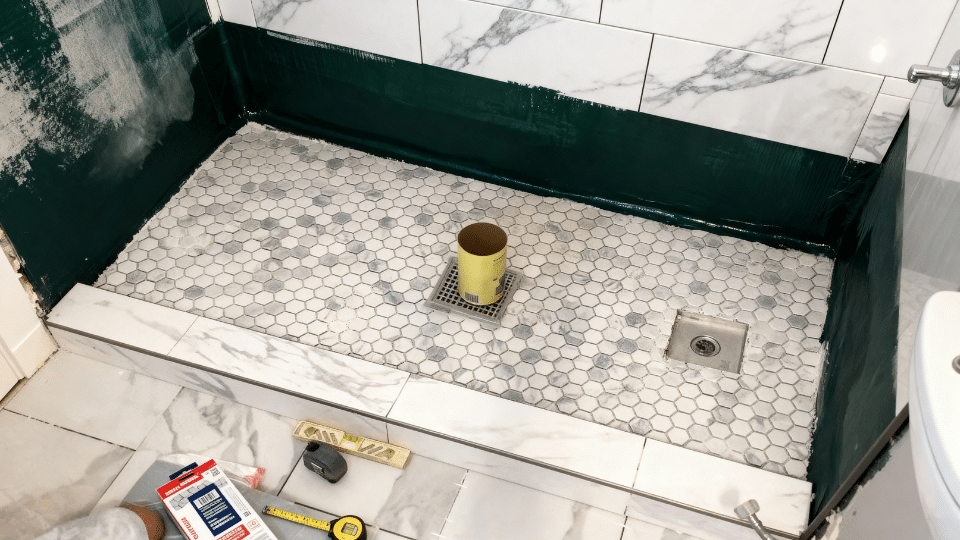
Step 3: Prepare Walls and Waterproof
Once plumbing is secure, install cement backer boards on the shower walls. Fasten them to studs using corrosion-resistant screws, leaving small gaps between boards.
Cover seams with fiberglass mesh tape, then apply a waterproofing membrane or liquid sealant over the entire surface. Allow it to dry completely.
This creates a solid, water-resistant foundation for your tiles and protects against moisture damage.
Step 4: Tile the Shower and Floor
Plan your layout before mixing mortar to ensure balanced lines and minimize cutting. Use a notched trowel to spread thinset evenly, then press each tile firmly into place with spacers for even gaps.
Allow tiles to cure fully before applying grout. Wipe away excess grout with a damp sponge, polish the tiles, and let everything dry for a seamless, durable finish.
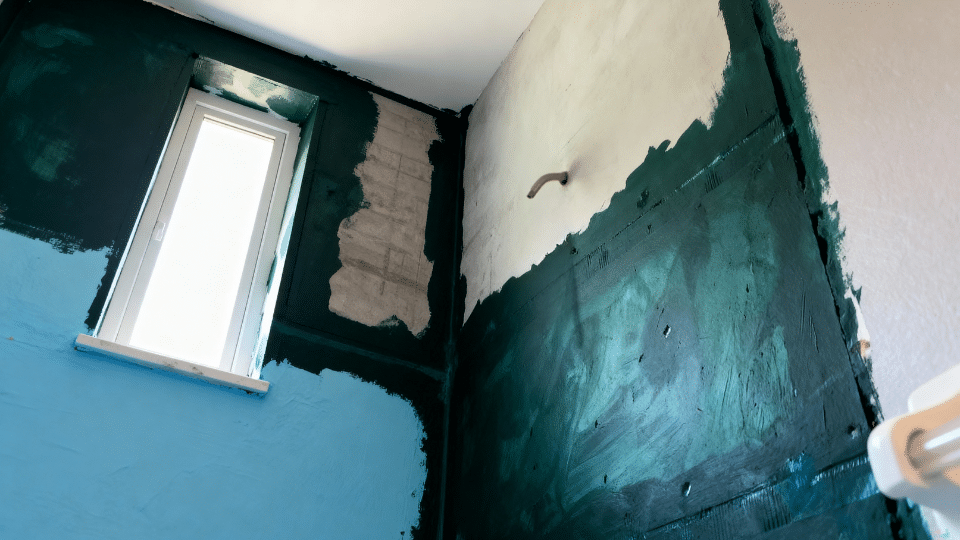
Step 5: Repair and Paint Walls
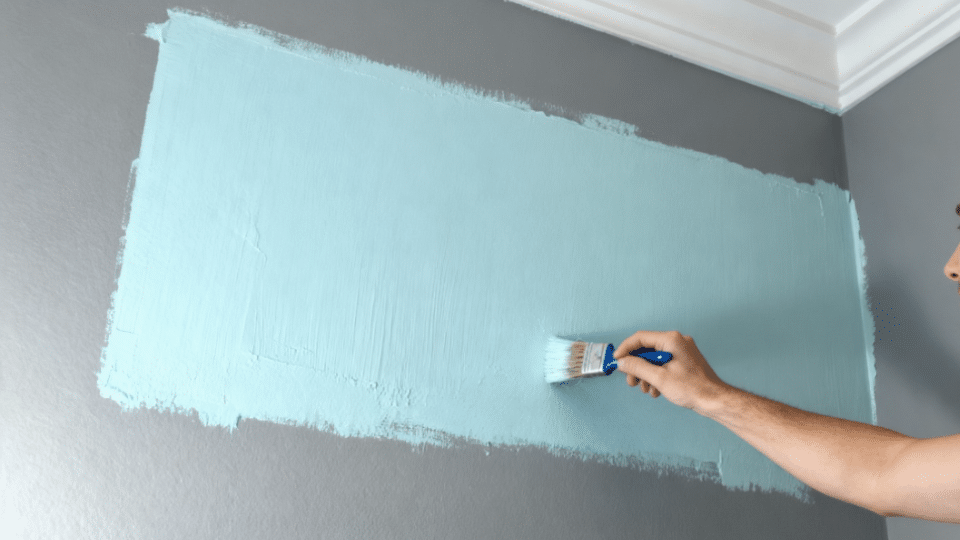
Patch any damaged drywall or holes left from old fixtures. For larger holes, use a backing board and secure a new drywall section before applying joint compound.
Sand the area smooth once dry, then prime and paint the walls. Use moisture-resistant paint for bathroom areas. A clean, fresh coat ties together your new shower and brightens the overall space.
Step 6: Install Fixtures
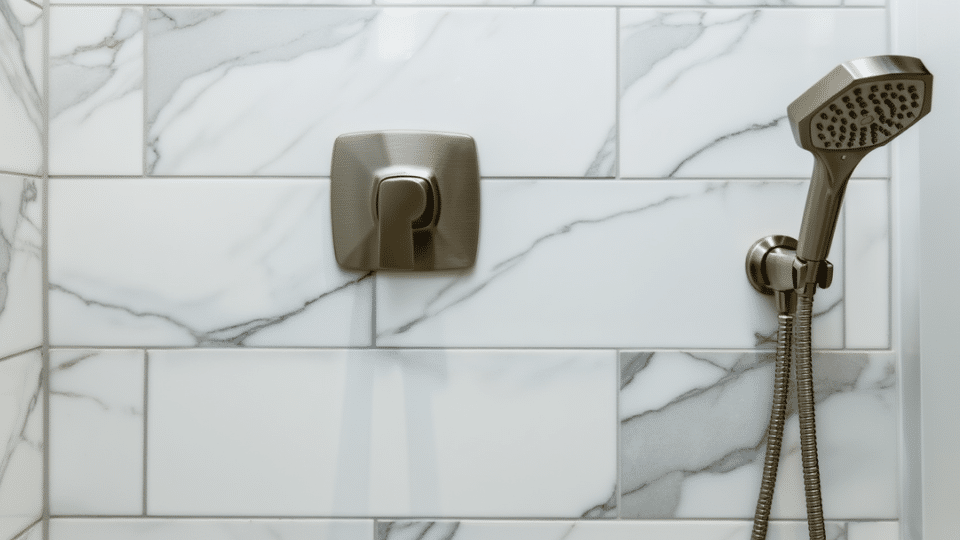
Position your vanity, level it, and secure it to the wall. Connect the sink drain and water lines, checking for leaks. Install the toilet with a new wax ring and reconnect the water supply.
Mount mirrors, lights, and any shelving. Finally, install shower fixtures, including the showerhead, valve, and handles, ensuring all parts are tightened and properly sealed.
Step 7: Final Touches
Finish the project by applying silicone sealant to all corners, seams, and edges. Clean tiles thoroughly to remove grout haze or residue.
Test all plumbing connections and electrical fixtures for proper operation. Add finishing accessories such as towel bars, storage, or plants for style.
Stand back, admire your work, and enjoy your fully functional, newly remodeled DIY shower.
Inspiration and Design Ideas for Your DIY Shower Remodel
The right design turns a basic bathroom into a space worth showing off. Start by choosing a style, then layer in features that match the budget and skill level.
1. Choose Your Shower Style
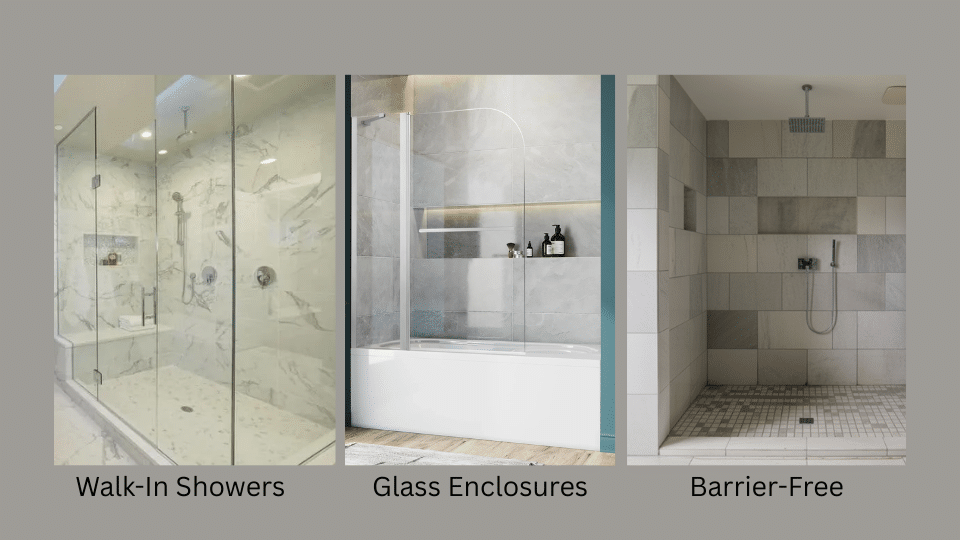
- Walk-In Showers No tub, no problem. These open designs work in most spaces and feel larger than traditional tub-shower combos.
- Glass Enclosures: Frameless glass creates a modern look while showcasing beautiful tilework. Semi-frameless options cost less but deliver a similar style.
- Barrier-Free (Curbless) Zero threshold means easy access for everyone. Requires careful floor planning but creates a spa-like feel.
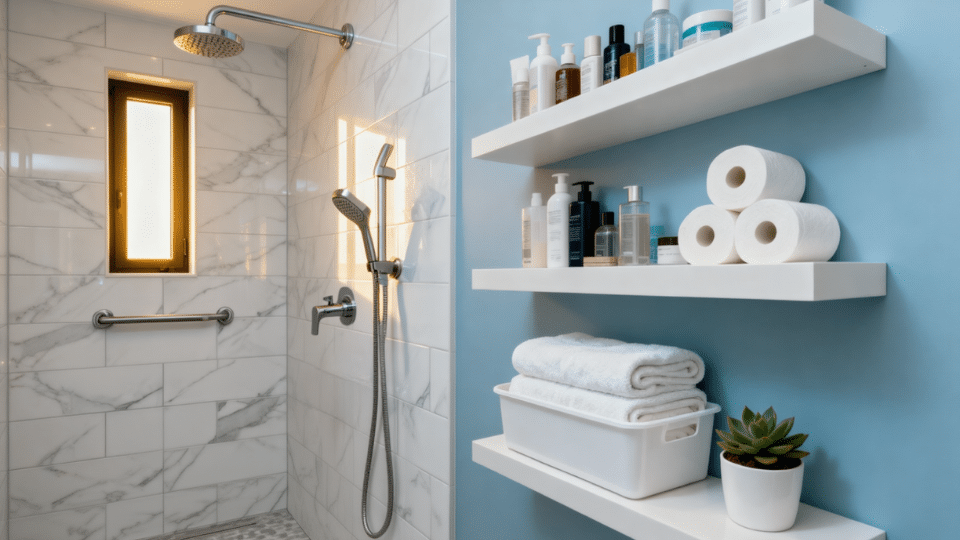
2. Design Features That Make a Difference
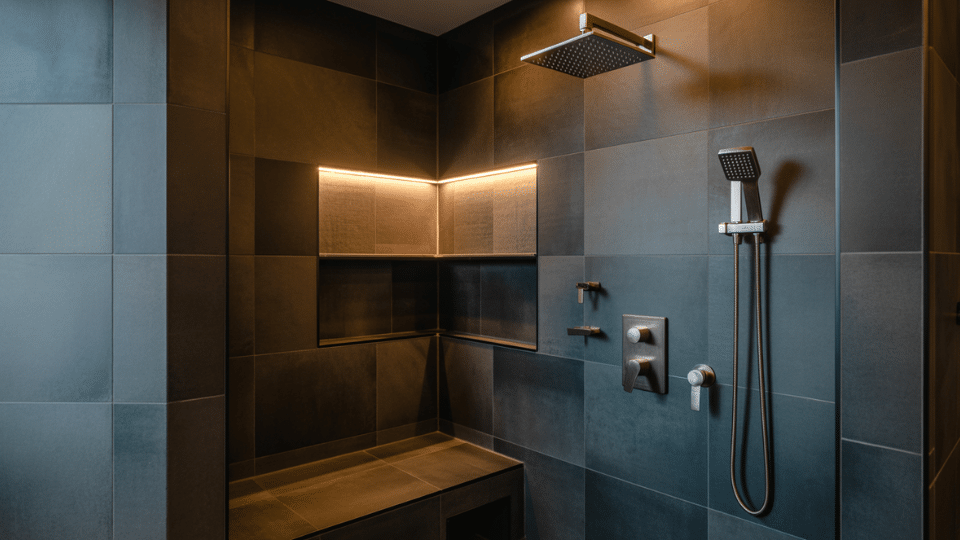
- Built-In Niches Recessed shelves at 48-60 inches high keep products accessible without eating into shower space.
- Tile to the Ceiling: Full-height tiling protects walls and gives a more finished look. Stopping halfway leaves drywall vulnerable to moisture.
- Shower Benches: Corner benches save space. Full-width benches offer generous seating. Always slope the surface for drainage.
- Rainfall with Handheld Heads: Dual systems add flexibility without major cost. Mount rainfall overhead, handheld at an adjustable height.
3. Smart Tile Choices
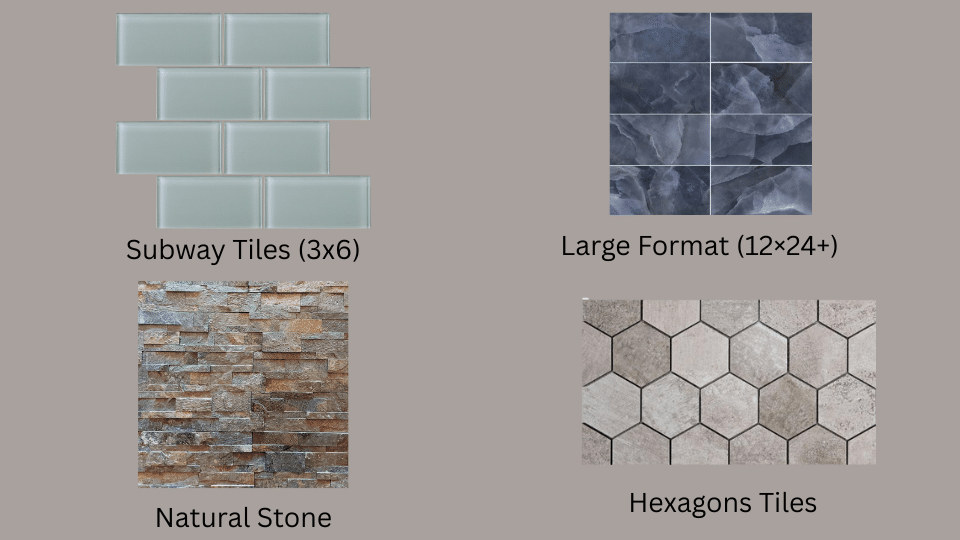
- Subway Tiles (3×6) Classic look with straightforward installation. An affordable option that works in any style, from traditional to modern.
- Large Format (12×24+) Fewer grout lines mean less cleaning and a more contemporary appearance. Requires flatter walls for proper installation.
- Penny Rounds or Hexagons are Perfect for shower floors where texture prevents slipping. Creates visual interest as an accent feature.
- Natural Stone Use marble, granite, or slate sparingly as accent walls. Needs regular sealing but delivers luxury appeal.
Pro Tip: Use expensive tiles as accents, not everywhere. A single accent wall costs far less than covering all surfaces.
Budget Tips and Avoiding Common Mistakes
Smart planning keeps a DIY shower remodel affordable while avoiding costly errors.
- Set a Realistic Budget: Track expenses carefully and add 15-20% for unexpected costs that often arise during installation.
- Compare Material Prices: Shop around at multiple suppliers before purchasing tiles, fixtures, and tools for the remodel.
- Avoid Waterproofing Shortcuts: Proper membrane installation prevents water damage that costs far more to fix later during a DIY walk-in shower project.
- Measure twice, cut once: Double-check all measurements to prevent wasting materials and money on incorrect cuts.
- Don’t Skip the Slope: Ensure the floor pitch toward the drain is proper so water flows correctly and doesn’t pool.
Community Advice on DIY Shower Remodel
Many people share their real experiences during a DIY shower remodel, and discussions inside the Reddit HomeImprovement Forum, and the Facebook DIY Home Improvement Group reveal what people actually go through.
Enthusiasm is high at the start, especially when comparing the cost of DIY to hiring a contractor, but most quickly found that plumbing adjustments, waterproofing, and tile work demand more time and precision than expected.
Many mention setbacks like uneven tile lines, moisture surprises behind old walls, or realizing they underestimated materials.
Others describe long weekends spent learning tools and redoing small mistakes. Even with the challenges, most people say the finished shower feels more satisfying because they built it themselves.
Your Dream Shower Is Within Reach
Completing my DIY shower remodel took effort, but the results made every hour worthwhile. I now have a bathroom space that reflects my style while adding real value to my home.
The skills I gained apply to future renovations, making me more confident tackling other improvements. Most successful remodels happen because someone decided to start despite uncertainty.
Take your time, follow proper techniques, and consult professionals when needed. Your upgraded shower awaits.