Termites are silent destroyers that can wreak havoc on your home before you even notice them. One day, your walls look fine, and the next, you’re staring at crumbling wood and wondering how much it’ll cost to fix.
I’ve seen people caught off guard by the extent of damage these tiny pests can cause. Understanding termite damage repair costs doesn’t have to be overwhelming.
If you’re dealing with minor cosmetic fixes or major structural work, knowing what to expect helps you budget and plan accordingly.
This blog covers most aspects of repairing termite damage, from typical price ranges to factors that affect your final bill. Apart from that, an easy-to-follow DIY guide for repairing termite damage.
What is a Termite Infestation?
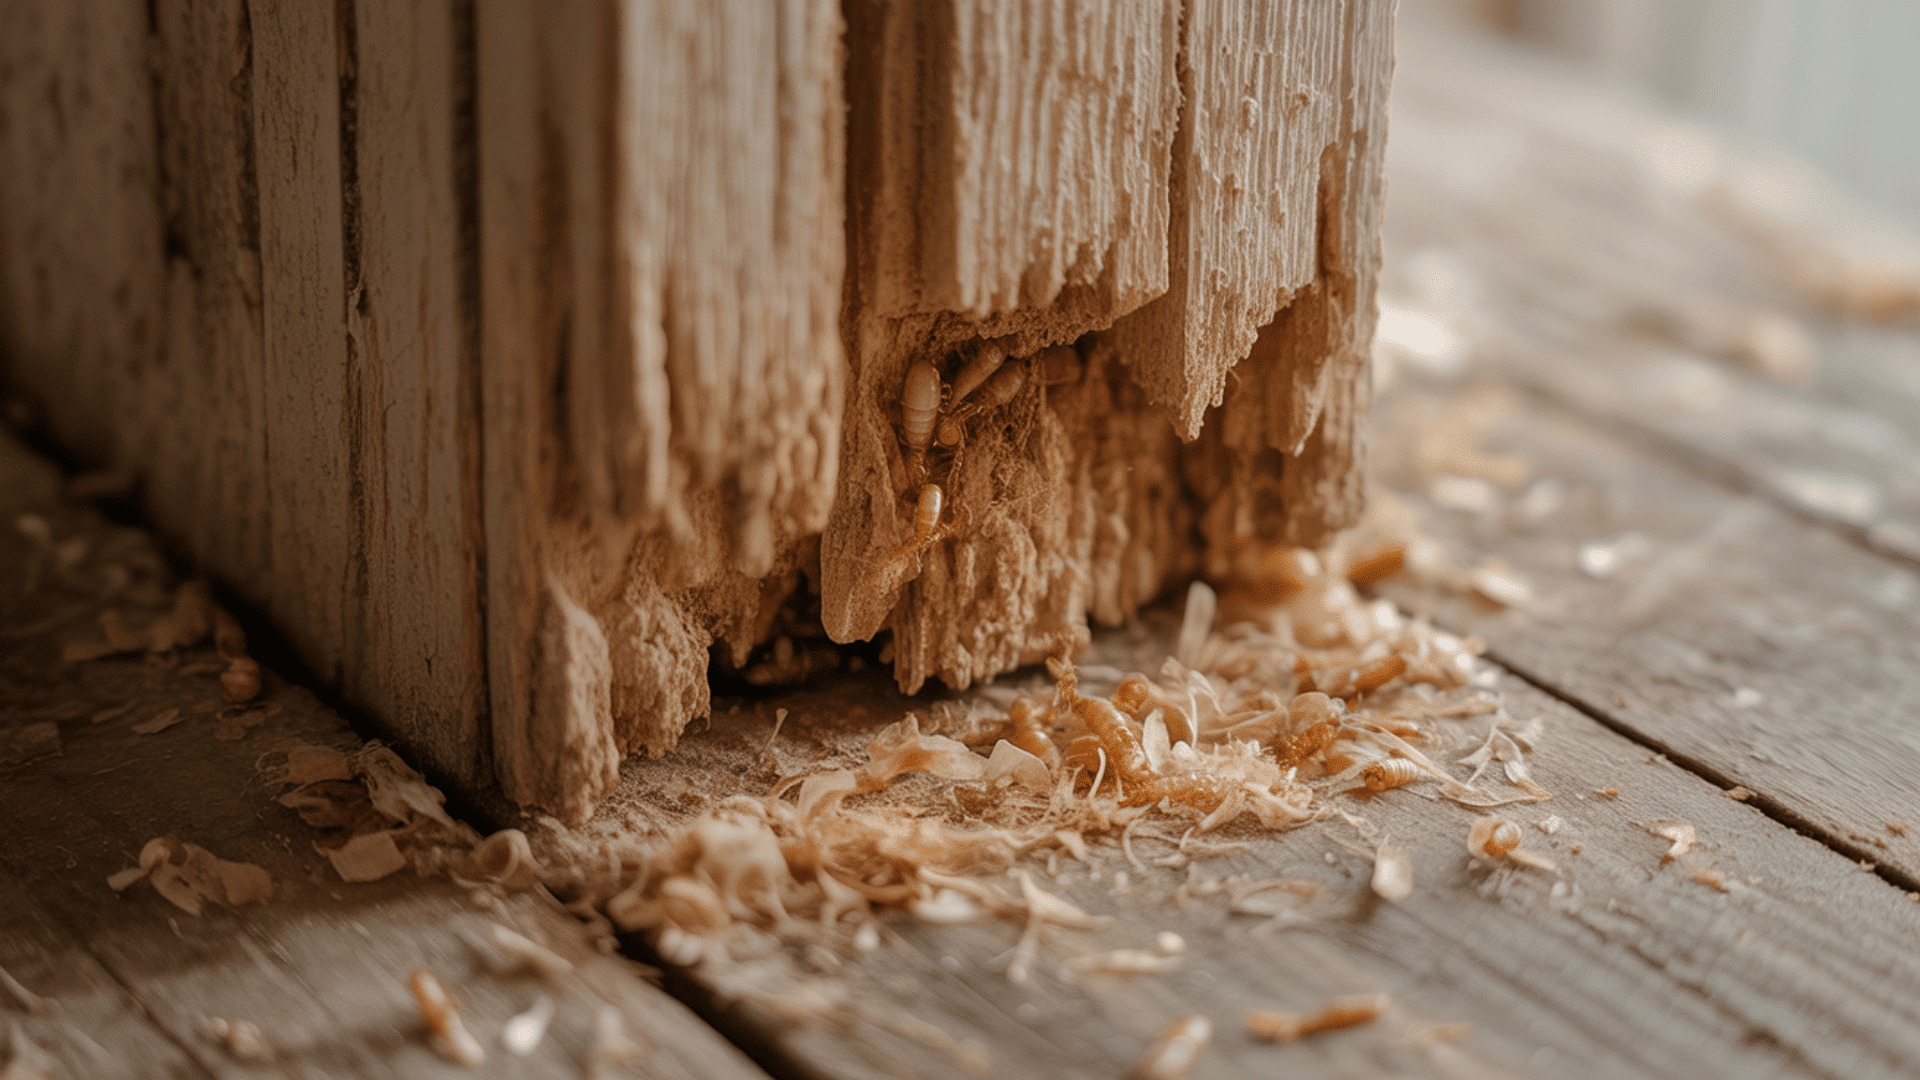
A termite infestation occurs when colonies of wood-eating insects establish themselves in or around your property.
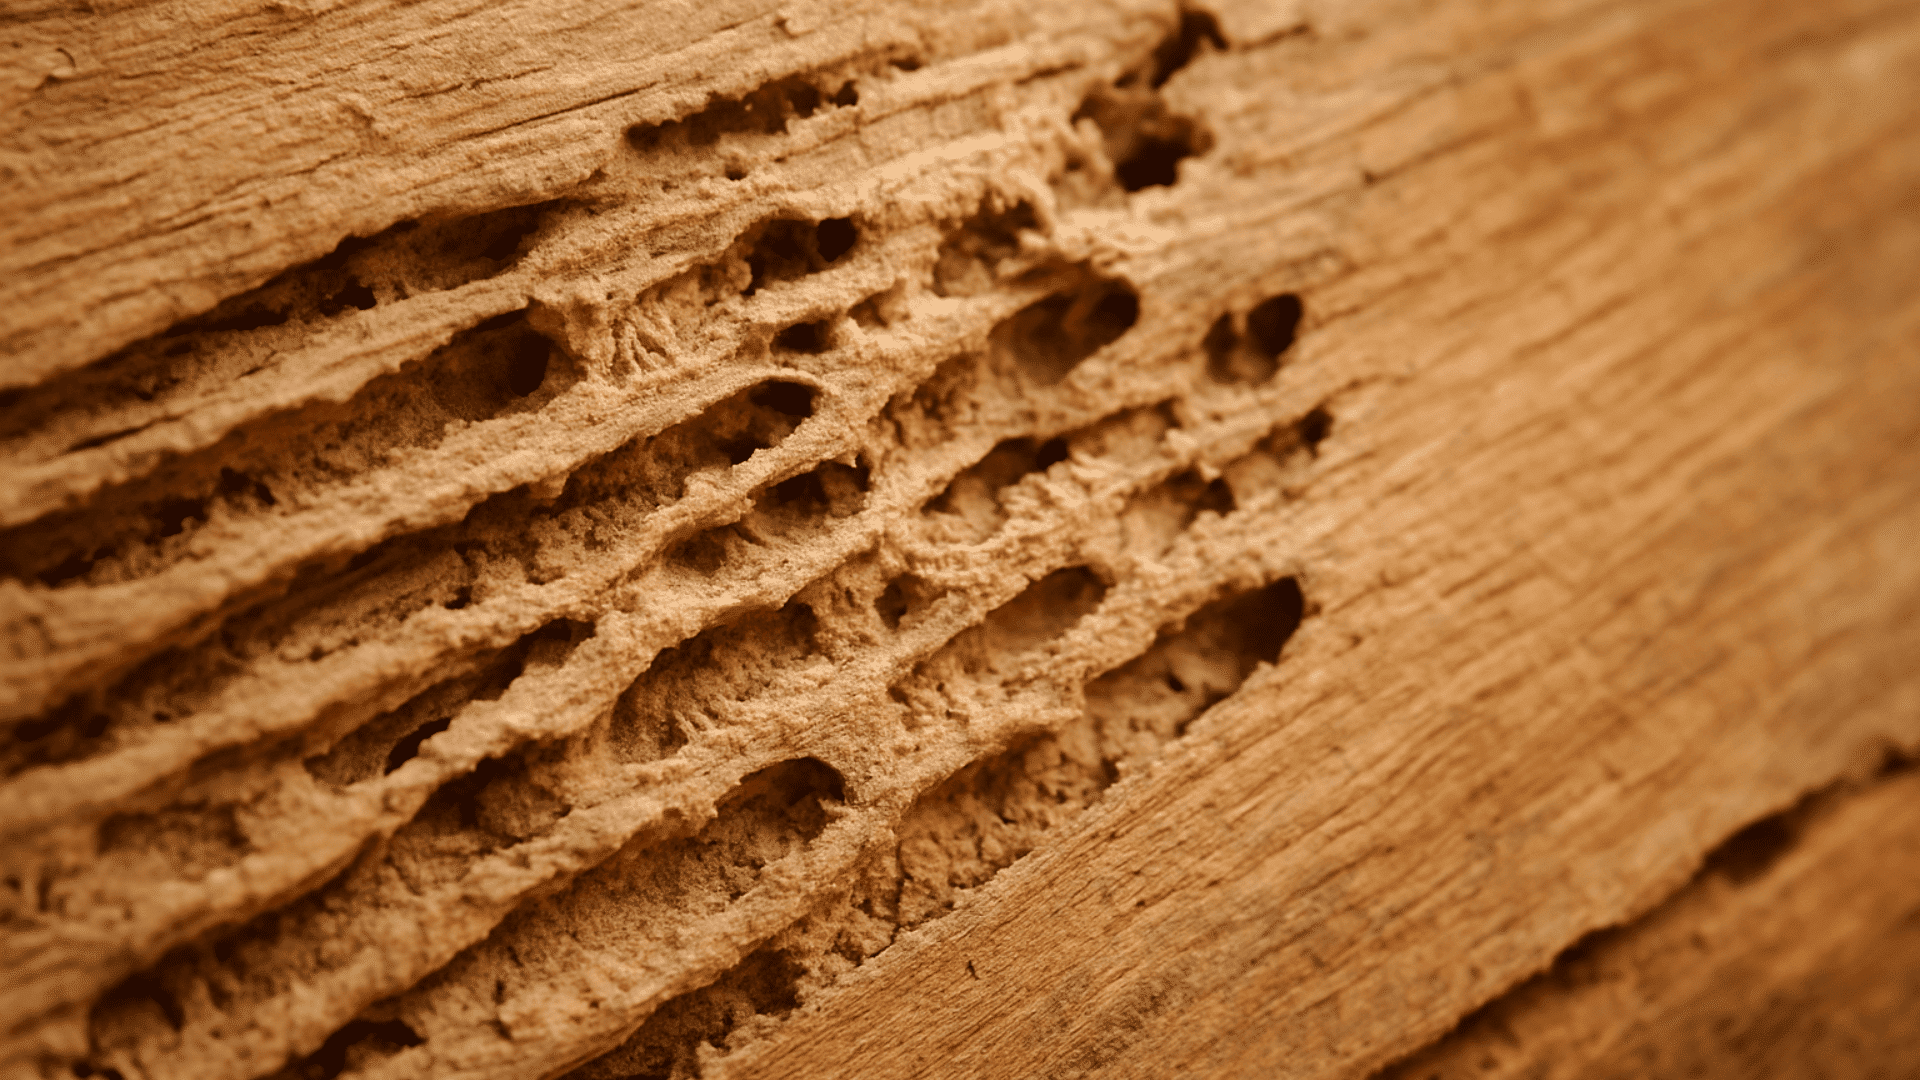
These pests feed on cellulose found in wood, paper, and other materials, working 24/7 to consume the structural elements of your home.
Termites operate in large groups, with workers, soldiers, and reproductive members all playing specific roles.
They often go undetected for months or even years because they eat wood from the inside out, leaving a thin outer shell that looks perfectly normal.
Can Termite Damage Be Fixed?
Yes, termite damage can absolutely be fixed. However, timing is everything. The sooner you catch the problem and take action, the less extensive and expensive the termite damage repair cost will be.
Minor damage might only require patching and painting, while severe infestations could mean replacing entire support beams or flooring.
Signs of Termite Damage
Catching termites early can save you thousands in repairs. Knowing what to look for helps you spot problems before they spiral out of control and require extensive termite damage repair.
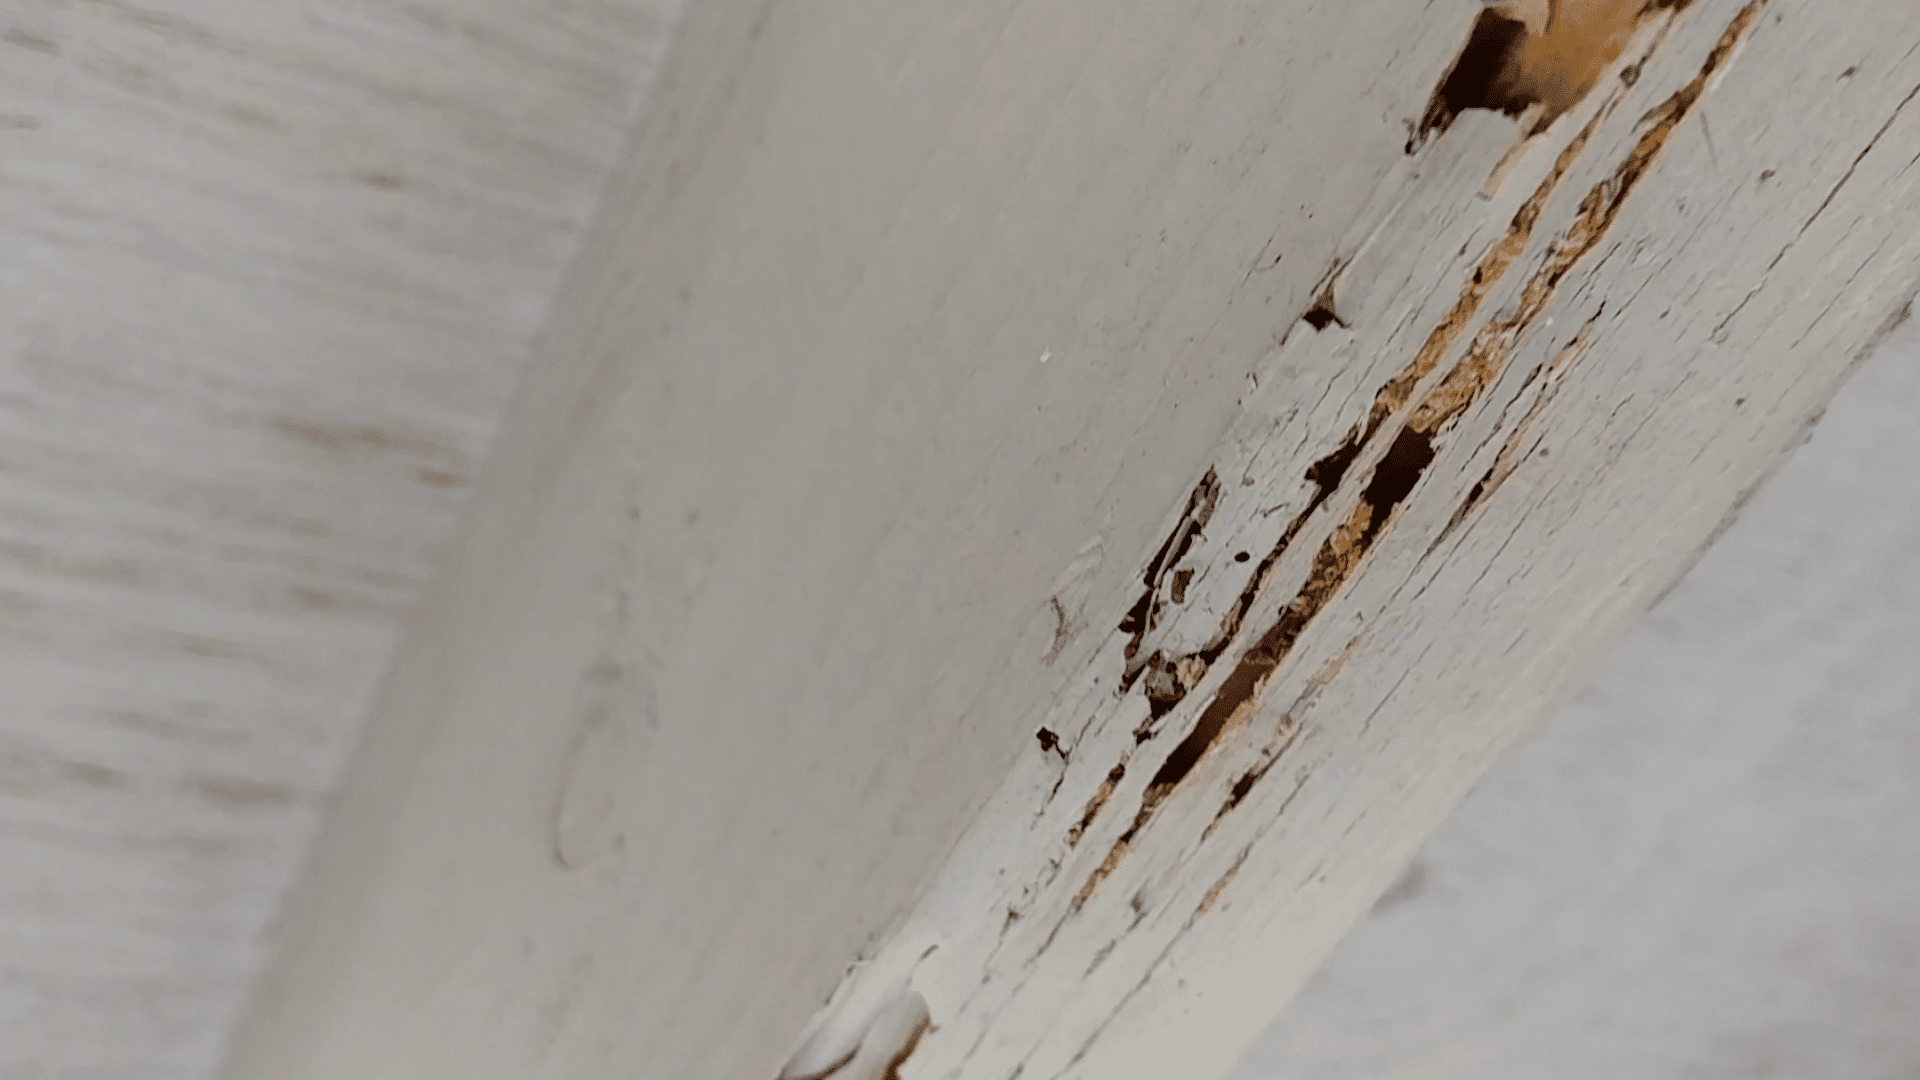
- Hollow-Sounding Wood: Tap on wooden surfaces around your home, sounding hollow
- Mud Tubes: Look for pencil-thin tunnels along your foundation, walls, or crawl spaces
- Discarded Wings: Piles of small wings near windows, doors, or light fixtures
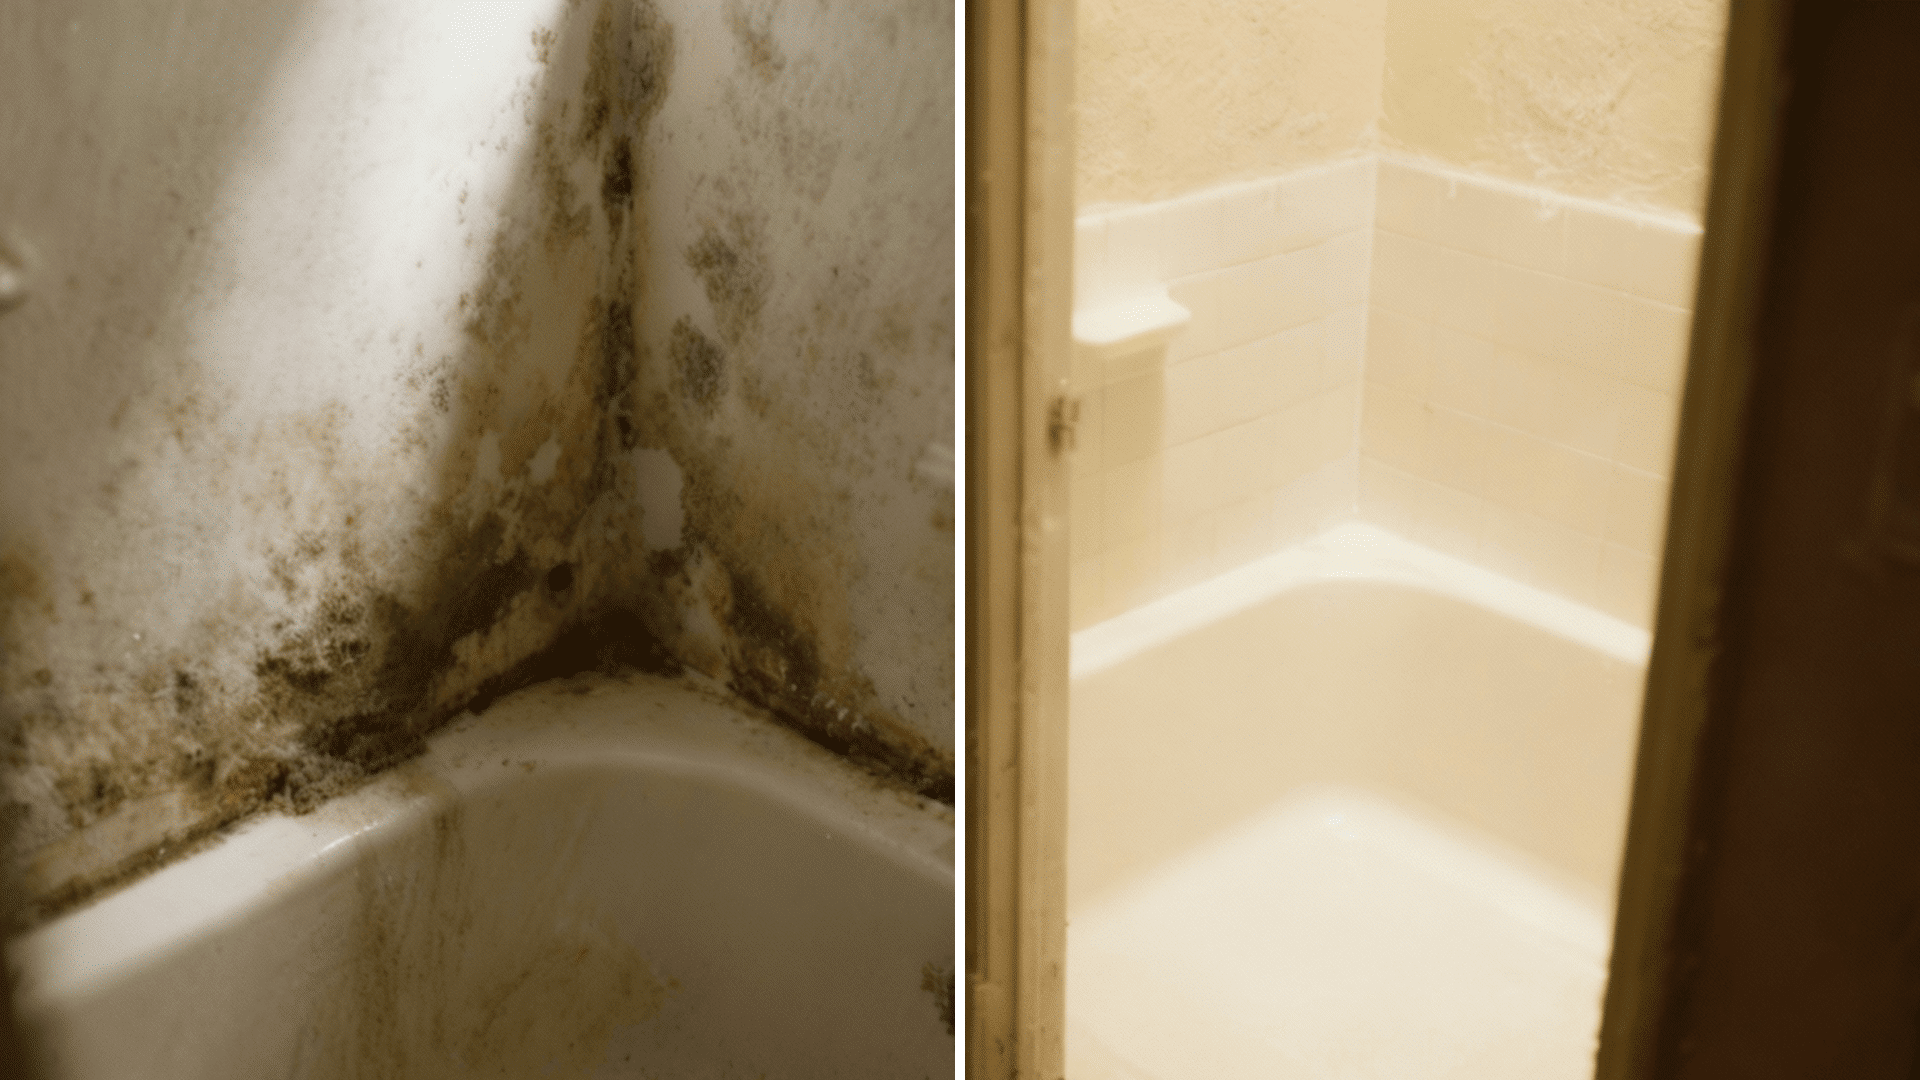
- Bubbling Paint or Wallpaper: If paint or wallpaper bubbles, peels, or looks water-damaged
- Sagging Floors or Stuck Doors: Warped floors, ceilings, or doors that suddenly stick
Early detection matters because it limits damage and keeps costs down. The longer termites feast, the more expensive your repair bill becomes.
Tools and Materials You’ll Need for Repairing Termite Damage
Before starting termite damage repair, it’s important to have the right tools and materials ready.
These will help you safely remove damaged wood, replace framing, and temporarily seal gaps to protect your home from further pest and moisture intrusion.
| Tool / Material | Purpose / Use |
|---|---|
| Scrapers & Hand Tools | Used to dig out and remove termite-damaged or rotted wood precisely. |
| Jigsaw | Cuts away damaged wood in confined or hard-to-reach areas of the beam or rafter. |
| 2×4 Lumber | Replacement wood is used to rebuild the section removed during repair. |
| Band Saw | Shape the replacement block or taper cut to fit the damaged section accurately. |
| Plywood Gusset | Reinforces the joint between the old and new wood for extra strength. |
| Nails & Hammer | Secures the gusset and replacement block firmly to the existing rafter. |
| Nyore (Wood Treatment Solution) | Applied to kill any remaining termites and prevent re-infestation. |
| Wood Filler or Caulk | Fills cracks and small voids after the patch is secured. |
| Primer & Paint | Seals and finishes the repaired section for a smooth, protected surface. |
Safety Note: Always wear gloves, goggles, and a dust mask while cutting or prying damaged wood. Take care not to damage sheathing, wiring, or window trim while making repairs.
Step-by-Step Guide to Repair Termite Damage
Repairing a termite-damaged rafter or beam requires careful removal of weakened areas, reinforcement of the structure, and sealing to prevent further infestation.
The following five steps simplify the process for efficient and long-lasting termite damage repair.
Step 1: Inspect and Confirm the Damage
Begin by examining the affected area for signs of termite activity or wood deterioration. Use a scraper or probe to check how deep the damage goes.
If it’s localized, as in one rafter tail, you can confine the repair to that section instead of replacing the entire beam.
This step helps determine how much material needs to be removed and sets the scope for your termite damage repair project.
Step 2: Remove all Damaged Wood
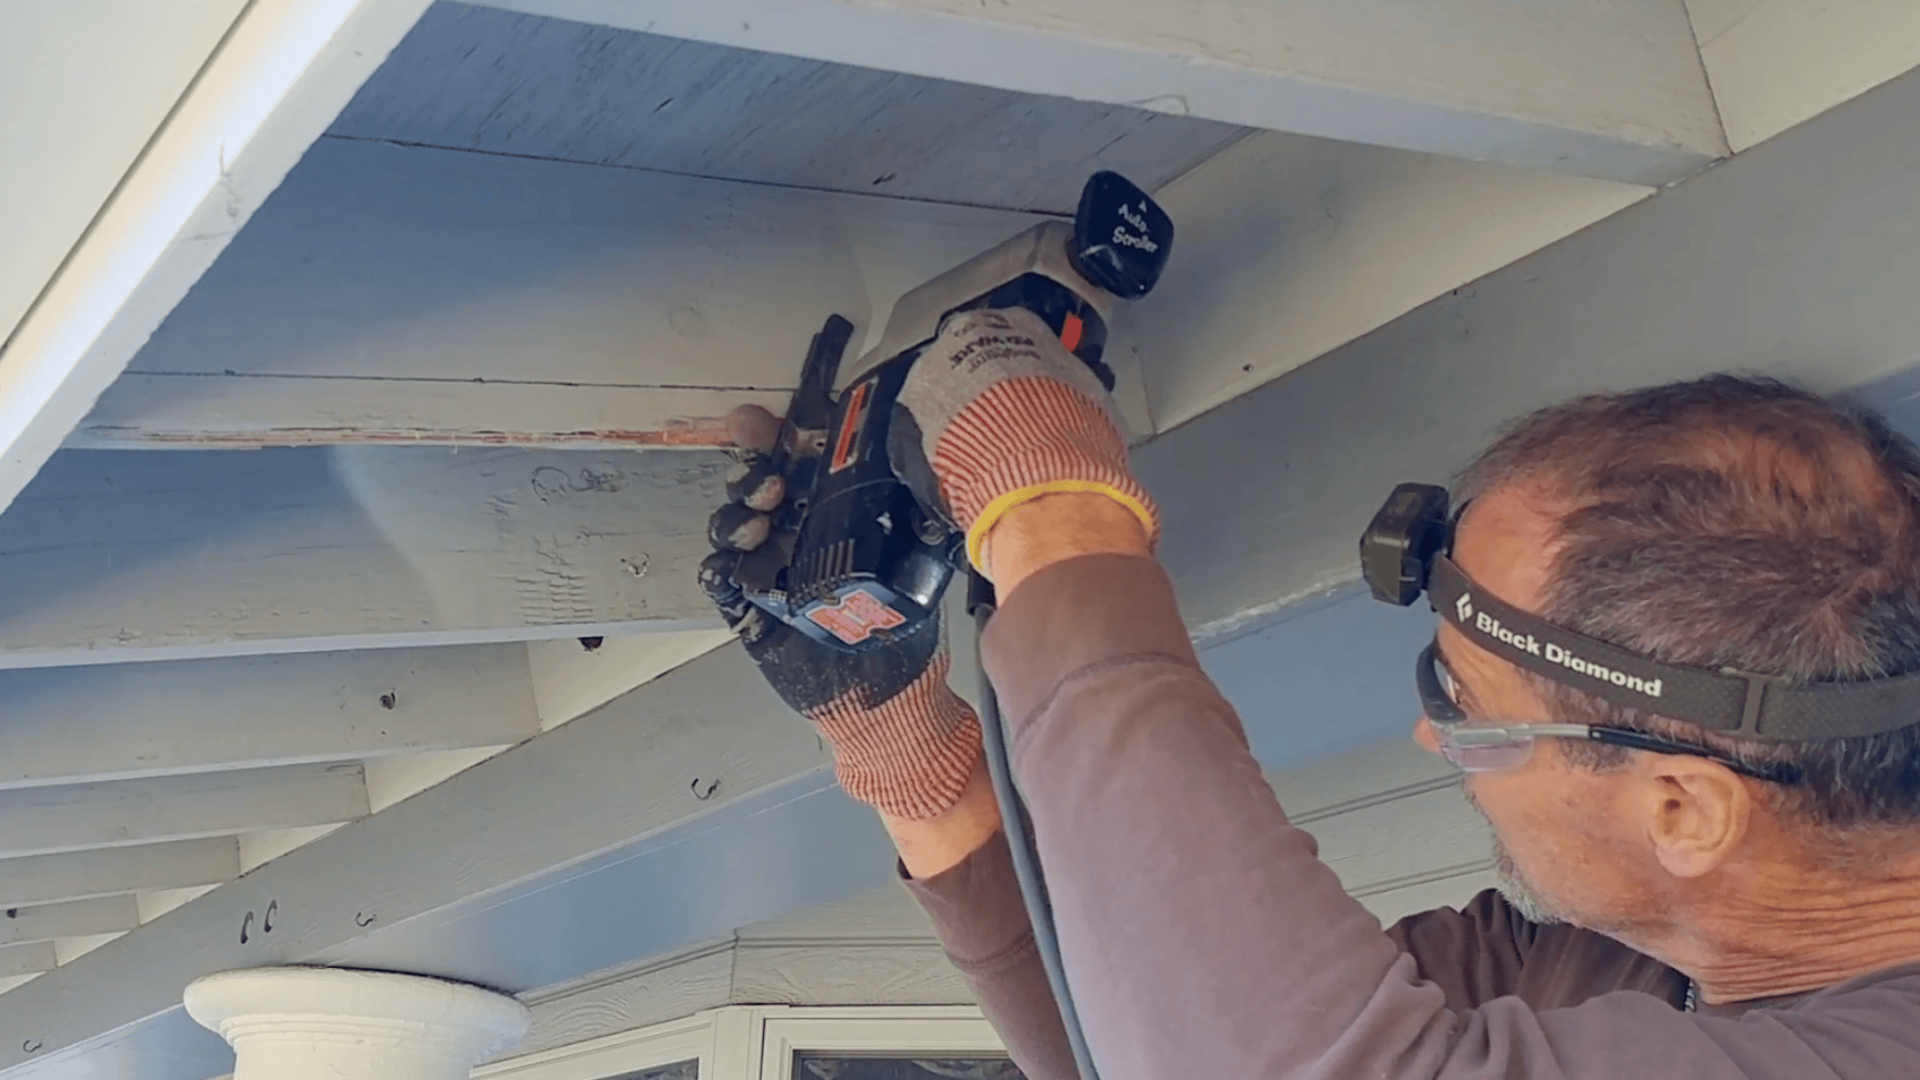
Use a jigsaw or hand tools to carefully cut away the weakened wood. Start small and extend your cut only as needed until you reach solid, undamaged material.
Removing every soft or hollow area ensures the new wood has a solid surface to bond with and eliminates any remaining pest traces.
Step 3: Treat the Exposed Wood
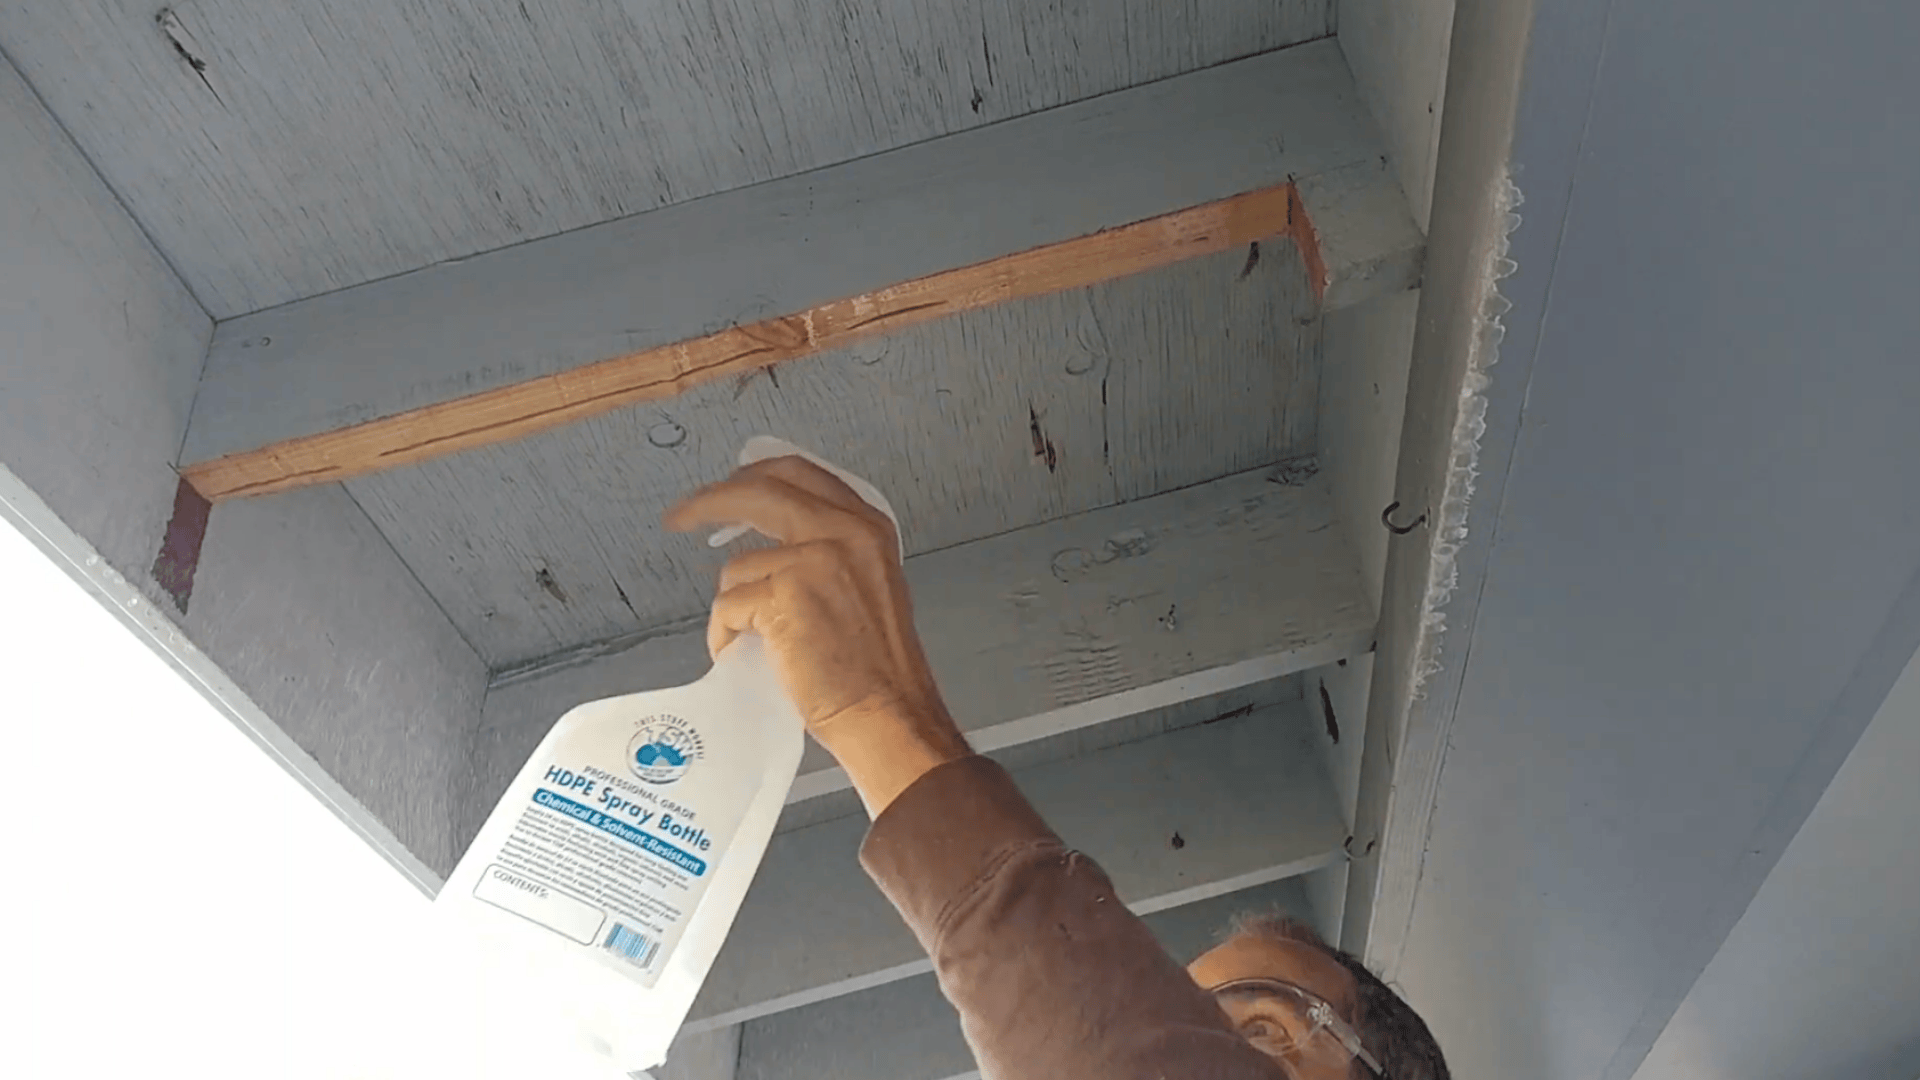
Once the damaged section is cleared, soak the remaining wood with a borate-based solution like Nyore.
This treatment penetrates deep into the fibers, killing any hidden termites and helping prevent future infestations. Let the treated area dry overnight for maximum effectiveness before installing new wood.
This ensures the solution fully penetrates the fibers and forms a protective barrier against future termite activity.
Step 4: Prepare and Install the Replacement Block
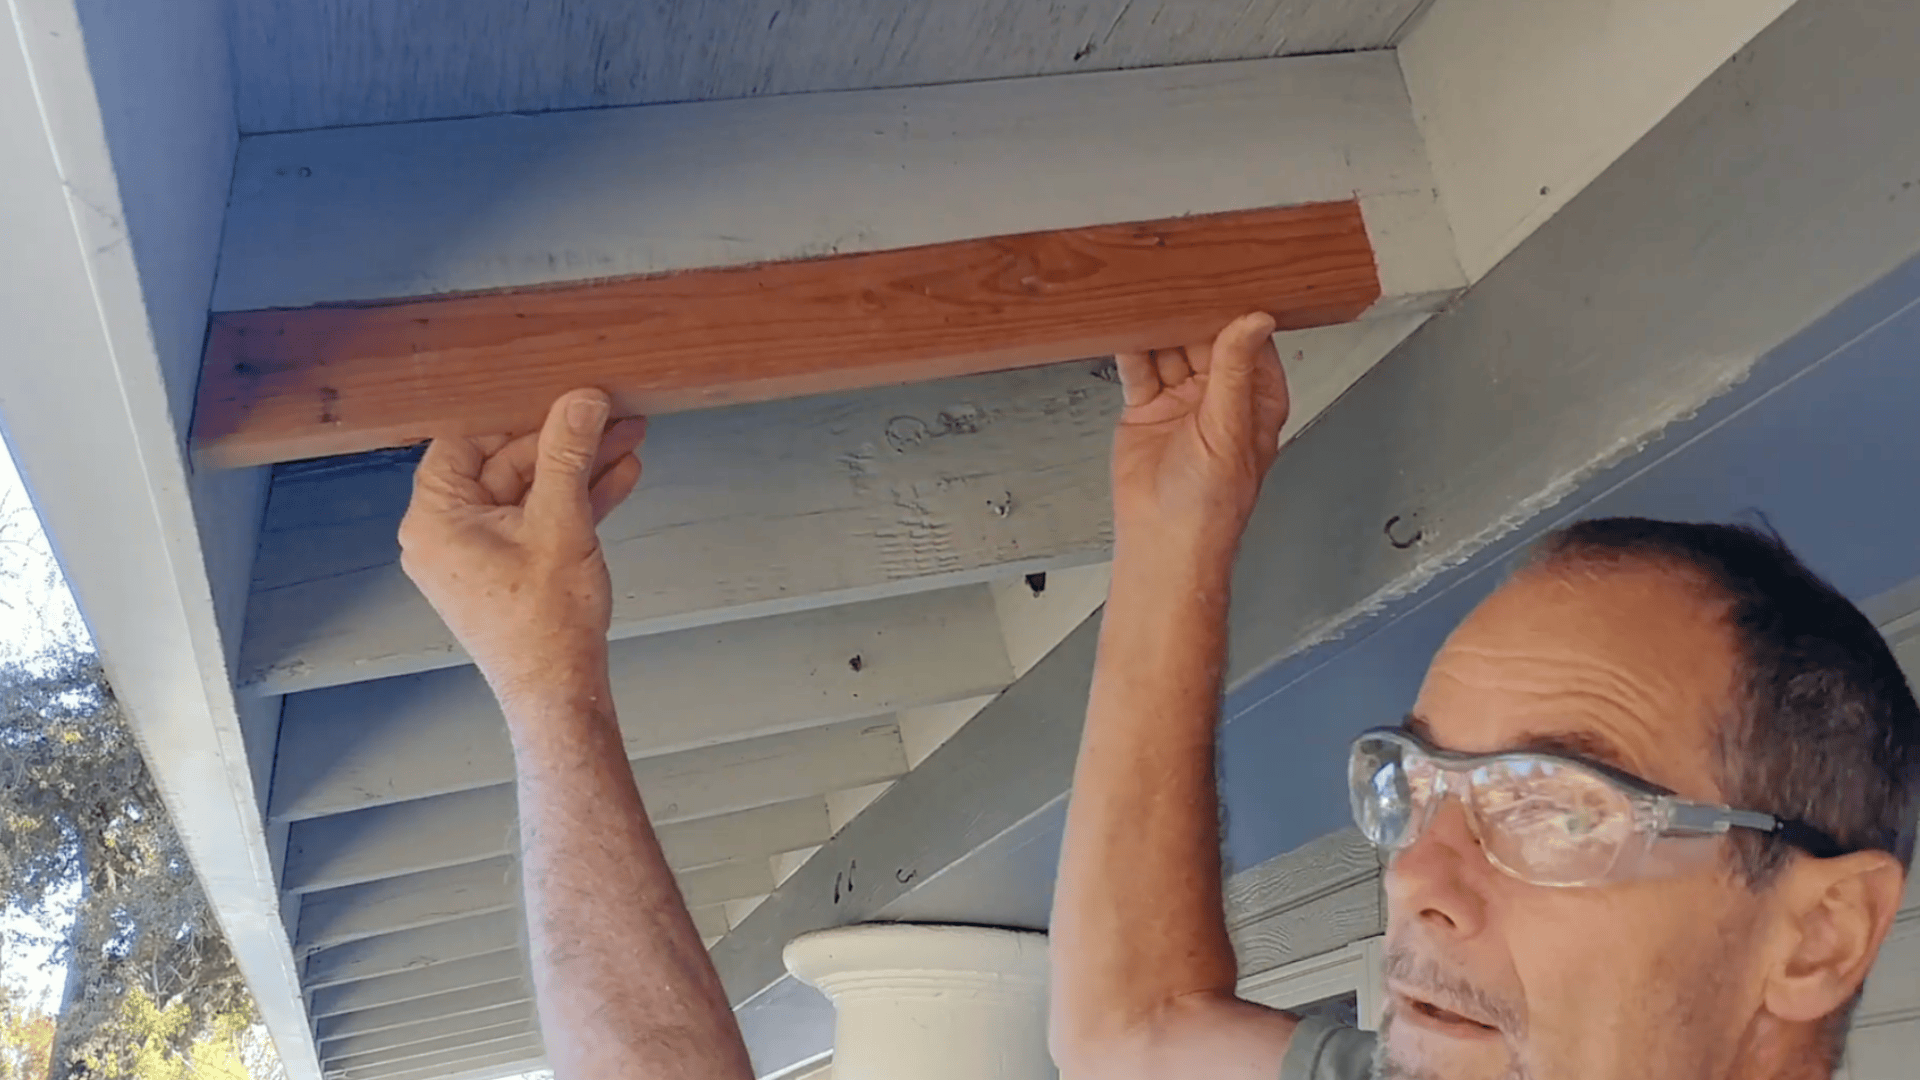
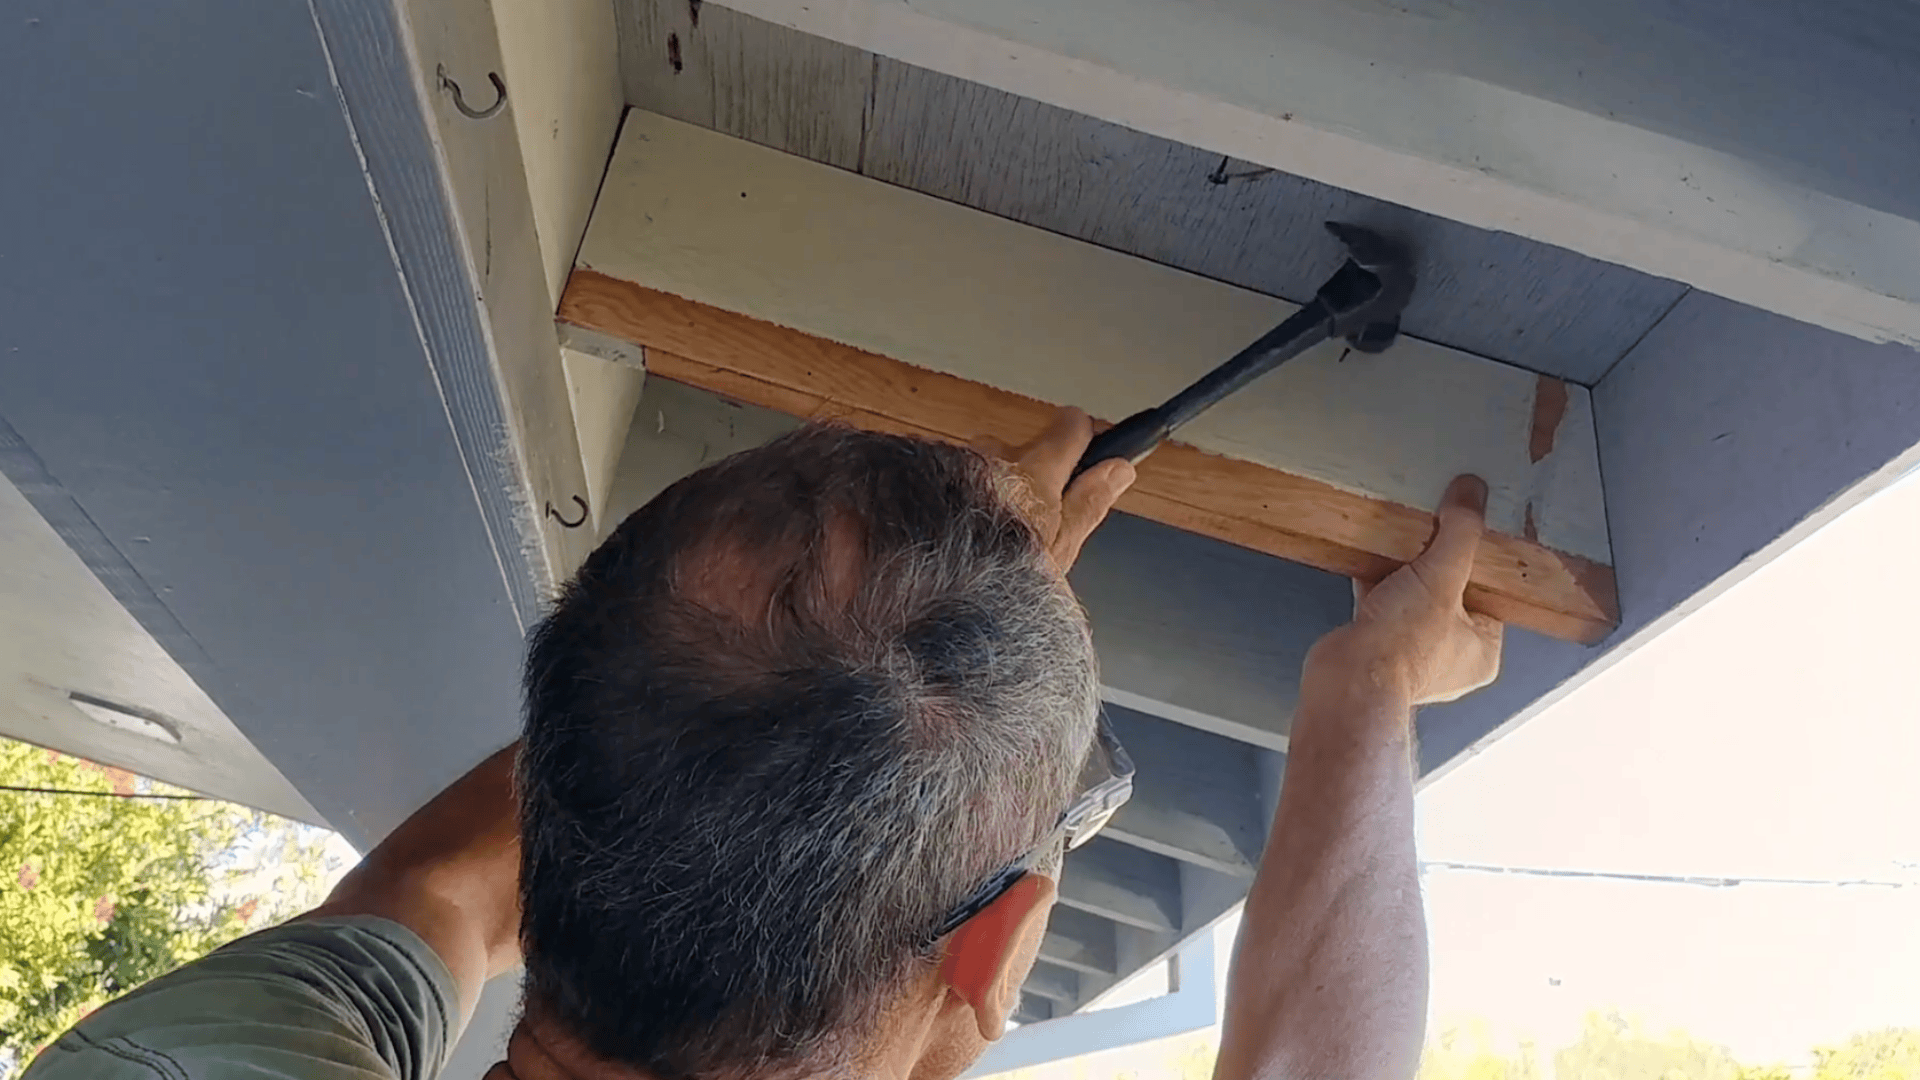
Cut a new 2×4 or similar piece to match the section you removed. Shape it with a band saw for a snug fit, then attach it to a plywood gusset for reinforcement.
Nail the assembly into place, ensuring the new block aligns smoothly with the existing beam. This restores both strength and appearance to the structure.
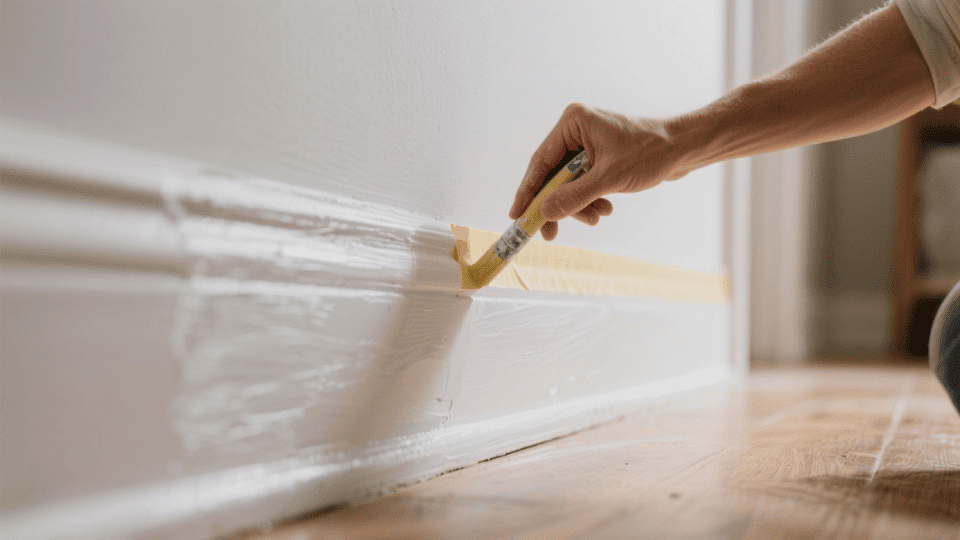
Step 5: Seal, Finish, and Protect the Surface
After securing the new piece, fill any visible cracks or seams with wood filler or caulk. Once dry, lightly sand the area, then apply primer and exterior-grade paint.
This final layer seals the surface against moisture and pests, completing a durable, visually clean termite-damage repair.
For a More Real-Time Walkthrough, Refer to This Video Tutorial Below:
Average Cost of Termite Damage Repair
Repairing termite damage can range from minor cosmetic fixes to major structural restoration. The following table outlines typical cost ranges based on the scale of damage and insights from trusted home improvement sources.
| Type of Repair | Description | Estimated Cost Range (USD) | |
|---|---|---|---|
| Minor Cosmetic Repairs | Small fixes such as patching drywall, replacing trim, or individual boards. | $300 – $2,000 | |
| Medium Scale Repairs | Framing, subfloor, or partial wall replacements require moderate labor. | $1,000 – $3,000+ | |
| Severe Structural Repairs | Major work on load-bearing walls, beams, or joists with extensive termite damage. | $3,000 – $10,000+ |
Pro Tips: Always get multiple contractor quotes to compare both price and quality. Include pest treatment costs in your budget before starting structural repairs to prevent re-infestation.
Key Factors Affecting the Cost of Termite Damage Repair
The cost of repairing termite damage can vary widely depending on several important factors. Understanding these helps you anticipate expenses and make informed repair decisions.
- Extent of Damage: Severe structural damage requires more materials, labor, time, and therefore more cost
- Accessibility: Damage hidden behind walls or in crawl spaces adds to labor complexity and expense
- Material Type: Replacing premium wood or specialty materials is costlier than using standard framing lumber
- Geographic Region: Labor and material rates differ based on local market conditions
- Termite Species: Subterranean termites often cause more extensive damage than drywood species
How to Prevent this Damage?
Taking proactive steps after repairs or before termites ever show up can save you significant money and headaches down the road.
- Keep firewood, lumber, and debris at least 20 feet away from your home’s foundation
- Maintain proper ventilation in crawl spaces and attics, and control humidity levels
- Fix leaks promptly and ensure downspouts direct water away from the foundation
- Schedule annual termite inspections with a licensed professional to catch problems early
- Use termite-resistant materials during construction or renovations, and seal cracks, gaps, and openings
Prevention is always far cheaper than major repairs. Spending a few hundred dollars on inspections and preventive treatments beats paying thousands to replace structural beams and flooring later.
Wrapping Up
As I mentioned throughout this blog, termite damage repair is entirely possible regardless of how overwhelming it might seem right now.
Costs vary widely based on the extent of damage, but catching the problem early makes all the difference between a minor fix and a major financial hit.
Take time to regularly inspect your home, and act quickly if you spot warning signs. Budget wisely by getting multiple quotes, and don’t hesitate to contact a qualified professional for serious structural issues.