When I first wondered, “can you paint stainless stee?l” for my appliances, everyone had a different opinion. Some said it was impossible, others said it was easy. The truth?
Painting stainless steel requires proper preparation and specific materials to create a durable, chip-resistant finish.
The process isn’t complicated, but skipping steps leads to disappointing results. Ready to find what really works on this tricky metal surface?
Why Paint Stainless Steel?
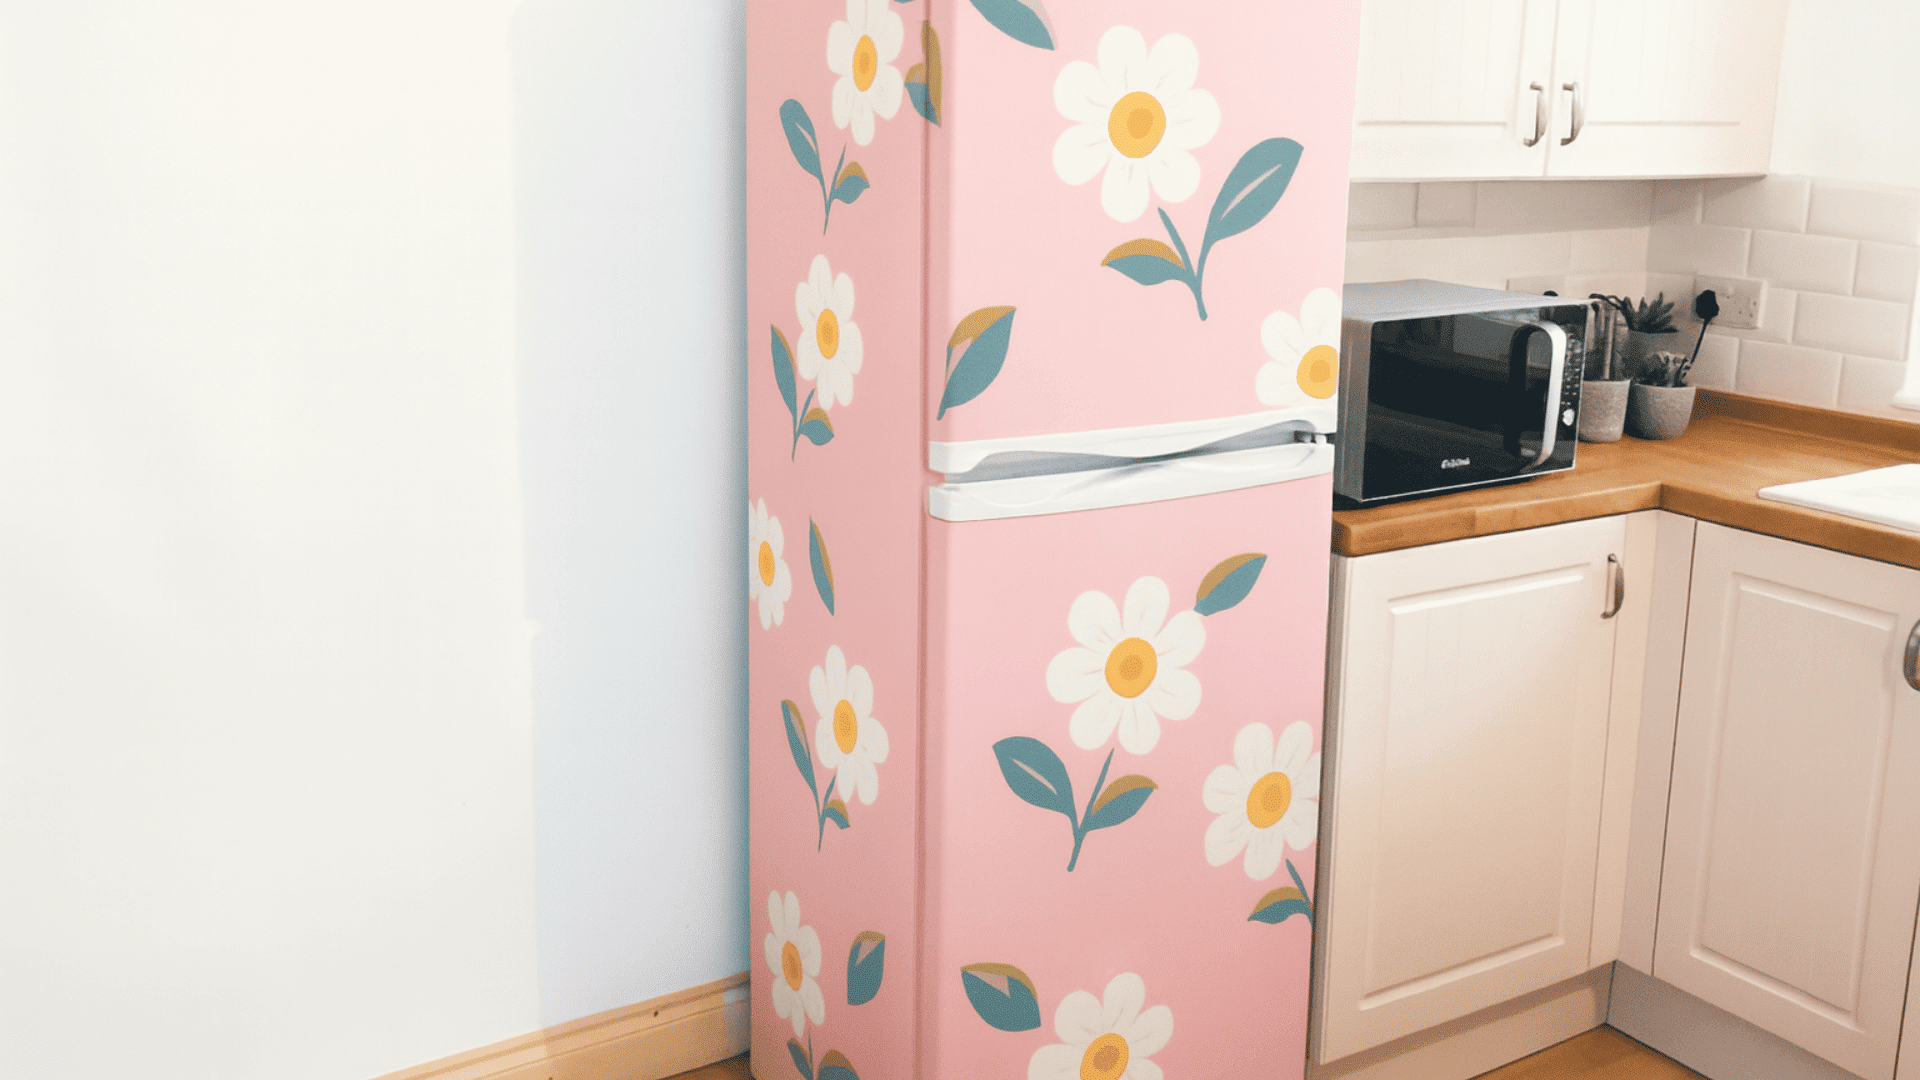
Stainless steel looks sleek, but it doesn’t always fit every person’s needs. Painting stainless steel offers a budget-friendly way to customize appliances, furniture, and hardware without buying replacements.
Beyond its appeal, paint adds an extra layer of protection. While stainless steel naturally resists corrosion, harsh environments can still cause wear.
A proper paint job helps shield surfaces from scratches, chemical exposure, and weather damage, extending the lifespan of your items while giving them a fresh new look.
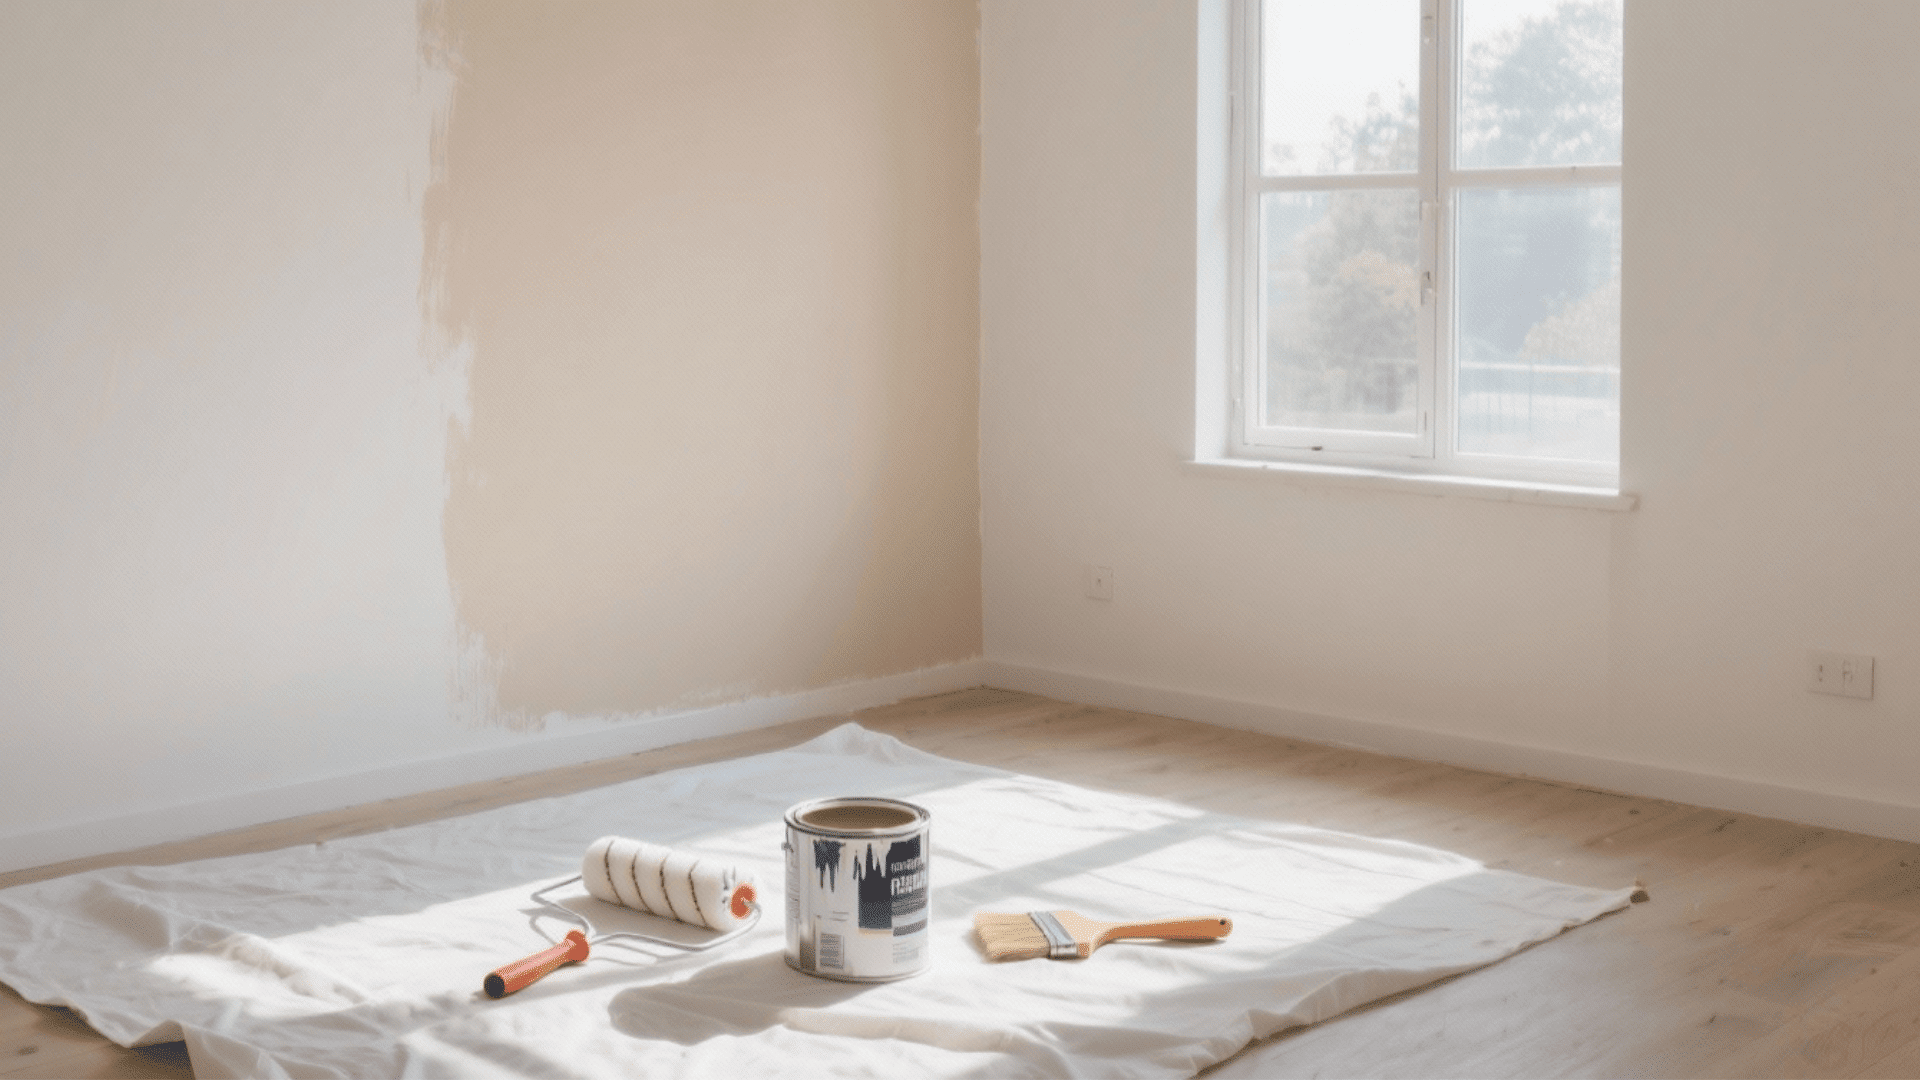
Materials and Tools Needed
Before you start painting stainless steel, gather the right supplies to make the job go more smoothly.
You’ll need specific materials designed to bond with metal surfaces and withstand daily use. Here’s everything required for a professional-looking finish.
| ITEM | PURPOSE |
|---|---|
| Self-etching primer | Creates a bonding surface on smooth metal |
| Metal paint or epoxy | Provides durable, long-lasting color coat |
| Clear topcoat sealer | Protects paint from chips and scratches |
| Sandpaper (220-grit) | Roughens the surface for better adhesion |
| Degreasing cleaner | Removes oils and contaminants |
| Lint-free cloths | Wipes surface without leaving residue |
| Painter’s tape | Masks off areas you don’t want painted |
| Spray gun or brushes | Applies paint evenly and smoothly |
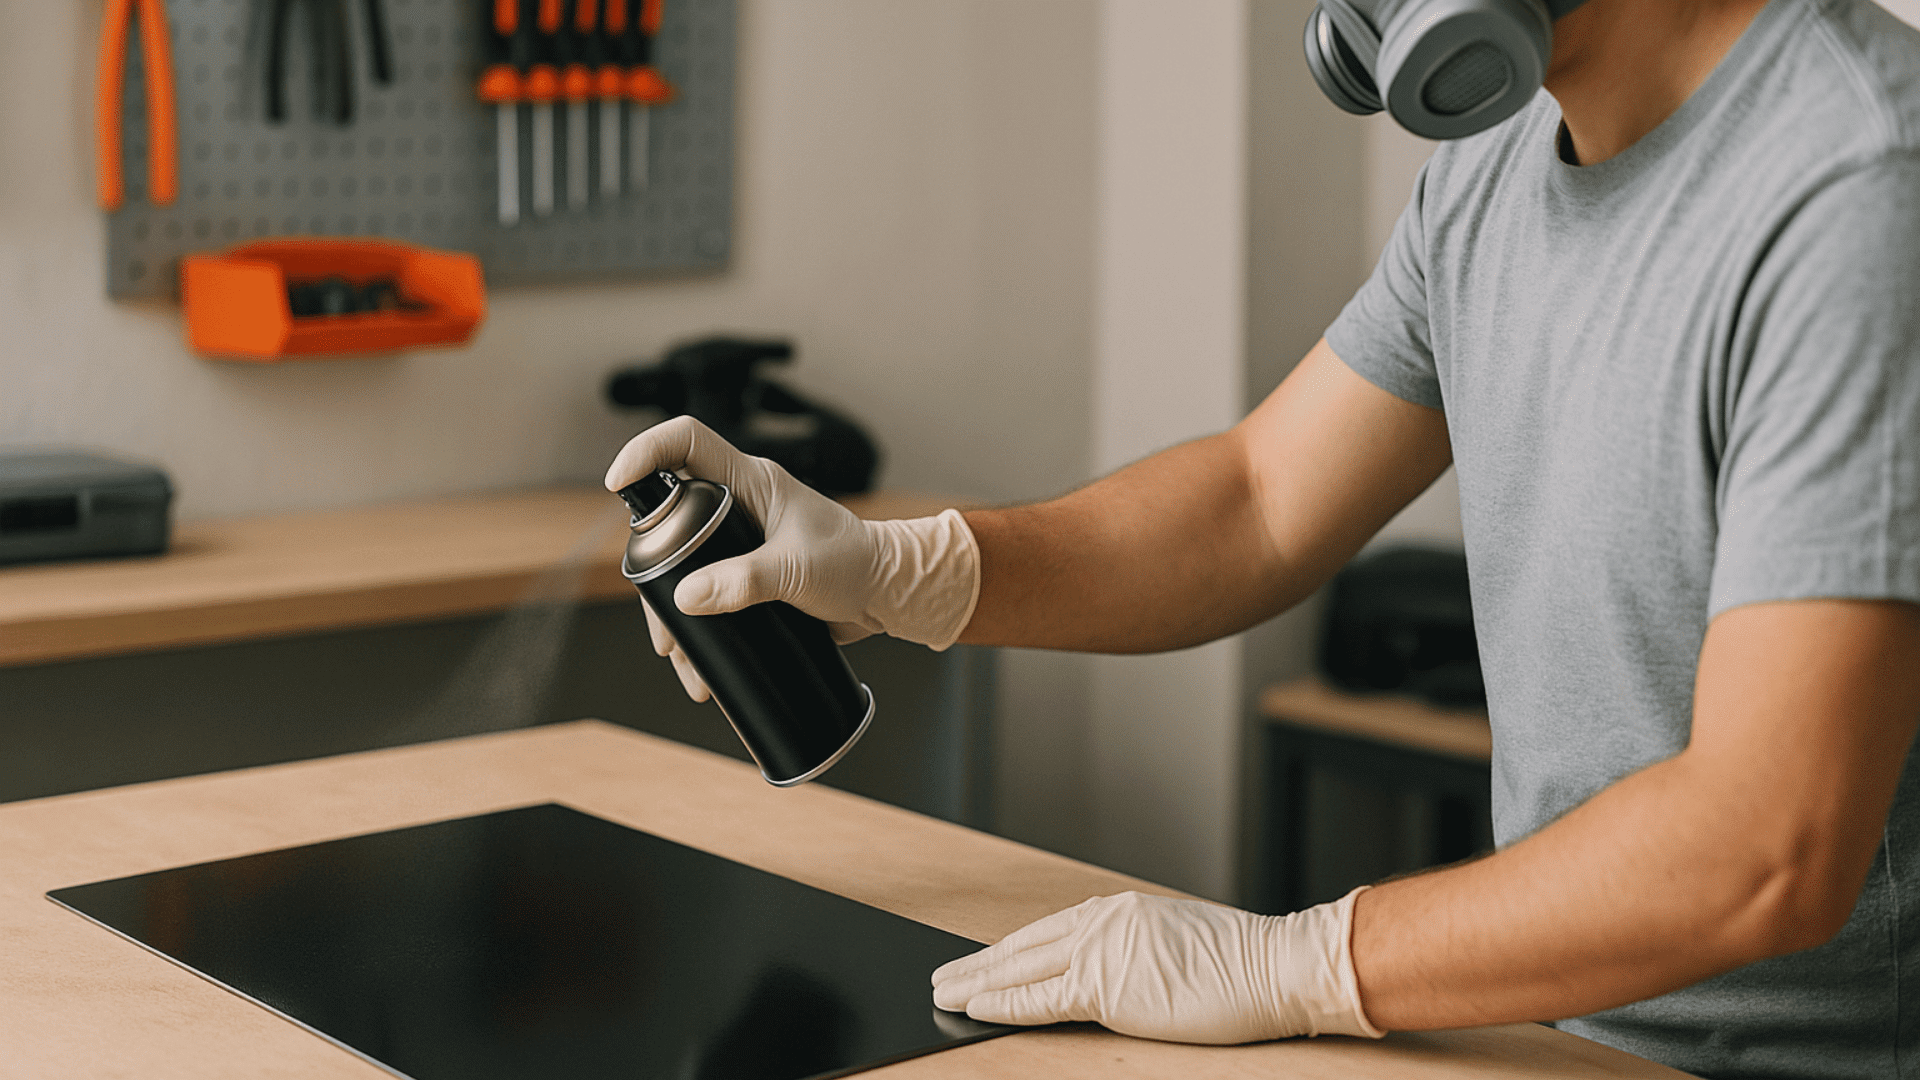
Steps for Painting Stainless Steel
Painting stainless steel requires patience and proper technique. Rushing through steps leads to peeling and poor adhesion. Follow this straightforward process to achieve a smooth, durable finish that lasts for years.
Step 1: Clean the Surface Thoroughly
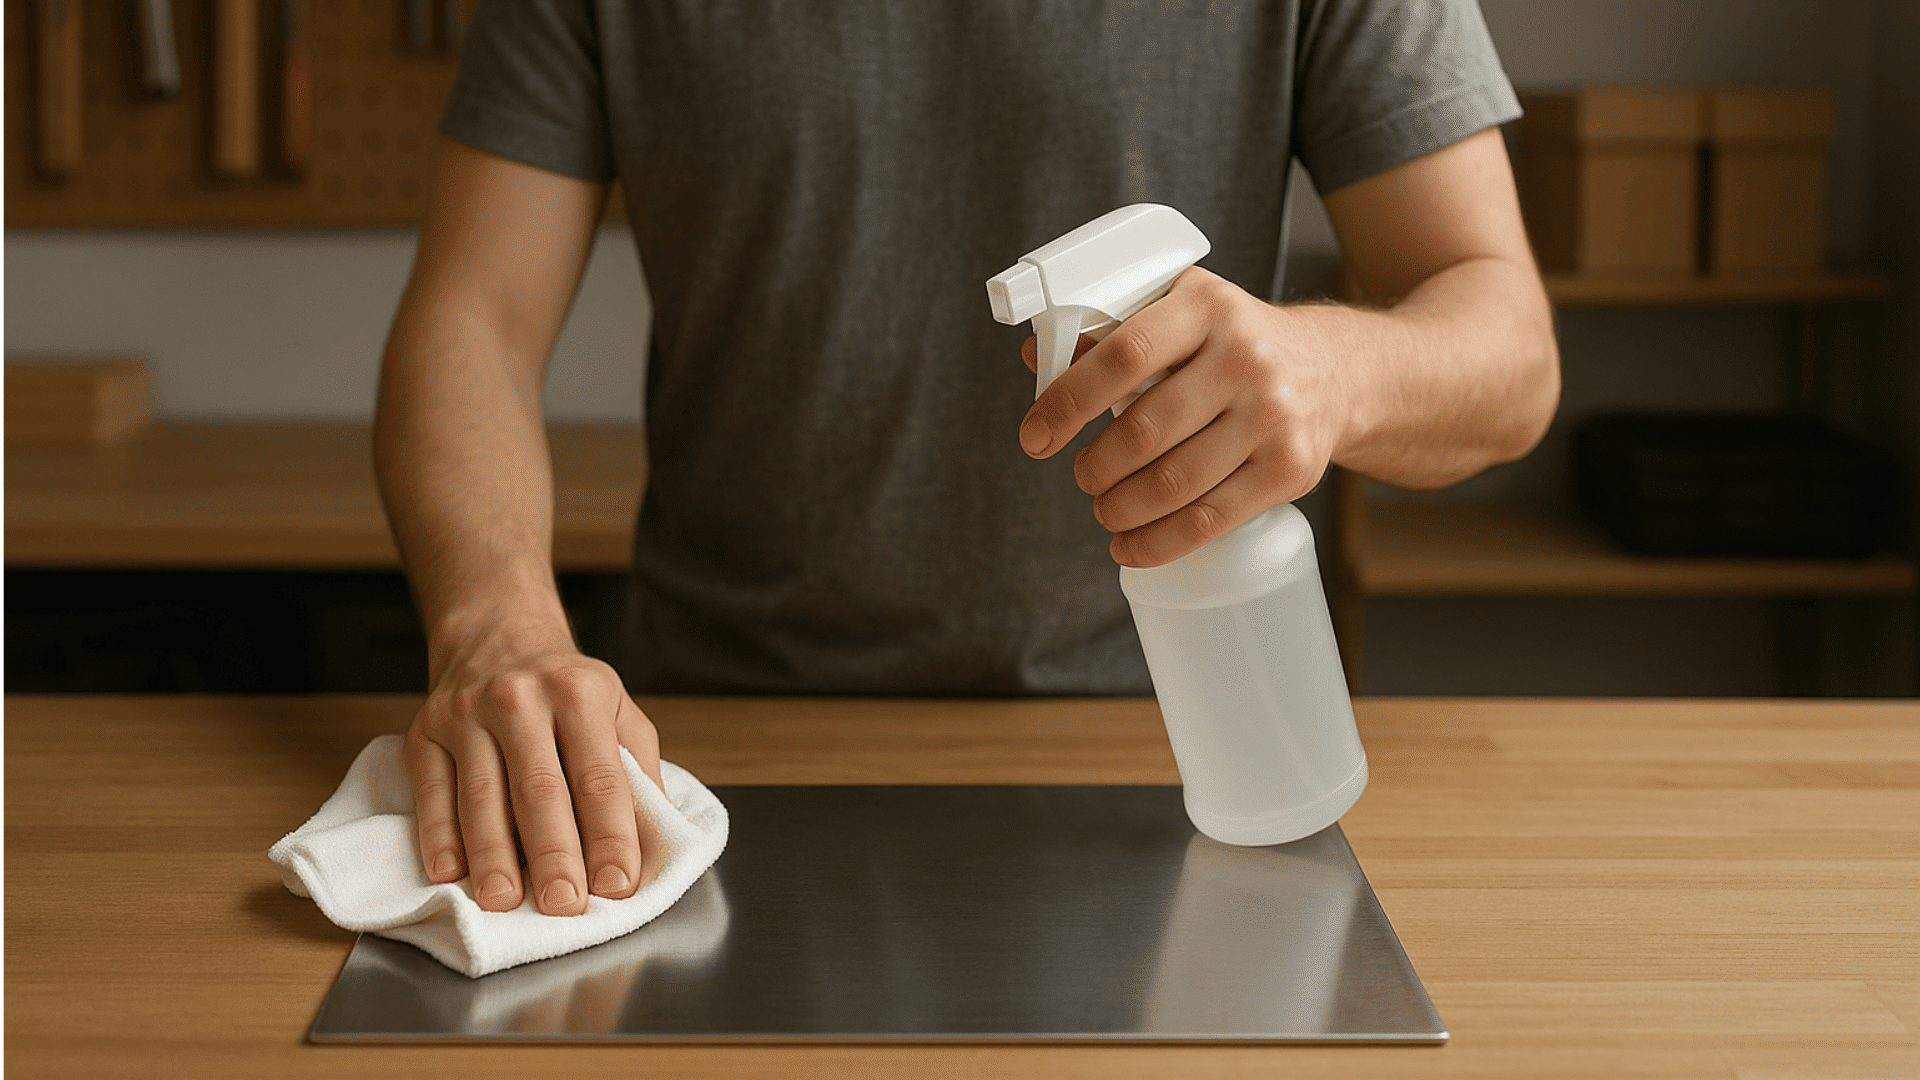
Start by removing all grease, fingerprints, and dirt from your stainless steel surface. Use a degreasing cleaner and a lint-free cloth to wipe down every inch.
Any residue left behind prevents paint from sticking properly. Let the surface dry completely before moving forward. This crucial first step ensures your paint job won’t fail.
Step 2: Sand and Roughen the Surface

Smooth stainless steel won’t hold paint well without roughening. Use 220-grit sandpaper to create tiny scratches across the entire surface.
Work in circular motions with light pressure. This creates texture for the primer to grip. Wipe away all sanding dust with a damp cloth afterward, then let it dry fully before continuing.
Step 3: Apply Self-Etching Primer
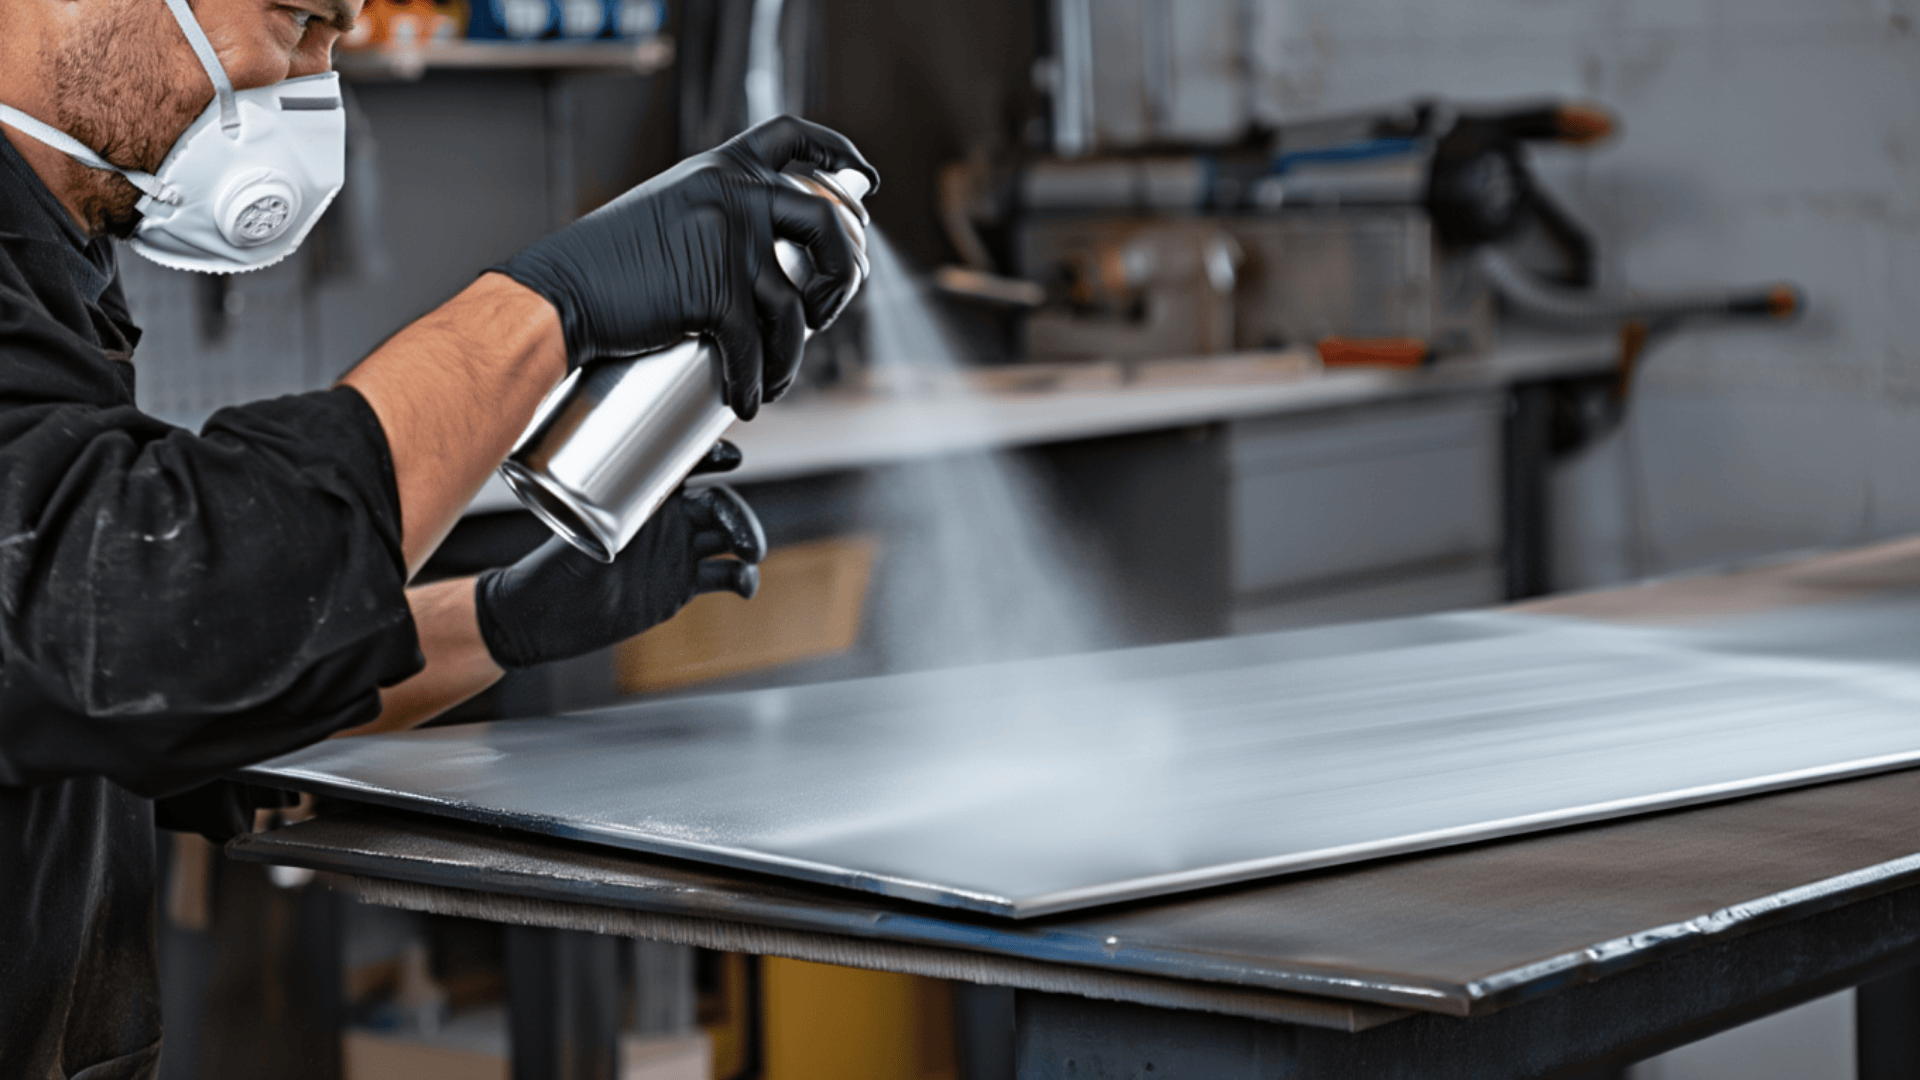
Self-etching primer is essential because it chemically bonds to metal. Apply thin, even coats using a spray gun or quality brush.
Two light coats work better than one heavy layer. Allow each coat to dry according to the manufacturer’s instructions. This primer creates the foundation your topcoat needs.
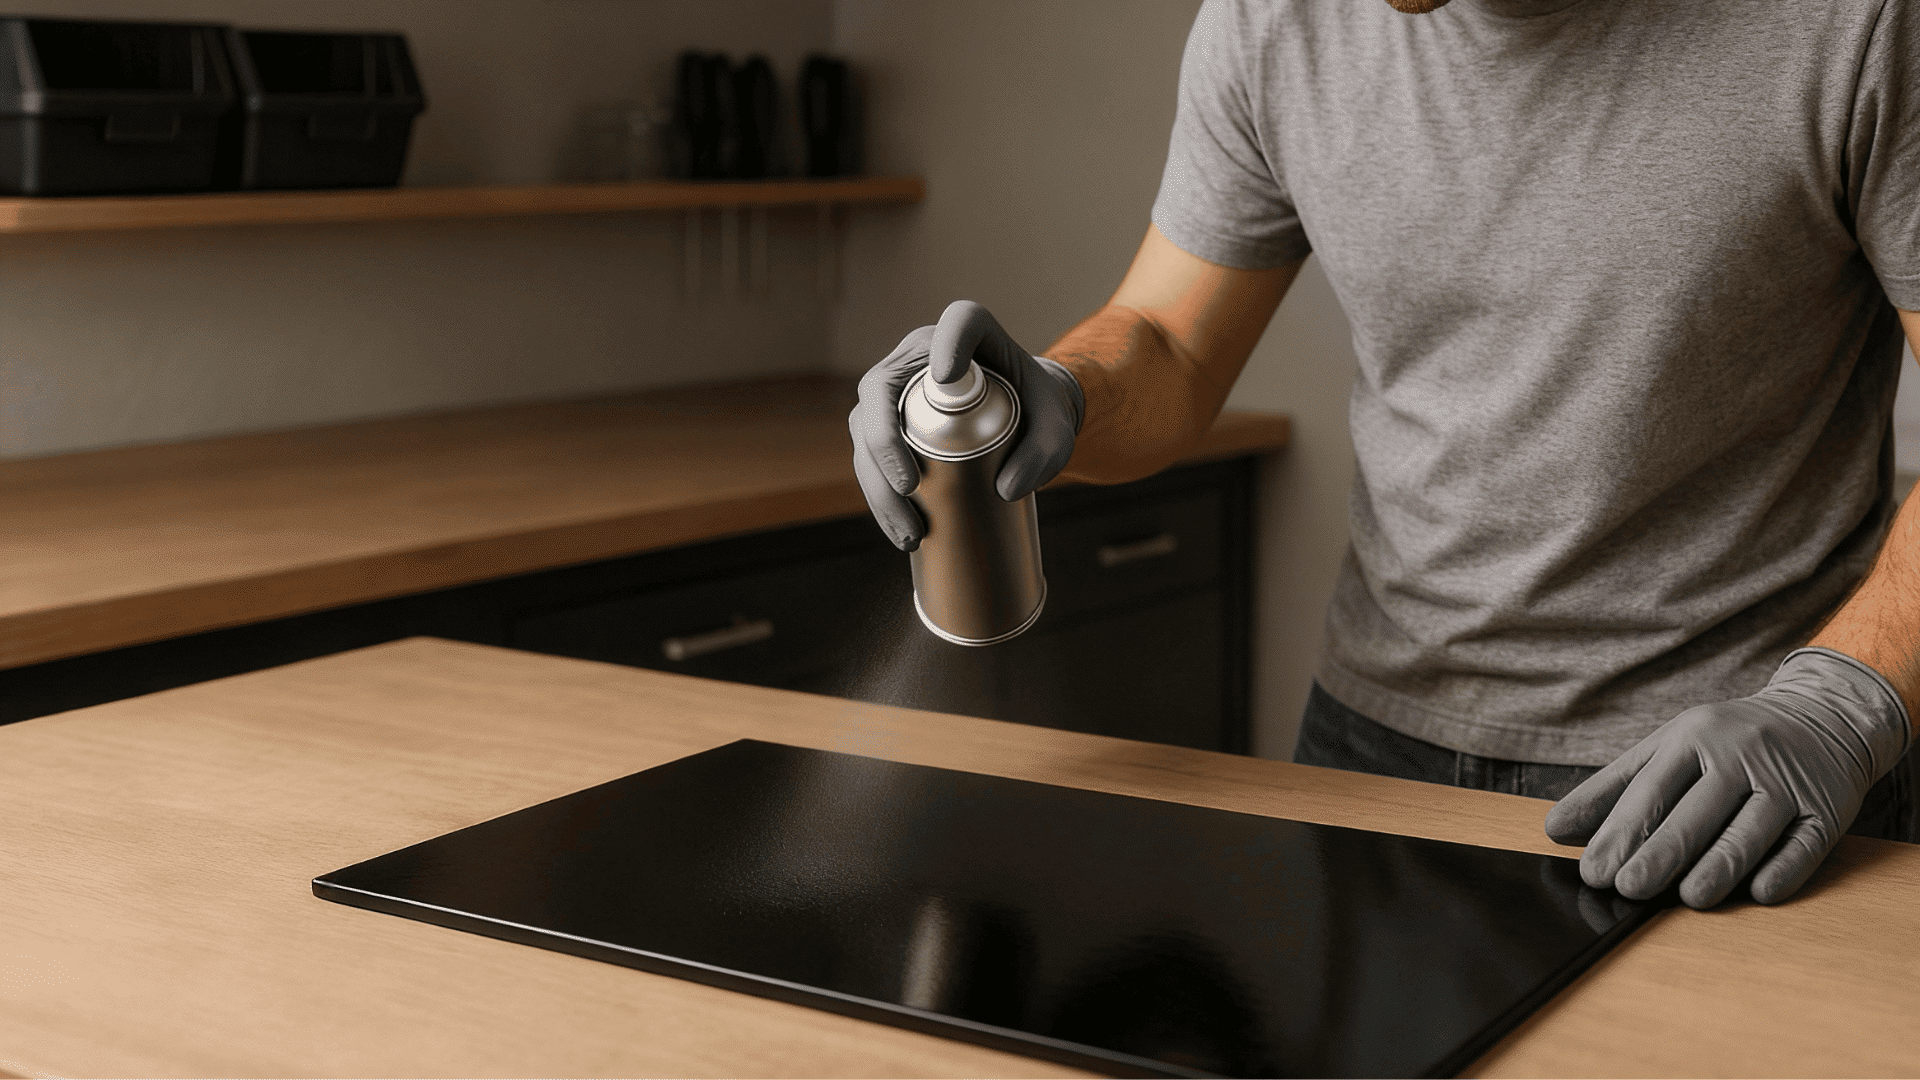
Step 4: Paint with Metal-Specific Paint
Once the primer dries, apply your chosen metal paint in thin, consistent layers. Spray paint provides the smoothest finish, but brushes work too.
Apply 2 to 3 coats, waiting between each coat for proper drying. Avoid thick applications that cause drips or uneven coverage. Your patience here determines the final appearance quality.
Step 5: Seal with Protective Topcoat
A clear topcoat sealer protects your freshly painted stainless steel from daily wear. Apply it just like the paint, thin and even.
This final layer guards against scratches, moisture, and UV damage. Let it cure for the full recommended time before using the item. Proper sealing makes all the difference in longevity.
Following these five steps ensures professional results. Take your time with each phase, and your changed pieces will look factory-finished.
Choosing the Right Paint for Stainless Steel
Not all paints work on metal surfaces. Picking the wrong type leads to chipping, peeling, and wasted effort. The right paint bonds properly and withstands heat, moisture, and daily wear.
| PAINT TYPE | BEST FOR | KEY BENEFIT |
|---|---|---|
| Epoxy paint | Appliances, sinks | Extremely durable, water-resistant |
| Oil-based enamel | Outdoor furniture, railings | Weather-proof, long-lasting finish |
| Acrylic latex | Indoor decor items | Easy cleanup, low odor |
| High-heat spray paint | Grills, stove parts | Withstands temperatures up to 1200°F |
Different Application Methods
How you apply paint affects the final look of your stainless steel surface. Each method offers different advantages depending on your project size and desired finish.
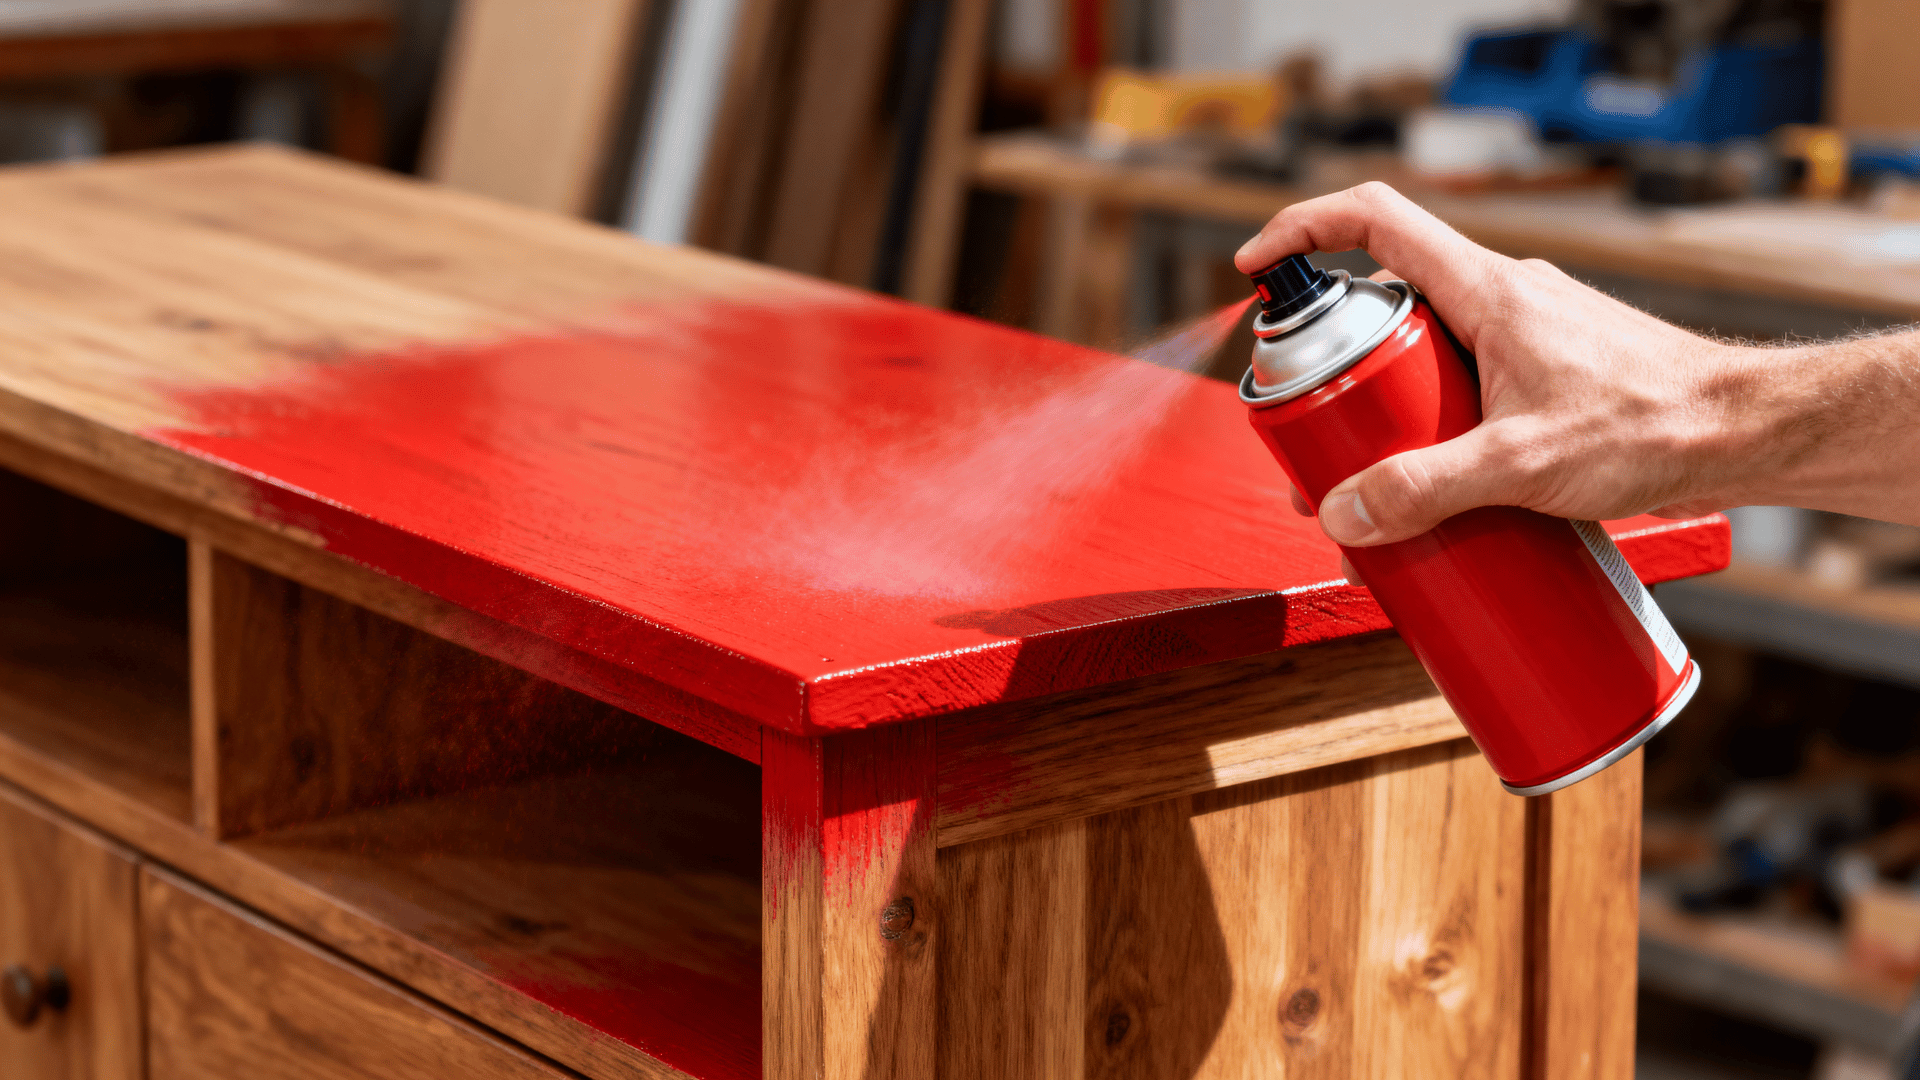
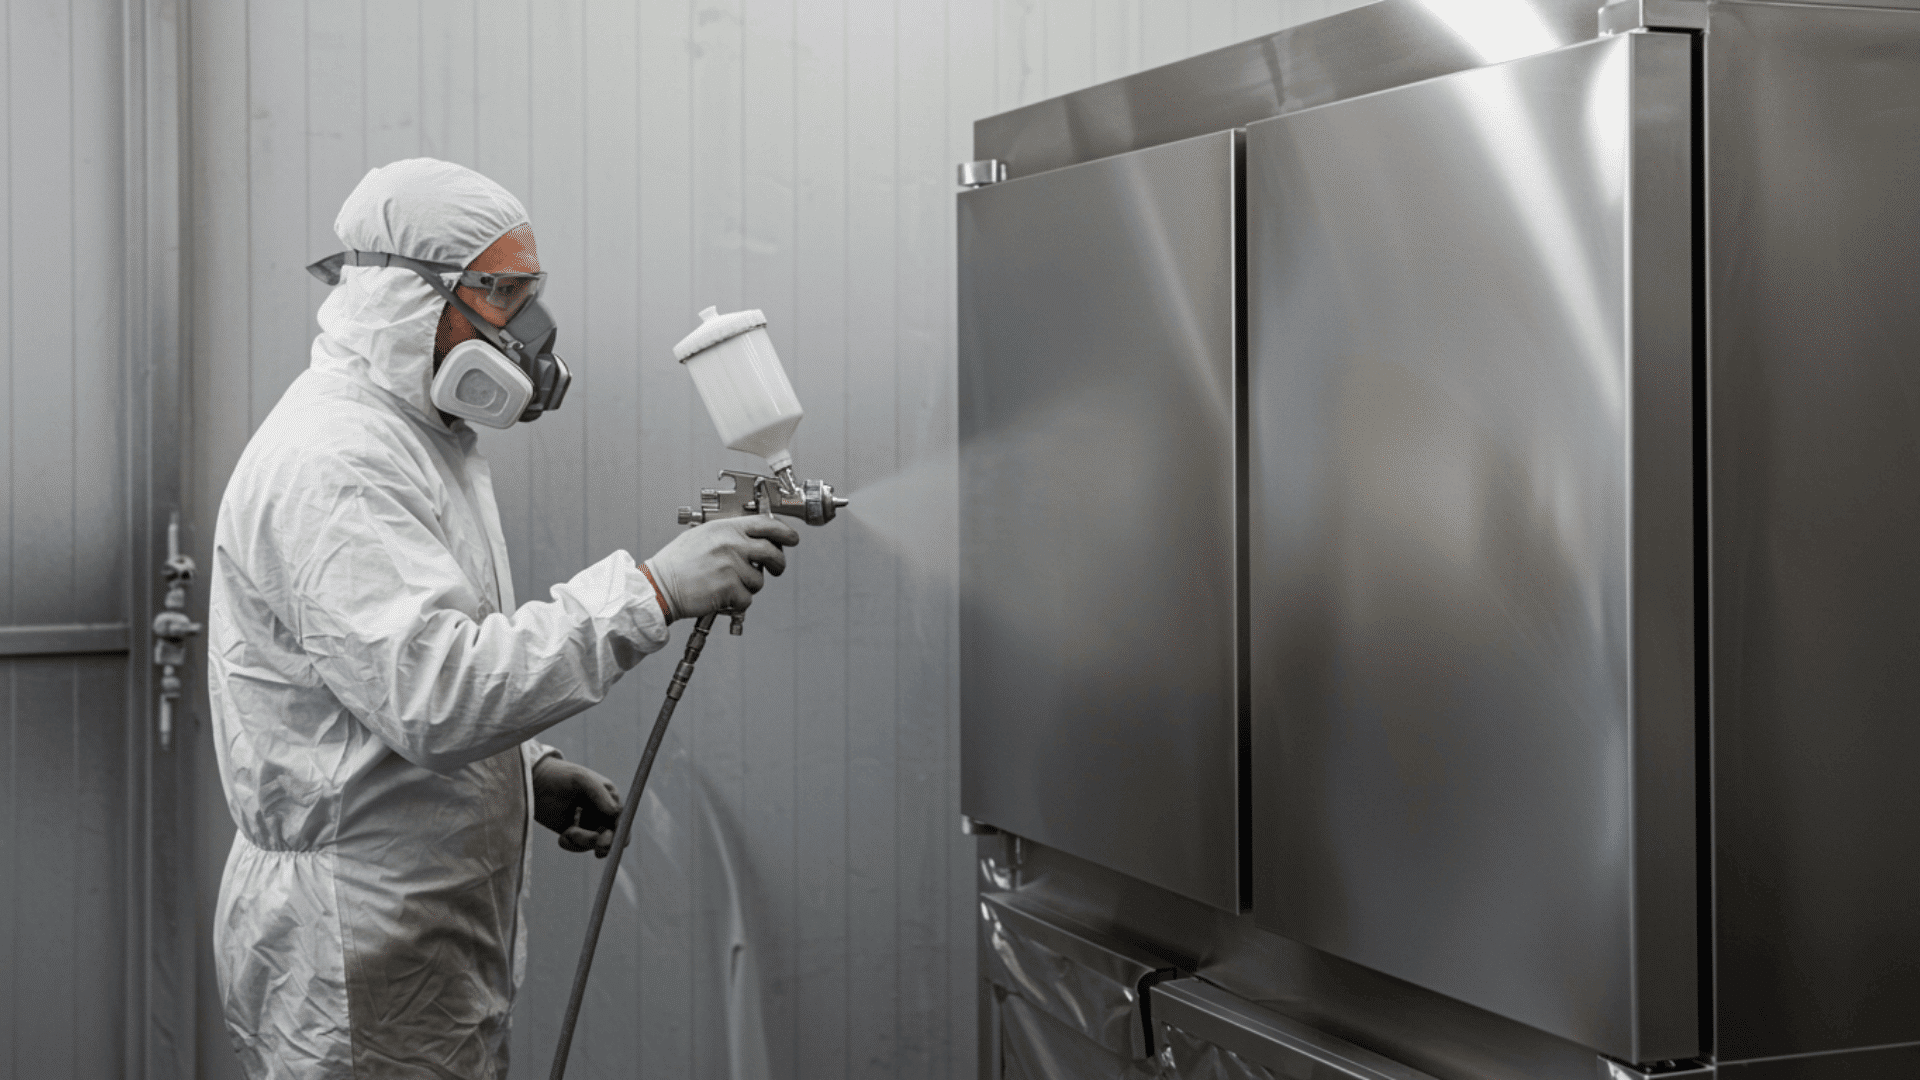
1. Spray Painting
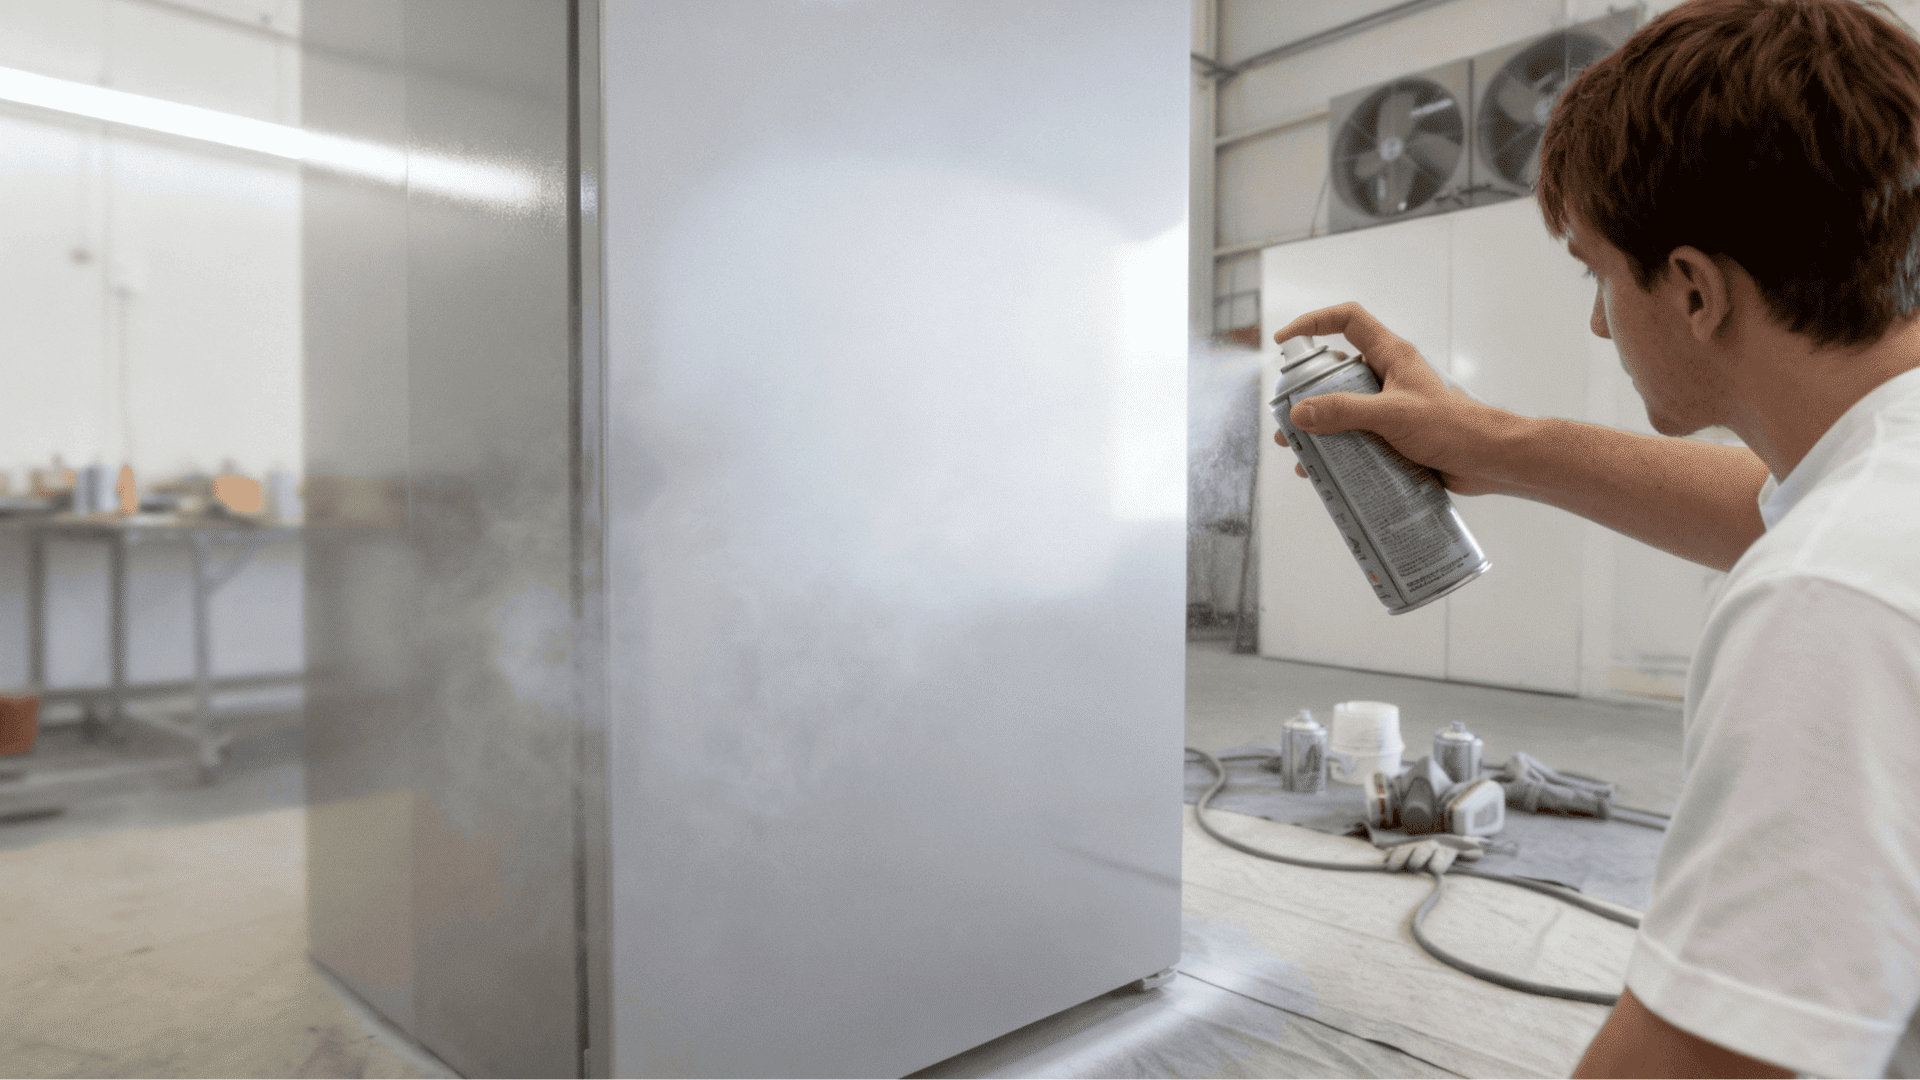
Spray paint delivers the smoothest, most professional finish when painting stainless steel. It covers evenly without brush marks and reaches tight corners easily. Hold the can 8-10 inches away and use sweeping motions.
- Best for: Large flat surfaces, appliances, outdoor furniture
- Pro tip: Apply multiple thin coats instead of one thick layer to avoid drips
- Pros: Fast coverage, no brush marks, even finish
- Cons: Requires ventilation, overspray mess, harder to control
2. Brush Painting
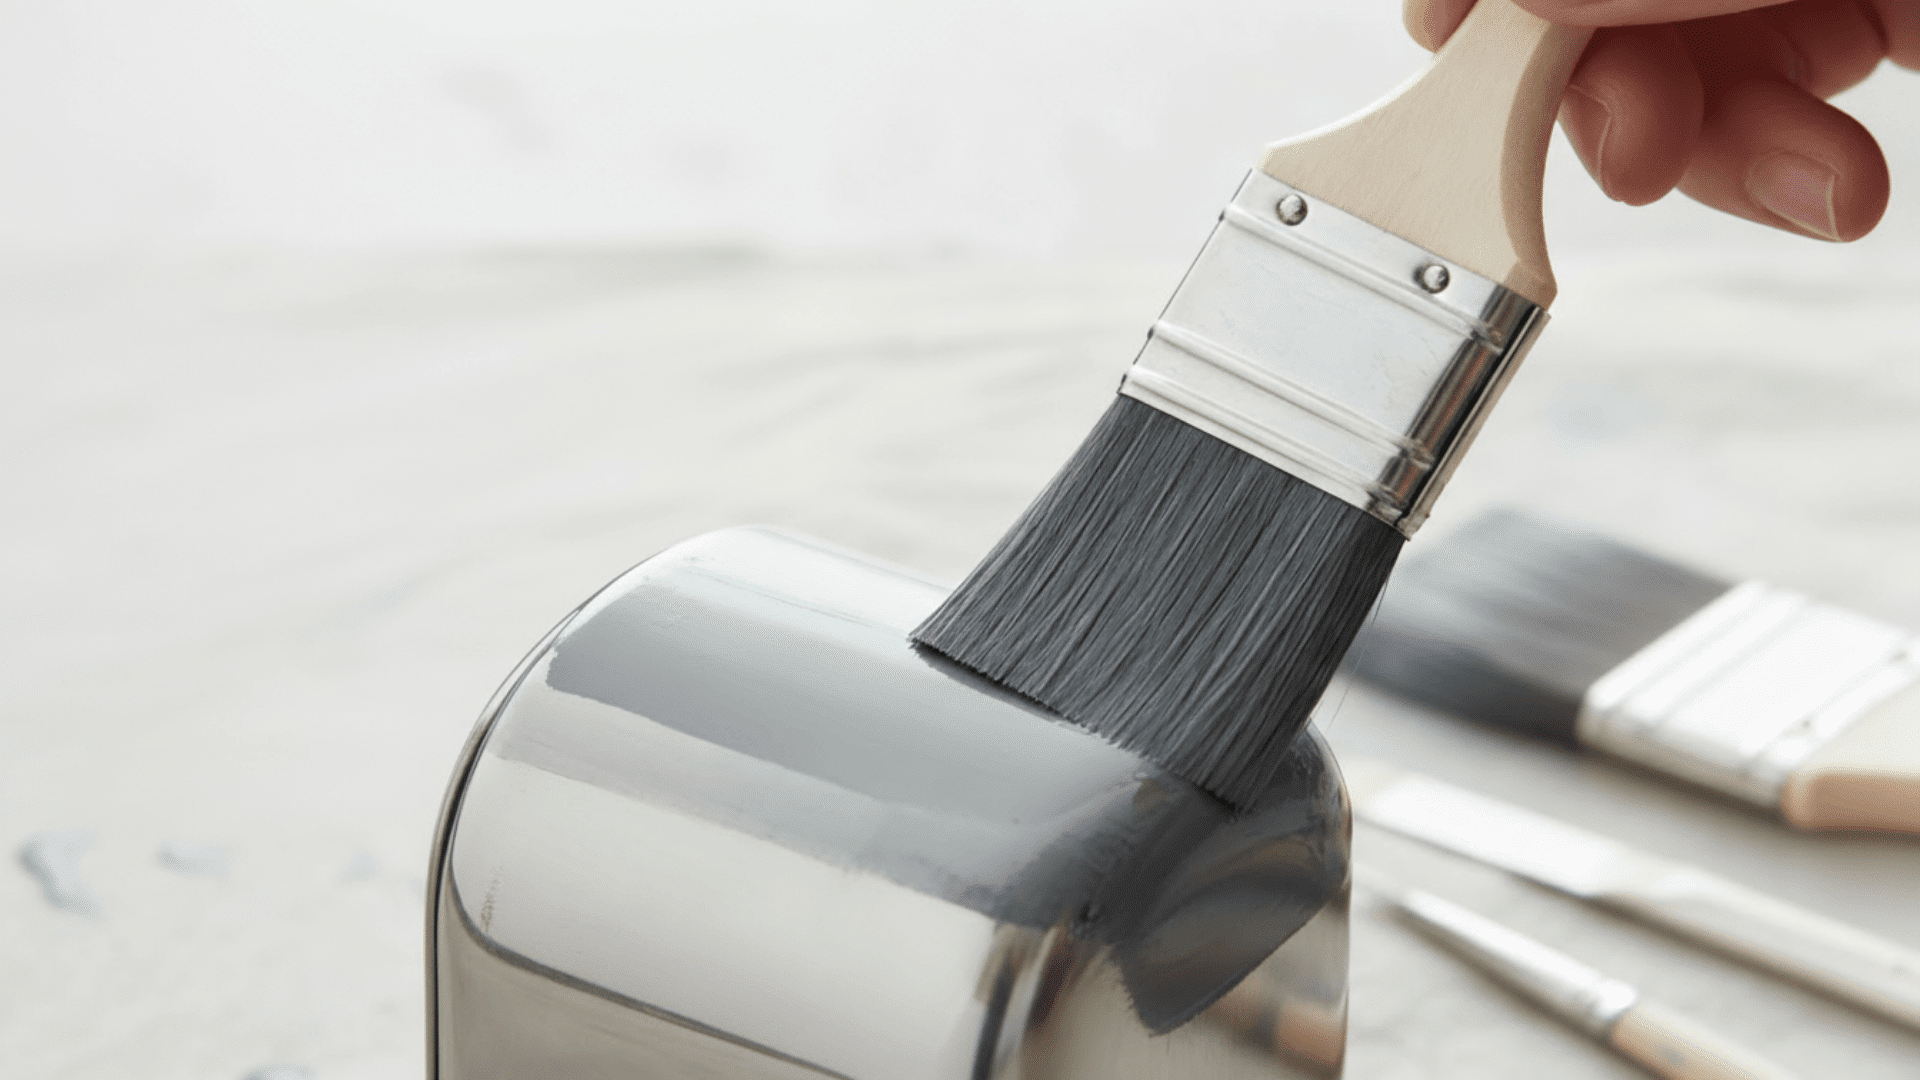
Brushes give you precision and control for detailed work or small projects. Use high-quality synthetic brushes designed for metal paint. Work in long, smooth strokes following one direction for best results.
- Best for: Small items, edges, touch-ups, detailed designs
- Pro tip: Don’t overload your brush less paint prevents streaks and drips
- Pros: No overspray, controlled application, reaches tight spots
- Cons: Visible brush marks possible, slower process, requires steady hand
3. Roller Application
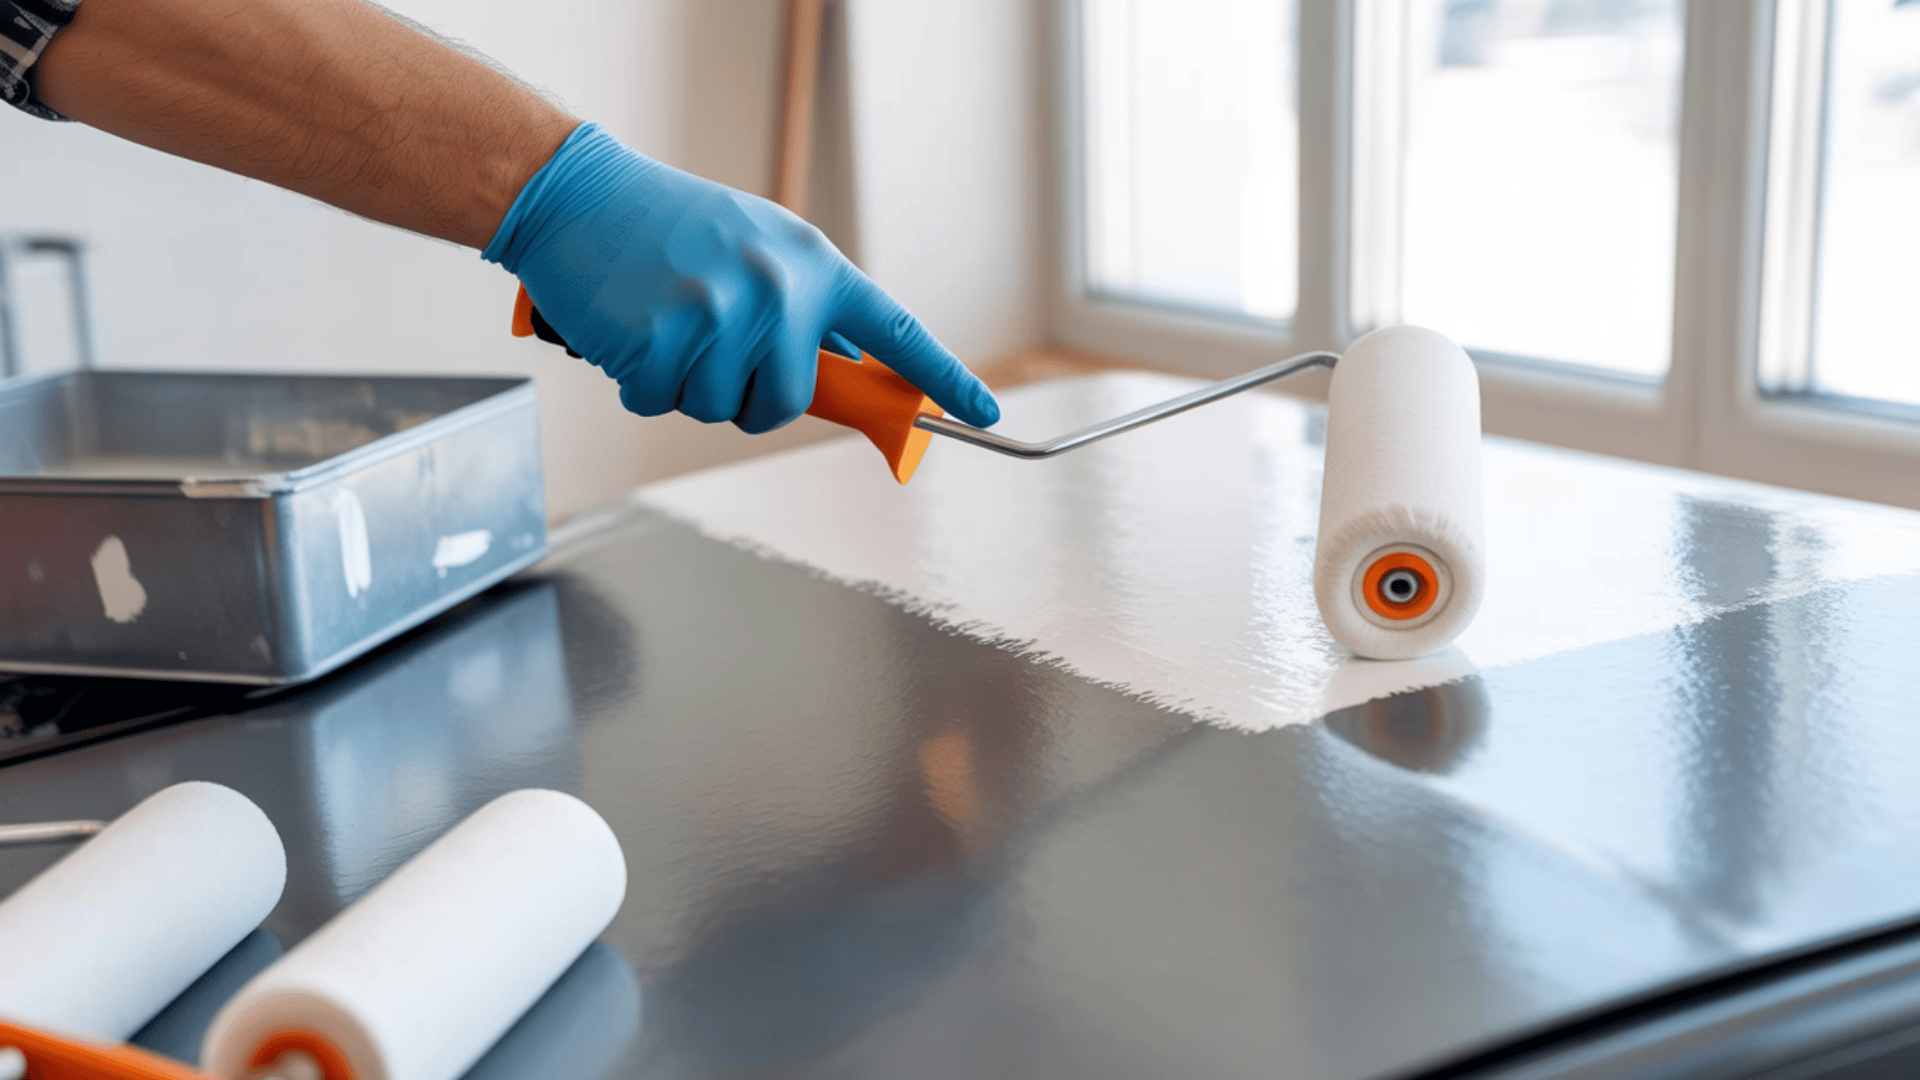
Paint rollers work well for medium-sized flat stainless steel surfaces. Foam rollers create smoother finishes than traditional nap rollers. This method balances speed with control for manageable projects.
- Best for: Cabinet doors, flat panels, medium furniture pieces
- Pro tip: Use a foam roller specifically made for smooth surfaces and enamel paints
- Pros: Faster than brushing, minimal texture, good coverage
- Cons: Limited for curved surfaces, still slower than spraying, needs flat areas
4. Air Sprayer
Air sprayers atomize paint into fine particles for ultra-smooth coverage. This method requires practice but delivers factory-quality finishes on any size project.
- Best for: Large appliances, multiple items, commercial projects, complex shapes
- Pro tip: Thin your paint to proper viscosity and test spray pattern before starting
- Pros: Professional finish, fastest coverage, adjustable spray patterns, works on any shape
- Cons: Equipment cost, requires cleanup, needs compressor or HVLP system, learning curve
Your project size, location, and desired finish determine which technique suits you best. Practice on scrap metal first to get comfortable with your chosen method before tackling your main project.
Alternatives to Painting Stainless Steel
Painting isn’t your only option for changing the look of stainless steel surfaces. Several alternatives offer different benefits depending on your goals and budget.
| ALTERNATIVE | WHAT IT DOES | BEST FOR |
|---|---|---|
| Powder coating | Bakes on colored finish | High-traffic items, outdoor use |
| Vinyl wraps | Applies adhesive film | Temporary changes, rentals |
| Stainless steel polish | Restores original shine | Removing scratches, maintenance |
| Anodizing | Electrochemical color process | Professional applications only |
| Replacement panels | Swaps out metal pieces | Severely damaged surfaces |
Common Mistakes to Avoid
Even experienced DIYers can make mistakes when working with stainless steel for the first time. These mistakes lead to peeling, bubbling, and uneven finishes, wasting time and money.
- Skipping surface preparation guarantees failure. Always clean and sand thoroughly before applying any primer or paint to ensure proper bonding.
- Using a regular primer instead of a self-etching formula won’t work. Standard primers don’t bond to smooth metal surfaces like stainless steel requires.
- Applying thick coats results in drips, an uneven texture, and longer drying times. Multiple thin coats always produce better, more professional-looking results.
- Painting in the wrong conditions ruins your work. High humidity or extreme temperatures affect drying and adhesion, so work in a range of 50-85°F with low humidity.
- Rushing between coats traps moisture, creating bubbles. Follow the recommended drying times on your products before adding another layer of paint.
- Forgetting the topcoat sealer leaves the paint vulnerable to daily wear. A clear protective finish extends your paint job’s lifespan and prevents premature chipping.
These mistakes account for most failed stainless steel painting projects. Take your time with each step and follow product instructions carefully. Patience during the process means you won’t need to redo the work later.
Maintaining Painted Stainless Steel
Properly painted stainless steel lasts 3-7 years with good care, sometimes longer depending on conditions. Regular maintenance extends your paint job’s lifespan and keeps surfaces looking fresh.
- Clean with mild soap only: Harsh chemicals and abrasive cleaners scratch the finish and strip protective topcoat layers over time.
- Use soft cloths for cleaning; rough pads or brushes: They can damage paint and create scratches or worn spots on the surface.
- Touch up chips immediately: Small damage spreads quickly if left unchecked, allowing moisture to reach the metal underneath and causing bigger problems.
- Avoid direct heat exposure: Extreme temperatures cause paint to crack, bubble, or discolor, especially on pieces not rated for high heat.
- Reapply the topcoat every 1-2 years: This simple step refreshes the finish and helps prevent wear from daily use and environmental exposure.
These maintenance habits keep your painted stainless steel looking new for years. A little regular care prevents major repairs down the road. Treat painted surfaces gently, and they’ll maintain their appearance through daily use.
Conclusion
Yes, you can paint stainless steel successfully with proper prep work. I’ve found that cleaning, sanding, and priming are essential for paint that actually sticks and lasts.
Choose the right paint for your project and follow each step carefully.
With patience and the right technique, you’ll transform that stainless steel surface beautifully.
Ready to tackle your project? Gather your supplies, prep thoroughly, and enjoy your refreshed surface. The results are worth the effort when done right!