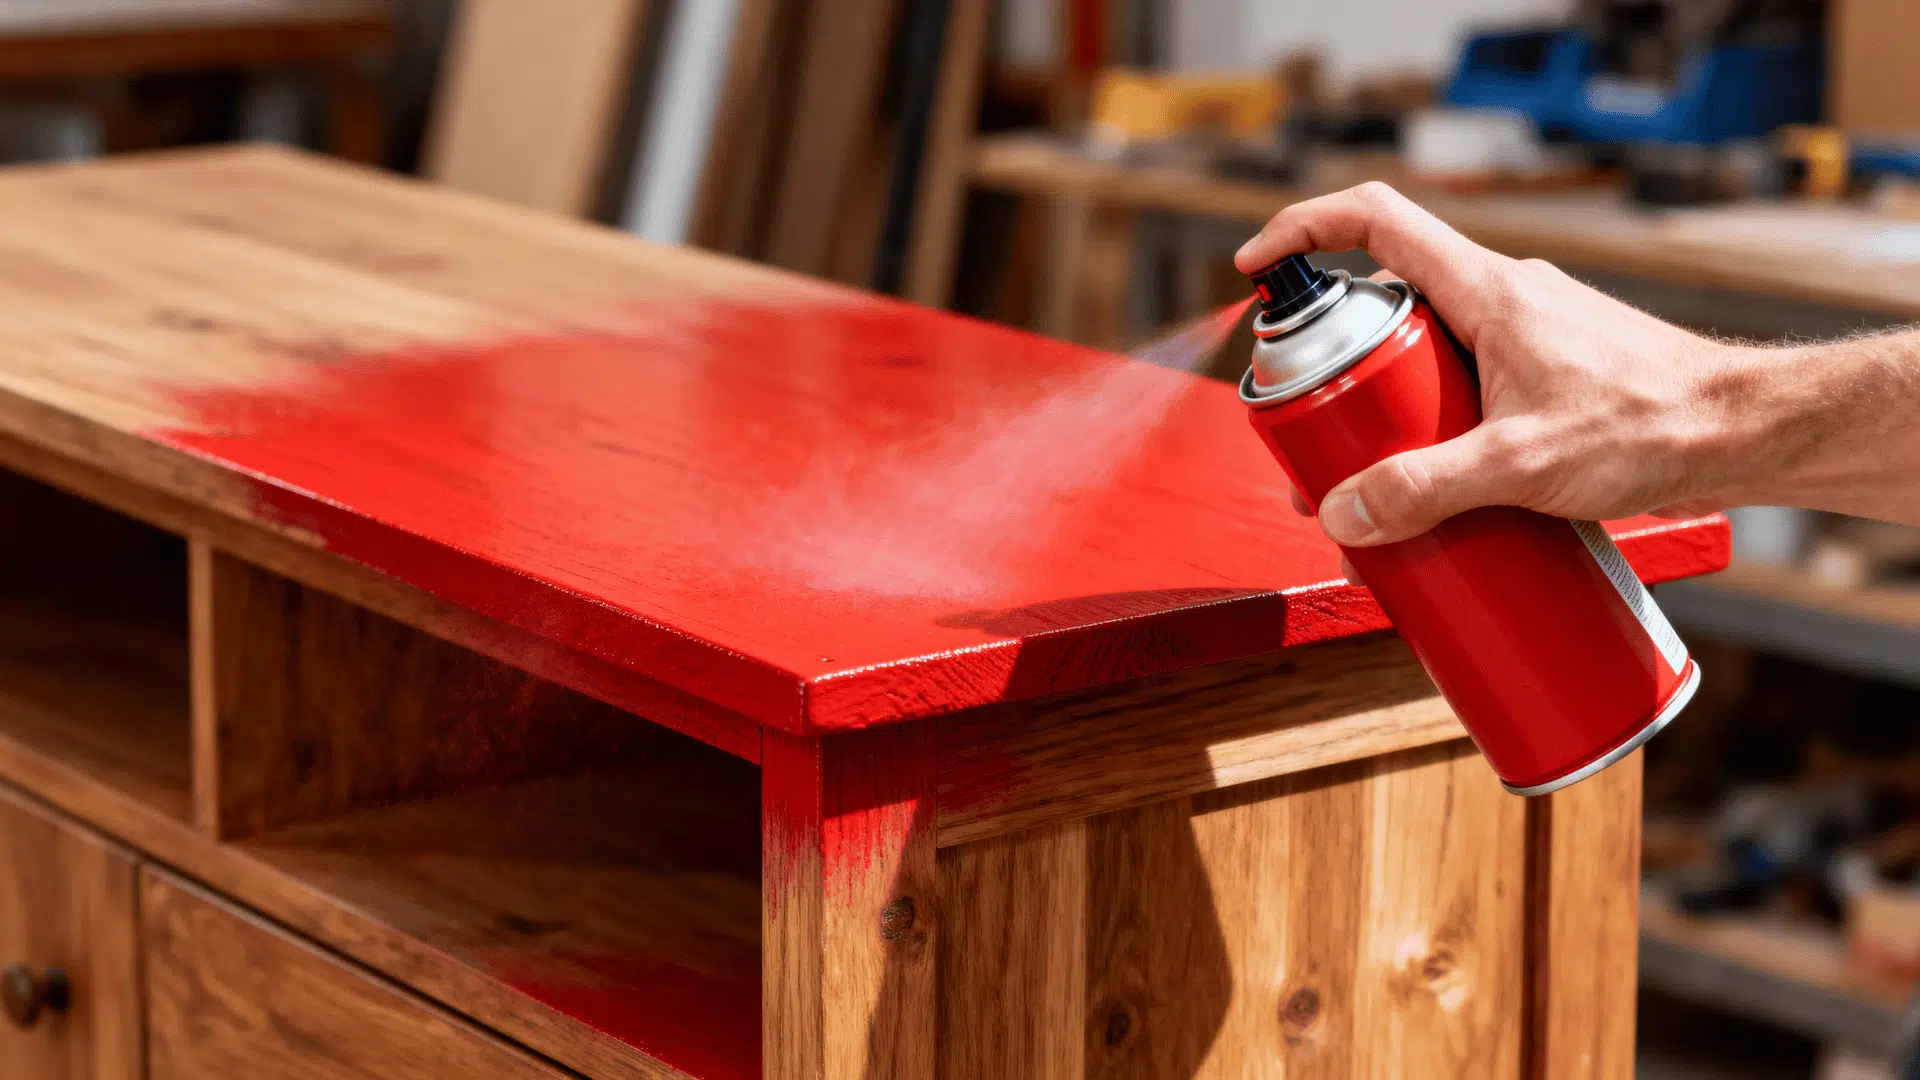
I never thought I’d be the type to paint tile, but here I am, standing in my kitchen with a brush in hand.
My outdated backsplash had been bothering me for months until I discovered you can actually paint over tile, though there’s definitely some technique involved to make it last.
The best part? It’s way more affordable than I expected. Ready to change your kitchen without the renovation headache?
Why Painting Your Backsplash Is a Smart Choice?
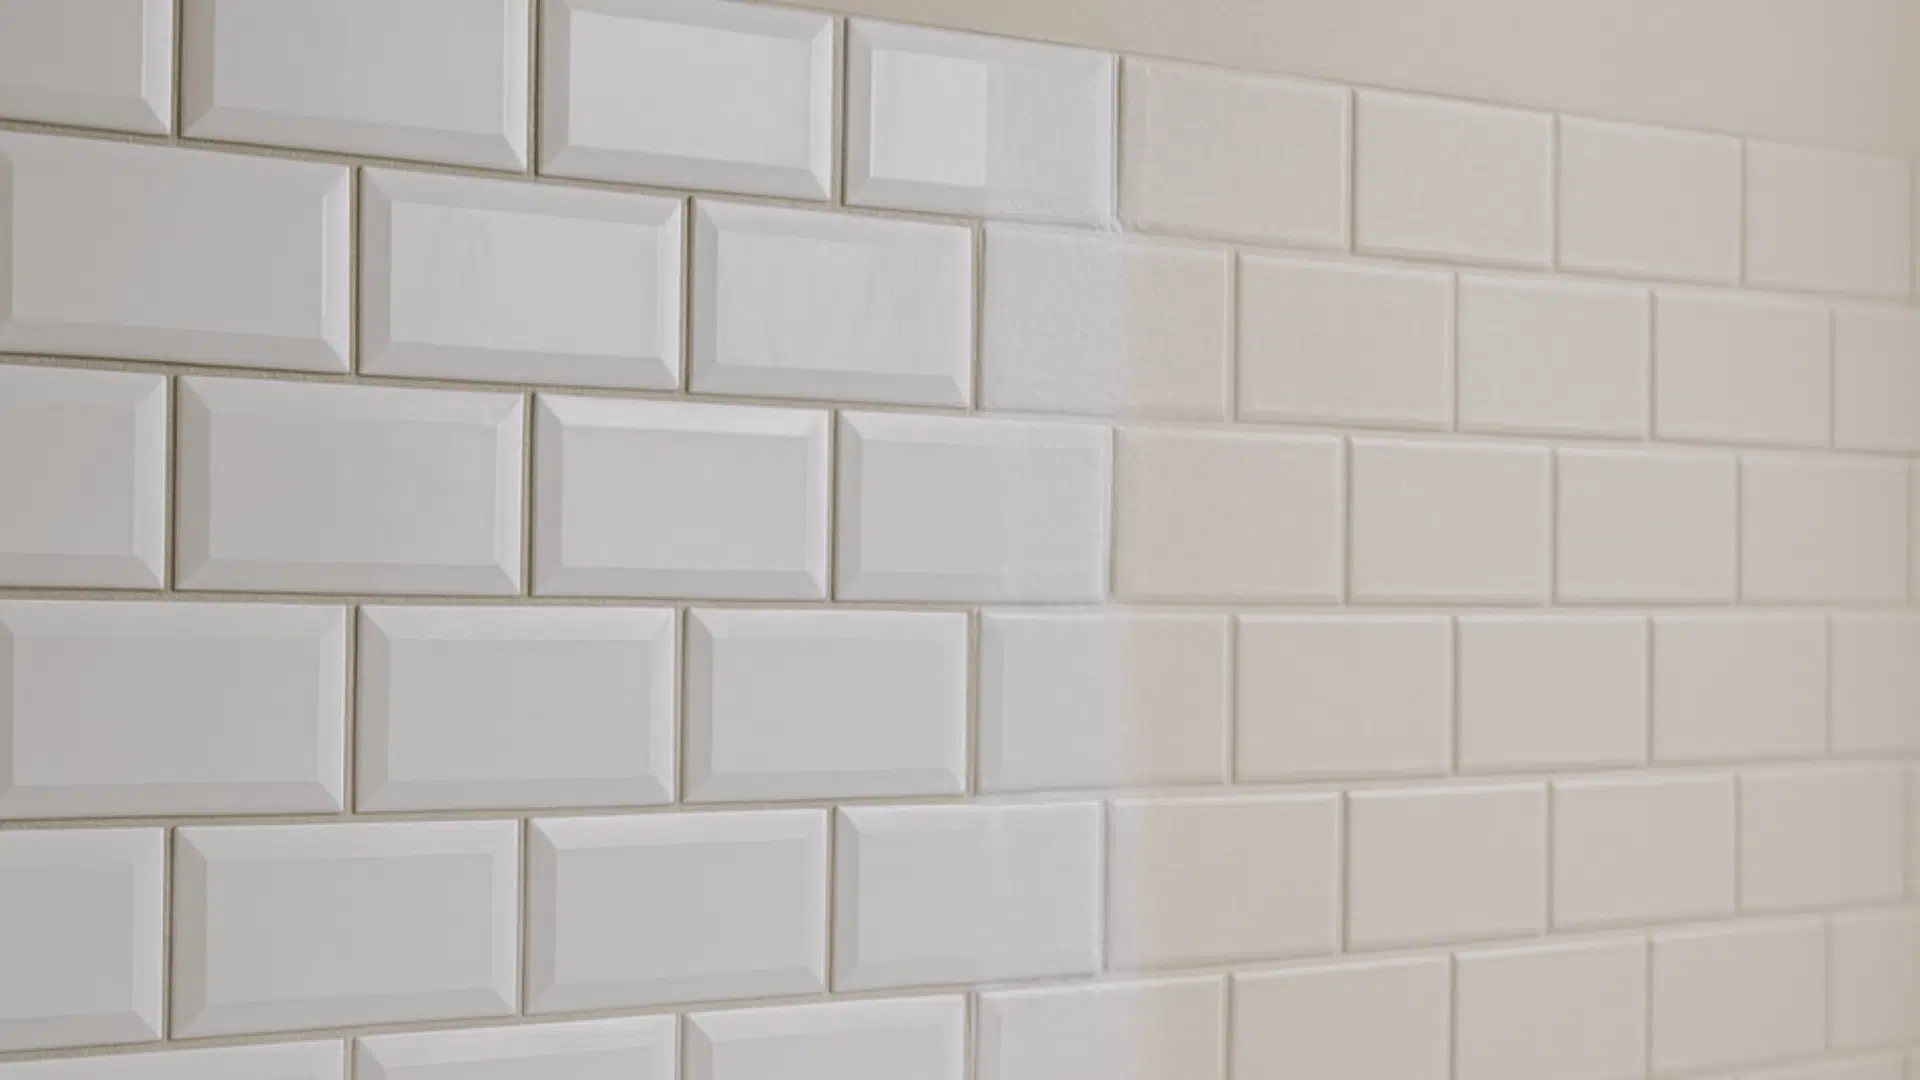
If your tile is still structurally sound (no loose pieces, grout in decent shape), painting the backsplash becomes a smart, viable option.
It offers several appealing benefits that make it worth your time and effort. You’ll save money compared to installing new tile, often finishing the project over a single weekend.
It also gives you design flexibility, allowing you to switch colors whenever you want a fresh look. Plus, it’s a cleaner process; no demolition dust or debris to manage.
When the structure’s solid, a few coats of paint can completely renew your kitchen’s appearance without the hassle of a full renovation.
When Is the Best Time to Paint Your Tile Backsplash?
Knowing the right time to start painting tile backsplash can make all the difference in how long your results last.
Before getting into the project, check if your tiles are solid, the grout is intact, and your workspace has the right conditions.
| SCNEARIO | BEST TIME TO PAINT | When to AVOID PAINTING | ENVIRONMENT TIPS |
|---|---|---|---|
| The tile is structurally sound, but looks dated | After a cabinet refresh or minor kitchen updates | If tiles are cracked, loose, or the grout is crumbling | Ensure dry surfaces, good ventilation, and mild temperatures |
| Quick weekend DIY refresh | Before a major remodel to test color ideas | If the tile surface has moisture or mold issues | Ideal humidity: moderate; avoid extreme heat or cold |
| Low-traffic kitchens | When you can let the paint cure undisturbed | Heavy-use kitchens need deep cleaning daily | Use fans or open windows for airflow, especially with epoxy paints |
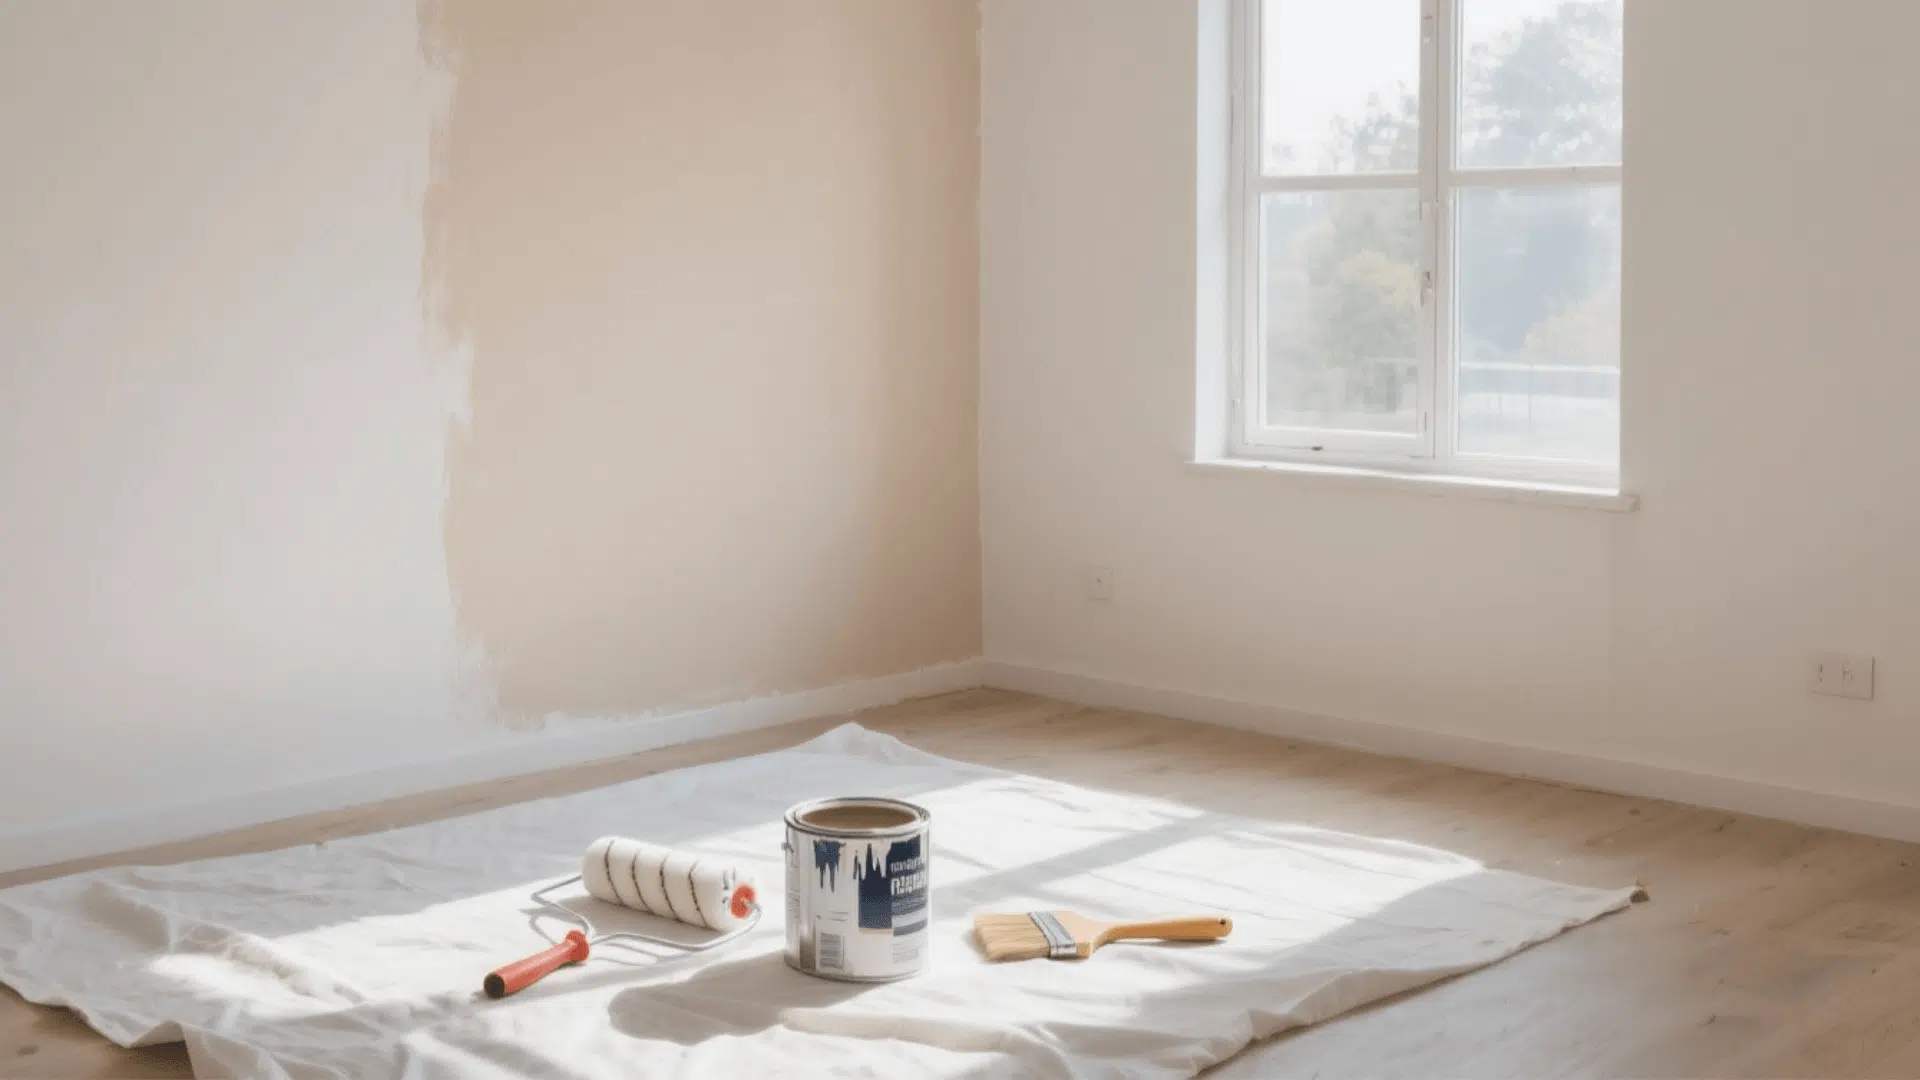
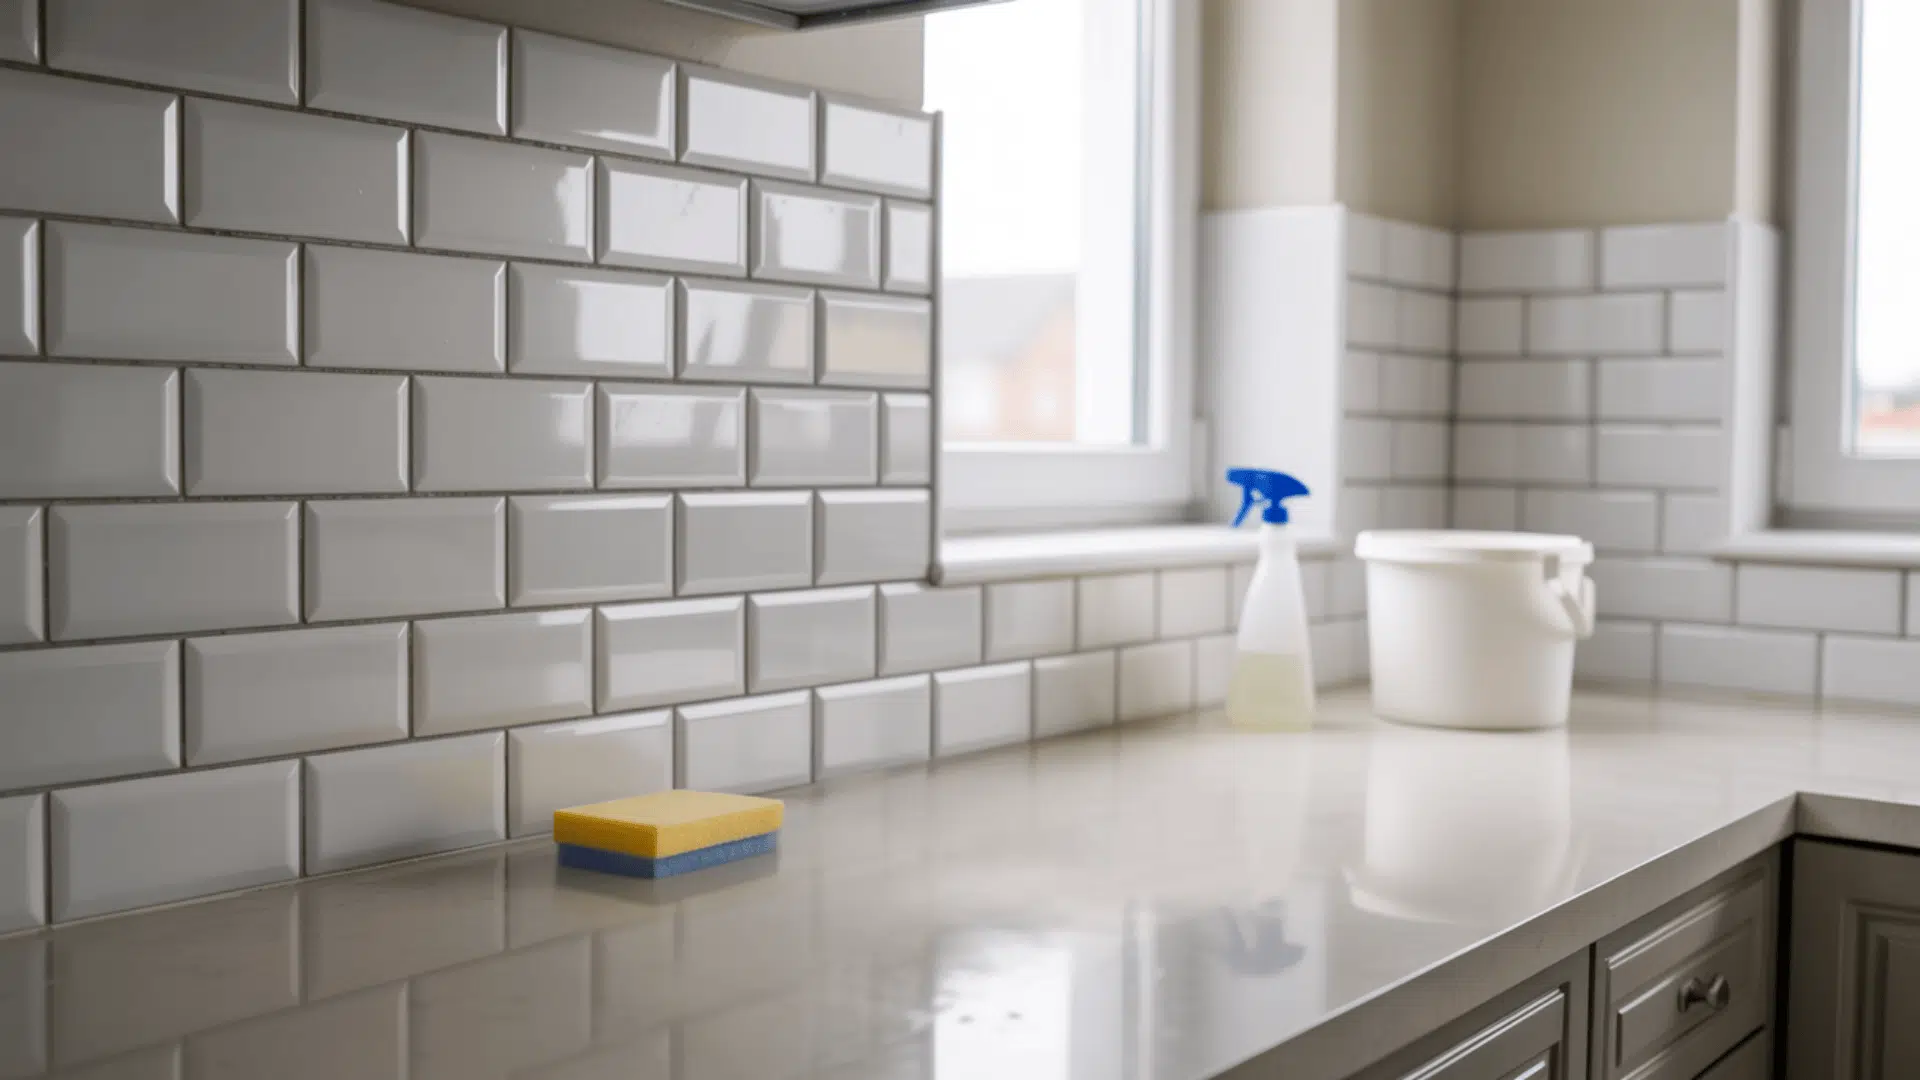
Materials Required
Before you start painting the tile backsplash, gather everything you’ll need so the project flows smoothly. Here’s your shopping list:
| ITEM | PURPOSE |
|---|---|
| High adhesion primer | Helps paint stick to slick tile surfaces |
| Interior enamel paint | Semi-gloss or satin for easier cleaning |
| Degreasing cleaner or TSP substitute | Removes grease and buildup |
| Liquid sandpaper or fine-grit sandpaper | Deglosses tiles for better adhesion |
| Painter’s tape | Protects edges and creates clean lines |
| Small angled brush | Precision cutting in |
| Small foam roller | Smooth tile-like finish |
| Sponges and microfiber cloths | Cleaning and wiping |
| Buckets and drop cloths | Mixing and floor protection |
Safety First: Before starting, ensure the area has proper airflow by opening windows or running a fan. Wear gloves to protect your skin while cleaning or sanding, and consider a mask if you’re sensitive to fumes.
Step-by-Step Guide to Painting Tile Backsplash
Here’s a sample of the step-by-step process for painting a tile backsplash in a kitchen. The process isn’t complicated, but following each step carefully ensures your new finish holds up to daily kitchen use.
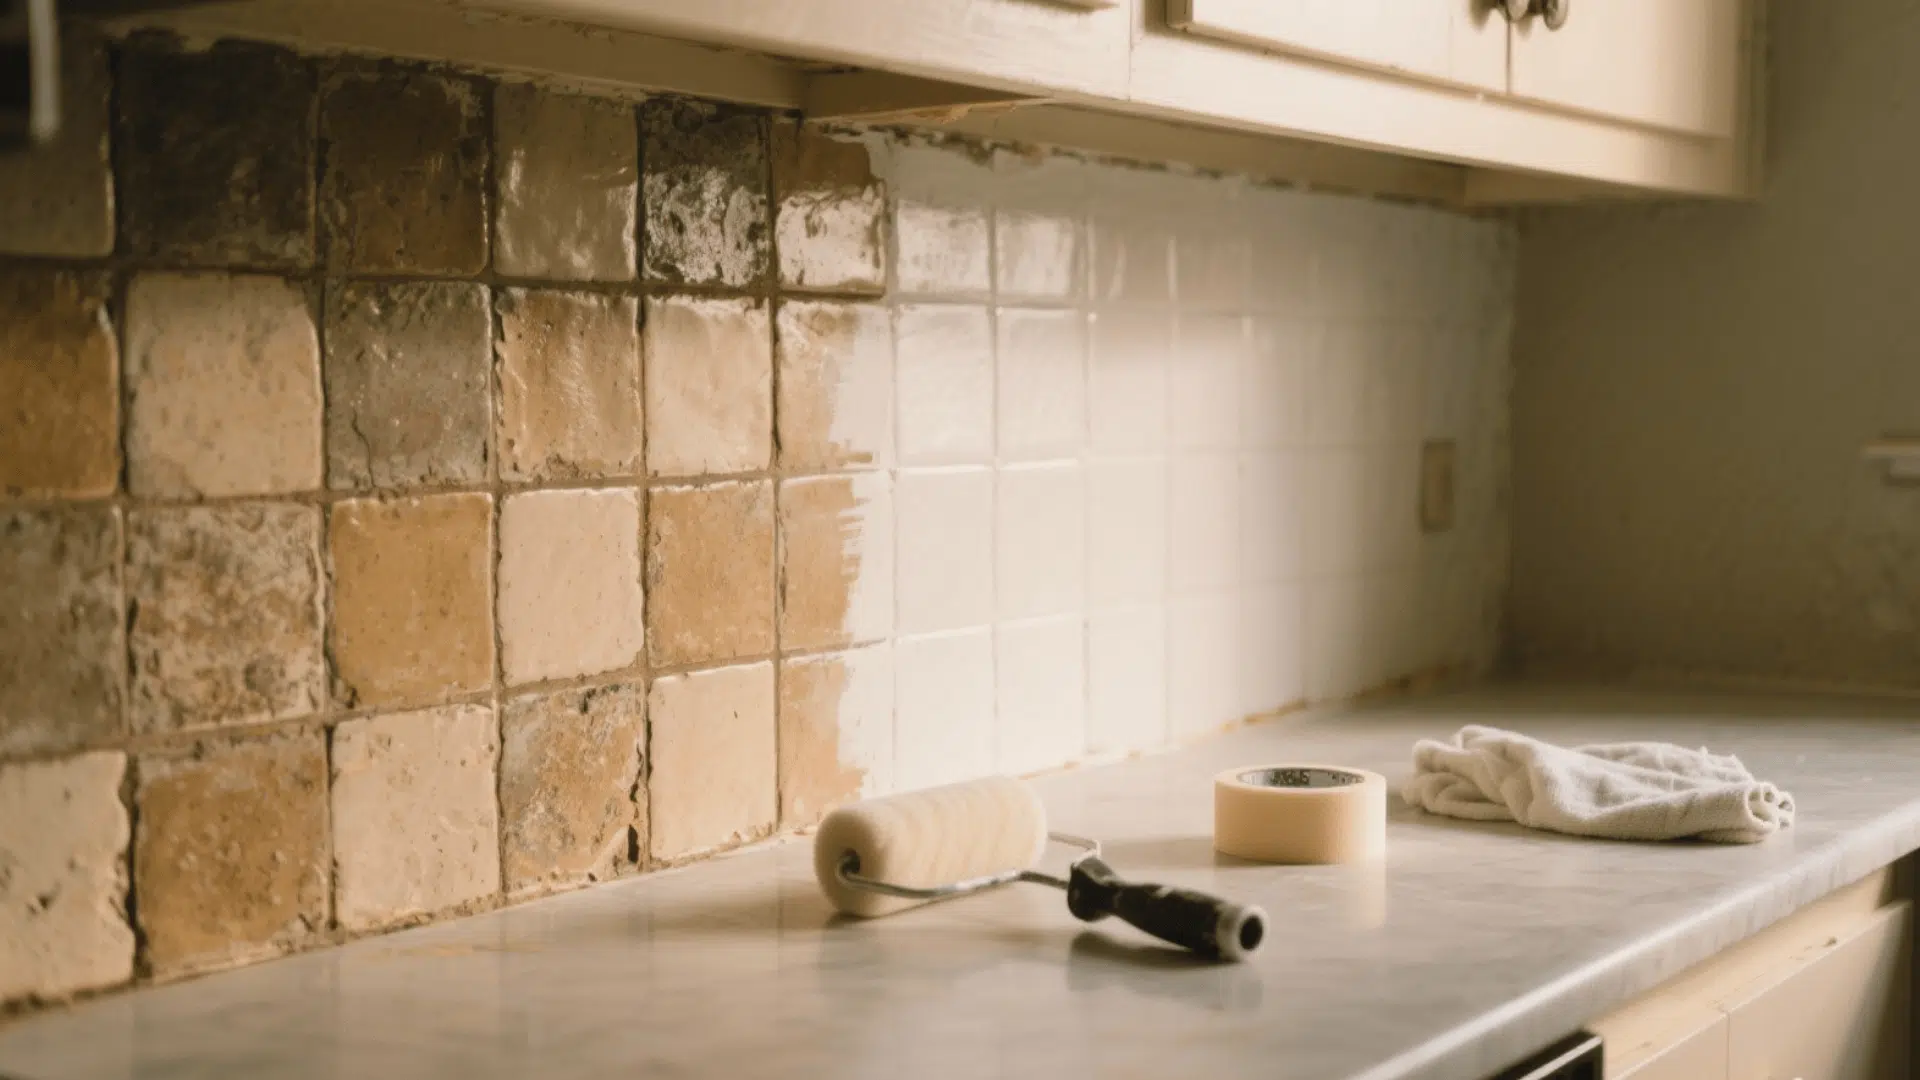
Step 1: Clean the Entire Backsplash Thoroughly
Use a degreasing cleaner or TSP substitute to remove grease, cooking residue, and dust from the tile and grout. Clean especially well behind the stove, where buildup is the heaviest.
Rinse with clean water to remove any leftover cleaner that may interfere with primer adhesion. Dry the surface completely before moving on to the next step.
Step 2: Lightly Sand the Tile
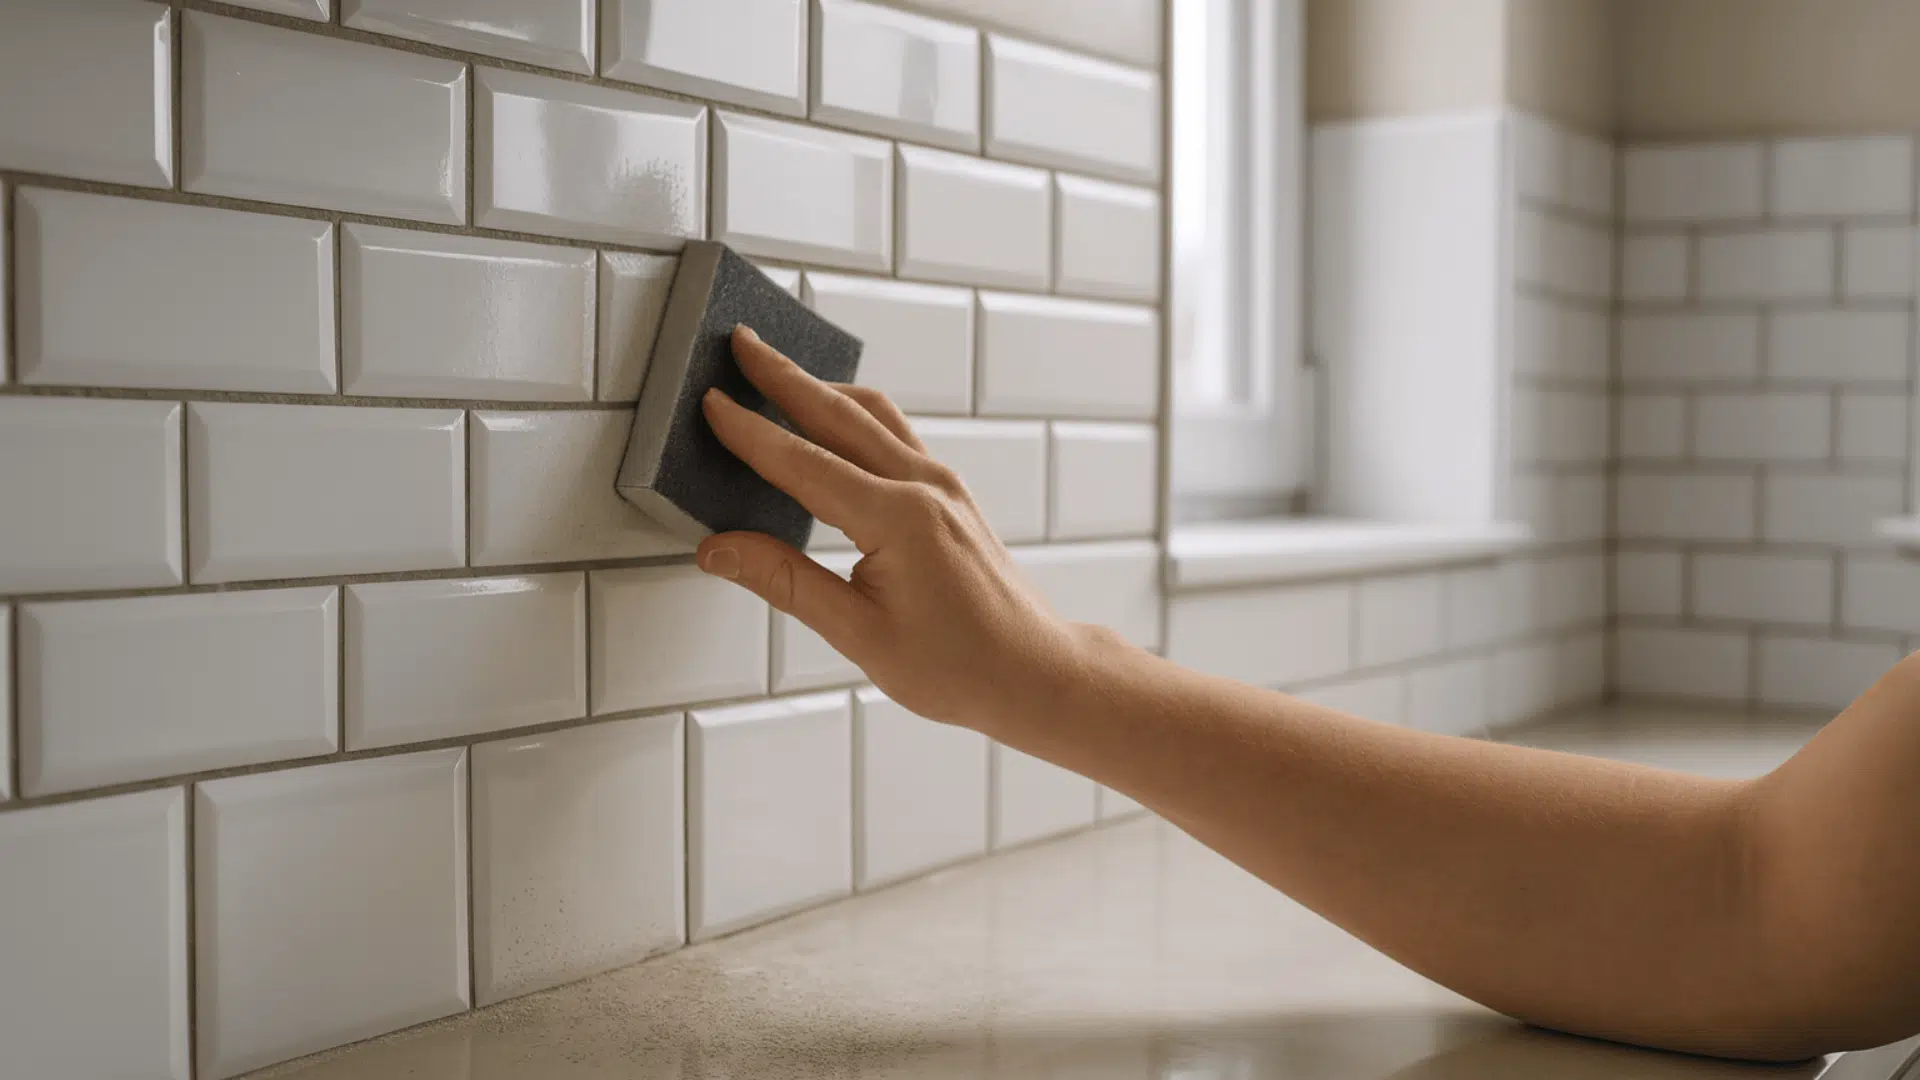
Use liquid sandpaper or fine-grit sandpaper to gently scuff the tile surface. This creates a light texture that helps the primer bond to otherwise slick, glossy tile.
Focus on grout lines and shiny areas to ensure even adhesion. Wipe away dust with a damp cloth to clean the surface and make it ready for priming.
Step 3: Protect Surrounding Areas
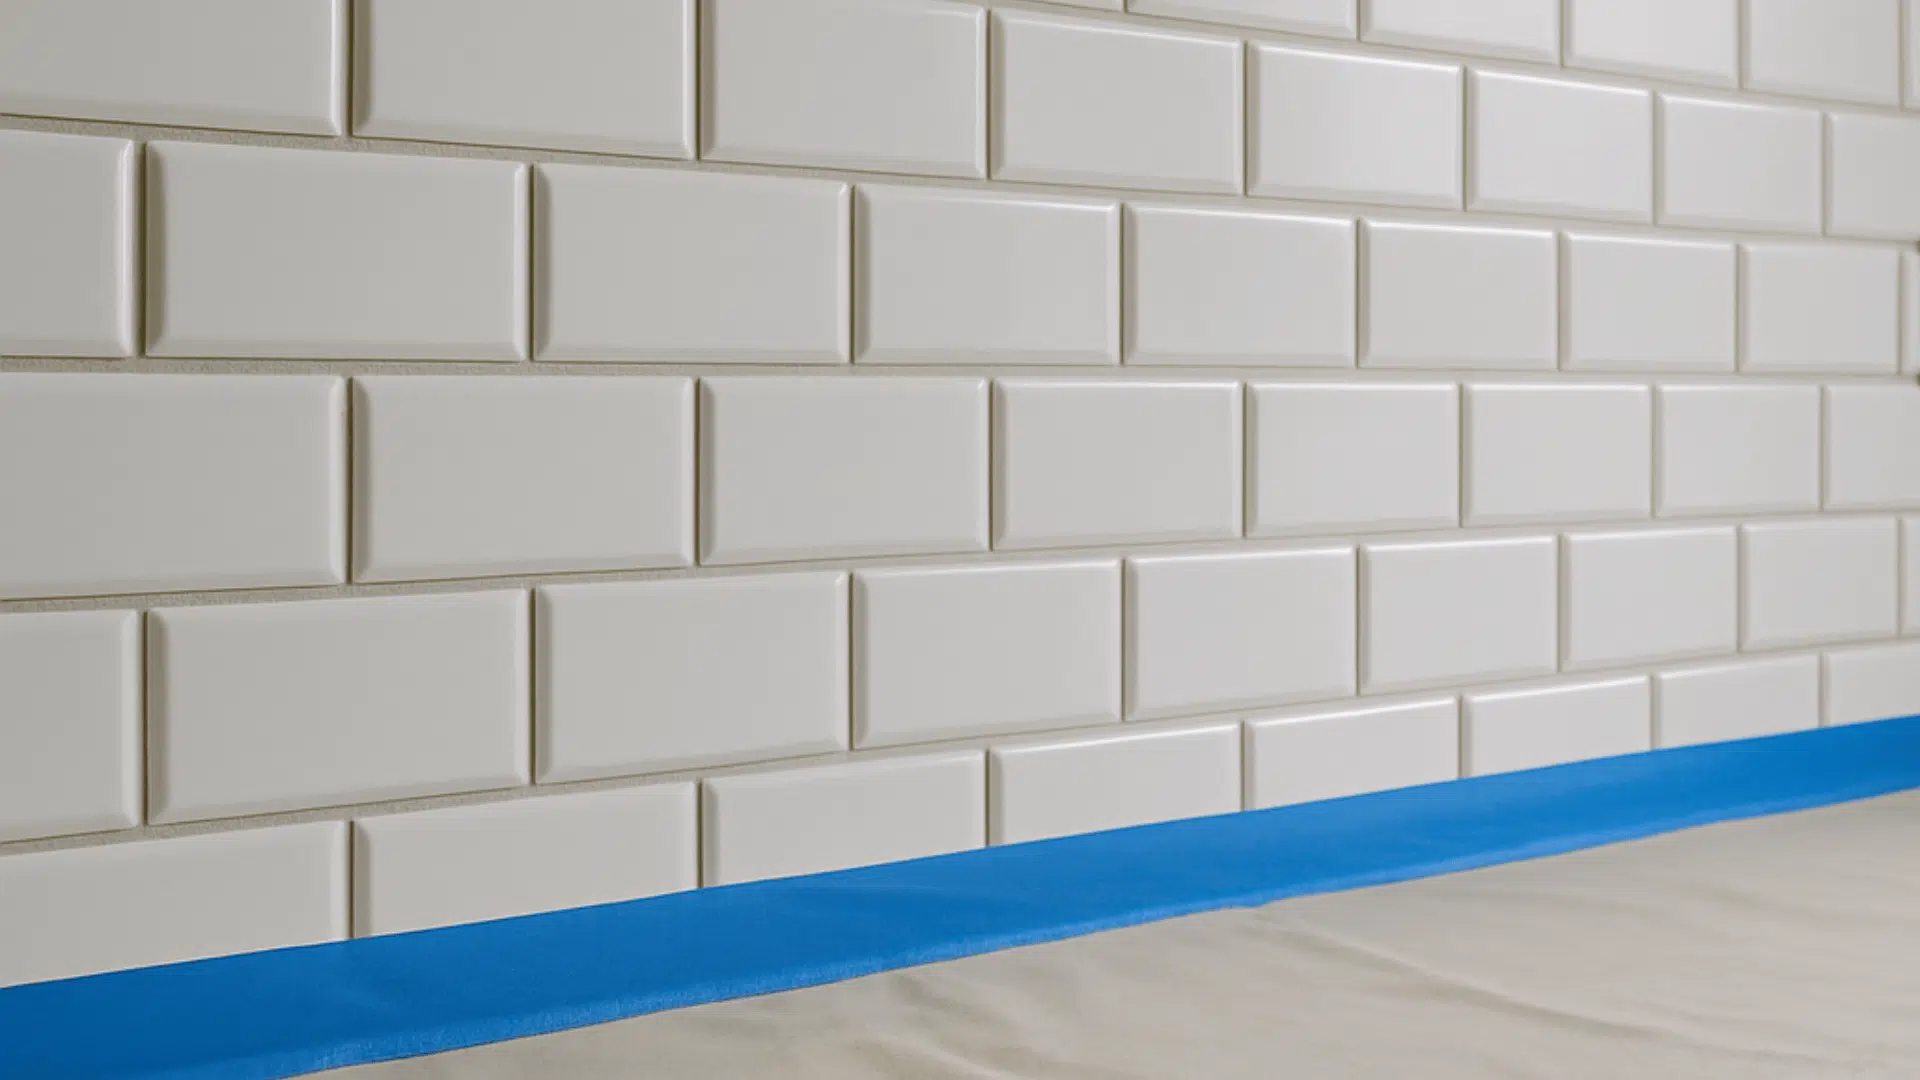
Apply painter’s tape along countertops, cabinets, and around outlets to ensure clean paint lines. Cover counters, floors, and appliances with drop cloths to avoid splatters or drips.
This prep work saves time later and keeps your workspace neat. Make sure the tape is sealed tightly so no paint bleeds underneath.
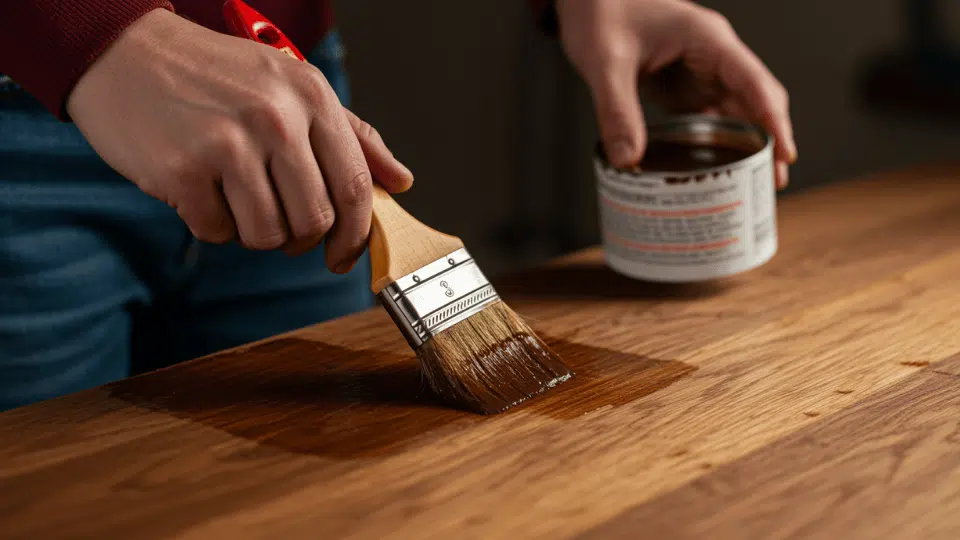
Step 4: Apply a High-Adhesion Primer
Start by brushing primer into the grout lines, then roll a smooth coat across the tile using a foam roller. A high-adhesion or bonding primer is essential because tile is non-porous and needs help gripping paint.
Apply the primer evenly and avoid heavy buildup. Let it dry according to the manufacturer’s instructions before adding any paint.
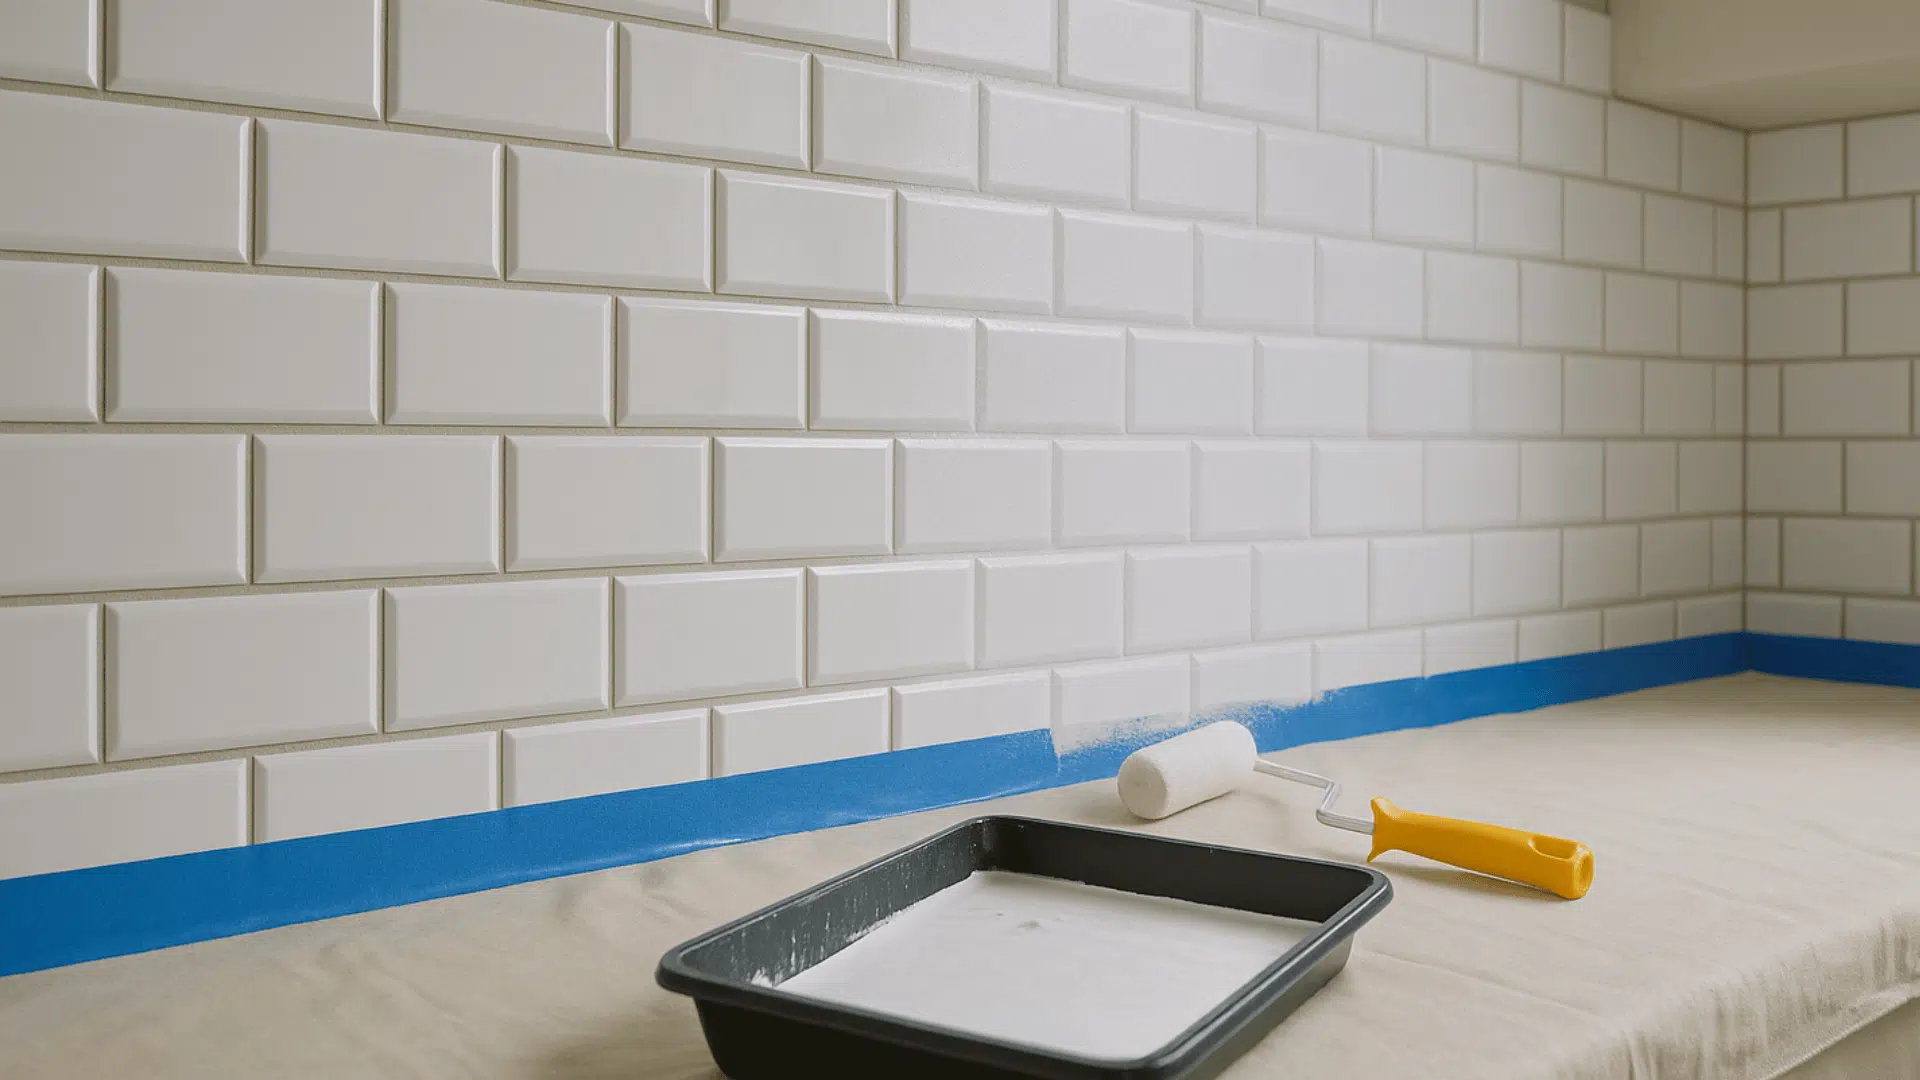
Step 5: Paint the Backsplash and Let It Cure
Use interior enamel paint in a semi-gloss or satin finish, cutting in edges with your angled brush before rolling thin, even coats across the tile.
Let the first coat dry fully before applying a second for streak-free results. After the last coat, don’t touch or clean the backsplash for 24–48 hours to let the paint cure into a durable, mess-resistant finish.
How to Choose the Right Paint for Your Tile Backsplash?
Selecting the right paint ensures your backsplash withstands kitchen conditions and looks great for years. Focus on durability, finish, and color compatibility.
- Paint Type: Choose epoxy or tile-specific paints for best results. High-quality acrylic enamel works well too. Skip standard latex.
- Finish Selection: Semi-gloss balances appearance and cleaning ease. Gloss is durable but shows flaws; matte hides imperfections but resists scrubbing less.
- Color Coordination: Pick shades that complement your cabinets, countertops, and lighting for a cohesive look.
The right combination creates a backsplash that’s both beautiful and built to last through daily kitchen use.
Practical Maintenance Tips for Painted Tile Backsplash
Keeping your newly painted tile backsplash looking fresh doesn’t take much effort, but consistency matters. Follow these quick maintenance tips to extend its life and shine:
- Gentle Cleaning: Wipe with a soft sponge and mild dish soap; avoid abrasive cleaners
- Avoid Harsh Scrubbing: Skip scouring pads that can scratch the paint or dull the finish
- Regular Dusting: Use a microfiber cloth weekly to remove grease buildup
- Immediate Spill Cleanup: Wipe splatters quickly to prevent staining or moisture damage
- Seal Touch-Ups: Reapply a clear sealer every 12–18 months in high-moisture areas
- Avoid Heat Exposure: Use a backsplash shield near stoves if the heat is intense
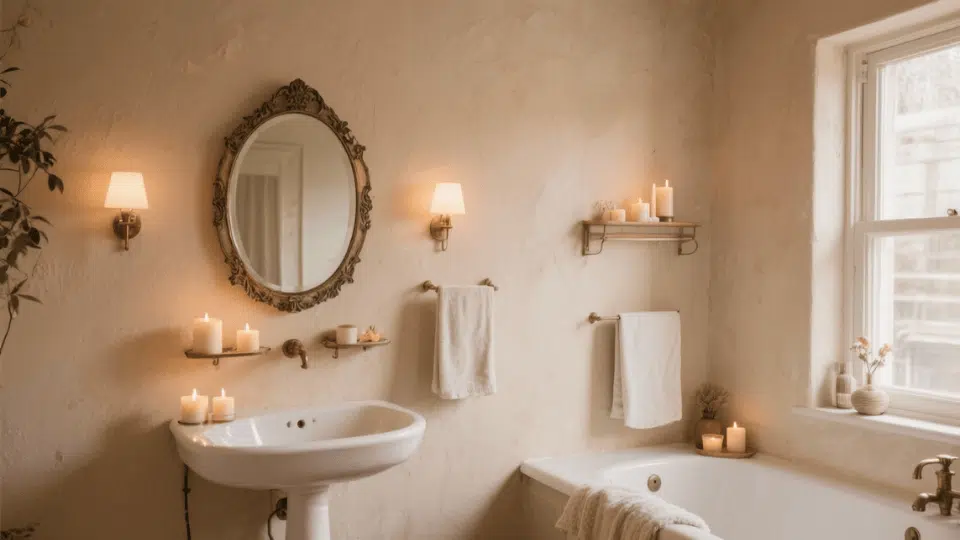
Final Thoughts
So there you have it, painting tile backsplash really works when you follow the right steps. I went from dreading my kitchen to actually enjoying the space again, and the whole project took just a weekend.
Proper prep work makes the paint last years and beats replacing your entire backsplash.
Grab your supplies, set aside some time, and give your kitchen the refresh it deserves. Who knows? This might just be the DIY project that gets you hooked on home improvements.