Painting interior doors seems simple enough. You grab a brush, slap on some paint, and call it done. But most people end up with drips, brush marks, or paint that chips off within months.
Here’s the truth: there’s a smarter way to do this. This guide will show you the exact steps pros use to get smooth, long-lasting results without the frustration.
Learn which prep work you can’t skip, the best tools for the job, and techniques that prevent those annoying mistakes.
We’re covering everything, from removing hardware to applying that final coat. By the end, painting interior doors won’t feel like guesswork anymore.
Why Giving Your Interior Doors a Fresh Coat Matters?
It’s obvious how much doors affect a room’s entire vibe. They’re one of the first things you notice when you walk in, yet they take a beating: fingerprints, scuffs, dings from furniture, and that yellowing over time.
When painting interior doors, I’m not just covering up damage. I’m actually refreshing the whole space without changing anything else.
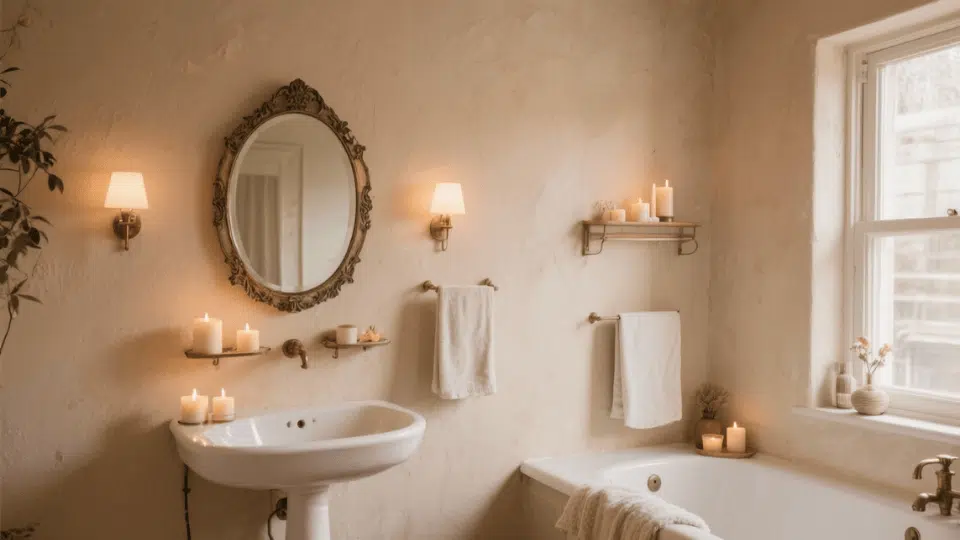
A freshly painted door makes everything look cleaner and more intentional. It ties your décor together and can even boost your home’s perceived value if you’re thinking about selling.
Also, learning how to paint an interior door properly means you’re adding a protective layer that’ll stand up to daily wear.
When Should You Consider Painting Your Interior Doors?
Painting your interior doors makes sense when they no longer blend with your updated walls, trim, or overall style. It’s also a smart choice when the existing finish looks worn, yellowed, or outdated.
- Refresh aging doors with scuffs, dents, or fading
- Unify mixed styles after renovations or new flooring
- Brighten dark hallways or add needed contrast
- Introduce a new color palette without major remodeling
- Modernize traditional rooms with cleaner, contemporary tones
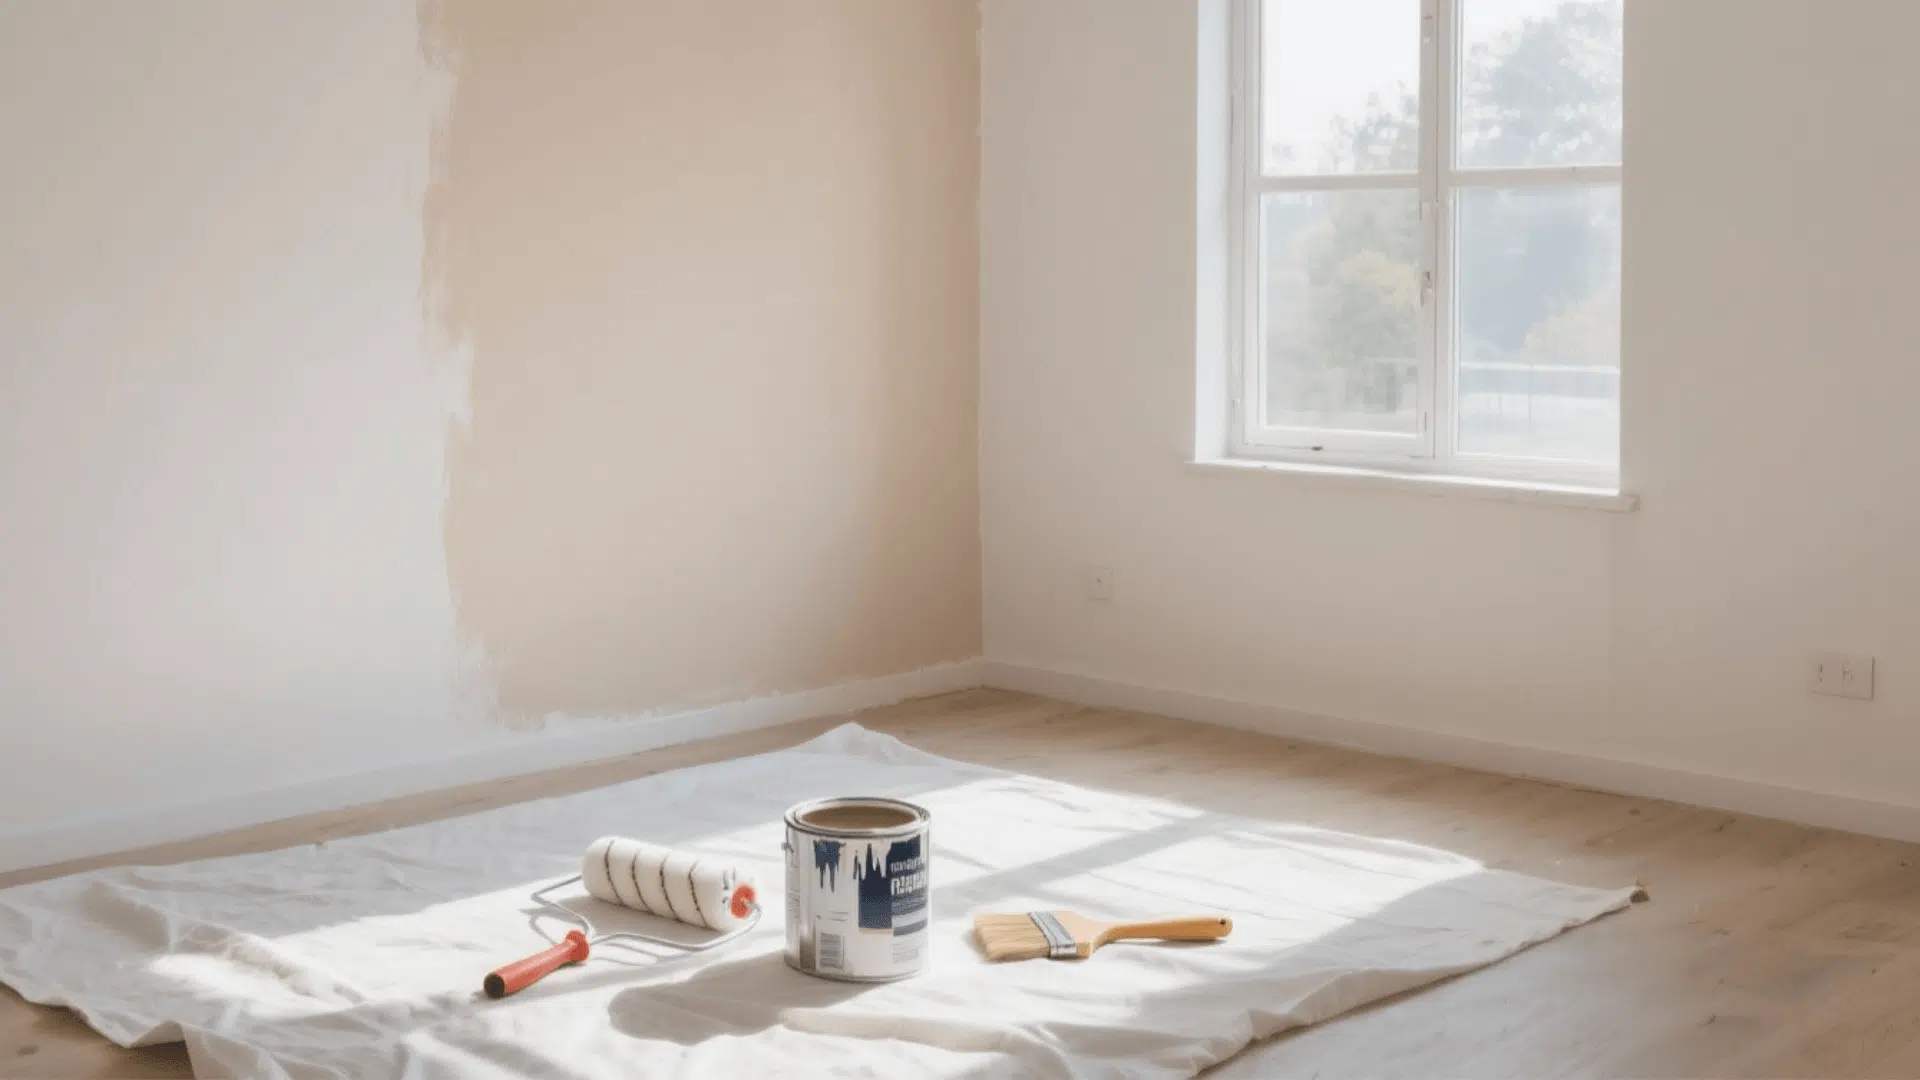
Tools and Materials Required for Painting an Interior Door
Painting interior doors is a simple yet rewarding DIY task that can instantly refresh your home’s look. With the right tools and paint, you can achieve a professional finish even without prior experience.
| Tool or Material | Purpose |
|---|---|
| Painter’s Tape | Covers hinges and edges and protects door hardware |
| Screwdriver or Utility Knife | Removes or neatly tapes around doorknobs and hardware |
| Sanding Sponge or Sandpaper | Lightly scuffs the surface to improve adhesion and smooth imperfections |
| Paintbrush 2.5-inch angled and Mini Roller | Brush works on corners and panels, roller provides even coverage on larger areas |
| Paint Tray and Liner | Keeps paint accessible and easy to reload |
| Shims or Cardboard | Steadies the door and protects the floor |
Difficulty Level: Easy to Moderate
Time Required: Around 2–3 hours (including prep and drying time)
How to Paint an Interior Door: Step-By-Step Guide
A fresh coat of paint can completely revamp an interior door, and the process is easier than most homeowners expect.
In the steps ahead, you’ll learn the exact sequence that delivers a smooth, professional finish from prep to final touches
Step 1: Keep the Door Open

Leaving the door open, its hinges save a lot of time because you can paint all four sides without waiting for anything to dry before flipping.
Use shims at the bottom or sides to keep the door steady so it doesn’t swing while you work.
This makes painting easier and prevents smudges. Simply swing the door open or closed as needed to reach each side comfortably.
Step 2: Do All Your Prep Work First
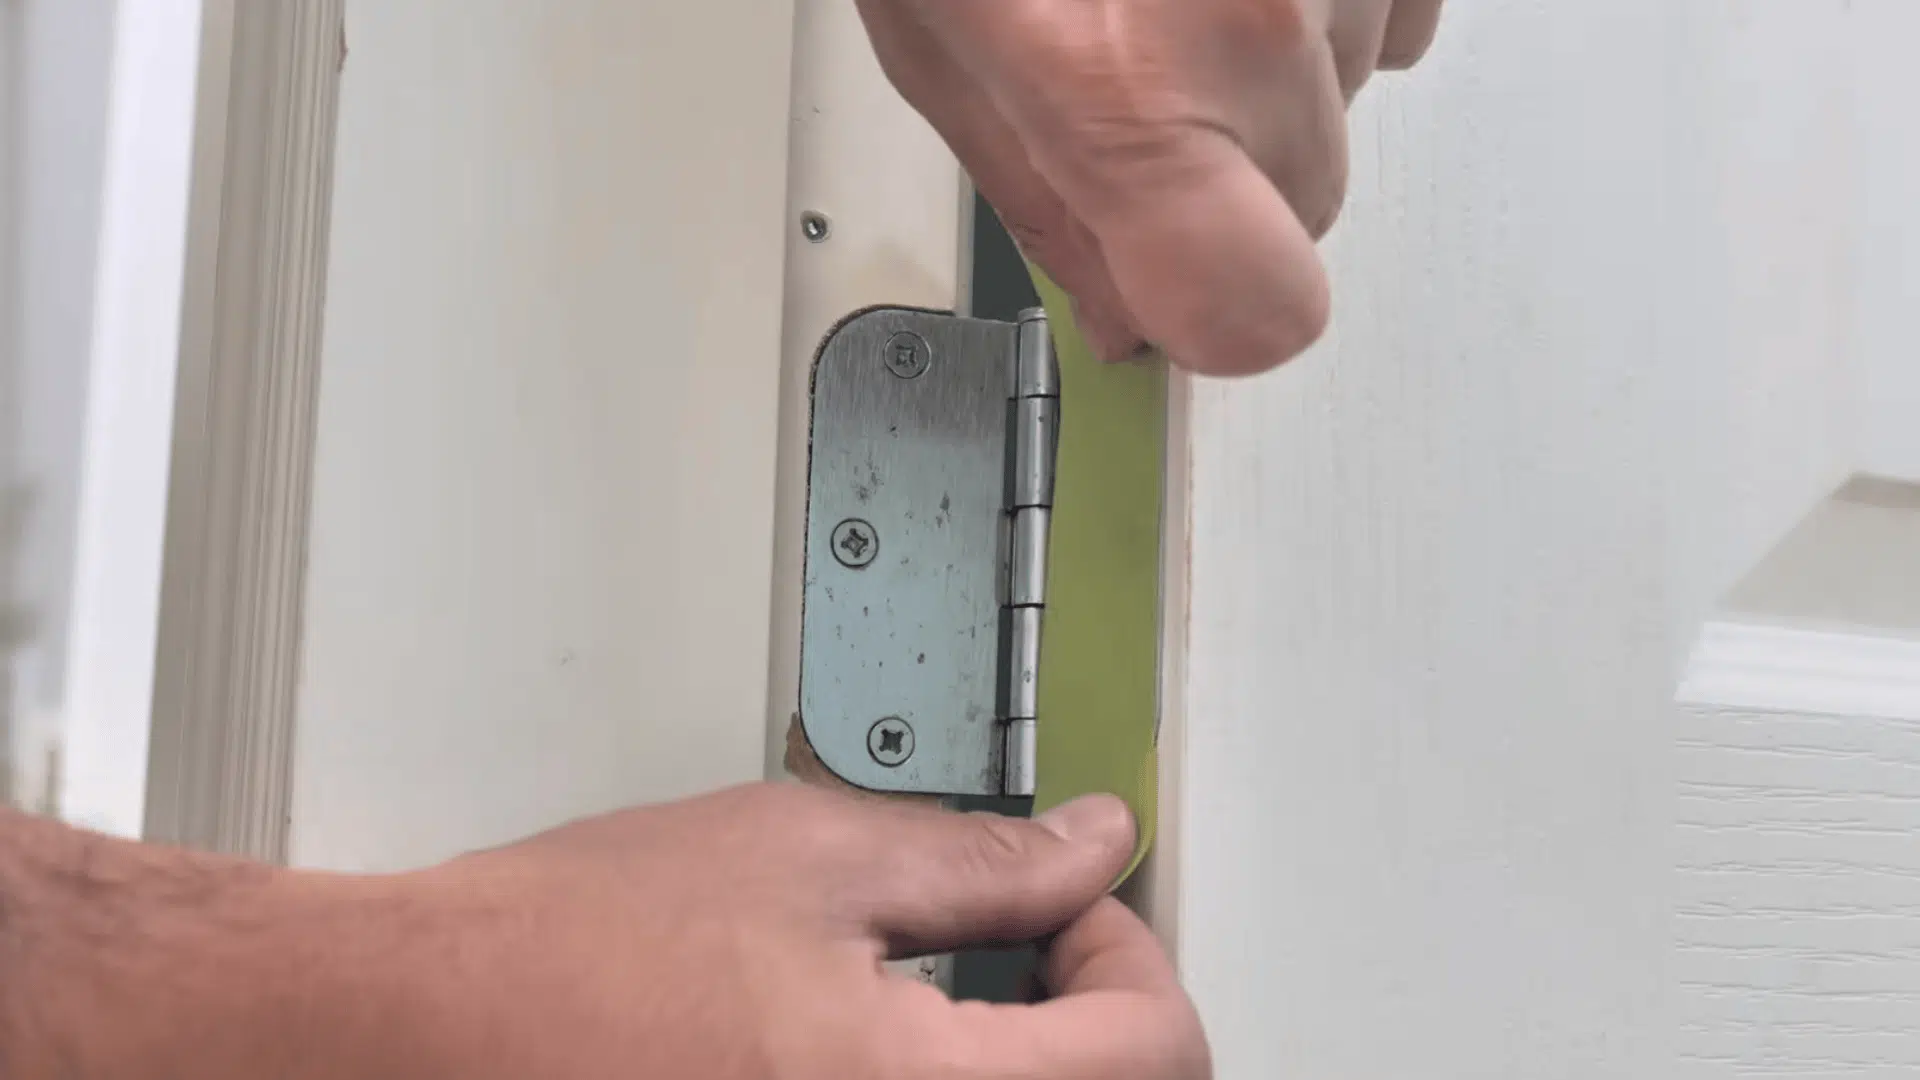
Tape off the hinges with painter’s tape, pressing it securely and trimming the excess with a utility knife for sharp edges. Remove the doorknob completely instead of taping it, since it speeds up the process and looks cleaner.
Lightly sand the whole door with a sanding sponge to smooth out bumps, then wipe off dust with a damp cloth. Place cardboard or paper under the door to protect your floors.
Step 3: Start with the Edges and Recessed Areas
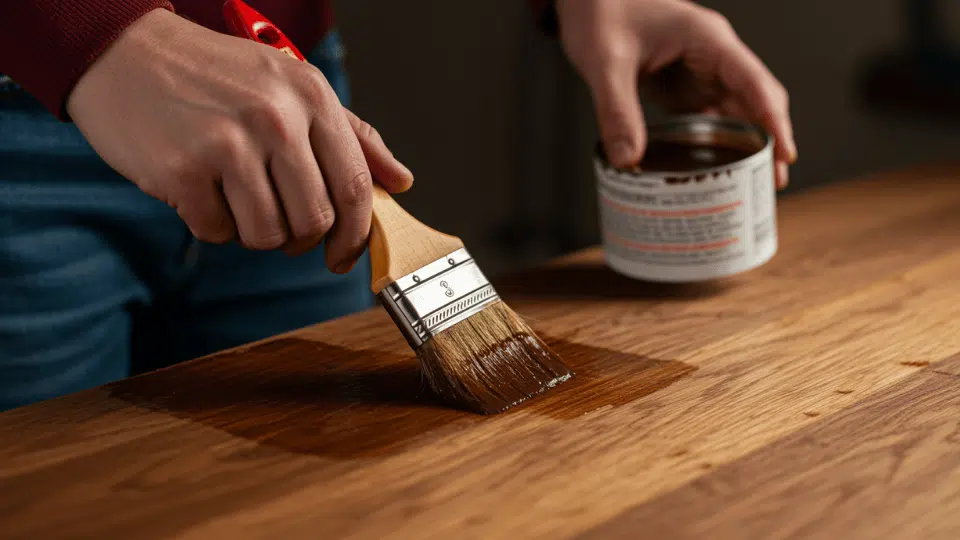
Use a small angled brush to paint all the edges first, applying only a small amount of paint to prevent it from wrapping around and making a mess.
Then load up a mini roller and get paint into the reveals and textured sections of the panels. Work quickly but accurately so the paint doesn’t tack up while you’re still brushing.
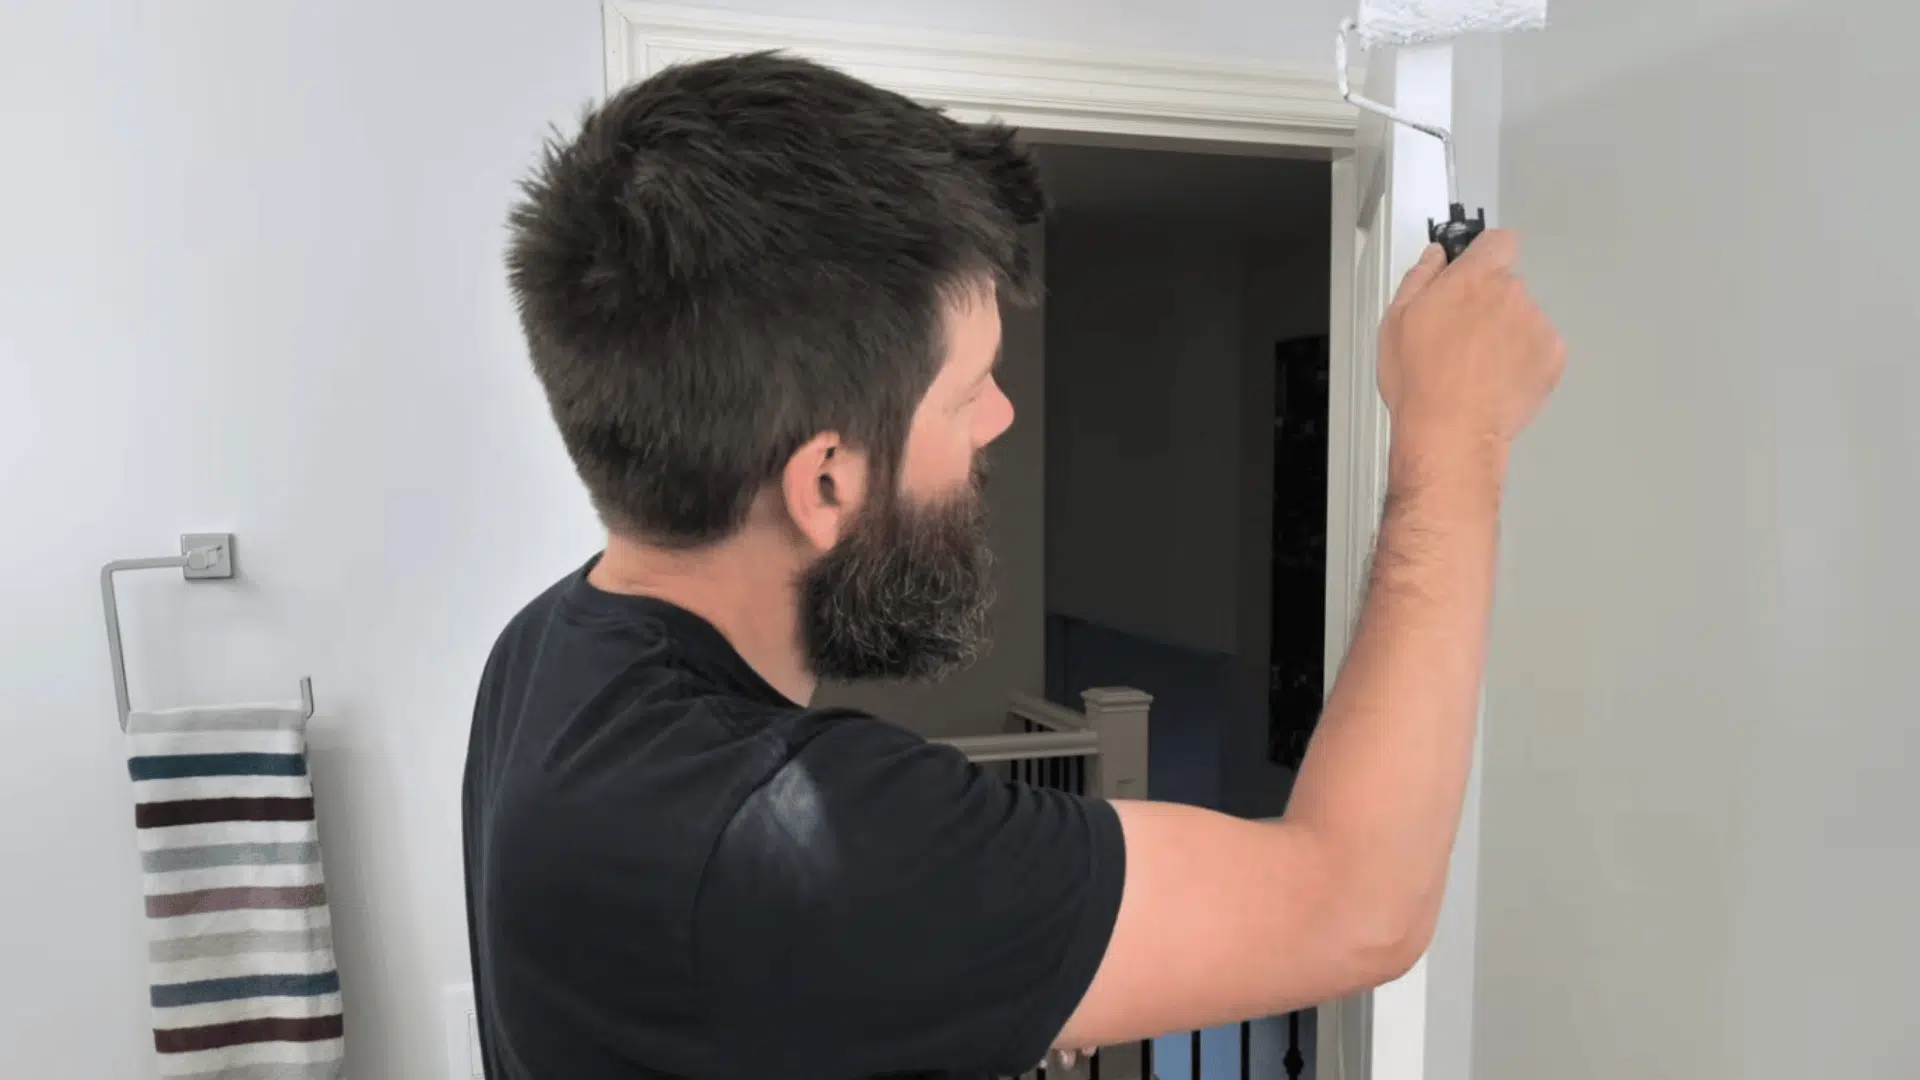
Step 4: Roll the Large Flat Sections
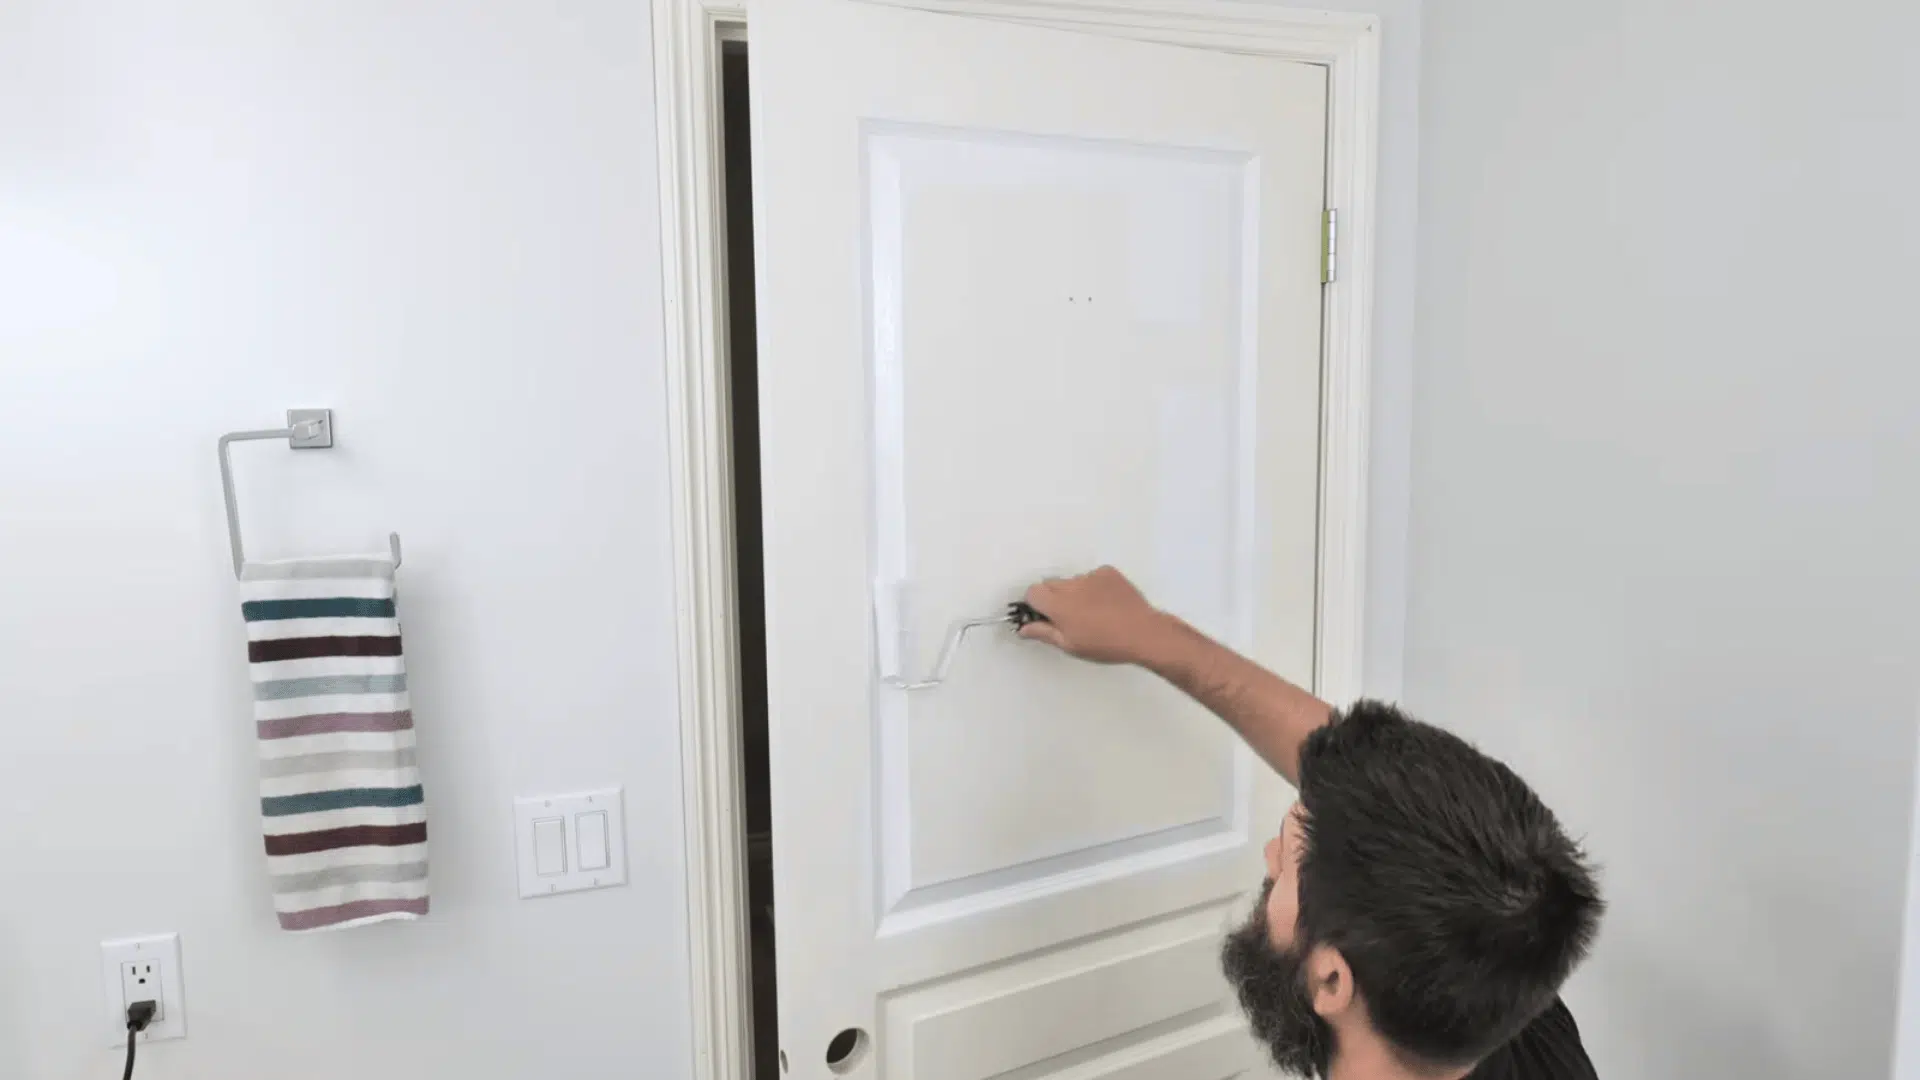
For flat areas, use a mini roller loaded with enough paint to create a smooth, thick coat without dripping. Roll close to the edges but with less paint on the roller to avoid bleed-over.
If the door has texture, apply a generous coat and let the roller do most of the work. A smooth surface door will need a fine-nap roller to achieve a flawless, brush-free finish.
Step 5: Brush Over the Door for a Uniform Finish
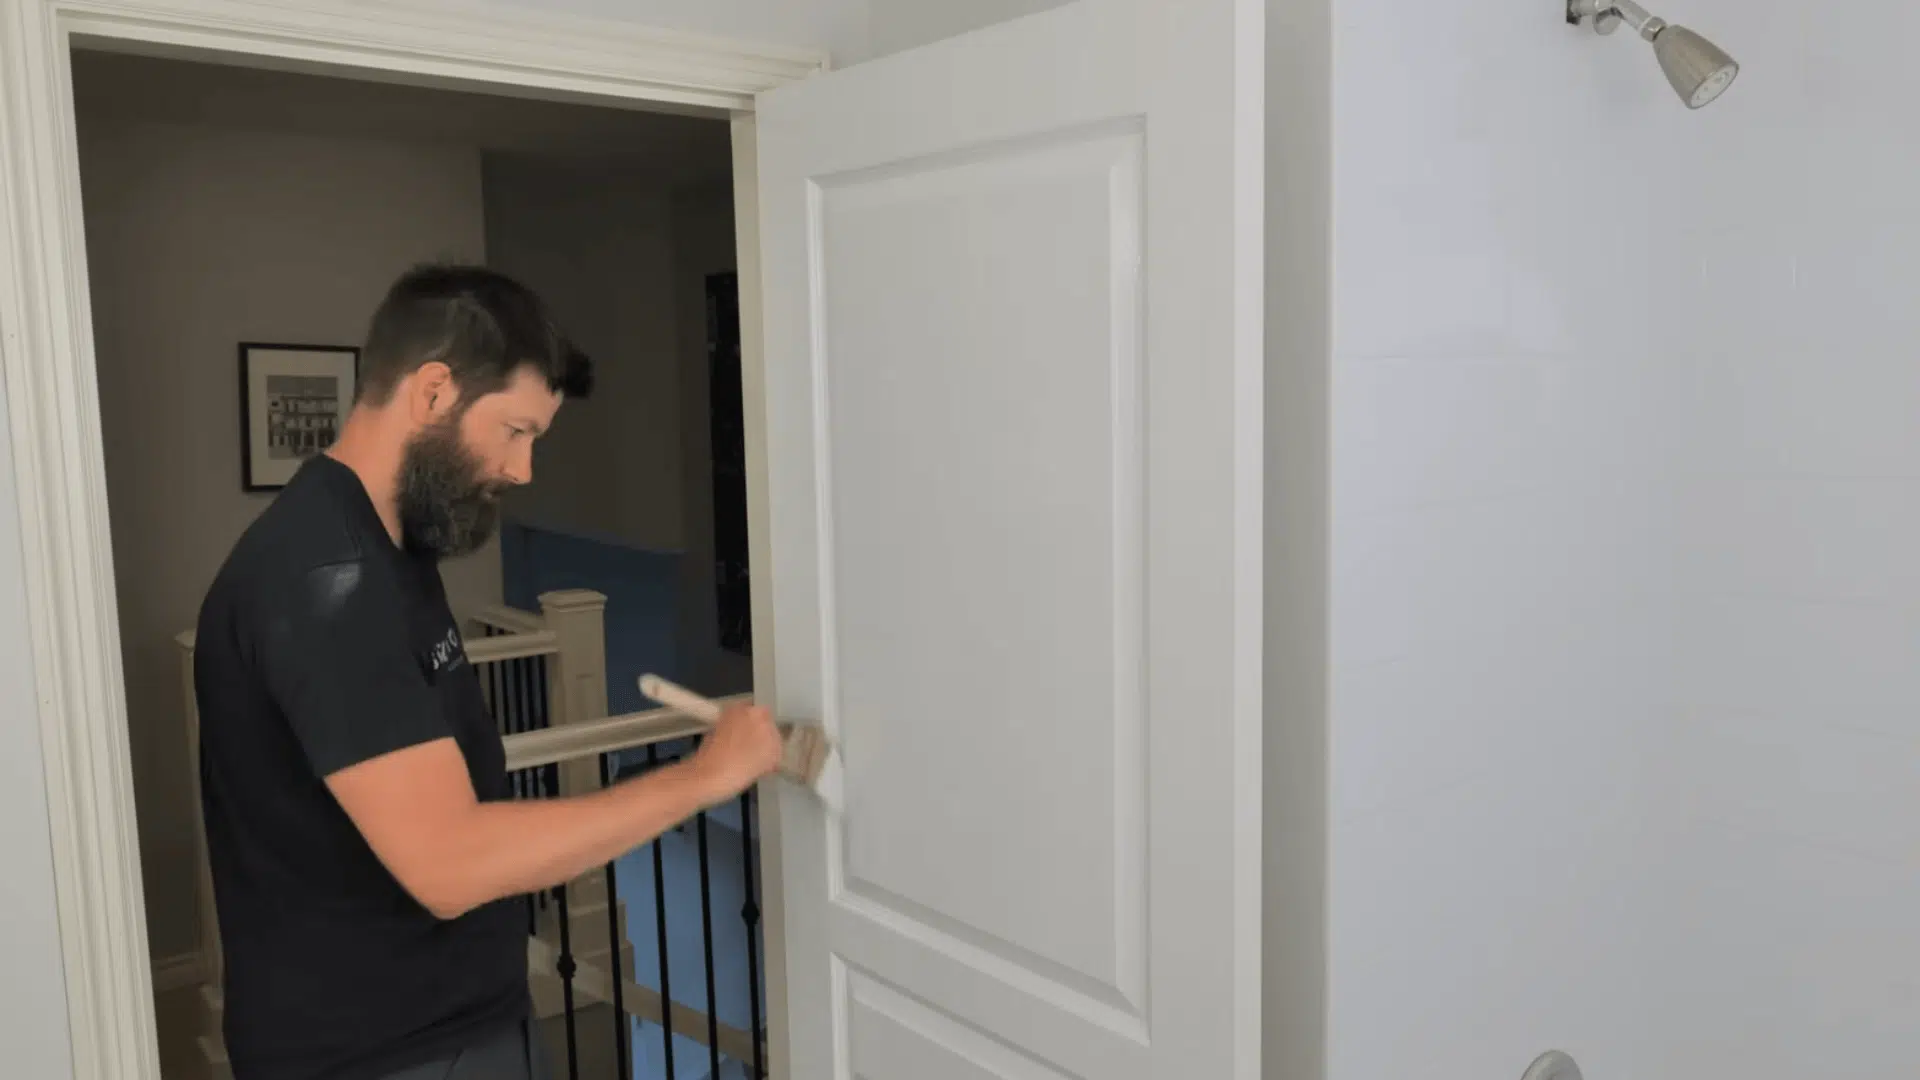
Once everything is coated, lightly brush over the painted sections following the direction of the wood grain. This step evens out any roller texture and blends the paint into a smooth, continuous finish.
Pay extra attention to spots where the grain changes direction, especially on multi-panel doors. Before switching sides, inspect for drips and smooth them out while the paint is still wet.
Step 6: Add Floetrol (or Water) to Extend Working Time
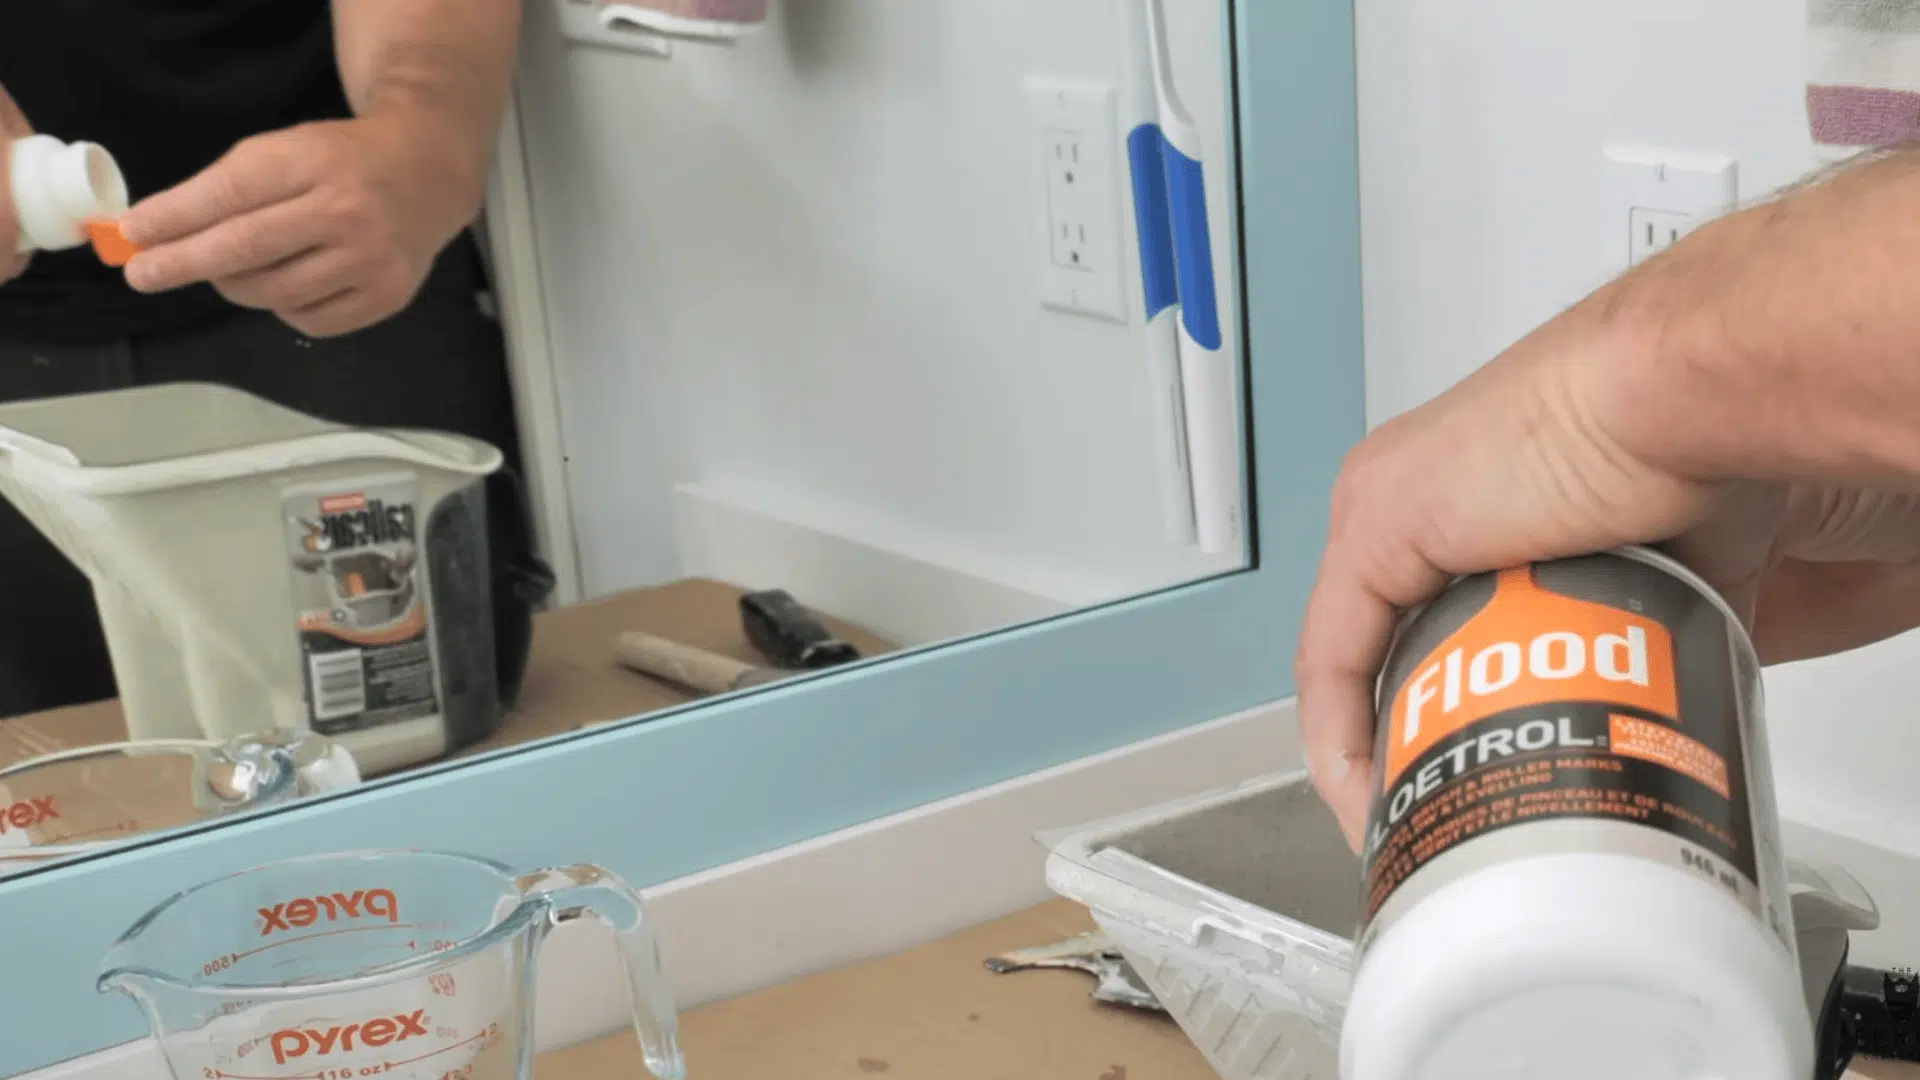
Mixing a paint conditioner like Floetrol into your paint gives you more time before it begins to tack up. This is especially helpful on three-panel doors where the grain runs in different directions and requires more blending time.
The extended workability helps prevent brush marks and patchiness. Even a little additive can double your smoothing window and improve your final finish.
By taking your time and following these steps, you’ll achieve a smooth, durable finish that looks professionally done.
For a More Real-Time Walkthrough, Refer to This Video Tutorial
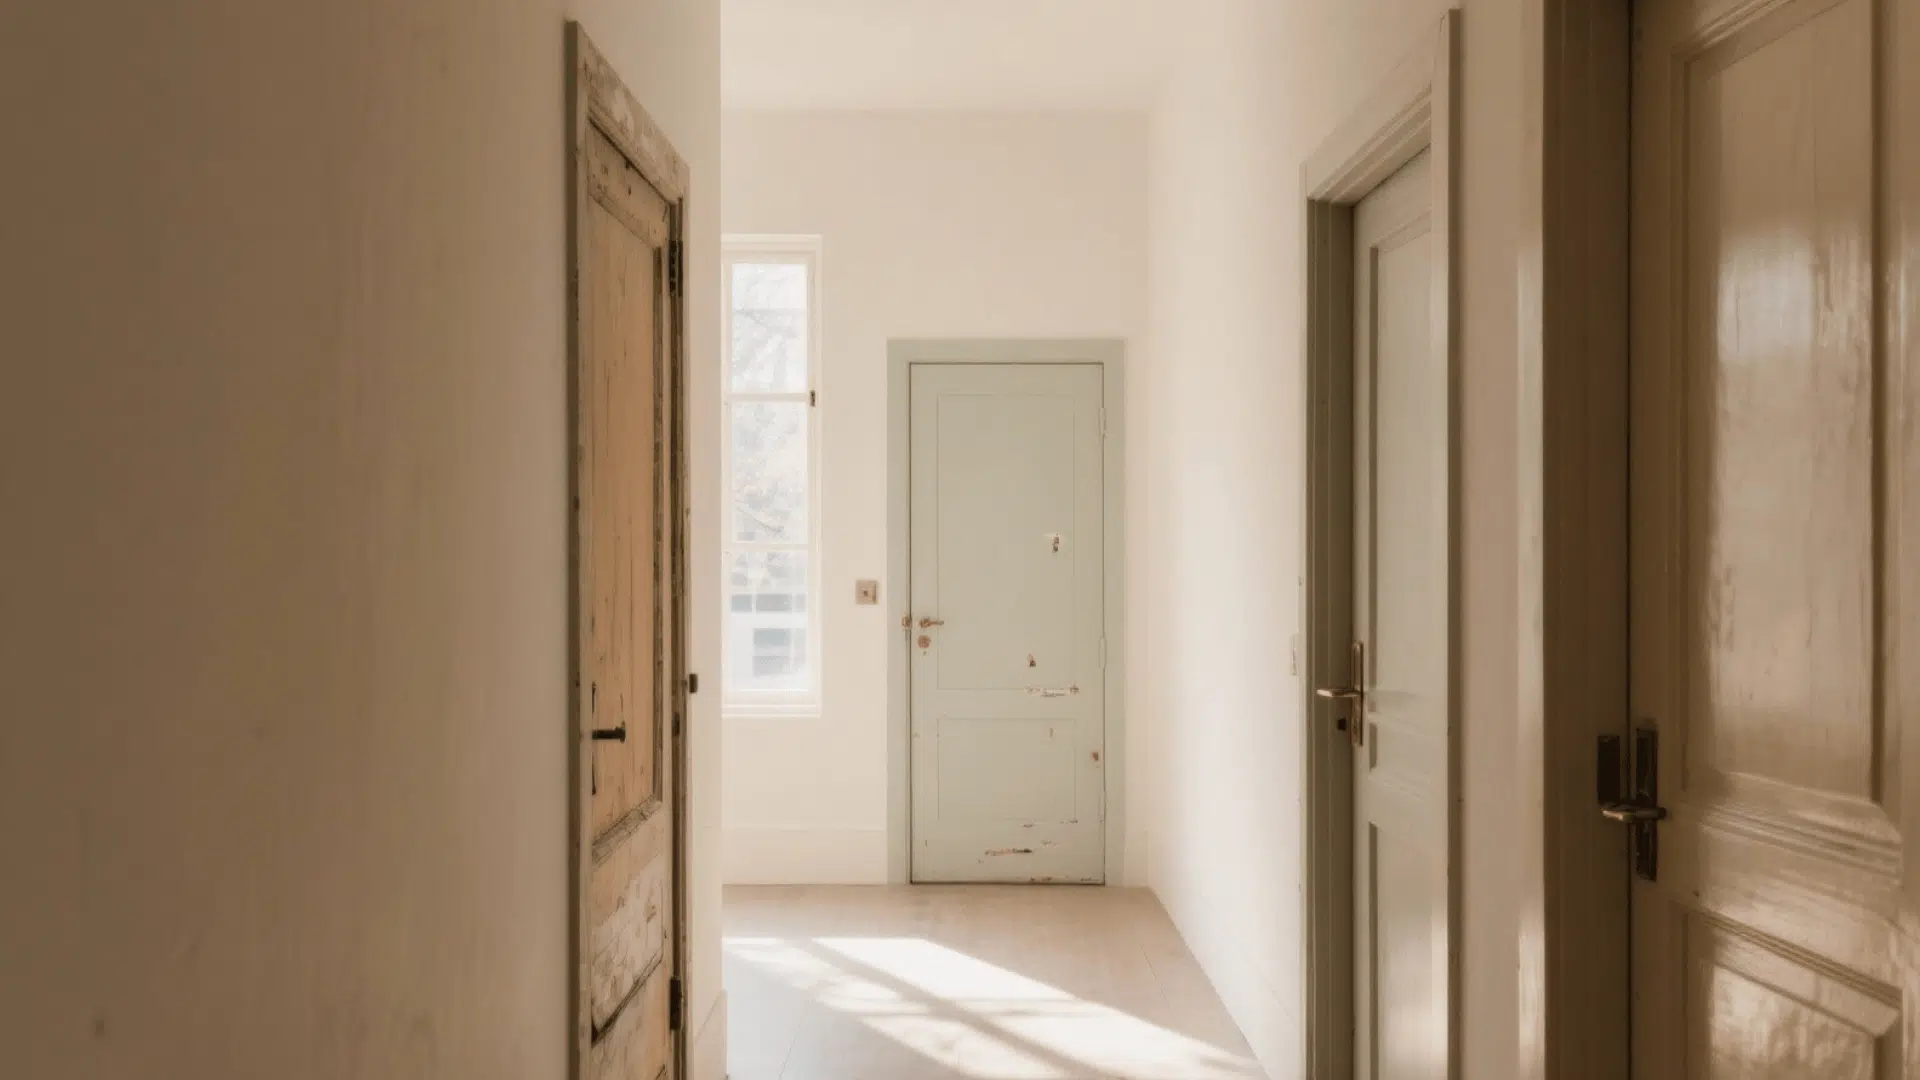
Considerations for Different Types of Interior Doors
Painting interior doors varies depending on the type of door. Each has unique prep needs, painting methods, and finishing details.
| Door type | Prep and painting tips | Color suggestions |
|---|---|---|
| Hinged (attached) | Keep it on hinges if space allows; tape edges and hardware. | Classic white, soft gray, or matching trim color. |
| Detached / slab | Easier to paint flat; paint edges first, then faces. | Warm beige, navy, or light sage for a modern look. |
| Flat / slab | Use a foam roller for even coverage; sand for smoothness. | Matte black, charcoal, or neutral tones for a minimalist look. |
| Panelled | Brush panels first, then rails and stiles. | Soft cream, muted blue, or heritage green. |
| Glass / mirrored | Mask glass carefully; apply thin coats around frames. | Crisp white or subtle gray to highlight glass. |
| Bifold/sliding | Paint both sides; check track clearance before reinstalling. | Light taupe, misty blue, or off-white for airy spaces. |
| French/double | Match symmetry: paint one door completely before the next. | Elegant white, pale greige, or soft navy for contrast. |
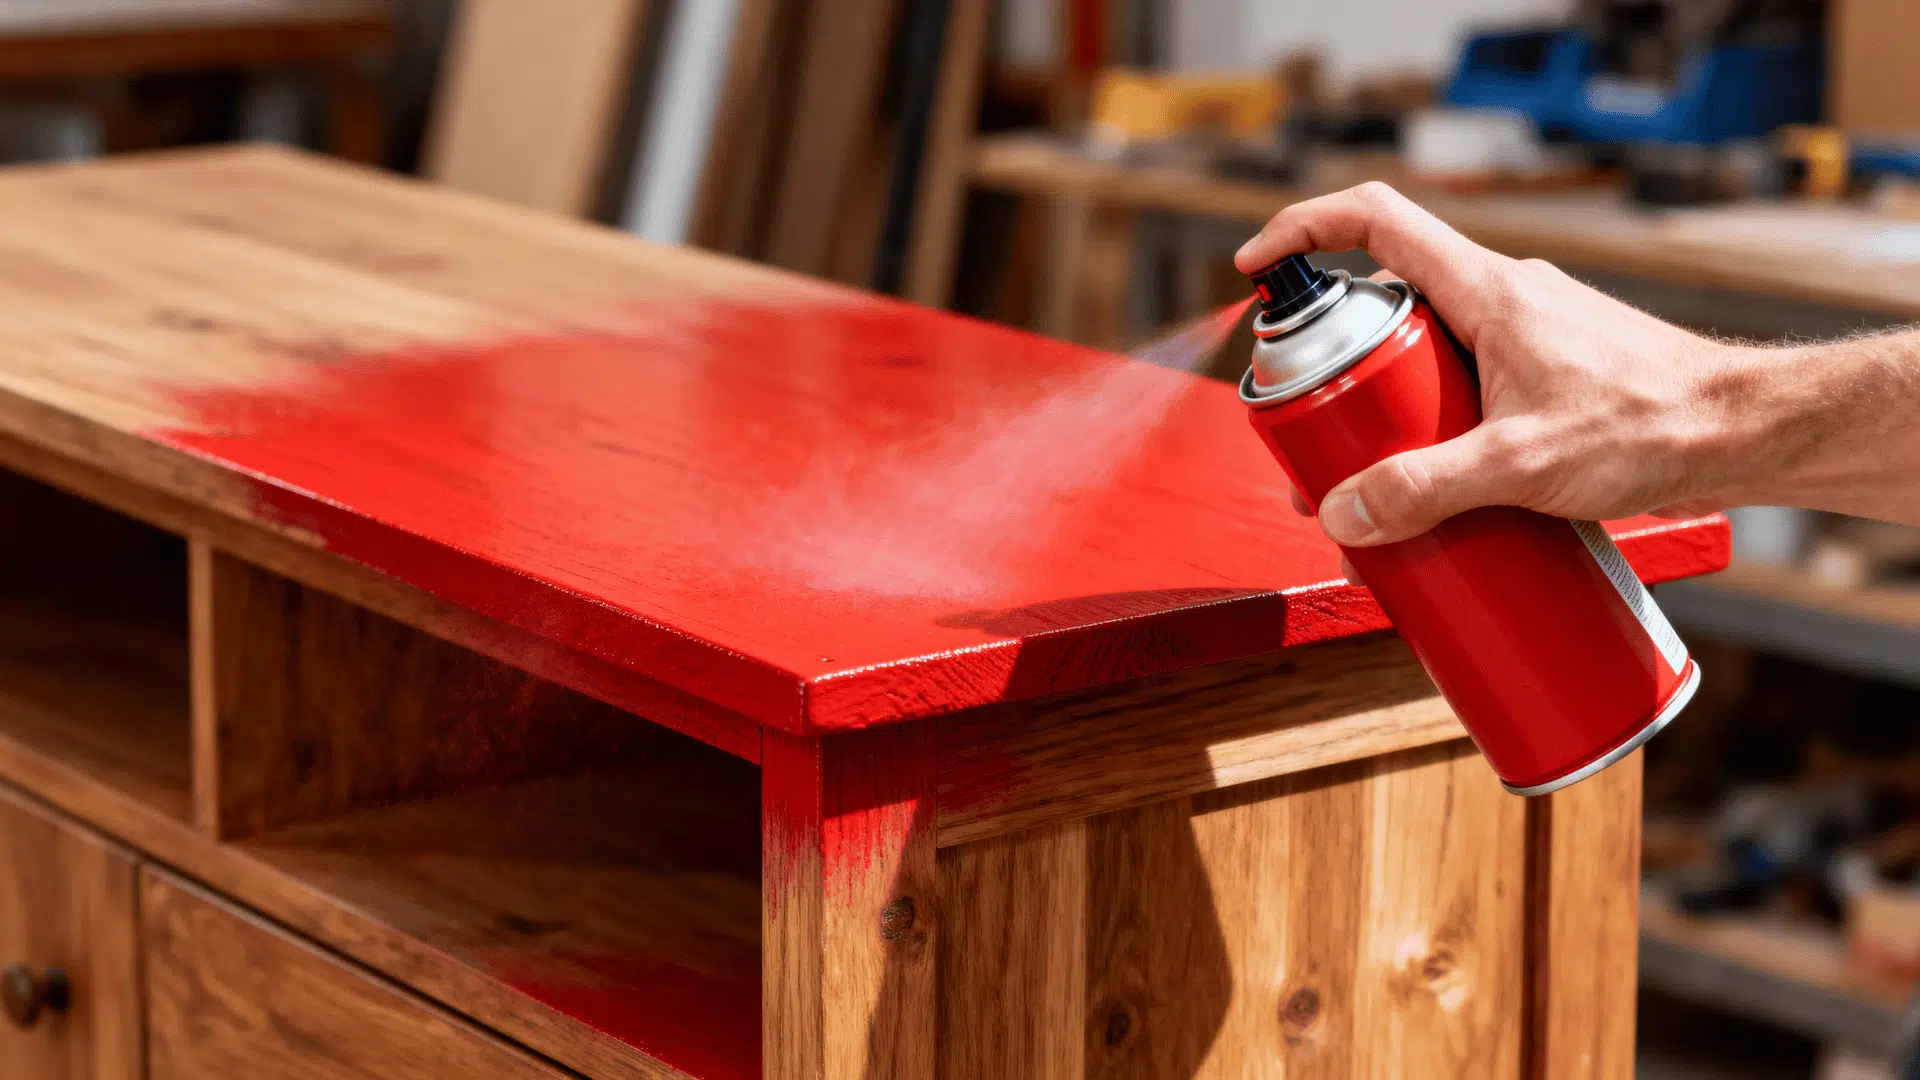
Common Mistakes to Avoid While Painting Interior Doors
When painting your interior doors, a few smart habits can make all the difference between a flawless finish and a frustrating redo.
- Skipping cleaning or sanding: Always prep the surface so the paint adheres smoothly and lasts longer
- Applying thick coats: Use thin, even layers to prevent drips and achieve a uniform finish
- Using the wrong paint finish: Choose a durable satin or semigloss finish suited for frequent use
- Rushing between coats: Let each coat dry fully before recoating to avoid smudges and uneven texture
- Leaving hardware unmasked: Cover or remove knobs and hinges to keep lines sharp and clean
- Neglecting edges or mismatching sides: Paint every side evenly for a polished, consistent look
- Reattaching hardware too soon: Wait until the paint cures completely to prevent marks or scratches
Pro tip: The secret to streak-free doors? Use a foam roller for flat areas and a high-quality angled brush for edges and grooves. It’s the perfect combo for a smooth, even finish.
Pro Tips and Techniques for A Flawless Door Finish
Working in good natural light allows you to spot inconsistencies early, while maintaining a steady pace helps you keep a smooth, wet edge across the entire surface.
When painting textured or multi-directional grain patterns, gently smoothing the finish after rolling can make a dramatic difference.
Using a paint conditioner can also improve flow and leveling, giving you more control and a cleaner final result.
Additional pro tricks:
- Work with slightly overlapping strokes to avoid subtle lap marks or shadow lines.
- Store brushes and rollers in an airtight wrap during short breaks to keep them from drying out.
- Lightly feather the final pass to blend edges seamlessly without visible start-and-stop points.
The Bottom Line
Painting interior doors is one of those projects that delivers way more impact than the effort you put in.
I’ve seen single doors uplift entire rooms, and the best part? It won’t drain your wallet. The key is solid prep work, following the steps we covered, and choosing the right paint for your door type.
Once you see the difference, you’ll want to tackle the rest. Which door are you planning to paint first? Drop a comment and let me know!