There’s something hiding beneath those scratches and dull spots on your hardwood floors; a fresh surface waiting to break through.
Sanding removes years of heavy wear and damage, revealing nearly new wood underneath.
The dust and equipment might seem intimidating, but I’ve found it’s easier than most owners expect. Ready to uncover what’s been hiding under your feet all along?
Signs Your Hardwood Floors Need Sanding
Not every floor needs sanding, so knowing when to start this project saves time and money. Check your floor’s condition carefully to determine if the wood has enough life left for restoration.
- Deep scratches that catch your fingernail: Surface scratches are one thing, but deep grooves need attention. These marks won’t buff out and only get worse with regular foot traffic.
- Worn finish with exposed wood showing: When the protective coating disappears, moisture can damage the boards. Bare wood absorbs spills quickly, which can lead to staining or swelling.
- Discoloration that won’t clean away: Stubborn stains that penetrate the finish require sanding to remove. Pet accidents, water damage, and sun fading won’t respond to simple cleaning methods.
- Uneven surface or cupping between boards: Warping needs to be leveled out for a smooth, safe floor. Walking across bumpy planks isn’t just uncomfortable; it’s a tripping hazard.
- Planning to change stain color: New color means stripping the old finish down to bare wood. You can’t just apply a darker stain over the existing finish and expect good results.
Tools and Materials Needed
Before learning the steps for sanding hardwood floors, make sure you have everything ready. The right tools and materials will make the job smoother, safer, and more precise.
| ITEM | PURPOSE |
|---|---|
| Drum sander | Sands the main floor surface |
| Edging sander | Reaches edges and tight spots |
| Sandpaper (coarse, medium, fine) | Removes finish and smooths wood |
| Vacuum | Clears dust between steps |
| Wood putty | Fills noticeable gaps |
| Polyurethane | Protects and seals the floor |
| Brush or floor pad | Applies the finish |
| Safety gear | Protects eyes, ears, lungs |
Step-by-Step DIY Refinishing Process
Refinishing wood floors yourself can seem like a big task, but it’s easier with clear steps and the right tools. Here’s a simple breakdown of the step-by-step process for sanding hardwood floors at home.
Step 1: Prepare the Room
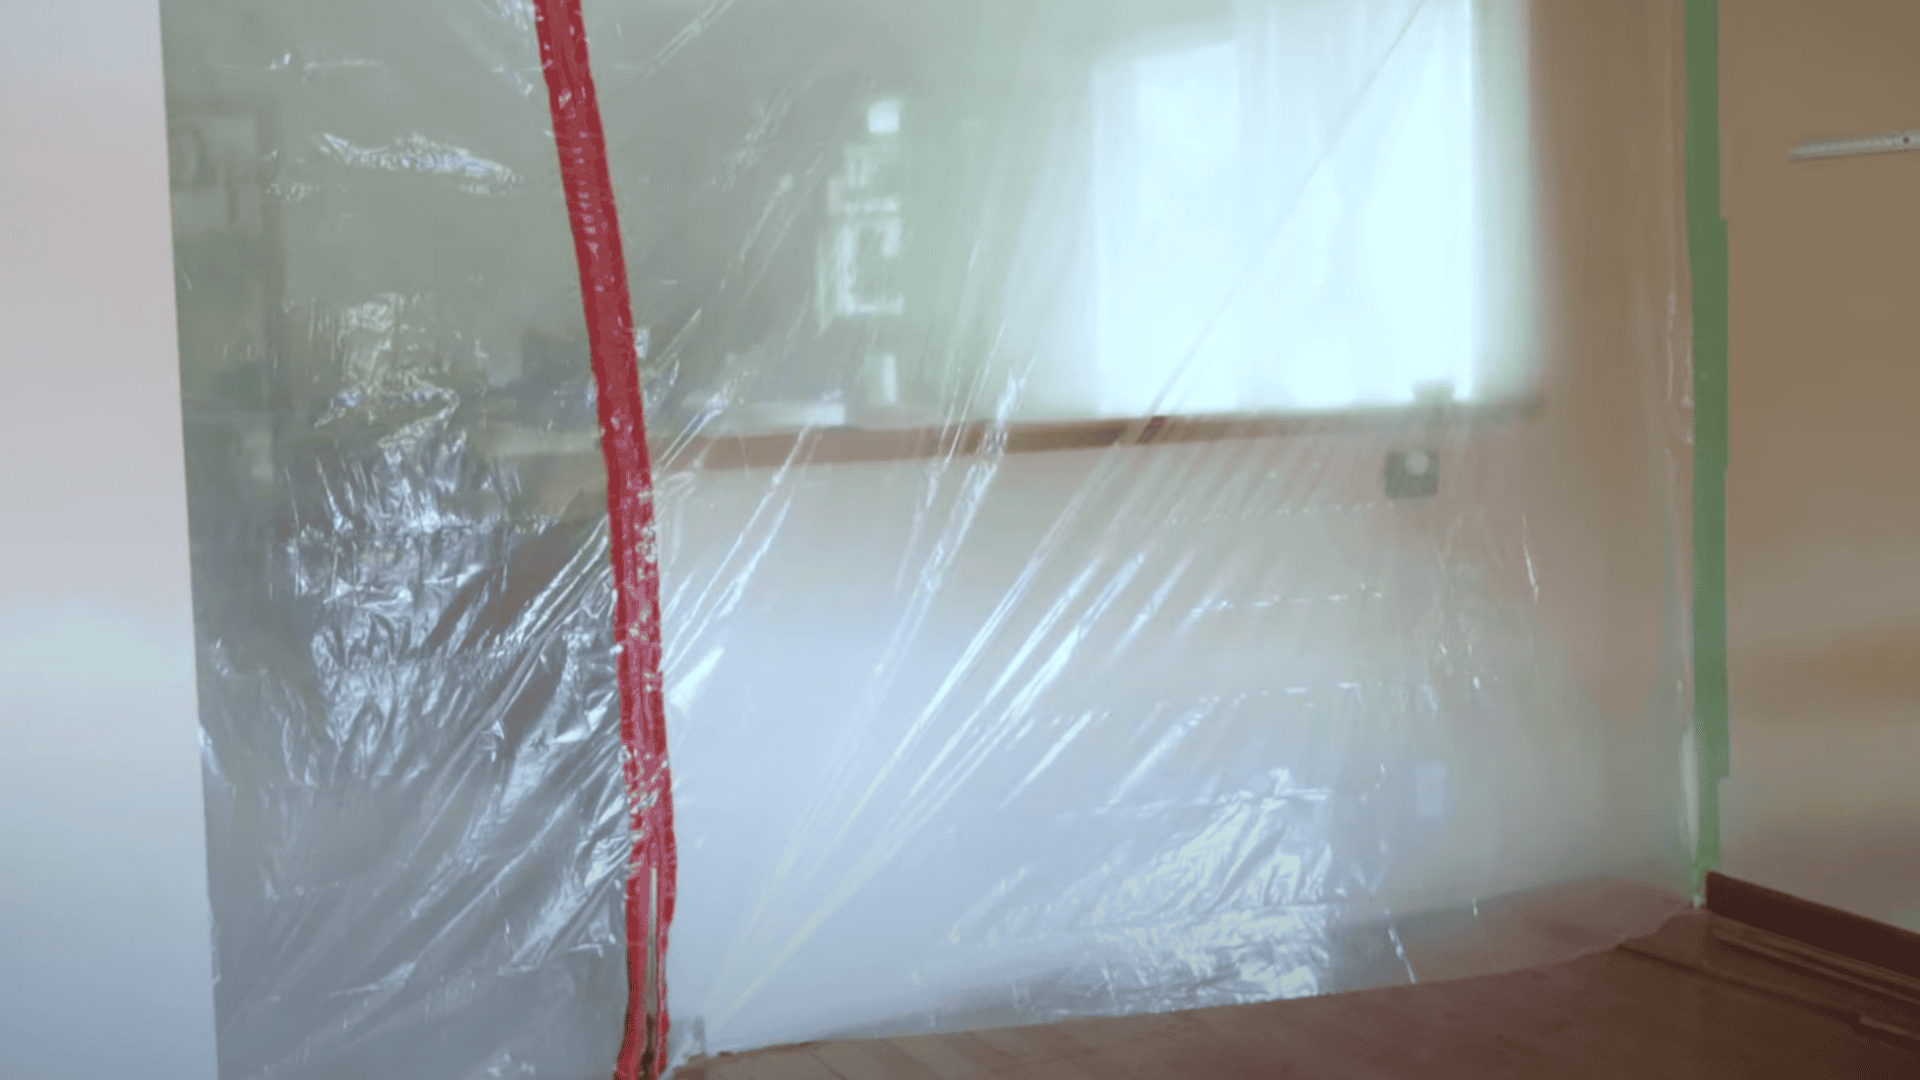
Before sanding begins, clear out all furniture and hang plastic sheeting in doorways to contain the dust. Set up a box fan in a window to push airborne dust outside and keep the rest of your house clean.
The shoe molding around the baseboards is removed so the sanders can get closer to the wall. The floor is then checked for raised nails or staples, and each one is tapped down to make the sanding process safe and smooth.
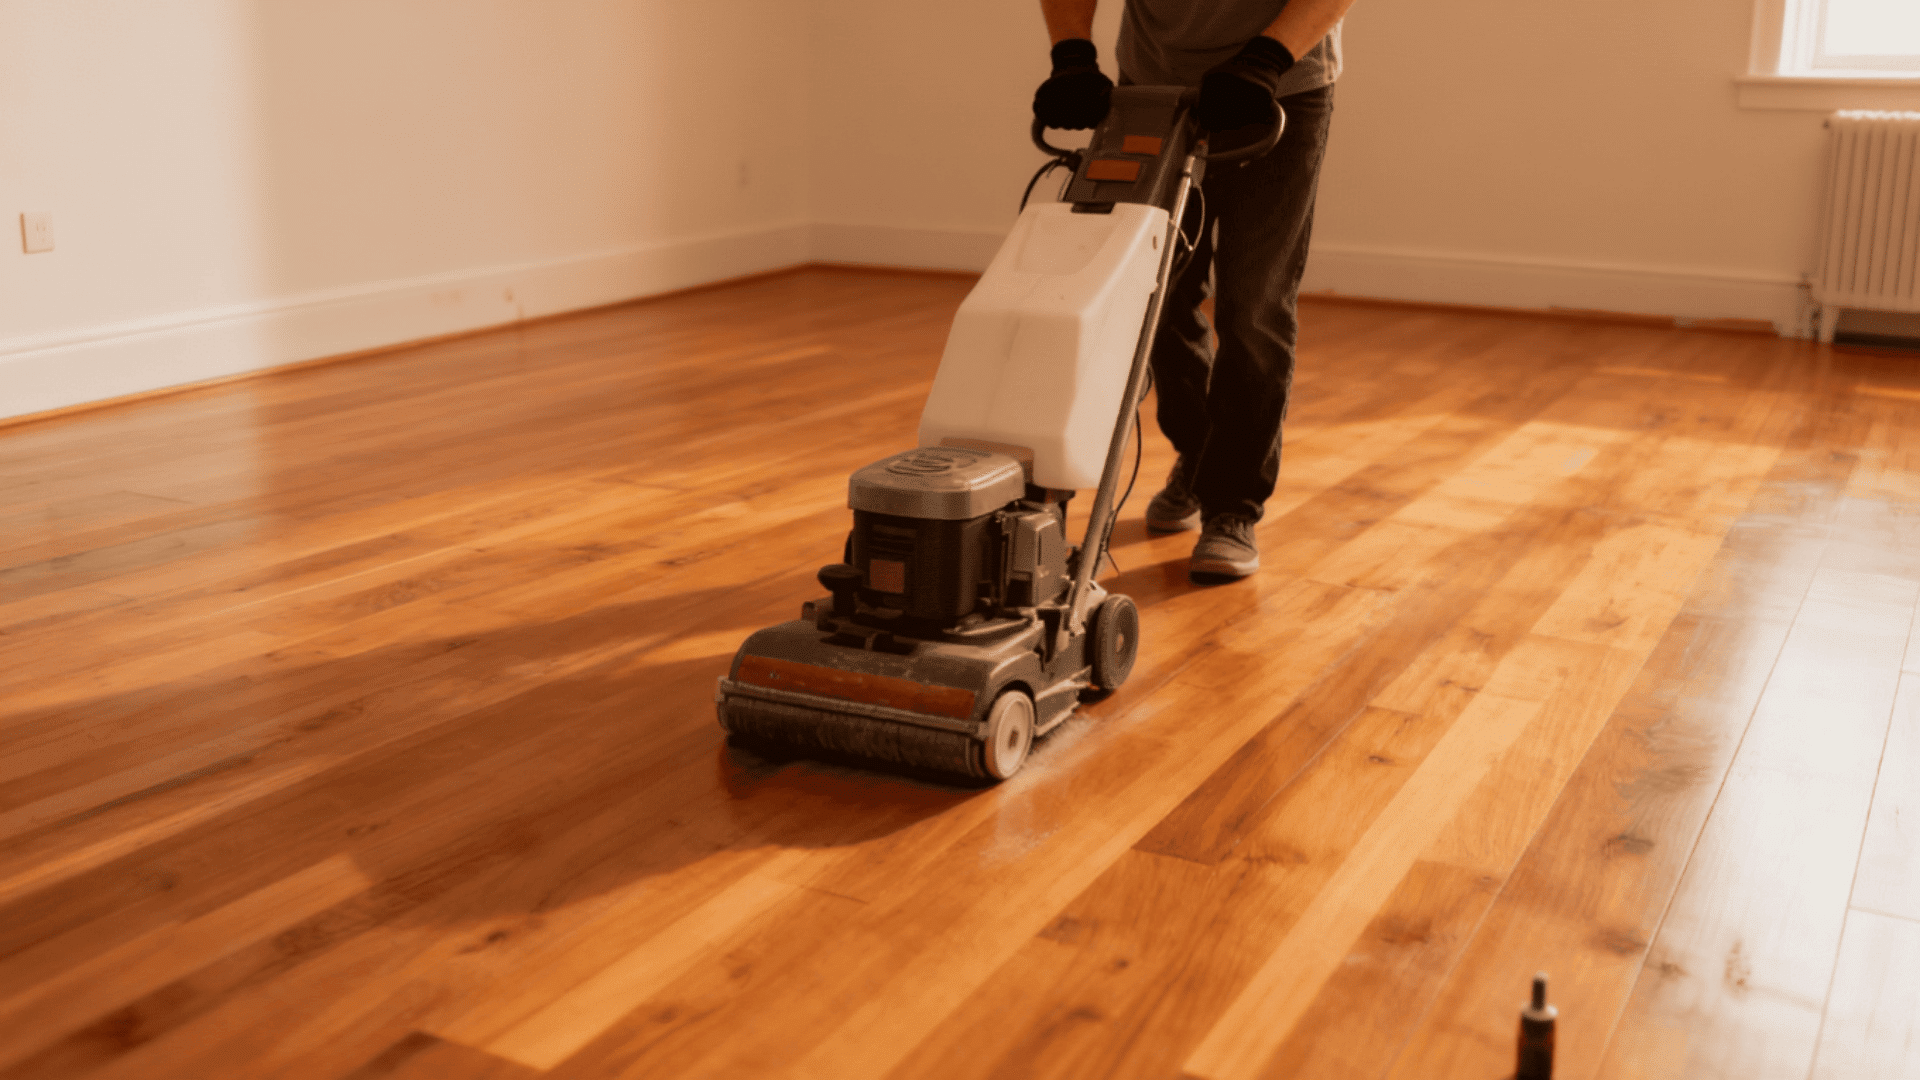
Step 2: Sand the Floor Using the Correct Sequence
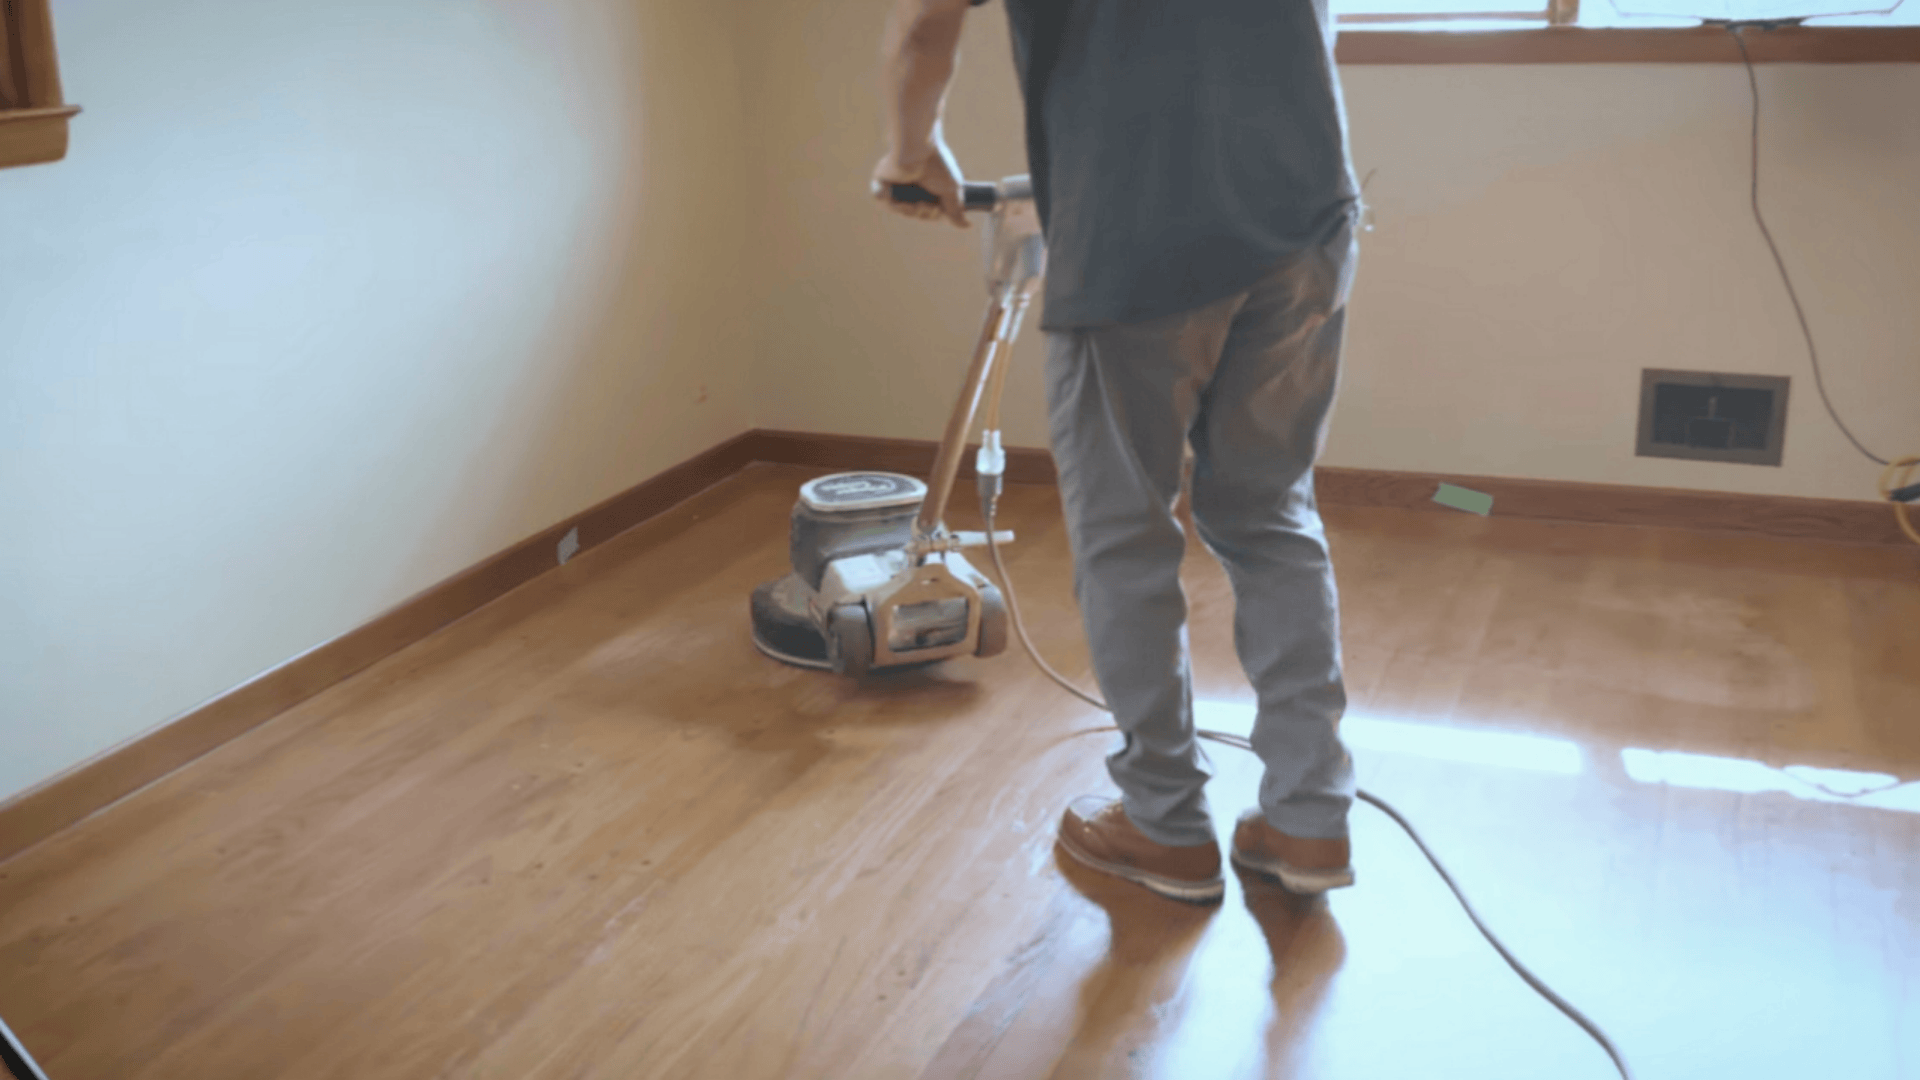
For light refreshing, test the floor with a maintainer and coarse sanding screen first. If deeper scratches or worn finish exist, use a drum sander with straight, overlapping passes to tackle the main work.
The floor is sanded in a sequence of grits that gradually smooth the wood. The process begins with a coarse grit to remove the old finish, followed by a medium grit to refine the surface, and ends with a fine grit that prepares the wood for finishing.
Step 3: Sand Edges, Corners, and Hard-to-Reach Areas
Once the main floor area is smooth, an edging sander is used to reach the sections near the walls where the drum sander cannot fit. This tool is run with the same grit sequence as the main sanding to keep the surface even.
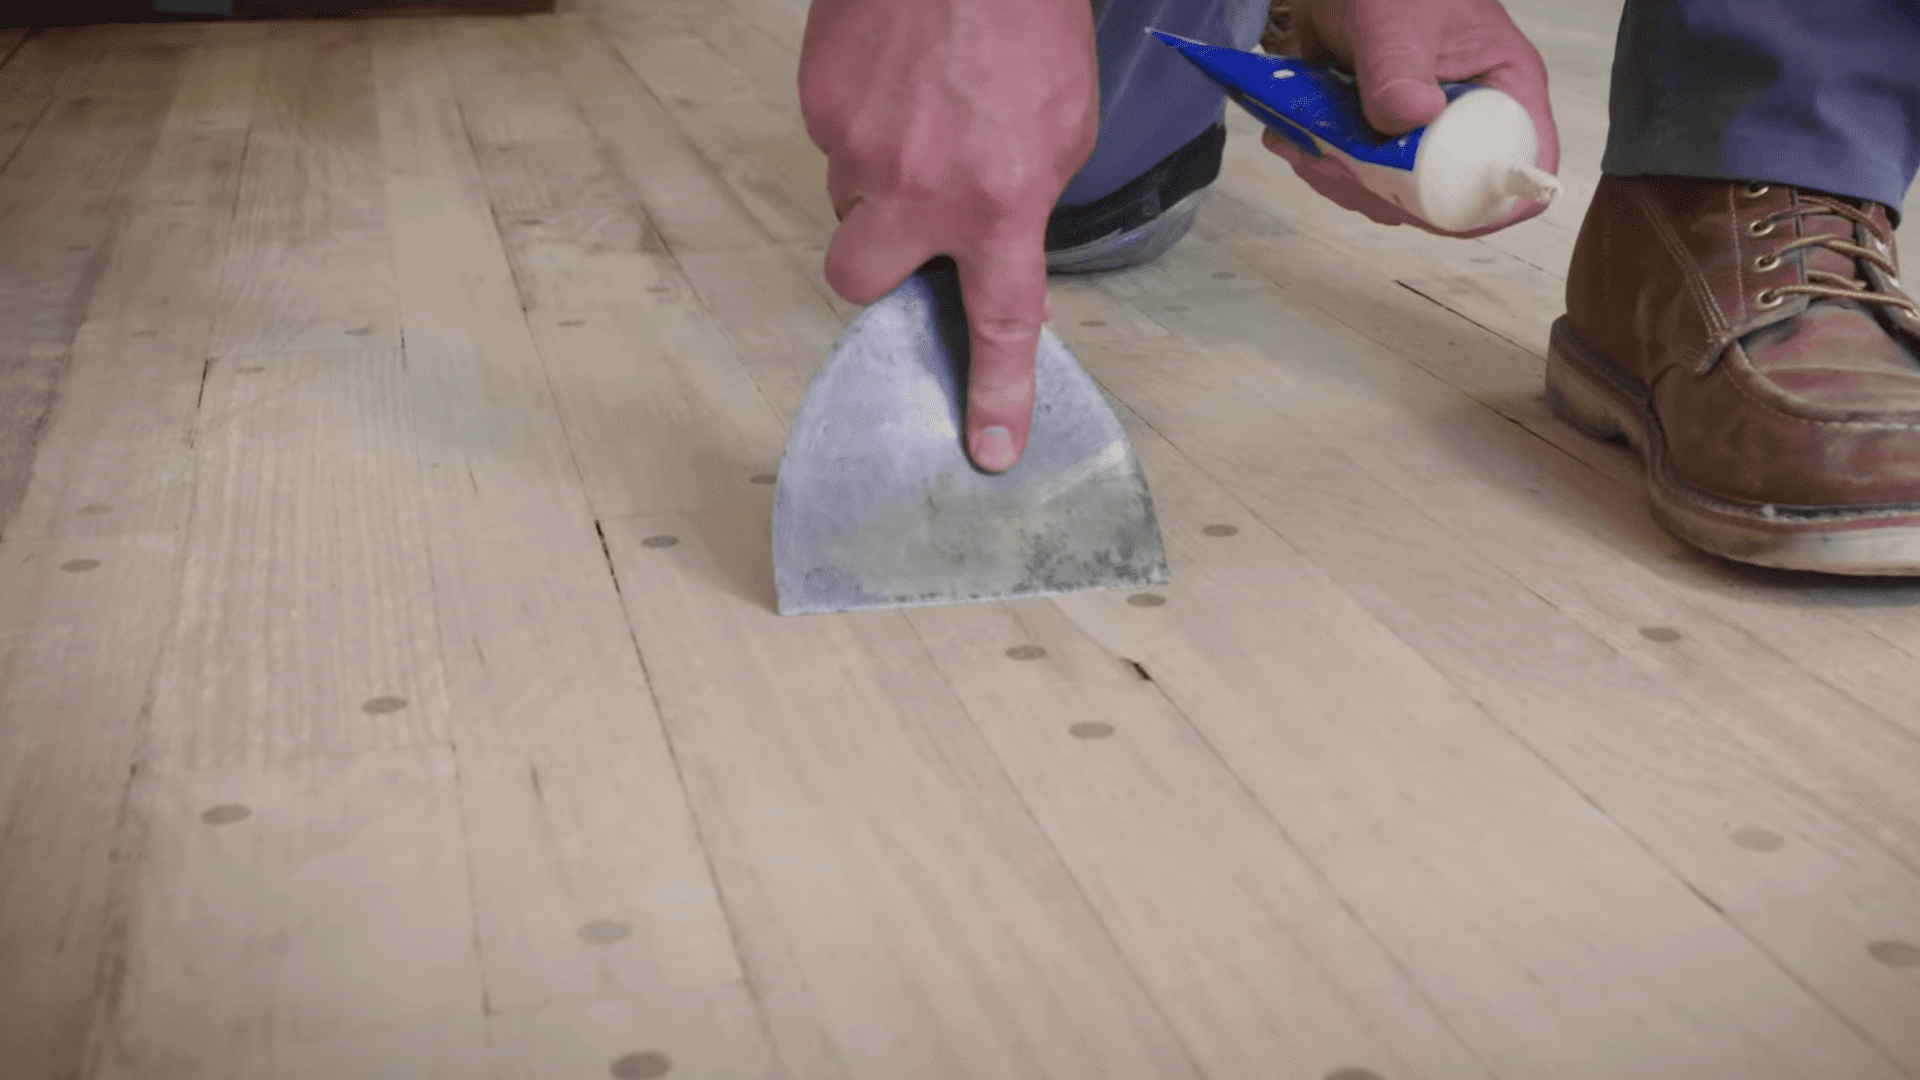
Clean corners and tight spots with a carbide scraper to remove old finish, then fill any gaps or cracks with wood putty. Once dry, smooth the repairs flush with a random orbit sander so everything blends seamlessly.
Step 4: Clean the Floor Thoroughly Before Finishing
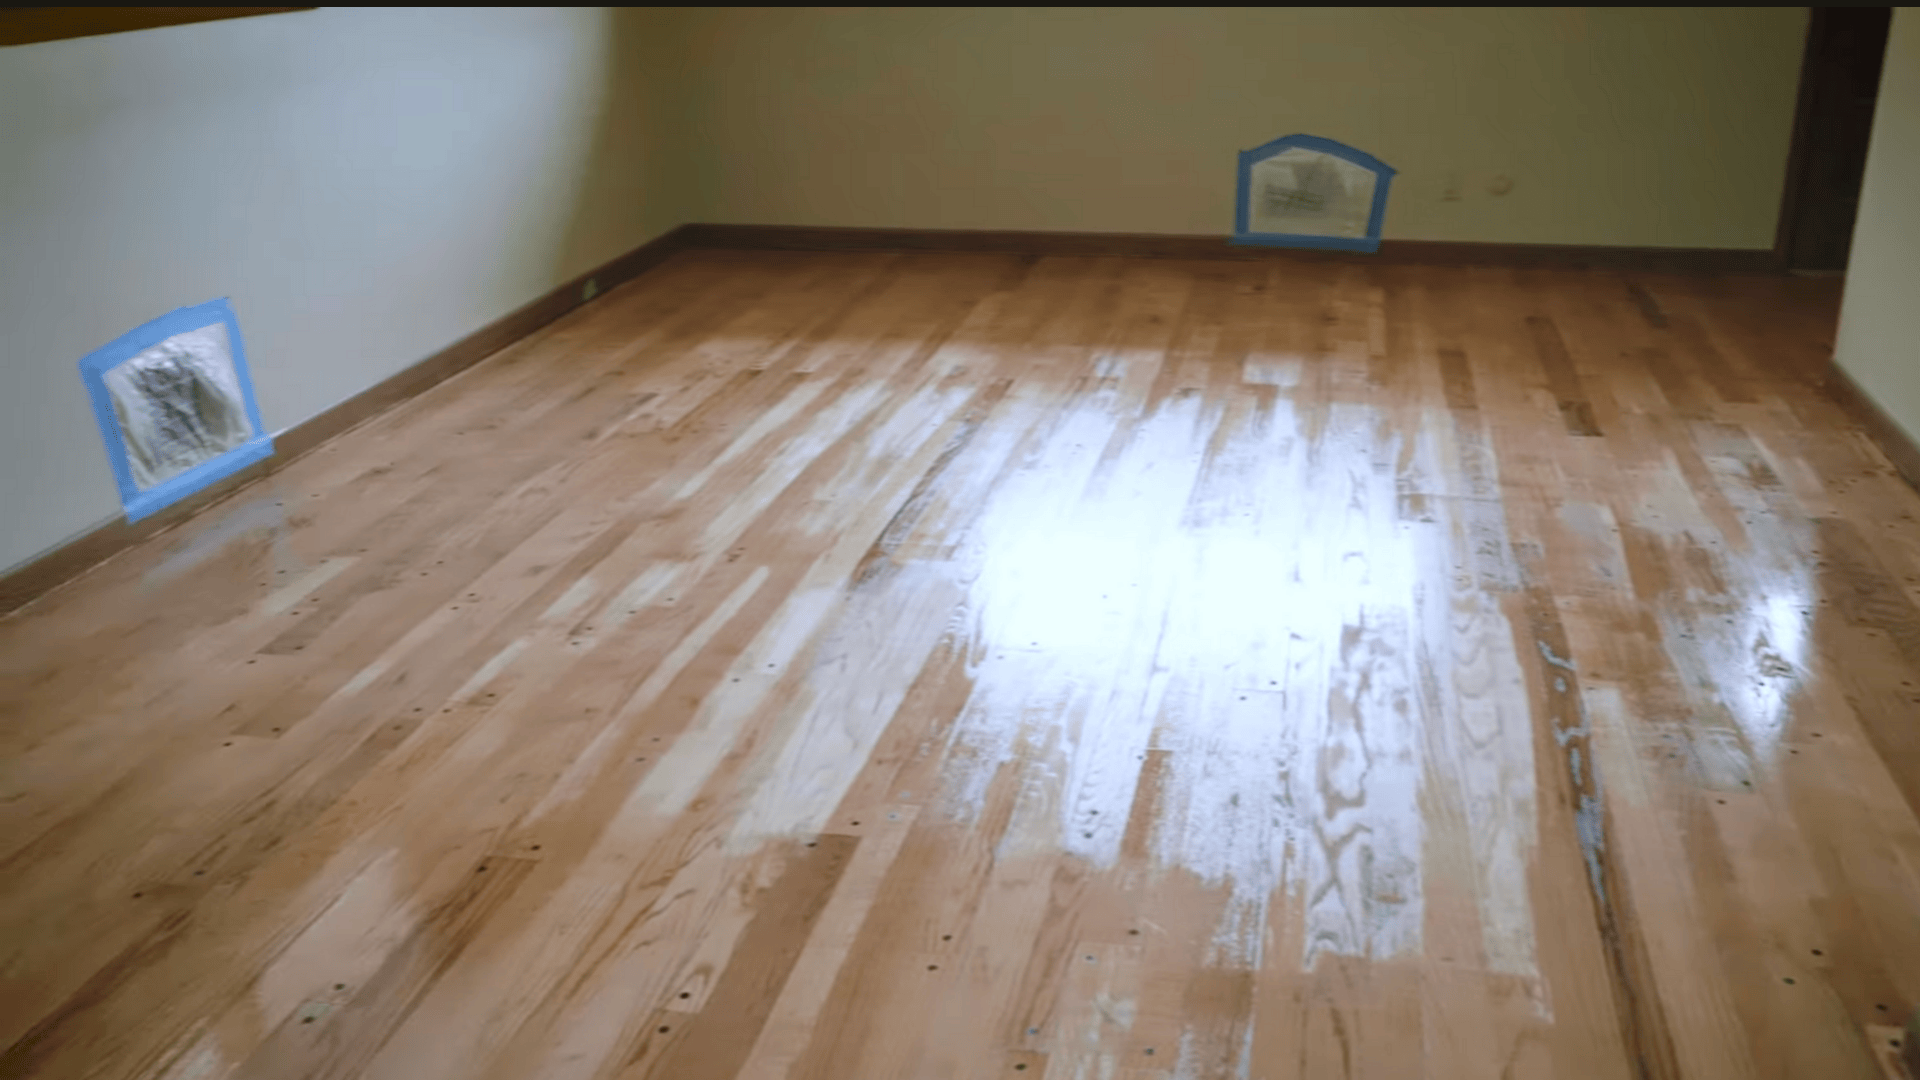
The entire surface is vacuumed to remove loose dust, followed by a light, damp mopping to collect the remaining particles.
Air vents are covered, and windows are closed, so no new dust settles on the wood while finishing. At this stage, the floor should feel clean, dry, and ready for the first coat of finish.
Step 5: Apply Multiple Coats of Polyurethane
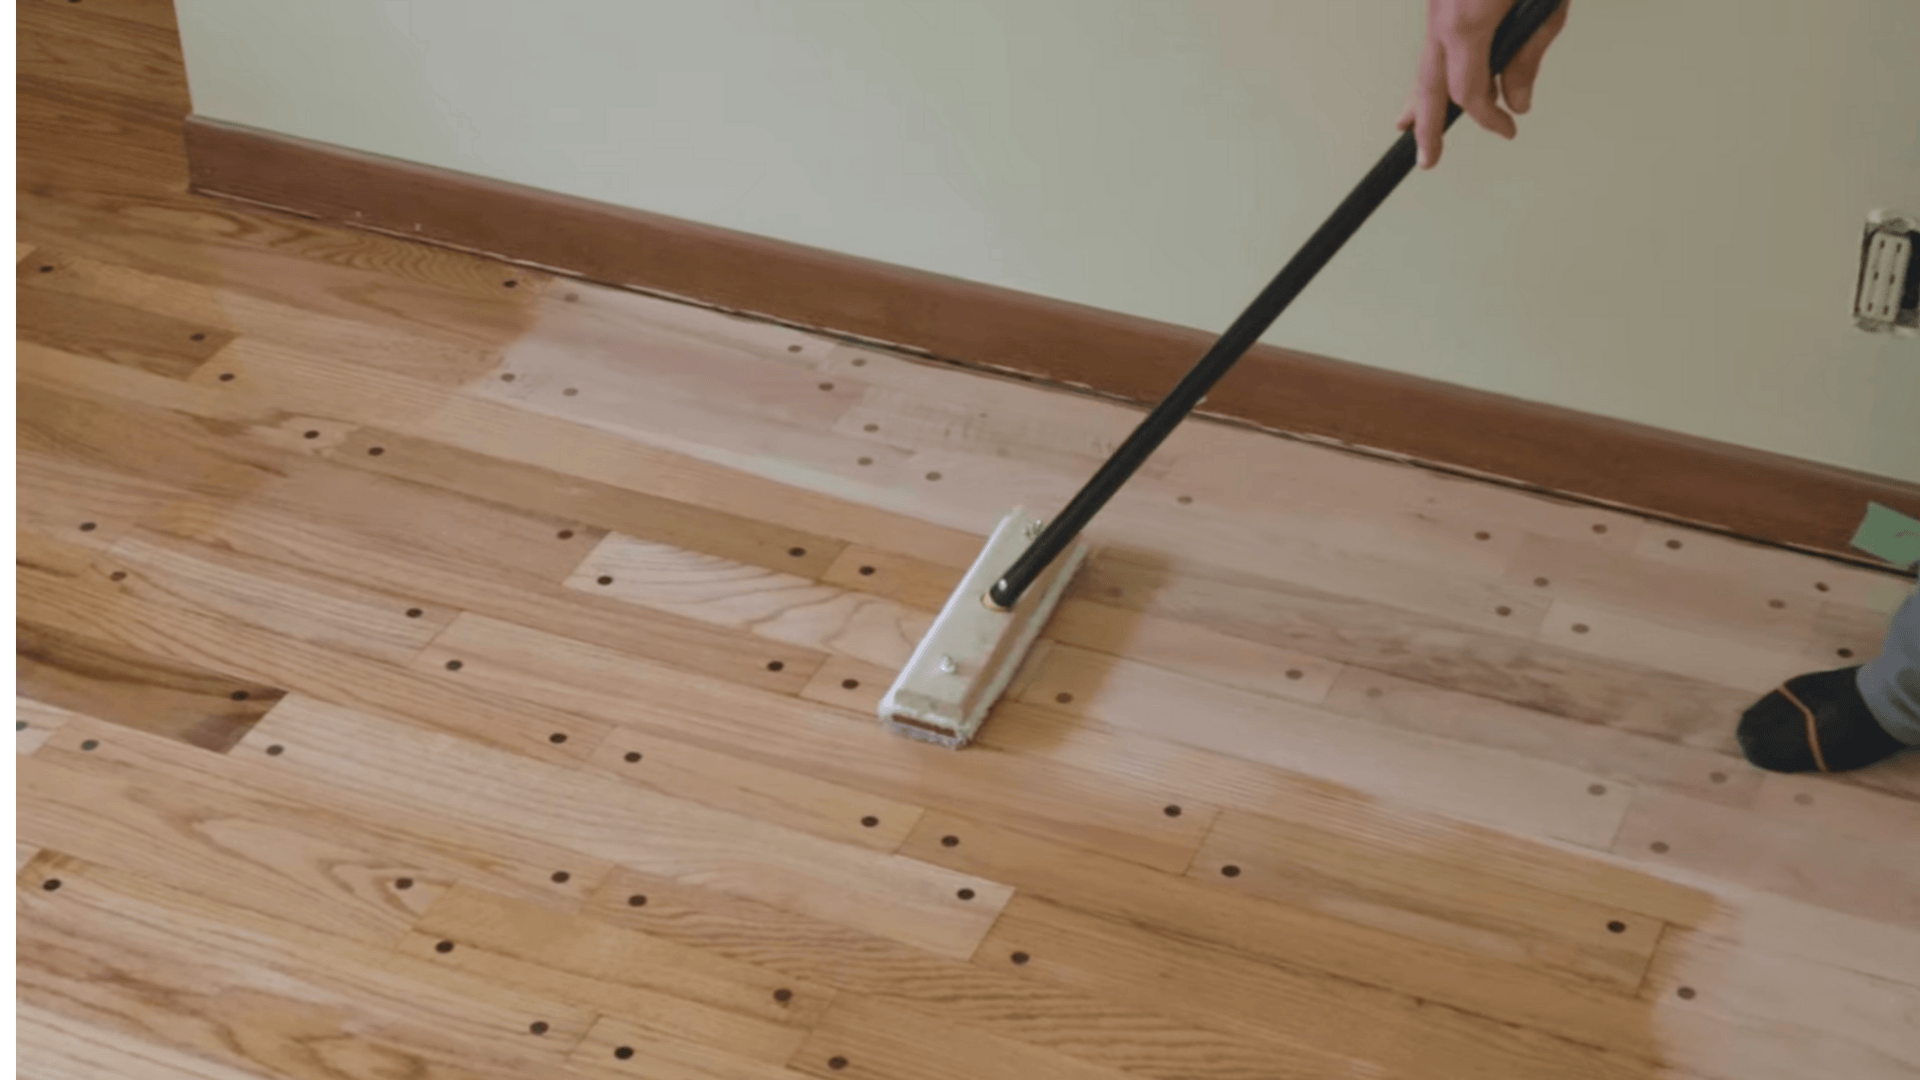
The finish begins with cutting in along the edges using a brush. Once the edges are coated, a floor finish pad on a pole spreads the polyurethane across the open sections of the room.
After the first coat dries overnight, the surface receives a light scuff sanding with fine grit paper and is wiped clean with tack cloth. This process is repeated for the second and third coats to build strength and clarity.
For more detailed instructions, refer to the YouTube video below:
DIY vs. Hiring a Professional
Deciding between DIY sanding and hiring professionals comes down to your budget, available time, and skill level. Both options have clear advantages and drawbacks that are worth weighing before you start.
| FACTOR | DIY APPROACH | PROFESSIONAL SERVICE |
|---|---|---|
| Cost | $200-$500 for rental equipment and materials | $1,500-$4,000 for complete job |
| Time | 3-5 days including drying time between coats | 1-2 days with faster completion |
| Skill Required | Moderate to high, steep learning curve | Proffesional level |
| Results | Varies based on technique and experience | Consistently smooth, professional finish |
| Equipment | Rent sanders, buy supplies, return equipment | All tools and materials included |
Common Mistakes When Sanding Hardwood Floors
Even experienced DIYers make errors when sanding hardwood floors, and these mistakes can cost hundreds in repairs. Knowing what to avoid protects your investment and ensures better results.
- Dirt and debris under the sander create scratches and uneven spots that ruin the finish. Always vacuum thoroughly and wipe down surfaces before starting any sanding work.
- Starting with too coarse a grit or jumping sandpaper grades leaves visible marks that won’t disappear. Follow the proper sequence from coarse to fine for smooth, professional-looking results.
- Stopping the sander while it is touching the floor creates deep gouges that require extra work to fix. Keep the machine moving at all times and lift it before turning off the motor.
- Sanding against the wood grain produces scratches that show through stain and finish coats. Always move the sander parallel to the wood planks for the best outcome.
- Worn sandpaper just polishes the surface instead of cutting, which wastes time and effort. Change the paper as soon as it stops removing material effectively.
- Rushing between coats without proper drying traps moisture, creating a cloudy, soft finish. Wait the full recommended time listed on product labels before applying the next layer.
Choosing the Right Finish for Your Hardwood Floors
After sanding, the most important step is choosing and applying the right finish. Different finishes offer varying levels of durability, sheen, and application difficulty. Here’s what each option brings to the table:
| FINISH TYPE | DURABILITY | DRYING TIME | MAINTENANCE LEVEL |
|---|---|---|---|
| Oil-Based Polyurethane | High, lasts 10+ years | 24 hours between coats | Low, needs occasional recoating |
| Water-Based Polyurethane | Moderate to high | 2-4 hours between coats | Low, cleans up easily with water |
| Penetrating Oil | Moderate, needs yearly touch-ups | 12-24 hours to cure | High, requires regular reapplication |
| Wax Finish | Low, shows wear quickly | 30 minutes to harden | Very high, needs frequent buffing |
Maintenance Tips to Follow After Sanding
Freshly sanded hardwood floors need proper care to stay gorgeous for years. Simple daily habits make a huge difference in how long the floors look newly refinished. Here’s what keeps them in top shape:
- Sweep or vacuum daily: Dirt particles act like sandpaper on the finish, so use a soft-bristle broom or vacuum with a hardwood setting for daily cleaning.
- Use felt pads under all furniture legs: This prevents scratches when moving chairs and tables, and replace worn pads every few months for continued protection.
- Place doormats at every entrance: Both inside and outside mats catch outdoor debris before it reaches the wood and scratches the surface.
- Clean spills immediately with a damp cloth: Blot rather than wipe, as standing water damages even sealed floors and wiping spreads liquid across more boards.
- Avoid harsh chemicals and steam mops: These break down protective coatings and dull the finish, so stick with pH-neutral cleaners designed for hardwood floors.
Conclusion
Sanding hardwood floors brings tired, worn wood back to life and adds real value to your home. Whether you choose the DIY route or hire professionals, the result is worth the effort and investment. ‘
The process takes time and dust, but the transformation is worth it. Just take safety seriously and don’t rush the finishing steps.
If you’re unsure about DIY, I’d recommend getting quotes from local pros to compare your options, because either way, those freshly sanded floors will look and feel brand new for years.