Building a solid workbench starts with understanding the basics that most plans leave out.
A sturdy workbench needs proper joints, weight distribution, and correct dimensions, details that most free plans skip.
That’s where good plans make all the difference. I’ve learned that the best workbenches aren’t the fanciest, they’re the ones built with smart design choices that last for years.
Let’s take a closer look at what truly delivers results and break down the strategies, designs, and choices that actually work in real settings.
What Is the Need for a Workbench?
A dedicated workspace changes how projects get completed. Without proper support, tasks become challenging and results often disappoint.
A sturdy surface provides stability for cutting, assembling, and finishing materials with precision. Storage compartments keep tools organized and within reach, eliminating time wasted searching through cluttered areas.
The right height reduces back strain during extended work sessions, making projects more enjoyable.
Quality DIY workbench plans help create a customized solution that fits specific needs and available space, turning any garage or basement into a functional workshop.
Tools and Materials Required
The right tools separate smooth builds from frustrating struggles, and knowing exactly what you need before starting saves time and money. Here’s what belongs in your setup.
| CATEGORY | TOOLS | DETAILS |
|---|---|---|
| LUMBER | 4×4 posts (4 pcs, 31⅝”), 2×4 boards (10 pcs), ⅜” plywood (4×8 ft) | Legs, frame, shelves |
| HARDWARE | 2½” wood screws, 1″ drywall screws, 4″ locking casters (4) | Fasteners & mobility |
| TOOLS | Saw, drill, jigsaw, level, tape measure, clamps, screwdriver | Cutting & assembly |
| OPTIONAL | Carriage/lag bolts, straight edge | Extra strength & saw guide |
Step-by-Step Instructions to Build a DIY Workbench
Building a workbench becomes straightforward with a clear set of steps and proper measurements. Follow these workbench plans to build a DIY rolling workbench. A sturdy, mobile workspace that handles demanding projects with ease.
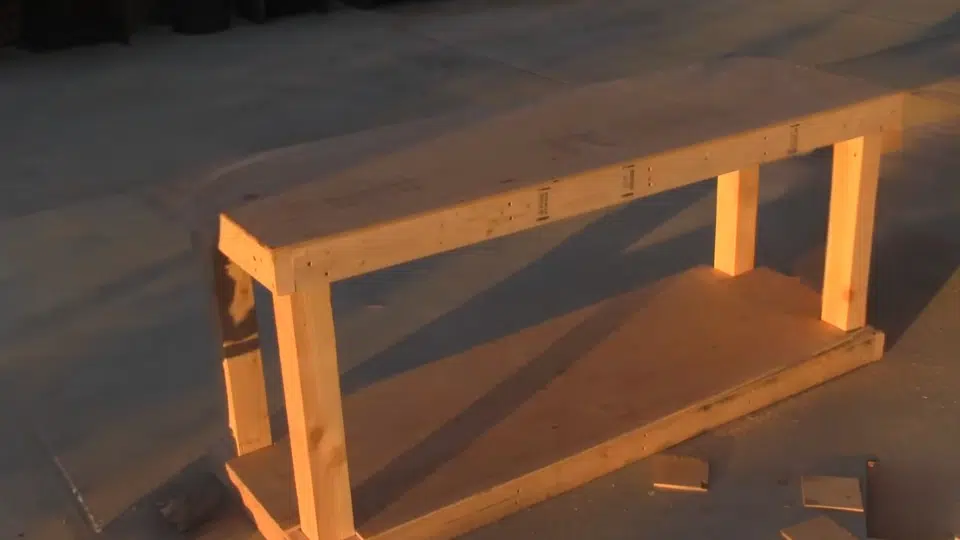
Step 1: Assembling the Frame
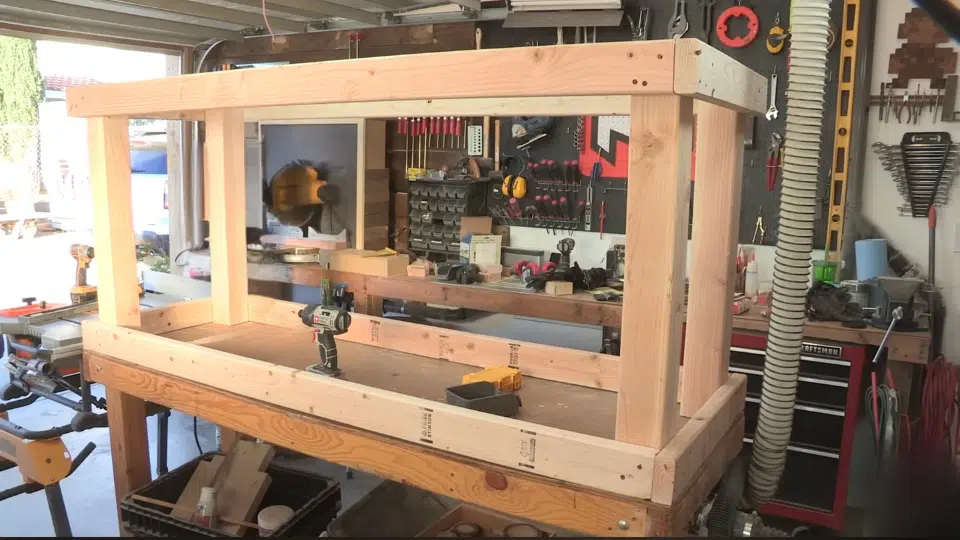
Start by assembling the bench frame upside down on a flat surface, joining the rails into a rectangle with pre-drilled pilot holes and screws.
Attach the legs at each corner, secure them with screws, then flip the bench over and add the second frame near the bottom for the lower shelf.
Step 2: Installing the Cross Braces
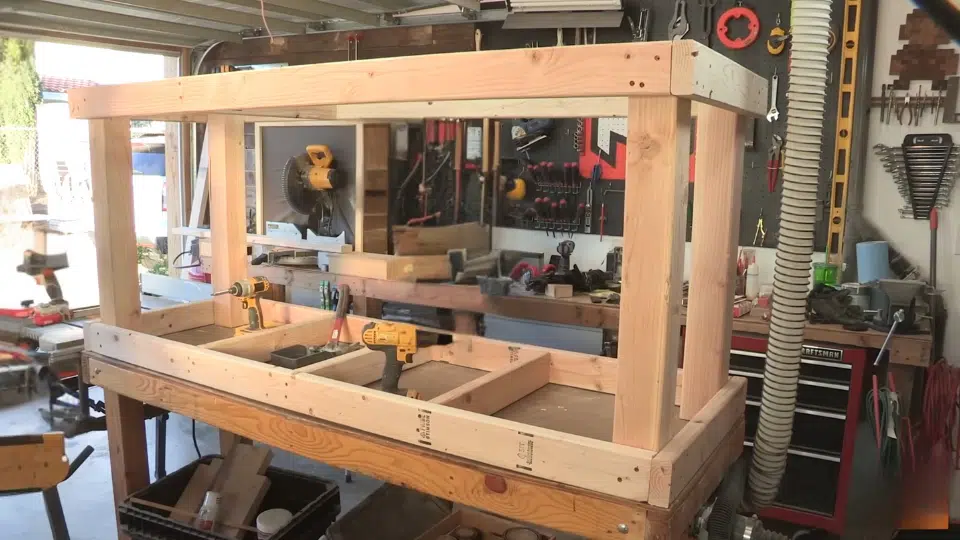
Position six 21″ 2×4 braces evenly across the top and bottom frames, spacing them approximately 16″ apart on center.
Secure each brace firmly using 2½” screws. These braces are essential for strengthening the overall structure and providing solid, reliable support for the plywood shelves.
Step 3: Cutting and Attaching the Plywood
Position the 3/8″ plywood sheet on top of the frame, aligning the edges carefully. Clamp it securely and trim any excess using a circular saw or track saw.
For straight cuts without a track saw, clamp a straight board as a guide. Use the leftover piece for the bottom shelf.
Cut small corner notches with a jigsaw so the plywood fits snugly around the legs. Attach both top and bottom panels using 1″ drywall screws, spacing them every 8–10 inches around the perimeter and along braces.
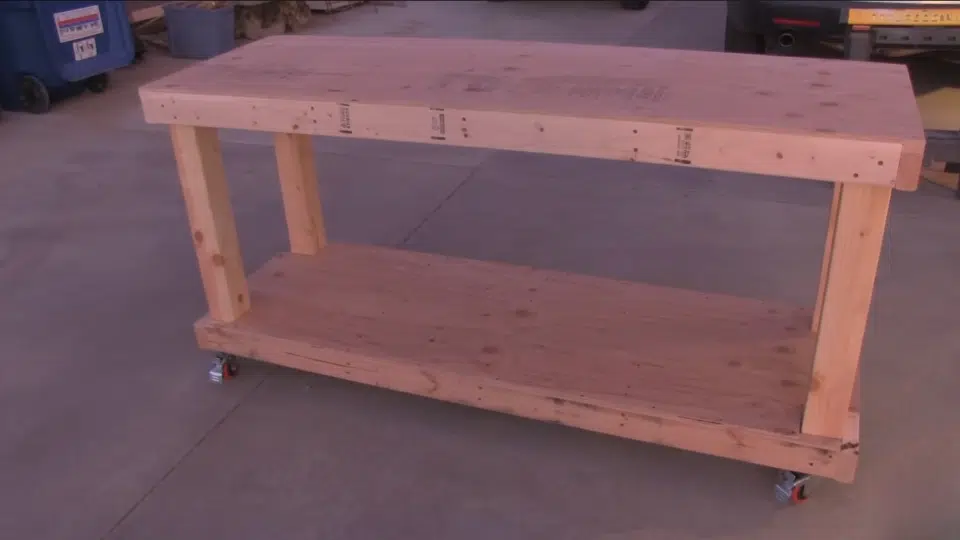
Step 4: Attaching the Casters

Flip the bench upside down again. Position each 4″ locking caster at a leg corner and secure it with appropriate screws or bolts.
Make sure the casters lock firmly and spin freely for smooth mobility. This allows you to easily move the workbench around your workspace when needed and lock it securely in place during use.
Step 5: Final Checks
Flip the workbench upright and use your level to confirm that the surface is flat, level, and stable for use.
Roll the bench around to test mobility, then lock the casters in place. Optionally, sand any rough edges or apply a coat of finish or sealer.
For a more detailed breakdown, refer to the YouTube video below
Workbench Plans for Every Workshop and Skill Level
If you’re working in a tiny apartment or a spacious garage, these DIY workbench plans cover every skill level and space requirement to get you building today.
1. Compact Apartment Workbench
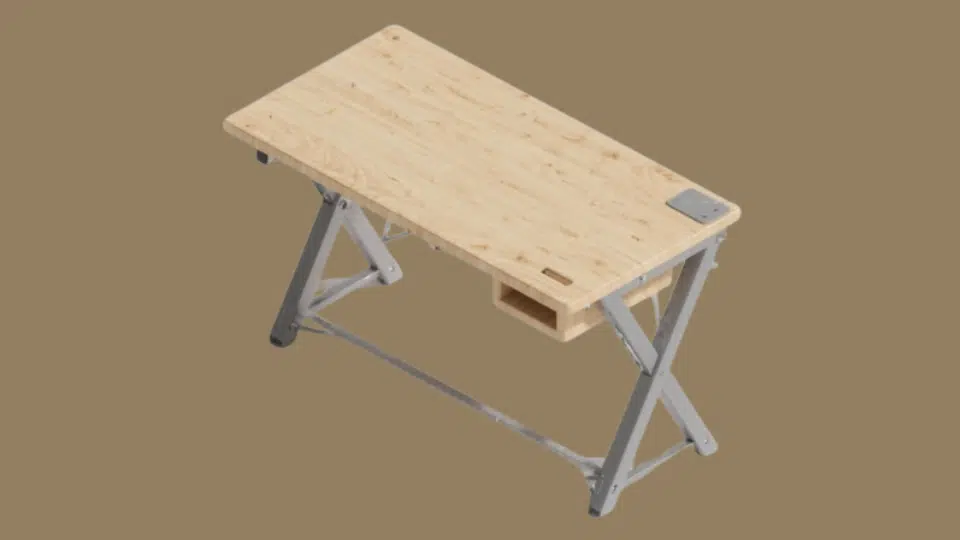
A space-saving bench designed for small apartments or limited garage areas. Its clever foldable design allows you to tuck it neatly away after use, yet it remains sturdy enough for light to moderate tasks.
- Size: 48x20x34 in
- Features: Foldable wing, compact footprint, wall-mount option
- Skill Level: Beginner
2. Heavy-Duty Workbench
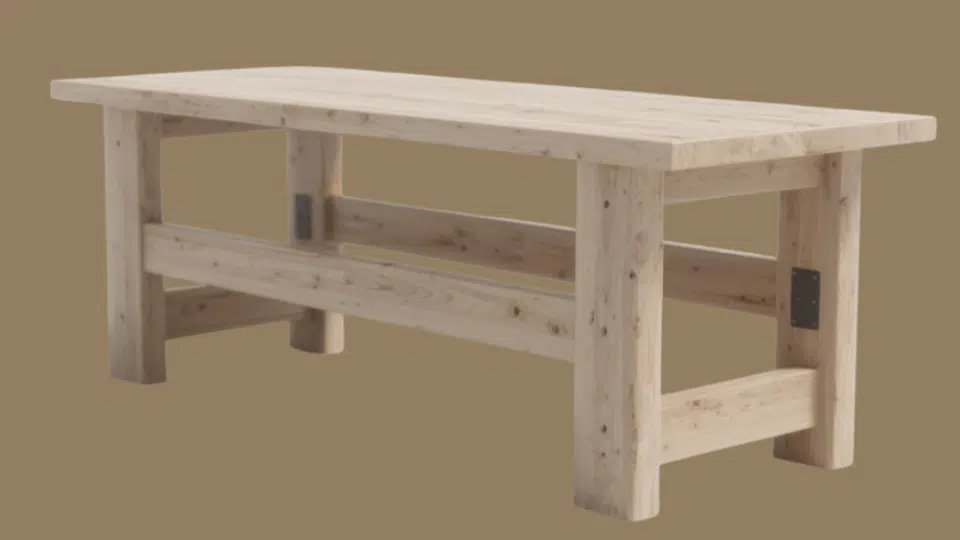
Built for strength and stability, this rugged bench features thick 4×4 legs and a double-top design to handle heavy workloads. Perfect for mechanics or woodworkers who need an immovable, rock-solid base.
- Size: 60x30x36 in
- Features: Double top, through-bolted 4×4 legs, reinforced shelf
- Skill Level: Intermediate
3. Modular Rolling Workbenchwith Drawers
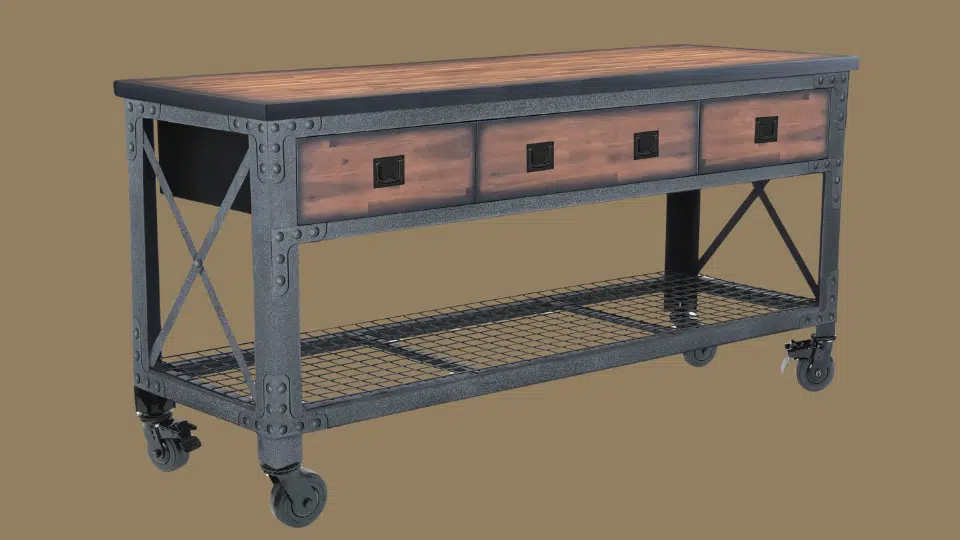
A multitasking powerhouse that combines mobility with organization. Equipped with drawers, a power strip, and casters, this DIY rolling workbench design changes your workspace into a flexible, tool-ready station.
- Size: 72x28x36 in
- Features: Locking casters, drawer tower, built-in power strip
- Skill Level: Intermediate
4. Flip-Top Tool Workbench
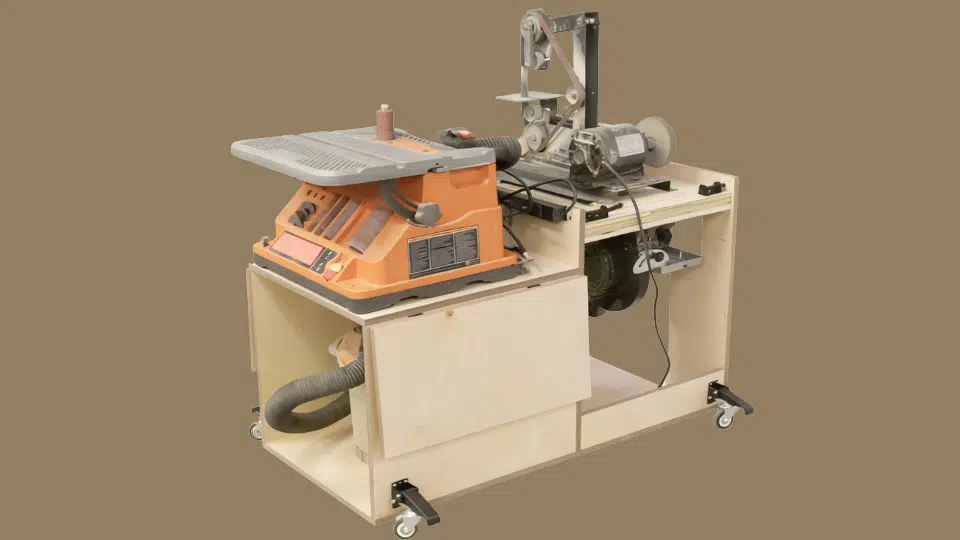
Two tools, one bench, this innovative design lets you rotate the top to switch between machines effortlessly. A great option for compact shops where space and efficiency matter.
- Size: 48x24x36 in
- Features: Dual rotating surface, clamps for two tools
- Skill Level: Intermediate
5. Long Assembly Workbench
Engineered for precision work, this large-format bench offers an ultra-flat torsion-box top, ideal for assembling furniture or cabinets. It’s a staple in any advanced workshop focused on accuracy.
- Size: 96x30x34 in
- Features: Torsion-box top for flatness, full-length shelf
- Skill Level: Advanced
6. Wall-Folding Workbench
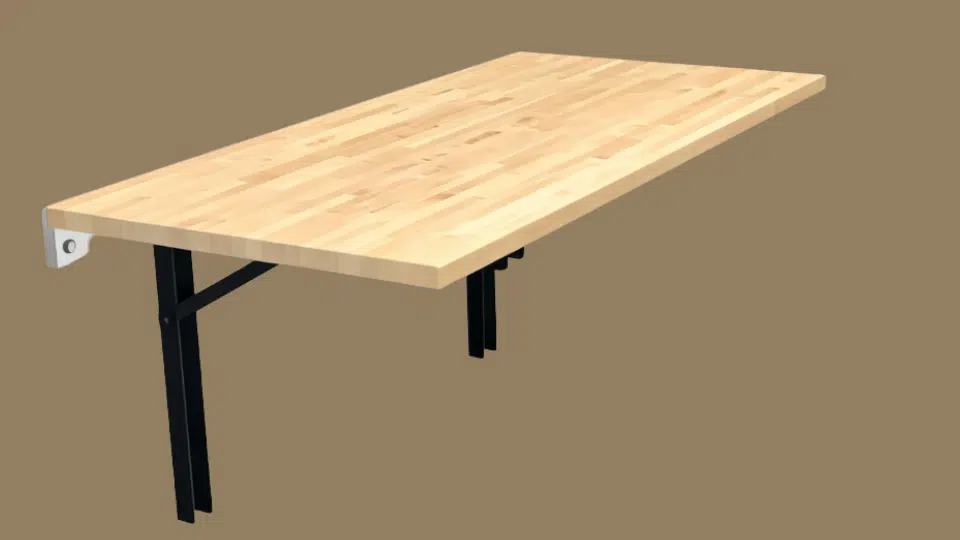
A versatile wall-mounted design for those who want workspace on demand. Using a simple cleat and fold-out leg system, it quickly changes from compact storage to a full-size bench.
- Size: 60x24x34 in
- Features: French cleat wall-mount, folding leg system
- Skill Level: Intermediate
7. Miter Saw Station

The ultimate cutting companion, designed with precision wings and T-tracks to support long boards. Built for pros tackling detailed trim, cabinetry, and crosscuts with dust management included.
- Size: 96x30x36 in
- Features: T-tracks, outfeed wings, integrated dust port
- Skill Level: Advanced
8. Metalworking Hybrid Workbench
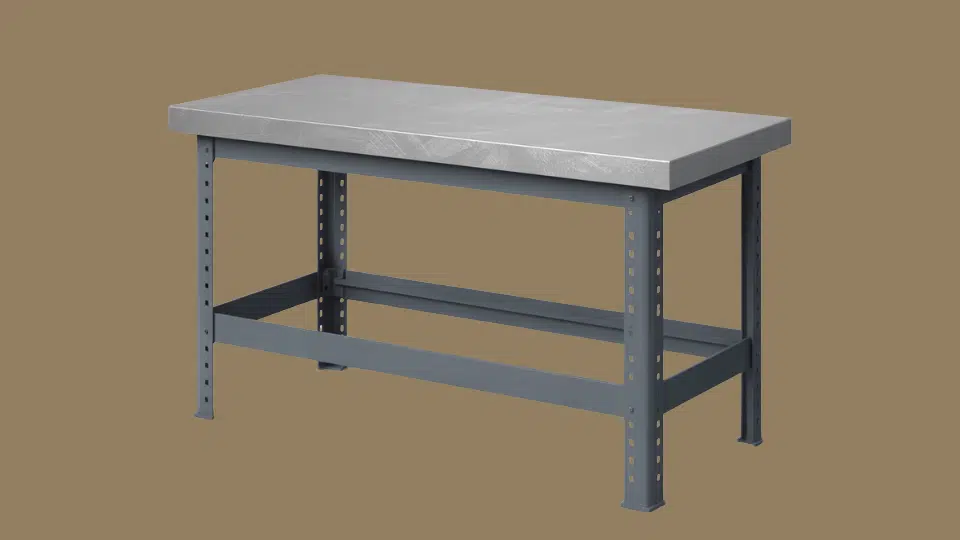
A robust steel-topped station for welders and fabricators. Its fire-safe surface and heat-resistant structure ensure safety and durability for metal cutting, grinding, and shaping projects.
- Size: 72x30x36 in
- Features: Steel-topped surface, fire-safe materials, lower rack
- Skill Level: Advanced
9. Outdoor Potting Workbench
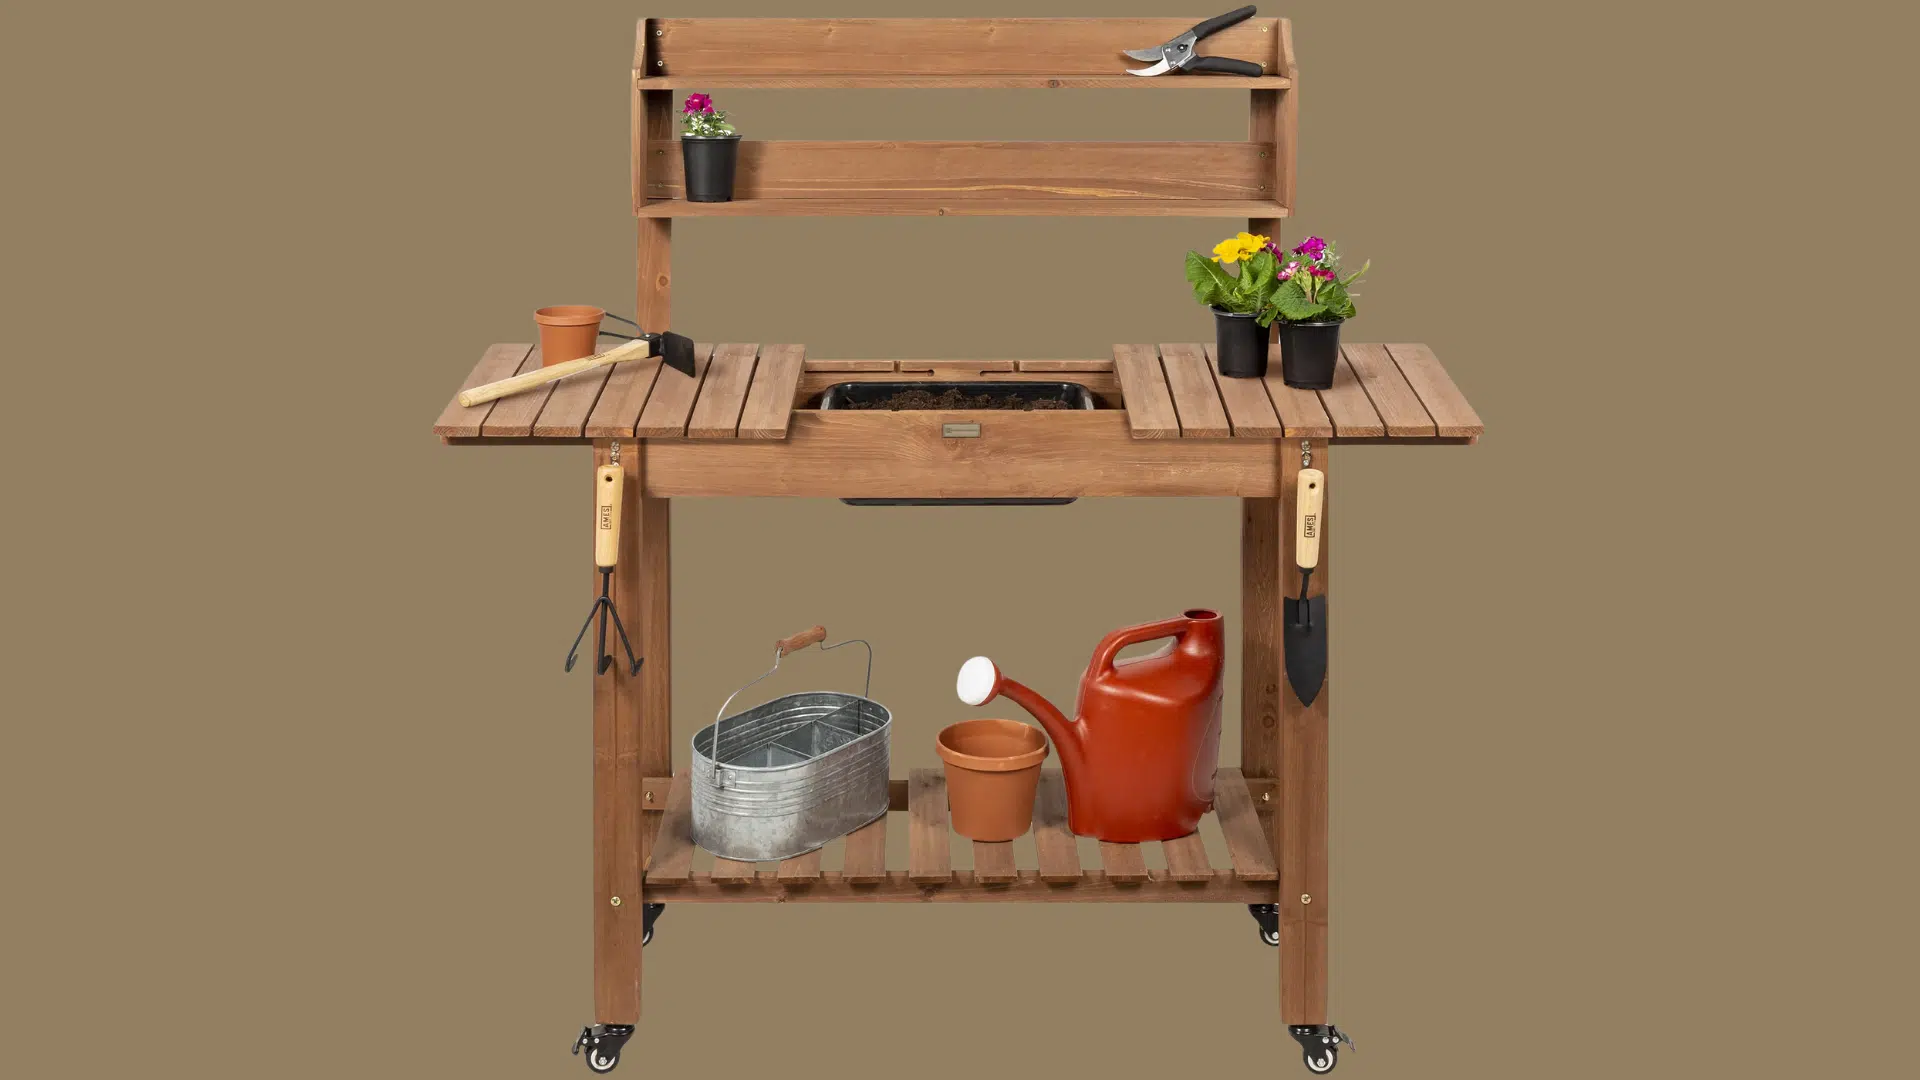
Customized for gardeners, this weatherproof workbench offers easy cleanup and drainage. The slatted top and lower shelf provide room for pots, soil, and tools.
- Size: 48x24x36 in
- Features: Slatted top, sink basin slot, lower shelf
- Skill Level: Beginner
10. Kids Maker Workbench
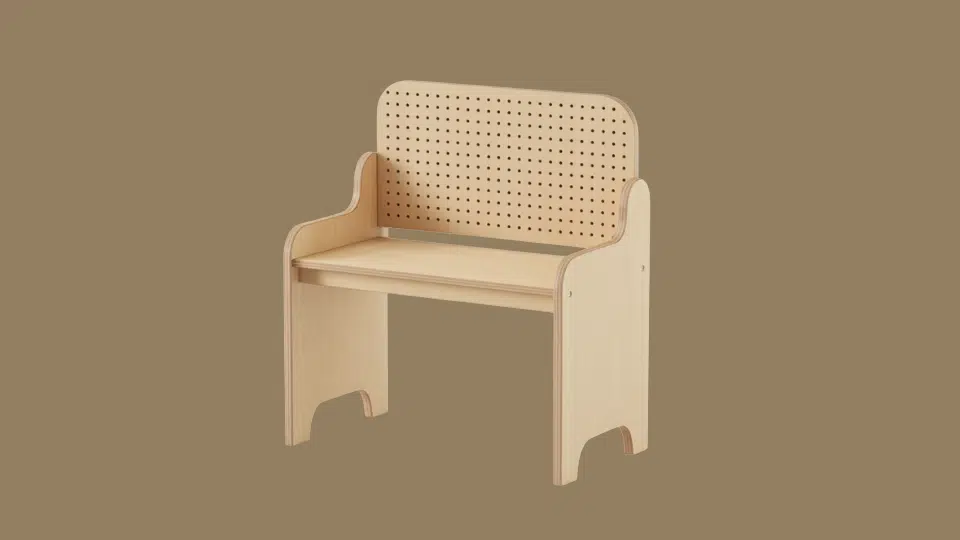
A safe and fun workspace scaled for young creators. Smooth edges, a pegboard back, and stable legs make it perfect for hands-on learning and craft projects.
- Size: 36x20x28 in
- Features: Rounded corners, pegboard back, non-slip feet
- Skill Level: Beginner
11. Budget Two-Sheet Workbench
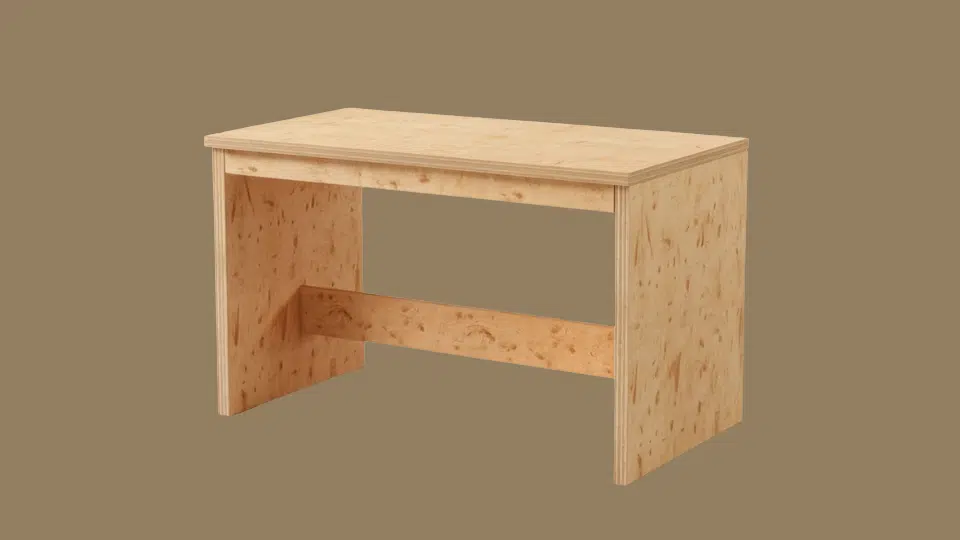
An economical option made entirely from two plywood sheets. Straight cuts and simple joints make it ideal for first-time builders or quick shop setups.
- Size: 48x24x34 in
- Features: Built from two sheets, minimal cuts, low-cost design
- Skill Level: Beginner
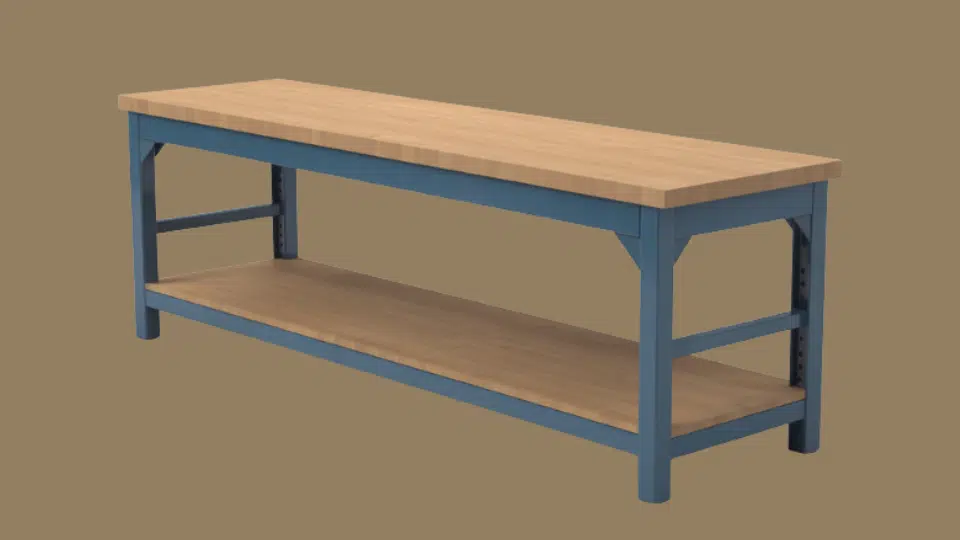
12. Mobile Outfeed Combo
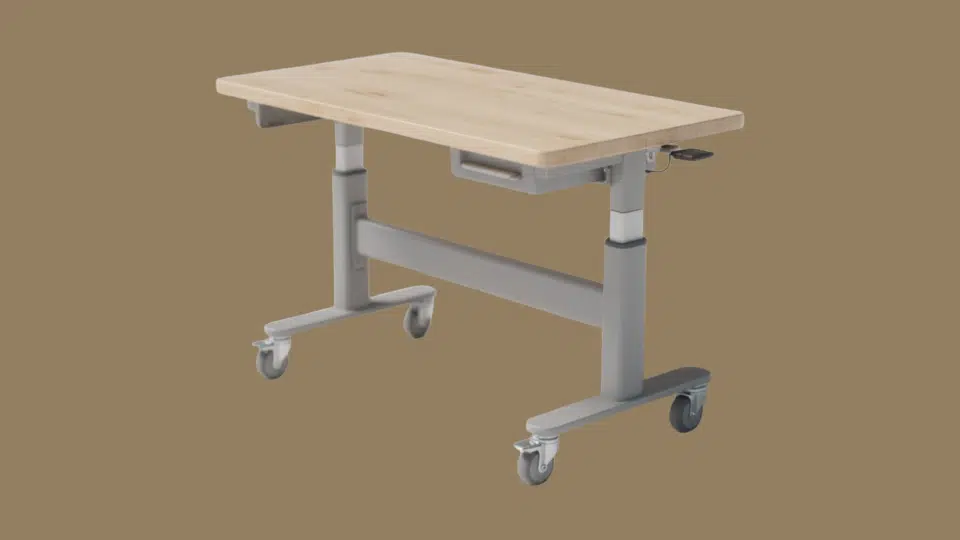
Combining functionality and flexibility, this mobile bench works as both a sturdy work surface and an outfeed table for saws. Adjustable height adds extra versatility.
- Size: 72x30x36 in
- Features: Adjustable height, doubles as saw outfeed
- Skill Level: Intermediate
13. Corner L-Shaped Workbench
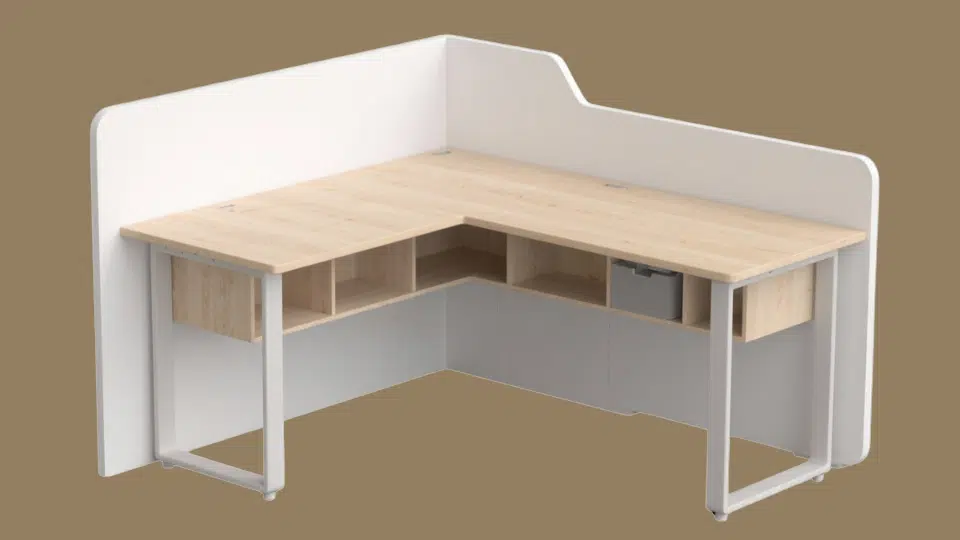
A clever design that turns unused corners into productive zones. With modular legs and under-shelf storage, it’s perfect for maximizing workshop space.
- Size: 72x72x34 in
- Features: L configuration, modular legs, under-shelf storage
- Skill Level: Intermediate
Maintenance and Safety
A well-built workbench only stays reliable with proper care and safe practices. Simple maintenance keeps your bench stable and ready for any project.
- Regular Inspections: Check all screws, bolts, and connections every few months to ensure nothing has loosened from vibration or heavy use. Tighten hardware as needed to maintain structural integrity.
- Caster Care: For a DIY rolling workbench, caster care becomes especially important. Test locking mechanisms on wheels regularly. Clean debris from caster wheels to ensure smooth rolling and reliable locking when the bench needs to stay stationary.
- Surface Maintenance: Sand down any rough spots or splinters that develop over time. Apply a fresh coat of polyurethane or sealer annually to protect the plywood from moisture and stains. Replace the top surface when damage becomes excessive.
- Ergonomic Setup: Adjust bench height to keep elbows at roughly 90 degrees during work. Proper positioning prevents back strain and fatigue during extended projects.
Regular upkeep takes just minutes but adds years to your workbench’s life. A maintained bench stays safe, sturdy, and ready when you need it most
Final Words
Quality plans provide exact measurements and connections, preventing costly mistakes and wasted materials.
A sturdy workbench enhances the enjoyment and longevity of your projects. Pick a design suited to your space and skill level to ensure years of satisfaction.
Get your materials ready. Follow the steps carefully. I’ve found that taking your time during assembly pays off in the long run.
Start building today and create a workspace you can count on.