I recently tackled my first skim-coat project, and let me tell you, it completely altered my bumpy, textured walls into smooth, modern surfaces.
Skim coat drywall is a satisfying DIY project that involves applying a thin layer of joint compound to create a flawless finish, cover textures, repair damage, or achieve sleek walls.
It requires patience and the right tools, but the results are worth it. Ready to turn your rough walls into a smooth canvas?
What Does Skim Coat Mean?
Skim coating is the process of applying a thin layer of joint compound, about 1/16″ to 1/8″ thick, over drywall to create a smooth, flawless surface.
Unlike standard taping and mudding, which only cover seams, skim coat treats the entire wall to remove imperfections and achieve a Level 5 finish.
When you skim coat, you’re giving it a professional, polished look that’s ideal for painting or decorating. The key is keeping the coat razor-thin for the best results.
If you’re learning how to skim coat a wall, remember: thin, even layers and proper technique are what separate a patchy surface from a perfect, seamless finish.
When Should You Skim Coat Drywall and When You Shouldn’t
Skim coat makes walls smoother and more polished, but it’s not always needed; skip it if your walls are already smooth or only have a few spots that need patching.
| WHEN TO SKIM COAT | WHEN NOT TO SKIM COAT |
|---|---|
| Removing textured finishes such as orange peel, knockdown, or popcorn to create a smooth surface | New drywall with proper finishing already provides a smooth, paint-ready surface |
| Repairing damaged drywall after wallpaper removal or patching imperfections | Walls receiving heavy texture don’t need a perfectly flat surface |
| Covering visible tape seams and screw holes for a seamless, uniform look | Areas that will be tiled don’t require skim coating underneath |
| Creating a uniform surface when blending old and new drywall sections | Surfaces with stable finishes that are already even and free of flaws |
| Preparing walls for high-end paint finishes or smoothing uneven plaster walls | Low-traffic or utility areas where appearance is not a priority |
Before You Start: Time and Budget Required for Skim Coat
Planning your skim coat project properly ensures smooth execution and professional results. Here’s what you need to know about time and costs before diving in.
- Application Time: Expect 4–6 hours to apply skim coat in a standard 10×12 ft room, with an additional 24 hours needed for drying between coats.
- Extra Prep for Damaged Walls: Heavily textured or damaged surfaces may require an extra day for preparation and drying, so factor this into your timeline.
- Material Requirements: You’ll need approximately one gallon of joint compound for every 100–125 sq. ft., depending on your wall’s condition and desired coat thickness.
- Budget-Friendly Investment: Material costs typically range from $20–$40 per room, making skim coating one of the most cost-effective wall renovation options available.
With proper planning, this project can be completed over a weekend, delivering professional-quality walls without expensive contractors or a large budget.
Materials and Tools Required for Skim Coat Drywall
Before you skim coat drywall, gather the necessary tools and materials. With these essentials, you’ll achieve a smooth, professional surface ready for painting or finishing.
| ITEM | PURPOSE |
|---|---|
| Drywall mud (lightweight all-purpose) | It has a smooth consistency, spreads easily, and sticks well to most surfaces. |
| Mixing bucket & paddle/drill | To achieve the right “slumping but holds form” texture, not too thin or soupy. |
| Paint roller (¾-inch / 19mm nap) | Used to apply mud evenly to the wall surface. |
| Drywall pan or hawk | Holds mud for easy access while working. |
| 12-inch or 10-inch taping knife | This is for flattening and smoothing out rolled mud. |
| Protective gear | Use gloves, a mask, and drop cloths to control mess and dust. |
| Lighting/inspection light | To check for smoothness and coverage while working. |
Step-by-Step Guide to Skim Coat Drywall
This easy roller-and-knife method makes it simple to skim-coat drywall without years of finishing experience. Follow these steps for a clean, smooth result that’s ideal for repainting or repairing damaged walls.
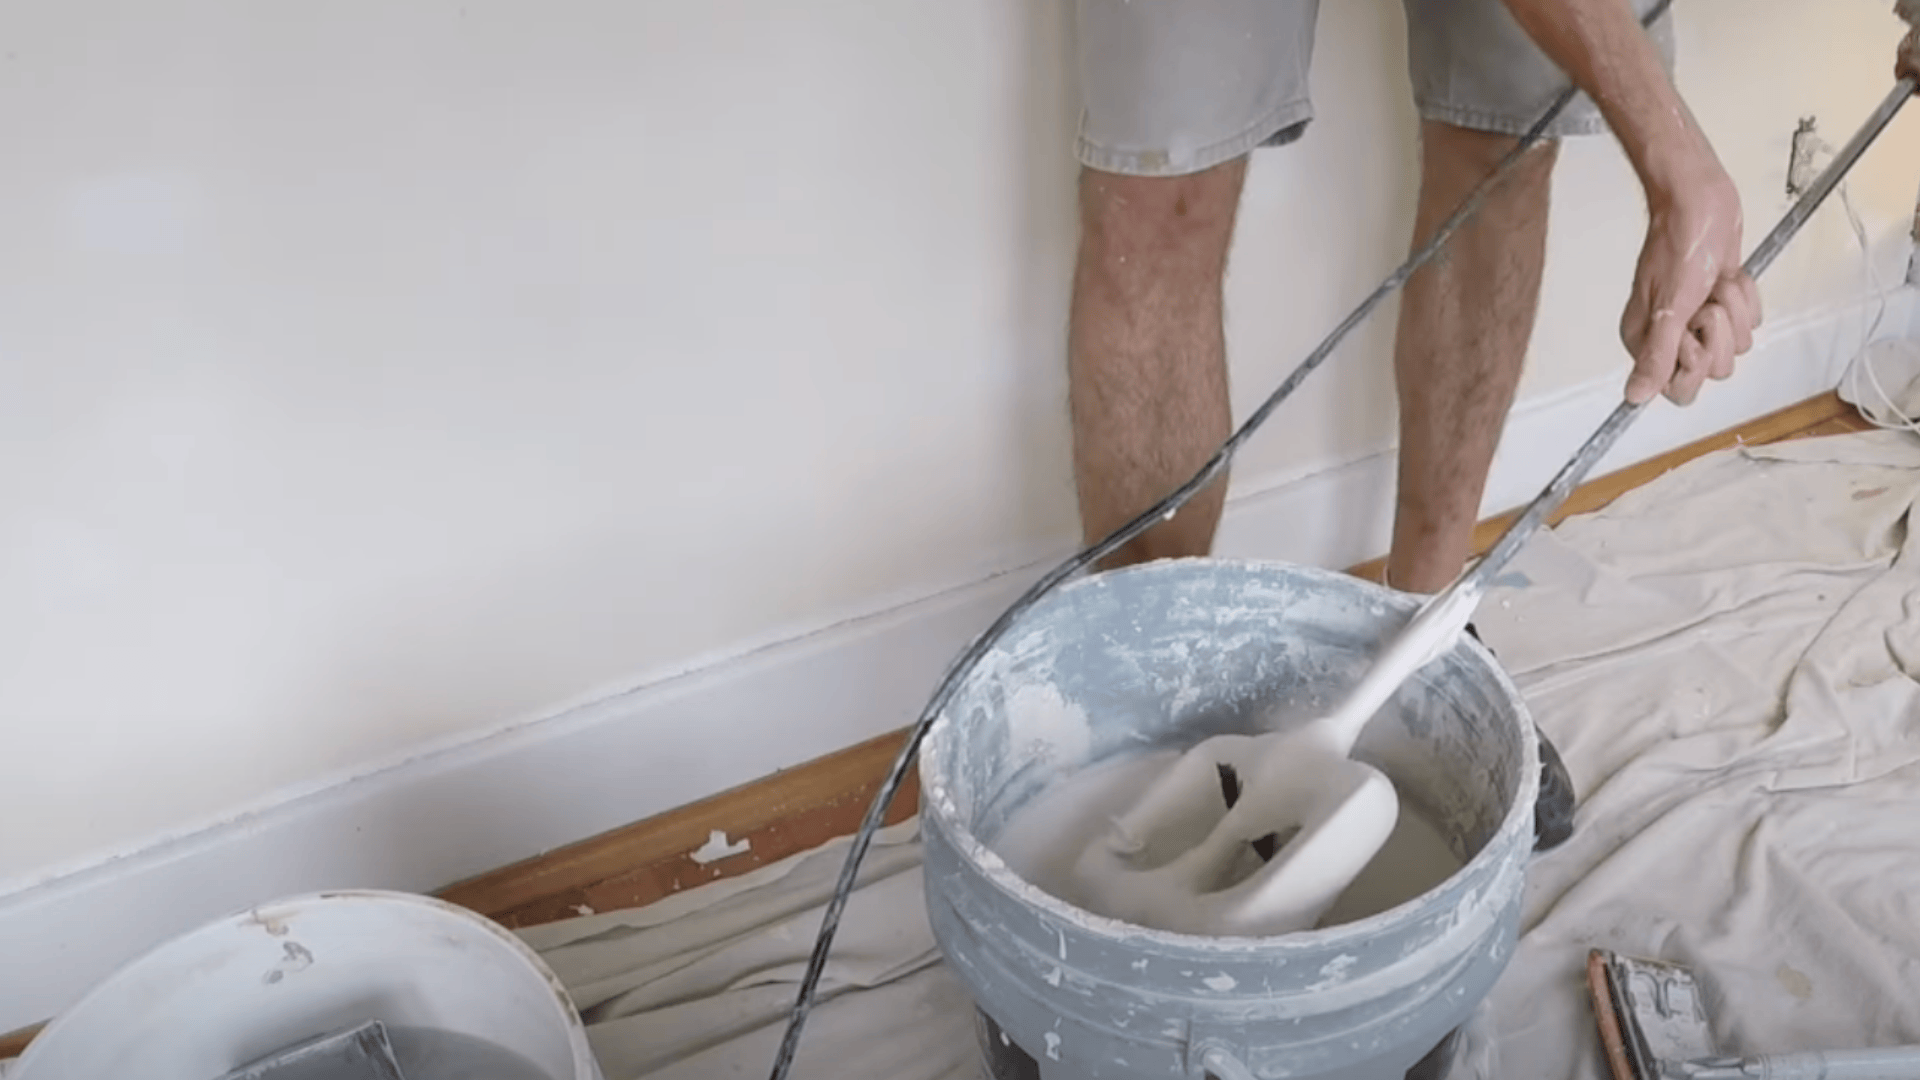
Step 1: Prepare the Surface and Mix the Mud
Clean the wall thoroughly by removing dust, adhesive, and wallpaper residue, then scrape off loose paper and patch any holes or dents for even adhesion.
In a bucket, mix lightweight all-purpose joint compound until it reaches a thick but workable consistency, not runny like paint, to ensure smooth spreading and prevent pinholes.
Step 2: Load and Roll the Mud
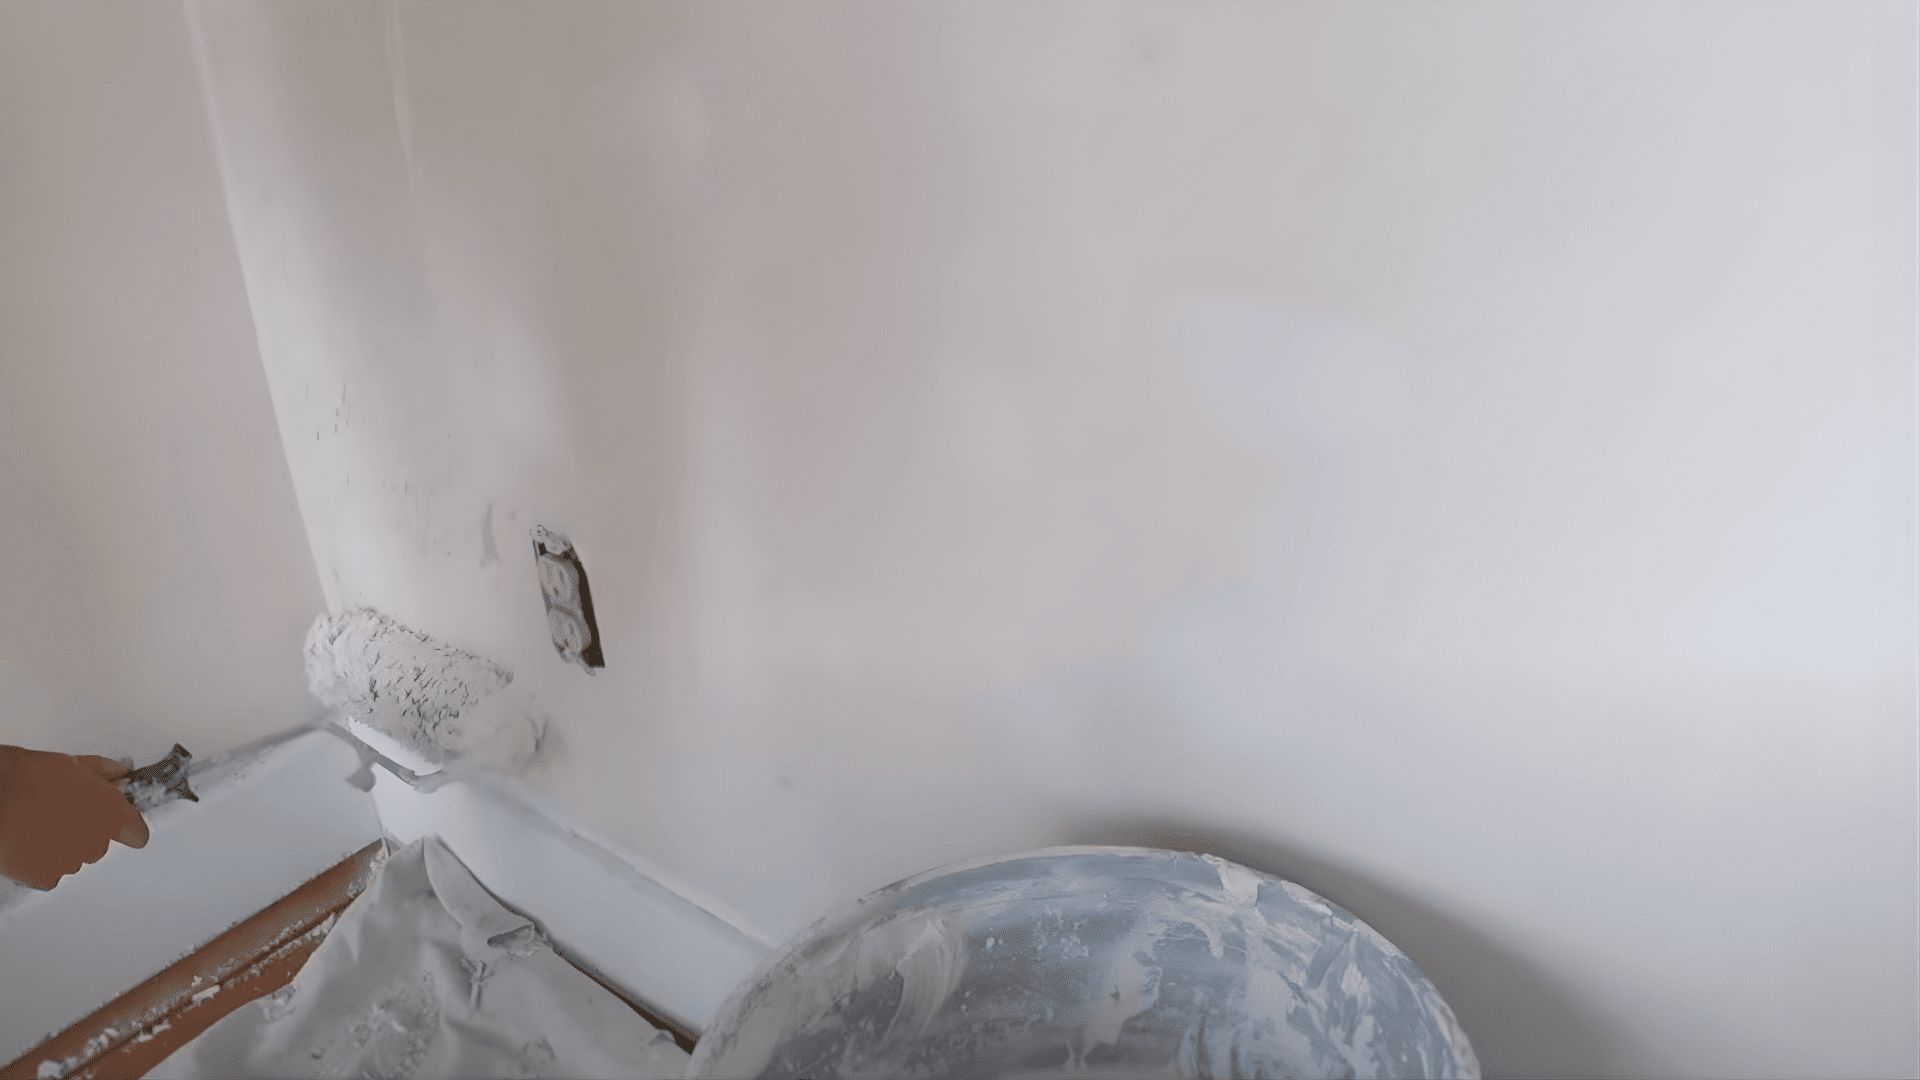
Use a ¾-inch (19 mm) nap roller to apply mud evenly onto the wall, just as you would with paint. Work from top to bottom, staying about an inch away from corners and outlets.
This technique evenly distributes the compound and helps eliminate trapped air. Apply a consistent layer about 1/8 inch thick for the best coverage.
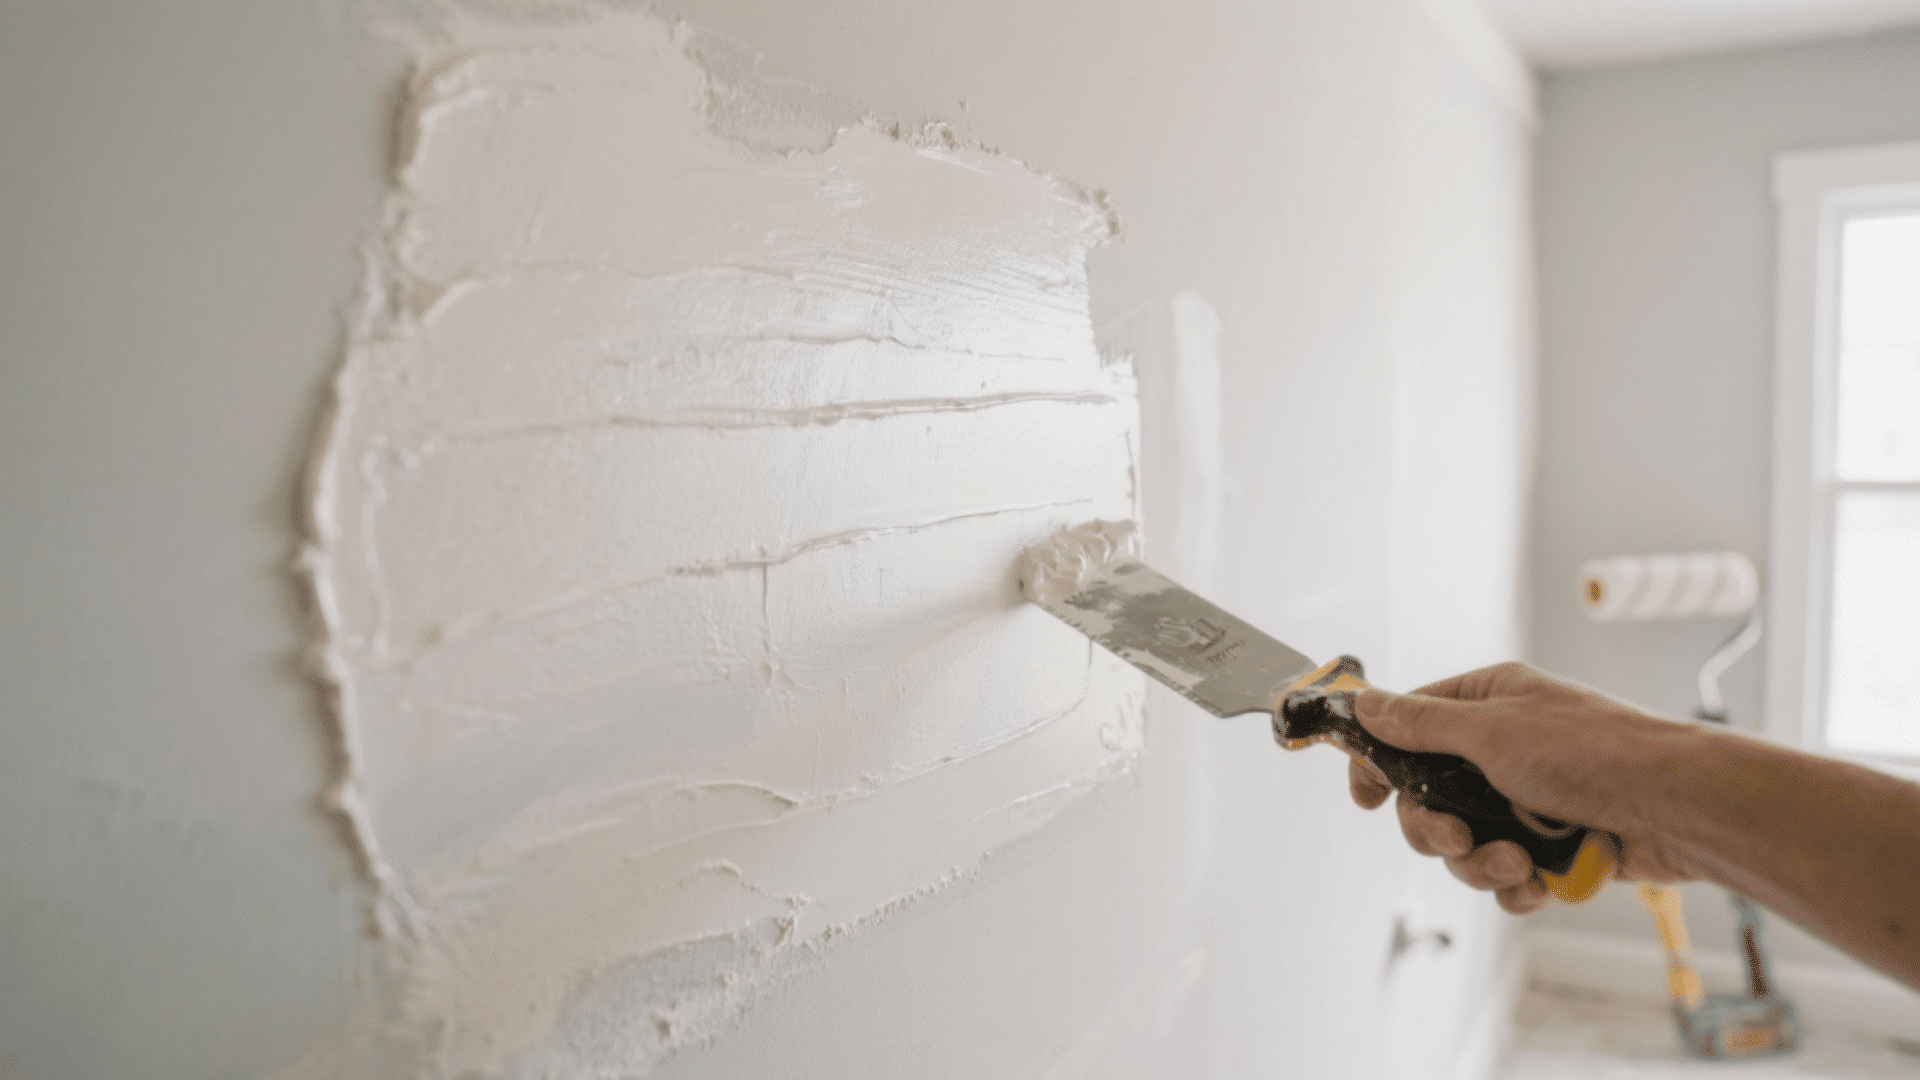
Step 3: Flatten with the Knife
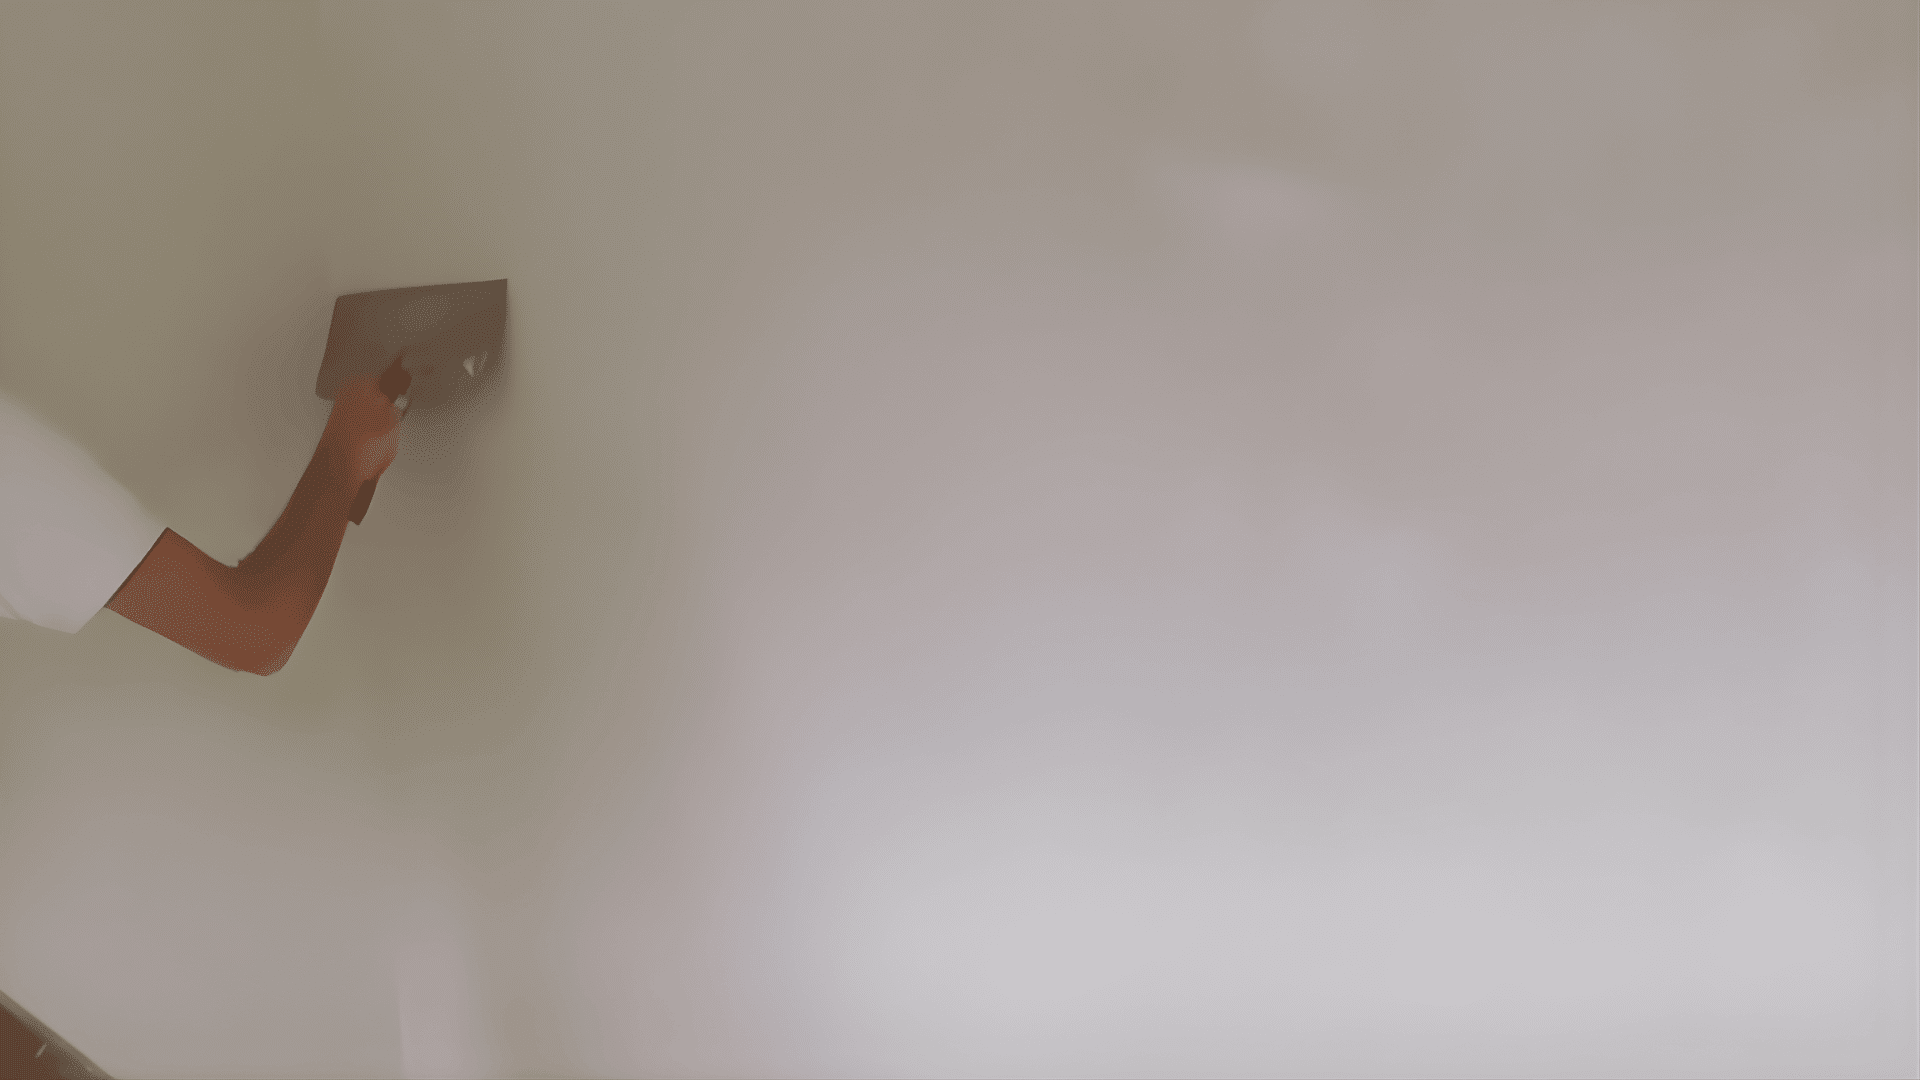
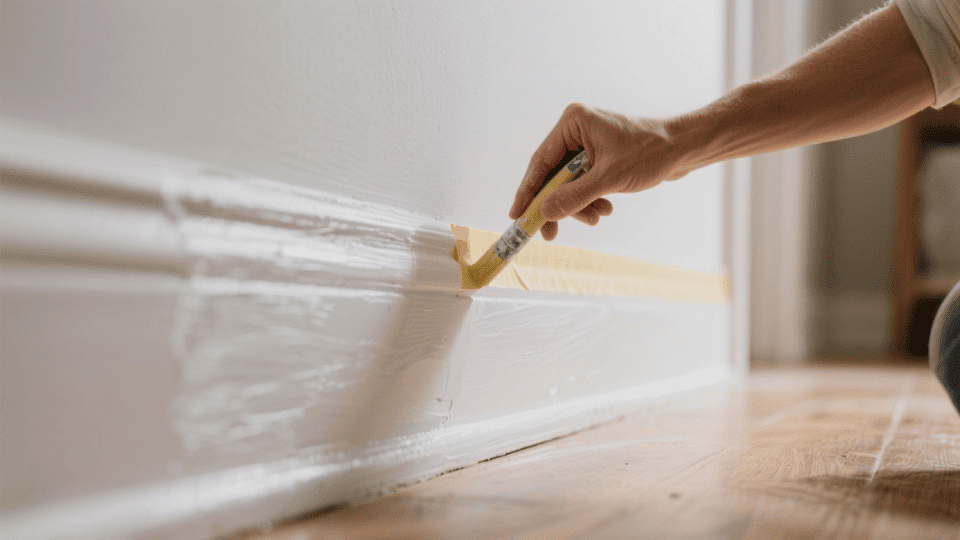
Take your 10–12-inch taping knife and begin smoothing the rolled-on mud immediately before it starts drying. Hold the knife at a slight angle and drag it down in long, overlapping strokes.
You’re not scraping the wall clean; just leveling out the compound to a flat, even finish. Remember to wipe your knife frequently to avoid leaving streaks or drag marks.
Step 4: Feather and Touch Up
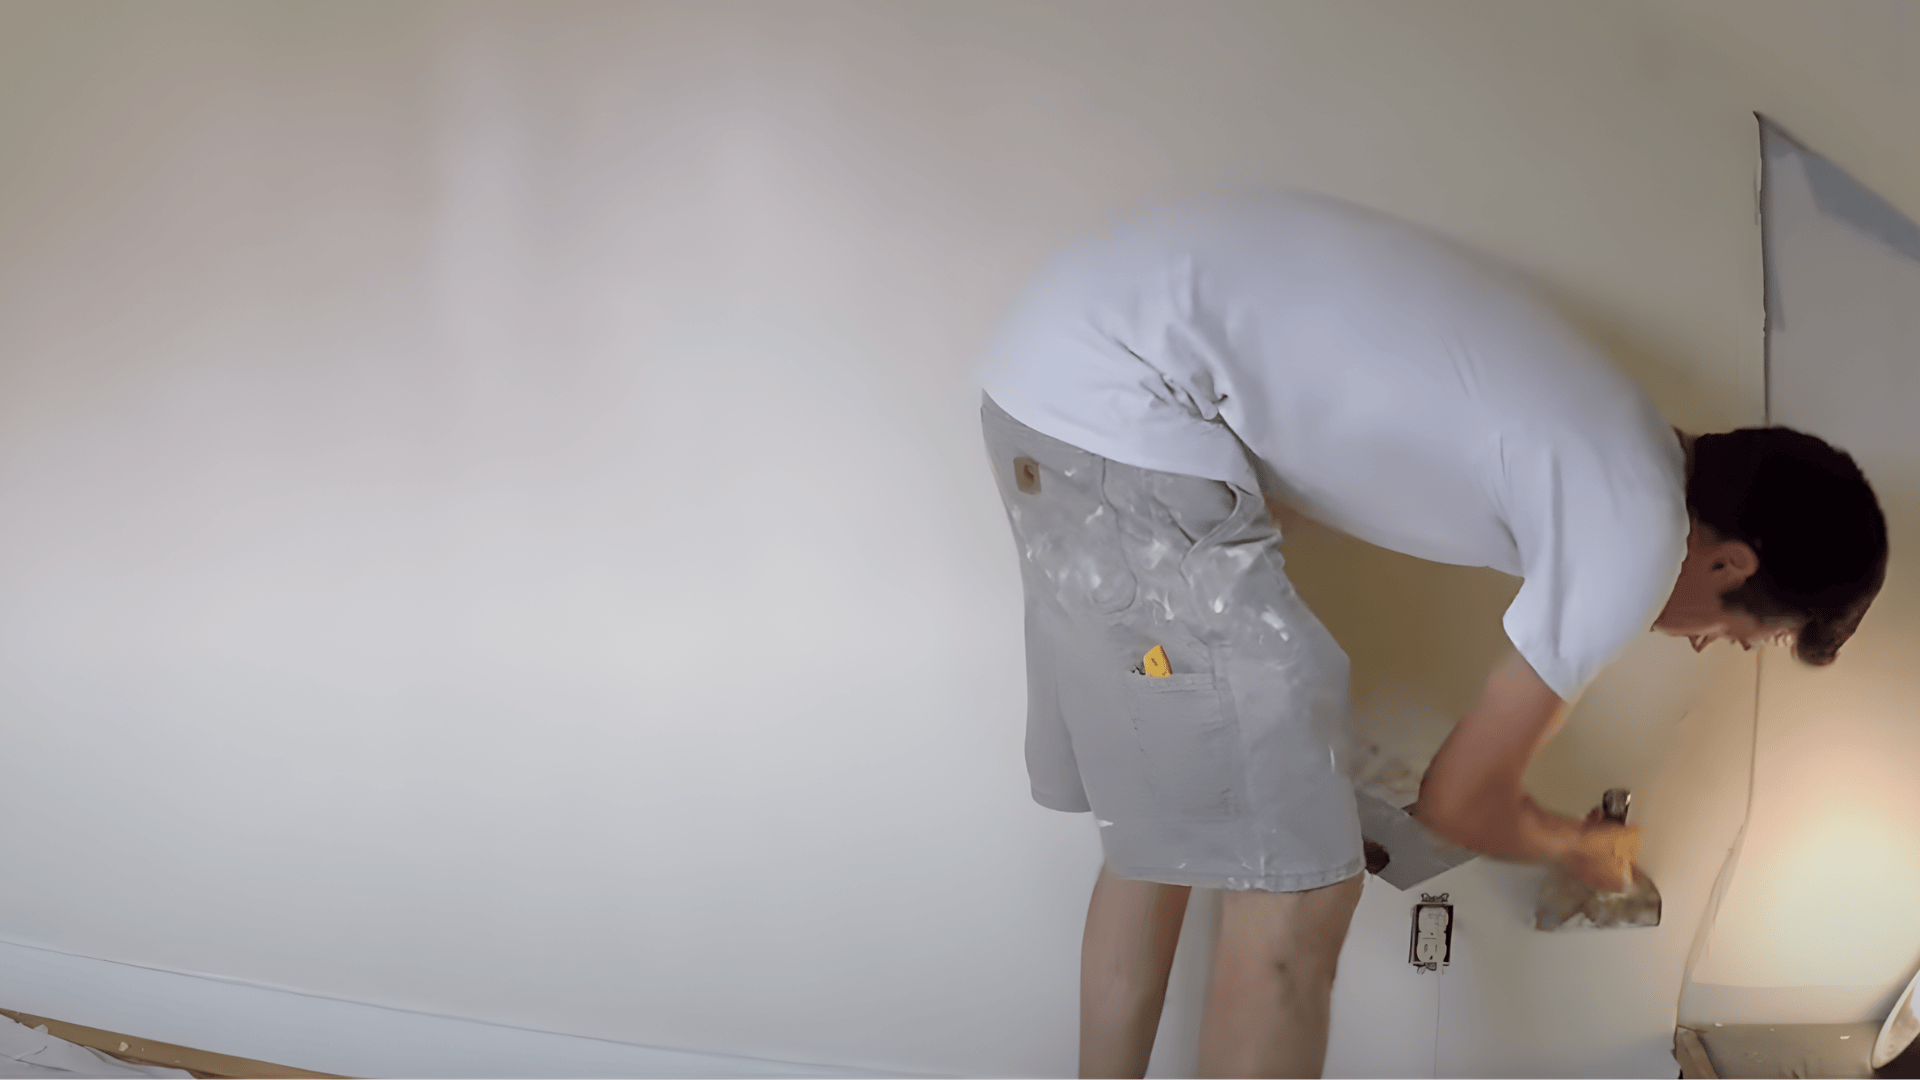
Feather out the edges where sections meet by running light, overlapping passes with your knife. Check for thick spots or areas drying unevenly, and redistribute mud as needed.
If you see roller lines or heavy ridges, smooth them before the surface begins to set. A gentle, steady rhythm works better than rushing; it keeps your finish even and professional.
Step 5: Let It Dry and Inspect
Once the entire surface is coated, let it dry fully before sanding or applying a second coat. Drying time varies with humidity, so be patient: rushing may ruin your work.
When dry, lightly sand to remove small imperfections and dust off any residue. Inspect under good lighting to ensure your wall is smooth, uniform, and ready for primer or paint.
This method delivers impressive results with minimal effort, making it ideal for beginners or pros looking to refresh a wall.
For more information, check out this video tutorial by Vancouver Carpenter
Pro Tips for Successful Skim Coat Drywall
The difference between amateur and professional results comes down to technique. Follow these expert strategies for a flawless finish.
- Keep It Thin: Thinner coats dry faster, sand easier, and reduce mistakes significantly.
- Clean Your Blade Constantly: Dried compound chunks create frustrating ridges you’ll regret later.
- Use Long Blades: 12-inch or wider trowels flatten large areas better than short ones.
- Alternate Directions: Apply the first coat vertically, then the second horizontally to eliminate visible lines.
Master these fundamentals, and you’ll achieve smooth, professional-grade walls that look like expert work. Practice helps, but proper technique delivers results immediately.
Wrapping Up
Skim coat drywall project might seem intimidating at first, but I promise it’s one of the most rewarding DIY projects you can tackle.
With basic tools and a weekend, you can turn rough walls into smooth, professional surfaces. The secret lies in proper prep, thin coats, and patience; even experienced pros started as beginners.
Ready to change your walls? Grab your tools, follow these steps, and start creating that smooth, professional finish today. Your dream walls are just one weekend project away!