Most people lose their dahlia tubers before they ever see a single bloom. It happens every spring: eager gardeners rush to get those knobby roots into the ground, only to find rotting mush a few weeks later.
When to plant dahlias isn’t just about following a calendar date. The real answer lies in one specific measurement that most gardeners completely overlook.
This guide shows exactly when to plant, what soil temperature matters most, and how to give dahlias the best start possible.
Readers will learn the signs that tell them it’s safe to plant and simple tricks to protect tubers from rot.
Scientific Classification of the Dahlias
| Taxonomic Rank | Classification |
|---|---|
| Kingdom | Plantae |
| Phylum | Magnoliophyta |
| Class | Magnoliopsida |
| Order | Asterales |
| Family | Asteraceae |
| Genus | Dahlia |
| Species | Dahlia pinnata |
What Makes Dahlias Unique: Key Growing Requirements
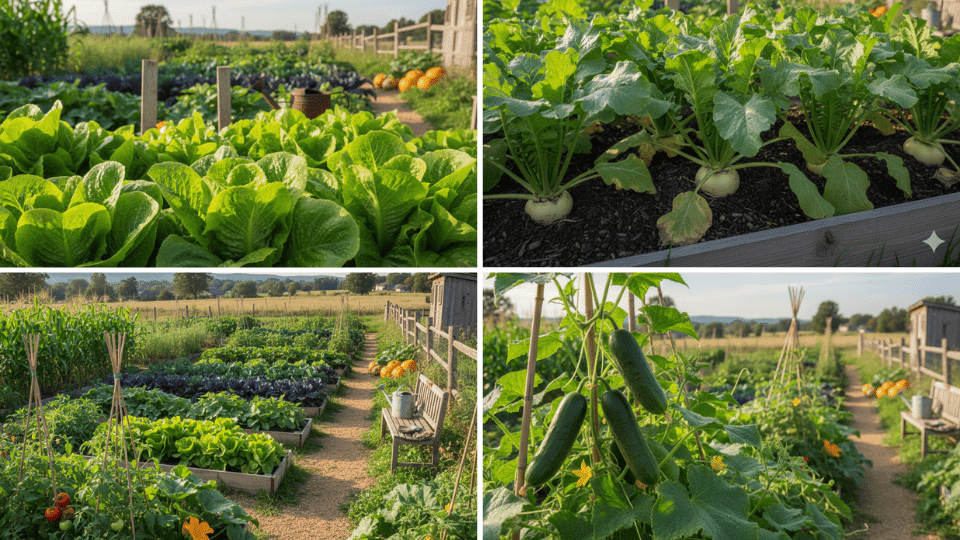
Dahlias are vibrant flowering plants that bring color and life to any garden. These stunning blooms come in various shapes, sizes, and colors, from compact pompoms to dinner-plate varieties spanning 12 inches across.
Native to Mexico, dahlias grow in warm conditions and well-drained soil. Before diving into when to plant dahlias, it’s essential to understand their basic needs.
These sun-loving plants require at least six hours of direct sunlight daily and prefer slightly acidic to neutral soil (pH 6.5-7.0).
Dahlias grow from tuberous roots, similar to potatoes, which store energy, unlike perennials that survive cold winters; dahlias are tender for the plant’s growth cycle. Perennials that need protection from frost.
This fundamental knowledge helps to make informed decisions about planting times and care requirements for successful dahlia cultivation.
Planting Dahlias at the Right Time for Your Region
Timing is crucial in planting, and the ideal planting window varies significantly across climate zones.
The key is understanding the last frost date, the point when frost danger has passed, and it’s safe to plant tender tubers outdoors.
Rather than relying solely on calendar dates, check soil temperature: aim for consistent readings of 60°F or warmer before planting.
Cooler climates (Zones 3-6) typically require waiting until late May or early June. Moderate zones (Zones 7-9) can begin planting in April through May.
Warmest regions (Zones 10+) enjoy even earlier planting windows, though afternoon shade may be necessary during peak summer heat.
For gardeners eager for early blooms, starting tubers indoors 4-6 weeks before the outdoor planting date encourages earlier flowering while protecting vulnerable tubers from cold.
Step-By-Step Tutorial to Grow Your Own Dahlias
Planting dahlias successfully requires careful preparation and consistent care. Follow these detailed steps to ensure healthy growth and abundant blooms throughout the growing season.
Step 1: Prep the Site (1–7 Days Before Planting)
- Choose a location with full sun and good air movement to reduce disease.
- Test drainage: water a small area; if water sits after 30–60 min, improve drainage.
- Loosen soil 25–30 cm / 10–12″ deep to help tubers root easily.
- Mix in 5–8 cm / 2–3″ compost; avoid fresh manure (too “hot,” can burn roots).
- For heavy clay, blend in coarse sand or grit to prevent rot; for very sandy soil, add extra compost to hold moisture.
- Rake the surface level so planting depth is accurate.
Step 2: Pre-Sprout Indoors (Optional)
- Use a 3–5 L pot with drainage; fill with a light potting mix (not garden soil).
- Position the tuber with the eye just below the surface; cover lightly.
- Keep at 18–21 °C / 65–70 °F in bright light (a sunny window or grow lights).
- Water sparingly—just enough to prevent the mix from drying out.
- Rotate pots every few days for even growth; move them outside only after frost risk has passed.
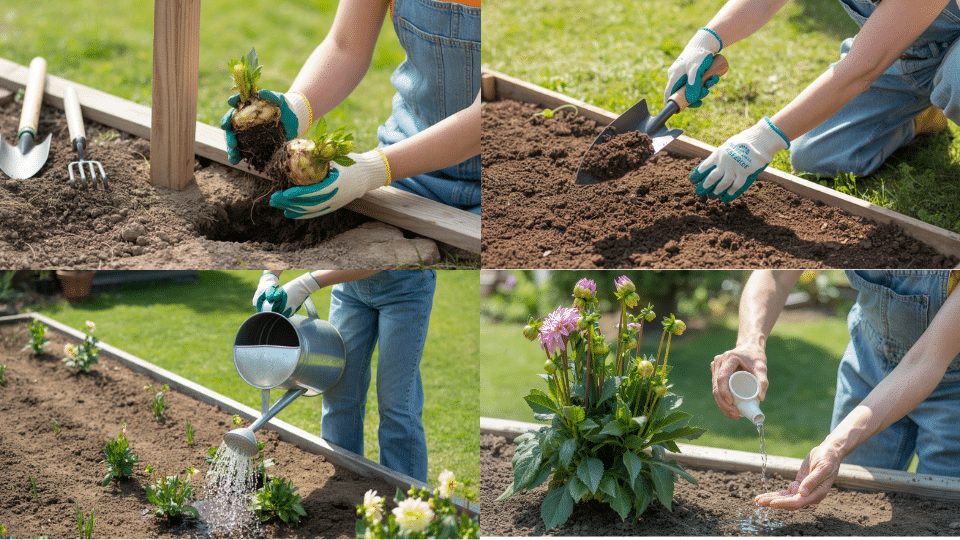
Step 3: Planting Day
- Drive in the stake or set the cage before planting to avoid stabbing the tuber later.
- Dig a hole 10–15 cm / 4–6″ deep; loosen the base of the hole.
- Lay the tuber horizontally with the eye facing up; cover with 5–8 cm / 2–3″ soil.
- Do not drench; if the soil is dry, give a light sprinkle; hold regular watering until sprouts appear.
- Spacing: tall/large types 75–90 cm / 30–36″; dwarfs 45–60 cm / 18–24″.
- Label the variety now so you don’t mix them up later.
Step 4: Early Care (weeks 1–3)
- Expect shoots in 1–3 weeks (faster if pre-sprouted).
- Keep soil just moist; avoid soggy conditions that cause rot.
- Gently backfill and firm soil as stems elongate so the crown sits at ground level.
- Protect tender shoots from slugs/snails with barriers or traps if needed.
Step 5: Pinch for Bushiness (15–30 Cm / 6–12″ Tall)
- Count 4–5 sets of true leaves; snip the growing tip just above a leaf pair.
- This forces side shoots, creating a fuller plant with more flowering stems.
- Sterilize pruners (wipe them with alcohol) to prevent the spread of disease.
Step 6: Feed and Water (Main Season)
- Water deeply 1–2× weekly; aim to moisten 15–20 cm / 6–8″ down.
- Increase frequency during heat waves; decrease during cool/cloudy spells.
- Once buds form, side-dress with low-nitrogen fertilizer (e.g., 5-10-10).
- Repeat light feeding every 3–4 weeks if the soil is poor; stop heavy feeding late season.
- Always water at the soil level to keep foliage dry and reduce mildew.
Step 7: Tie and Support
- Use soft ties; make a figure-8 so the stem doesn’t rub the stake.
- Add new ties every 20–30 cm / 8–12″ of growth.
- For dinner-plate varieties, consider a second stake or a wide cage for wind resistance.
Step 8: Mulch and Weed Control
- Apply 5 cm / 2″ mulch once the soil has warmed (not earlier).
- Keep mulch 5 cm / 2″ away from stems to prevent crown rot.
- Hand-weed gently to avoid disturbing shallow feeder roots.
- Top up mulch mid-season if it thins out.
Post-Planting Care to Maximize Dahlia Blooms
Once our dahlia tubers settle into their new home, proper care determines the quality and abundance of their blooms. Here are the essential steps:
- Water wisely: Start sparingly to prevent tuber rot. Once shoots emerge, provide about 1 inch of water weekly, keeping soil consistently moist but never waterlogged.
- Fertilize strategically: Apply balanced fertilizer when plants reach 12 inches tall, then switch to low-nitrogen, high-phosphorus formulas to encourage blooms over foliage.
- Stake early: Support taller varieties before they need it to prevent wind damage.
- Pinch for bushiness: Remove the main stem above the third or fourth leaf set to promote more flowering branches.
- Deadhead regularly: Remove spent blooms to redirect energy toward new flower production and extend the blooming season into fall.
Common Mistakes and How to Avoid Them
Even experienced gardeners can stumble when growing dahlias. Here are the most common pitfalls and how we can avoid them:
- Planting Too Early: Knowing when to plant dahlias matters; cold, wet soil causes tuber rot. Always wait until the soil reaches 60°F and frost danger passes.
- Overwatering initially: Resist the urge to water heavily before shoots appear. Too much moisture rots dormant tubers.
- Skipping Stakes: Installing supports after plants grow tall often damages roots. Stake early instead.
- Wrong Fertilizer Timing: High-nitrogen fertilizers produce lush foliage but fewer blooms. Switch to phosphorus-rich formulas once flowering begins.
- Neglecting Deadheading: Leaving spent blooms signals the plant to stop producing flowers. Regular removal keeps blooms coming.
- Planting in Shade: Dahlias need at least six hours of direct sunlight for optimal flowering.
The Bottom Line
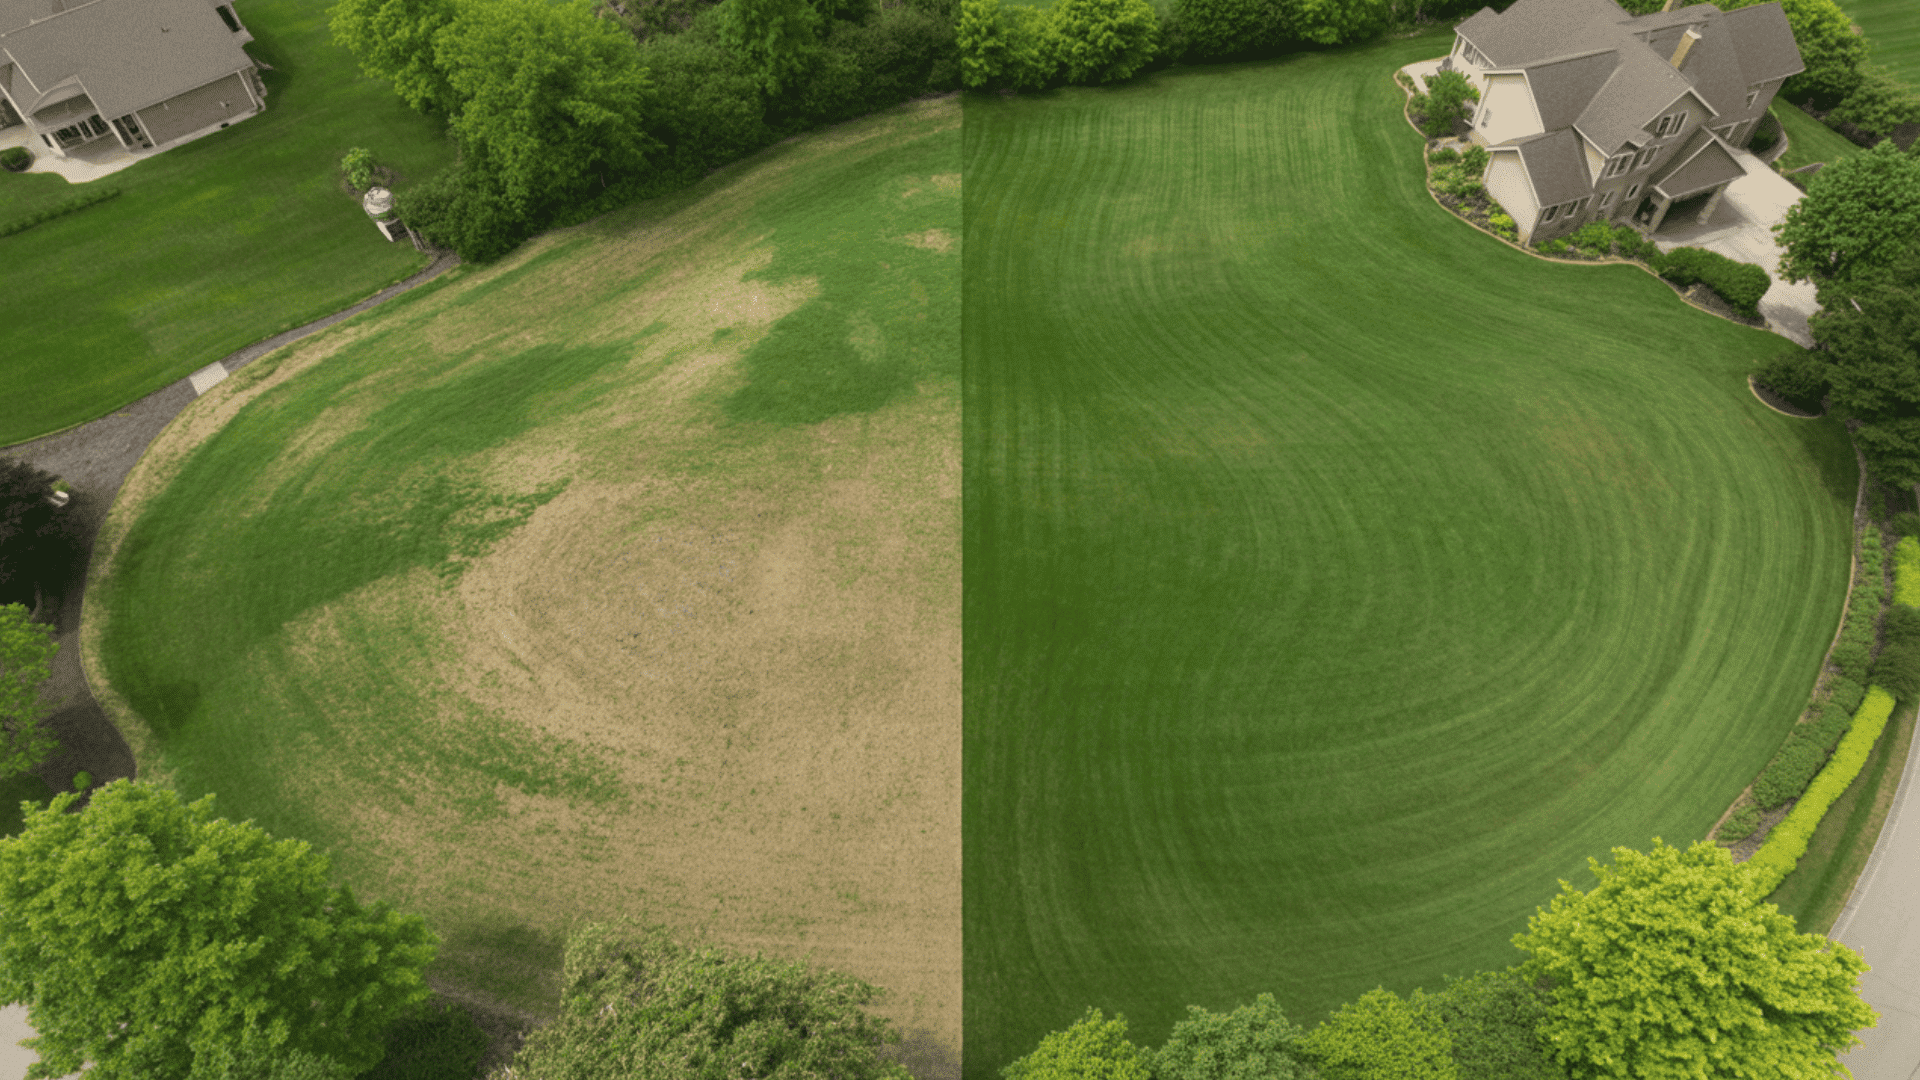
The difference between growing dahlias and rotted tubers often comes down to timing. Many gardeners wonder why some plants explode into color while others fail before they even sprout.
The truth about when to plant dahlias isn’t complicated, but most people rush through it without getting the details right.
Master this one timing principle, and replacement tubers become a thing of the past. Gardens reward patience with months of flowers that make every day of waiting worthwhile.