Moving hydrangeas can feel tricky, especially when you’re worried about damaging roots or picking the wrong time.
Many people hesitate because a single wrong move when moving a hydrangea may stress the plant or hinder next season’s bloom. Transplanting hydrangeas doesn’t have to be complicated.
With the right timing, a few simple steps, and some basic care, you can move your hydrangeas successfully and watch them grow in their new spot.
In this guide, I’ll walk you through everything you need to know. You’ll learn when to transplant, how to prepare the new location, and what aftercare keeps your hydrangeas healthy and blooming beautifully.
Why Hydrangeas are Great for Any Garden?
Hydrangeas are some of the most rewarding shrubs to grow in a garden. Their large, colorful blooms brighten the landscape from spring through fall, adding beauty to every corner.
Beyond their stunning appearance, I’ve found hydrangeas to be surprisingly low-maintenance once they’re established.
They attract pollinators, bring texture to garden designs, and grow well in both containers and garden beds.
With blooms in shades of blue, pink, white, and purple, they make it easy to create a lively and welcoming outdoor space
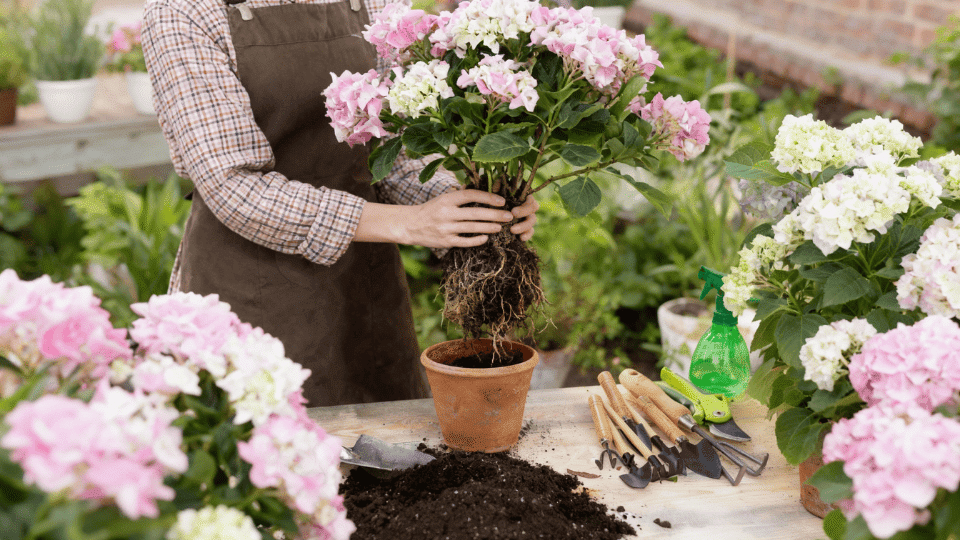
Preparing to Transplant Your Hydrangea
Success starts long before you dig. Proper preparation makes transplanting hydrangeas smoother and dramatically improves survival rates.
From timing your move perfectly to gathering the right tools, these early steps protect your plant from shock and set it up for healthy growth in its new location.
Choosing the Right Time and Location
Fall months offer cooler temperatures, and steady rainfall allows roots to establish before winter dormancy. Spring transplanting works before new growth starts, but requires more diligent watering through summer.
- Sunlight Requirements: Most hydrangeas need 4-6 hours of morning sun with afternoon shade
- Soil pH: Test soil pH (5.5-6.5 for blue blooms, 6.0-7.0 for pink)
- Drainage: Well-draining soil prevents root rot avoid low-lying areas
- Space: Allow 3-10 feet, depending on variety, to prevent overcrowding
- Protection: Shield from harsh winds and intense afternoon sun
Gathering Essential Tools and Supplies
| Tool/Supply | Purpose |
|---|---|
| Sharp spade or shovel | Digging the root ball and a new hole |
| Garden fork | Loosening compacted soil |
| Pruning shears | Trimming damaged roots and branches |
| Tarp or burlap | Transporting the plant and protecting the roots |
| Compost or peat moss | Amending the new planting hole |
| Mulch (2-3 inches) | Moisture retention and temperature control |
| Watering can or hose | Deep watering before and after transplant |
| Stakes and ties | Supporting larger plants during establishment |
| Garden gloves | Hand protection during digging |
Step-by-Step Guide to Transplanting Hydrangeas
Follow these proven steps to move your hydrangea with confidence. Each phase builds on the last, ensuring your plant transitions smoothly with minimal shock.
Step 1: Water, Prune, and Dig Up the Hydrangea Safely
Deeply water your hydrangea 24-48 hours before transplanting to hydrate roots and soften soil. Lightly prune damaged or crossing branches, removing no more than one-third of growth to reduce stress.
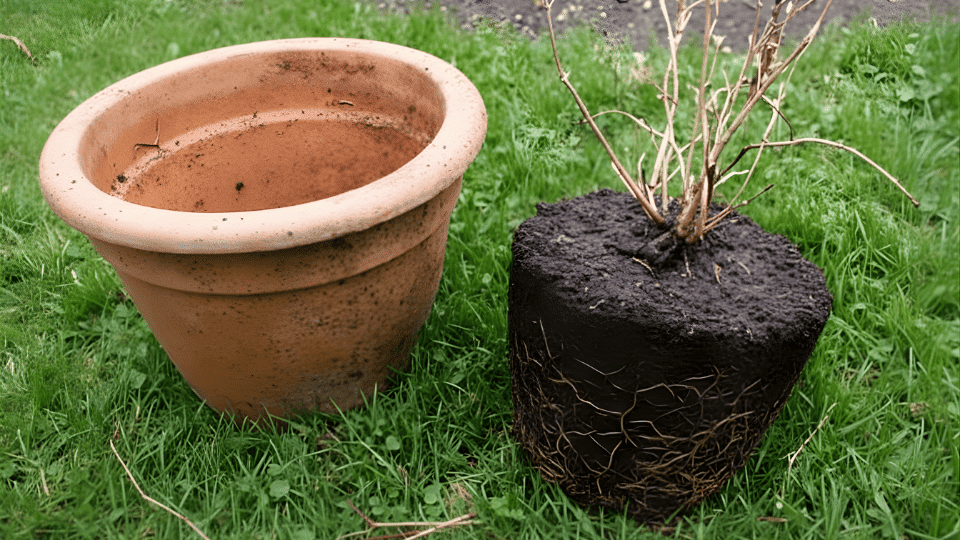
Dig a circular trench 12-18 inches from the base, going 12-15 inches deep. Angle your spade inward, undercutting the root mass.
Gently lift the entire root ball onto burlap or a tarp, keeping soil intact to minimize transplant shock.
Step 2: Replanting in the New Location

Dig a hole twice as wide and equal in depth to the root ball. Position your hydrangea at the same soil level as before, never deeper.
Backfill with native soil mixed with compost, gently firming around roots. Eliminate air pockets by watering thoroughly as you fill the hole.
Step 3: Watering and Mulching After Transplant
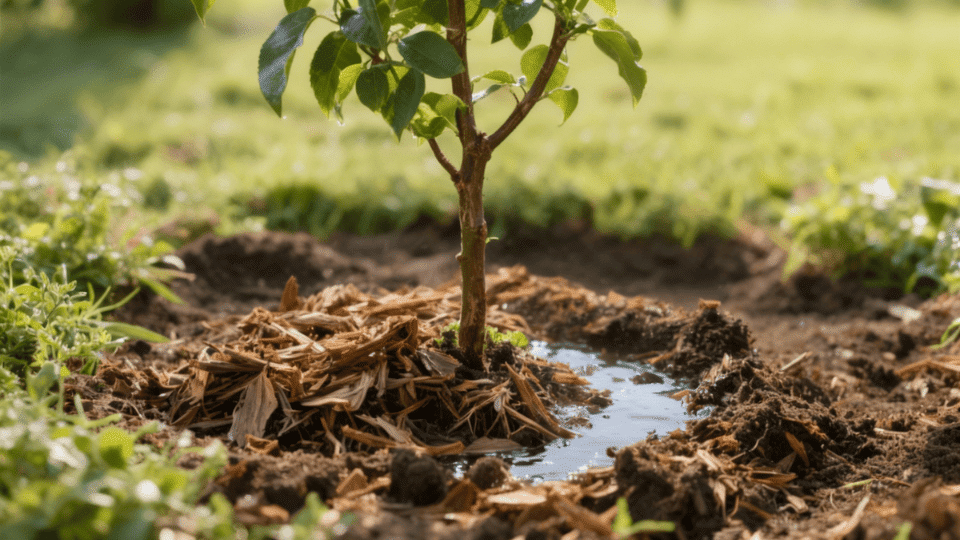
Water deeply immediately after planting, then maintain consistent moisture for 4-6 weeks until roots establish. Apply 2-3 inches of organic mulch around the base, keeping it away from stems.
This retains moisture, regulates soil temperature, and suppresses competing weeds during the critical establishment period.
Post-Transplant Care and Recovery
The real work begins after transplanting a hydrangea into its new home. Your plant needs attentive care during the critical first 6-8 weeks as roots adjust and re-establish.
- Water Deeply 2-3 Times Weekly for The First Month: Then gradually reduce to once weekly as roots establish. Adjust for Virginia’s rainfall increase watering during dry spells and hot summers, decrease during rainy fall periods to prevent waterlogged soil and root rot.
- Wait 6-8 Weeks Before Applying Any Fertilizer: To avoid burning stressed roots. After this period, use a balanced slow-release fertilizer (10-10-10) or organic compost tea monthly during the growing season to encourage new root development and healthy foliage.
- Watch for Wilting Leaves, Yellowing Foliage, or Drooping Stems: Provide temporary shade cloth during hot afternoons if leaves show stress. Most hydrangeas recover within 2-4 weeks with consistent moisture and protection.
- Avoid Pruning During the First Growing Season: unless removing dead or damaged branches. Let your hydrangea focus energy on root establishment rather than producing new growth, ensuring a stronger plant for future seasons.
- Maintain 2-3 Inches of Mulch Year-Round: Refreshing as it decomposes. This regulates soil temperature during Virginia’s temperature swings, retains moisture during summer heat, and protects roots through winter freezes.
Common Challenges and How to Overcome Them
Even careful hydrangea transplanting can encounter obstacles during recovery. Understanding potential problems before transplanting helps you respond quickly and effectively.
- Transplant shock appears as wilting, drooping leaves, or yellowing foliage when roots can’t absorb enough water. Combat this by maintaining consistent soil moisture, providing afternoon shade, and misting leaves during extreme heat.
- Hydrangeas often skip blooming the first season because they prioritize root development over flowers. Avoid excessive nitrogen fertilizers and be patient; most varieties resume normal blooming by the second growing season.
- Pruning at the wrong time removes flower buds, especially on old-wood bloomers like Bigleaf hydrangeas. Research your variety’s blooming habit before cutting, or wait until next season if buds were accidentally removed.
- Summer heat and humidity stress transplanted hydrangeas, leading to leaf scorch and increased disease pressure. Mulch heavily, ensure adequate spacing for air circulation, and water deeply in the early morning to reduce the risk of fungal issues.
Final Thoughts
Transplanting hydrangeas successfully comes down to good timing, preparation, and steady care.
When I choose the right season, dig carefully to protect the roots, and keep the soil moist with a layer of mulch, the plants adjust much more easily.
Sometimes, a hydrangea might take a little while to bounce back after being moved, but with patience and attention, it always rewards the effort.
I’ve learned not to let hesitation stop me from giving a struggling plant a new place to grow. With the right approach, transplanting becomes a chance to bring fresh life and lasting beauty to the garden.
Frequently Asked Questions
Where Is The Best Place To Plant A Hydrangea?
Hydrangeas grow best in a location with morning sun and afternoon shade. They prefer well-drained, moist soil that’s rich in organic matter. Avoid planting them in spots with harsh afternoon sunlight or areas that stay soggy after rain, as both can stress the plant.
Do Hydrangeas Go Into Shock When Transplanted?
Yes, hydrangeas can go into shock after being transplanted. This happens when their roots are disturbed or when they experience sudden changes in light, temperature, or moisture. Watering regularly and keeping the soil moist, not soaked, helps them recover faster.
Do Hydrangeas Like Sun or Shade?
Hydrangeas enjoy a balance of both sun and shade. They do best with several hours of gentle morning sunlight and protection from the strong afternoon heat. Too much shade can limit blooming, while too much sun can dry out the leaves and flowers.